Brunsviga H
Just three weeks after finding my Brunsviga G in France, I received an excited email from a fellow collector who spotted a proper Brunsviga H in the UK on everyone's favourite auction site. Since no bids had been forthcoming, it was easy to convince the seller to sell it to me. I arranged for a UPS label to be sent to him to stick to the box (which was surprisingly affordable for such a large and bulky machine at just 30 EUR!), and then I crossed my fingers and hoped for the best.
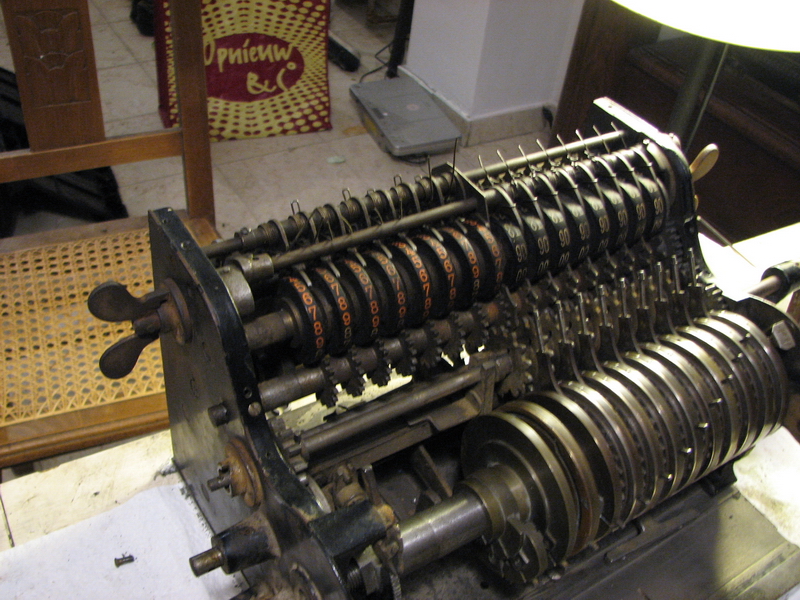
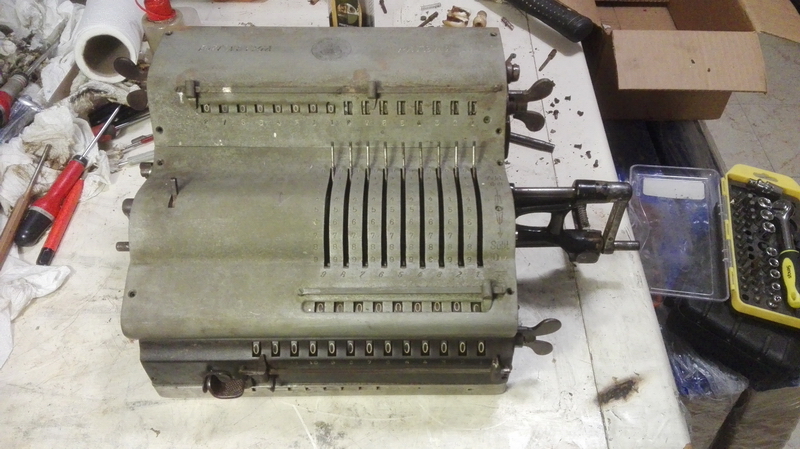
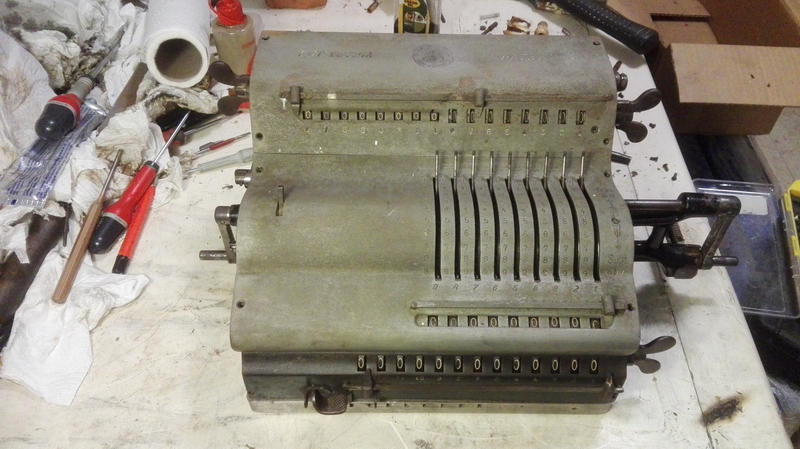
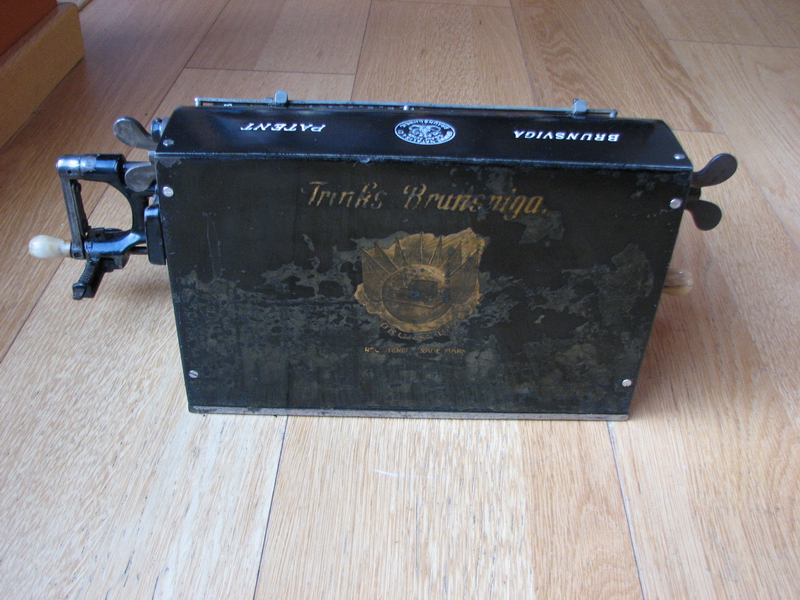
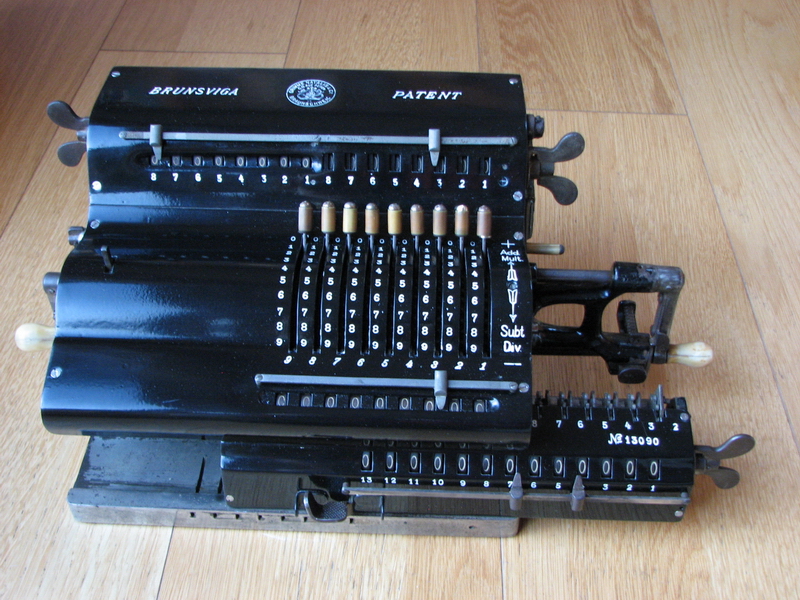
A few days later, this is what arrived:
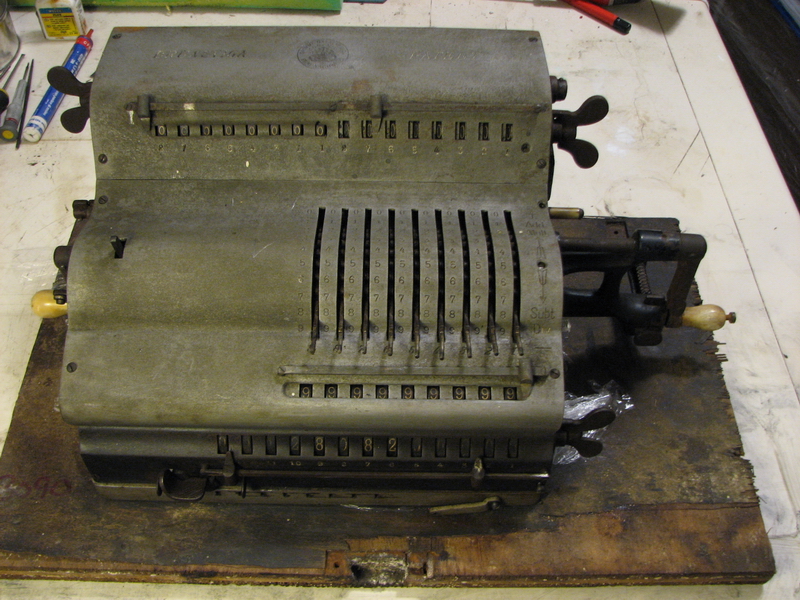
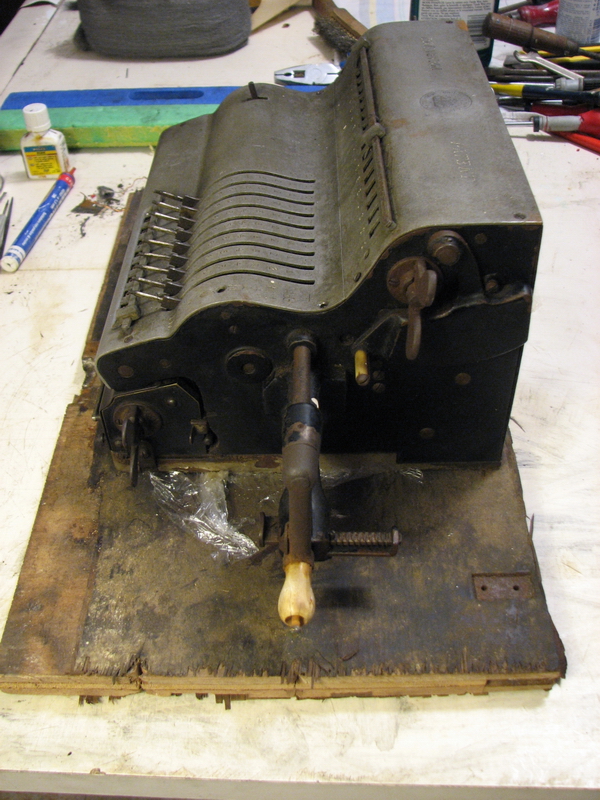
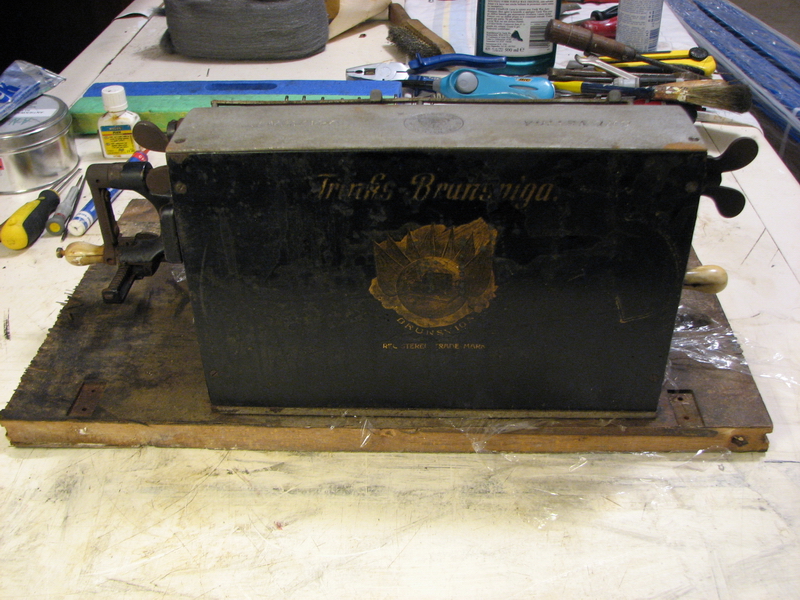
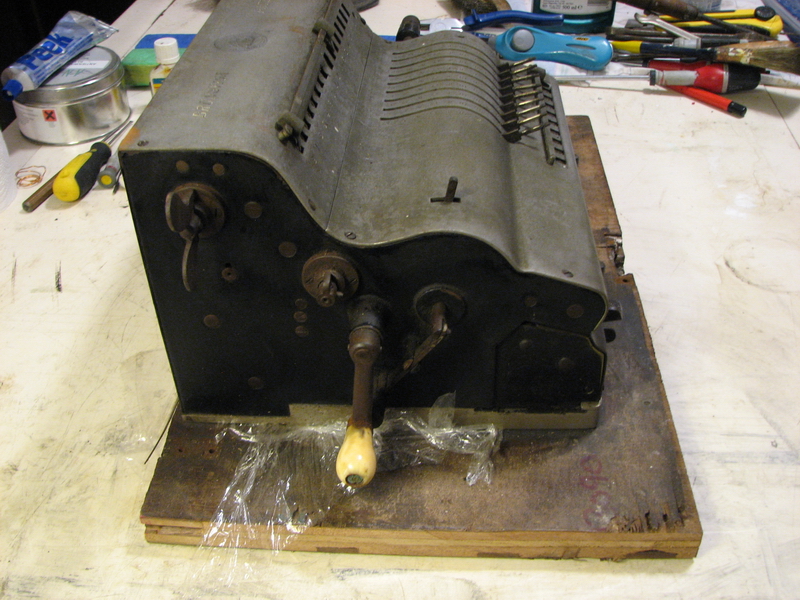
The machine was rusty all over, completely filthy, completely covered in dried oil also, and generally giving the impression that it would prove to be a pain in the neck. We'll get to the peculiar looks of the top plates later on. Oh well, one doesn't find a Brunsviga H every day - only 140 examples were ever built.
According to the seller, it had been in a shed for the better part of the last 40 years, the shed belonging to someone who once worked for an expedition company, which may be where the machine would originally have come from. But he also liked local flea markets, so we'll probably never find out.
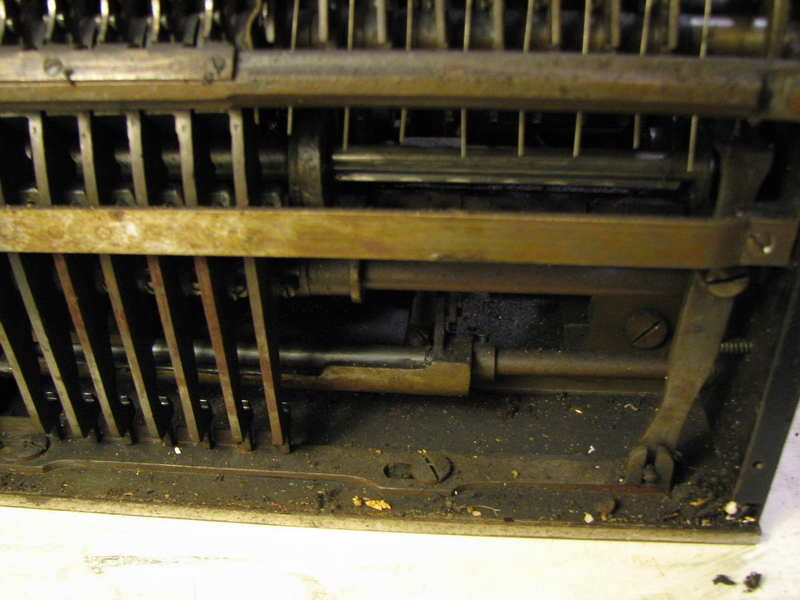
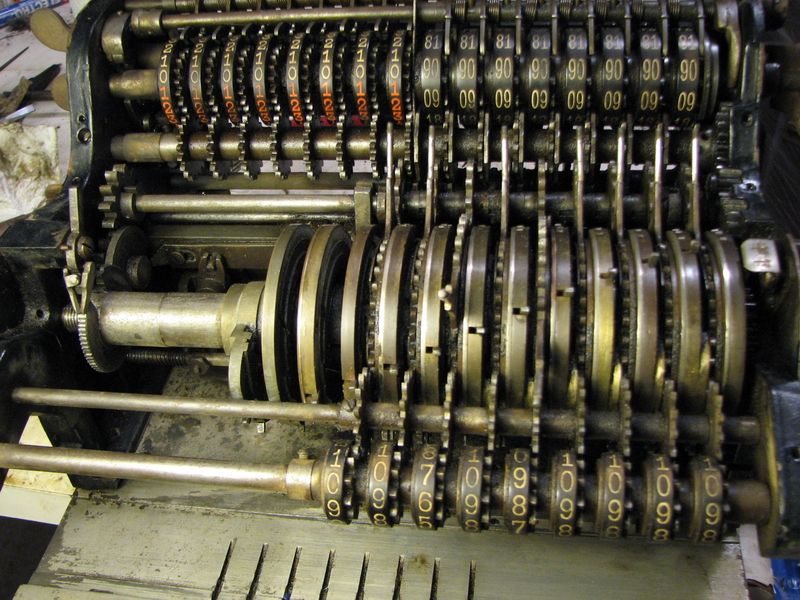
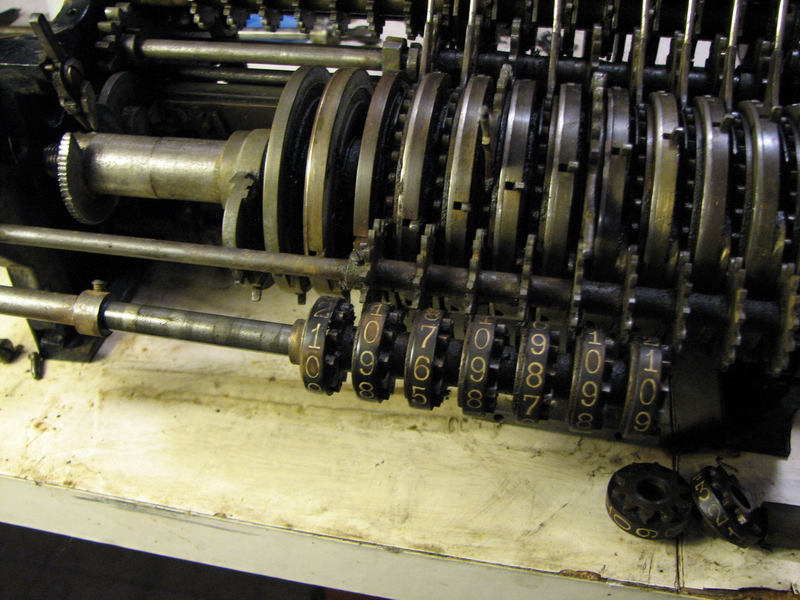
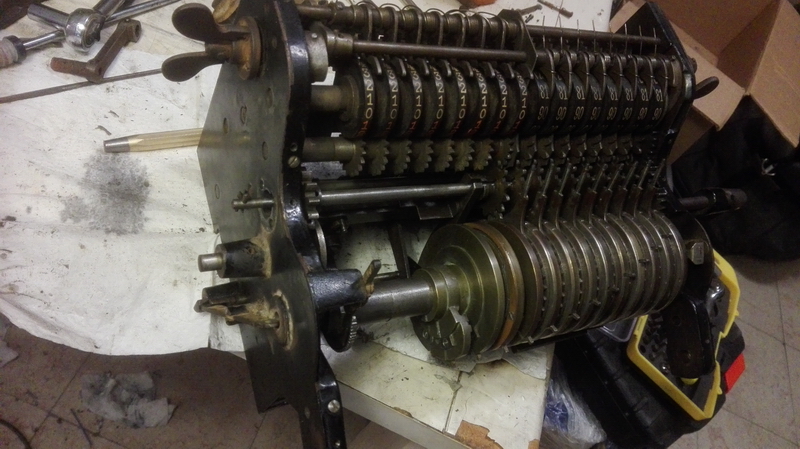
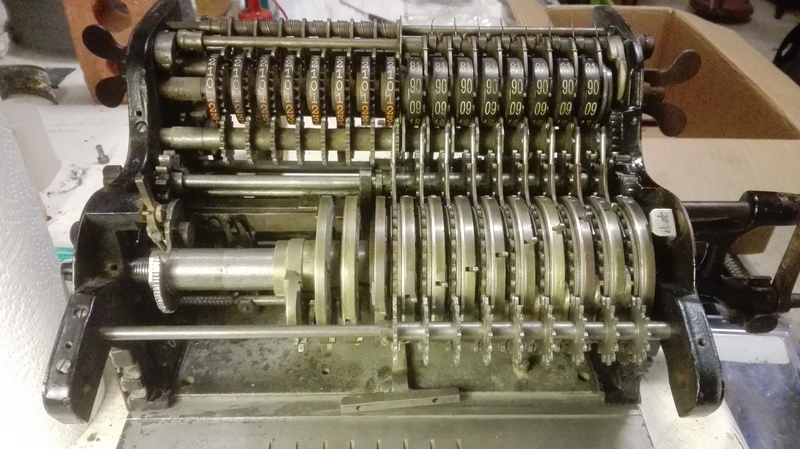
This is what the insides looked like ... not very encouraging.

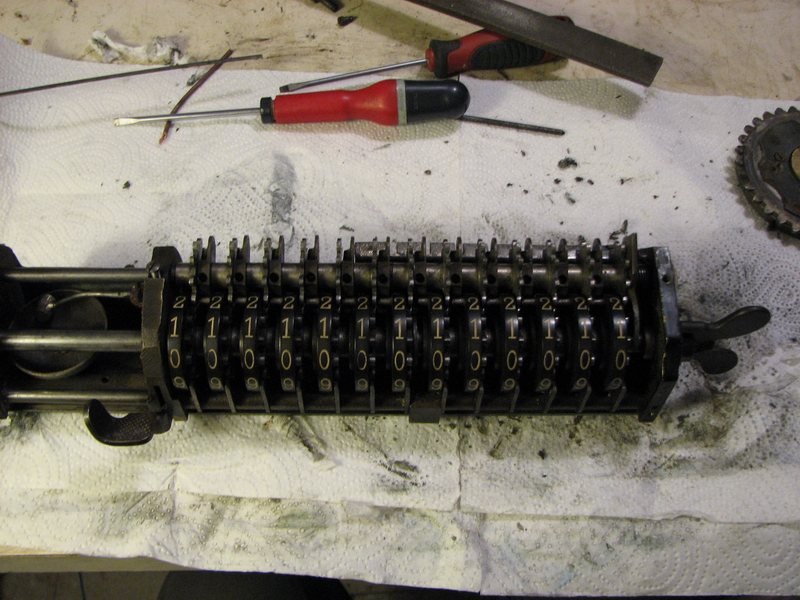
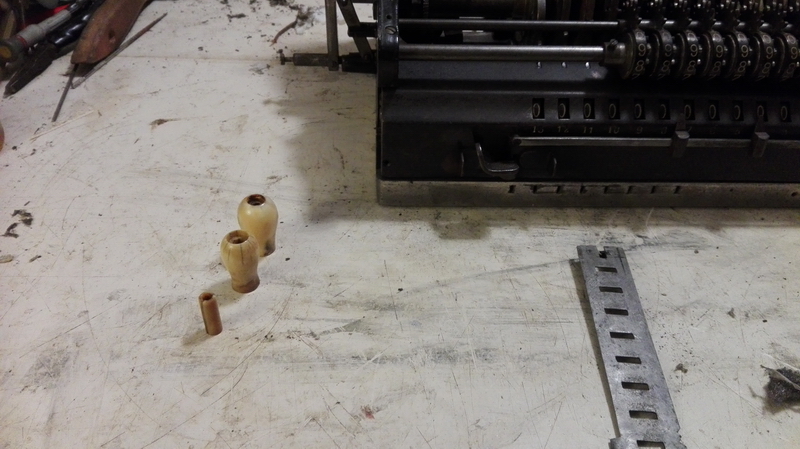
The first order of business was to disassemble it enough to be able to give it a nice soak in white spirit, to get most of the filth out. Immediately this proved to be a problem, as the cranks had rusted underneath the ivory handles, and they were on there to stay. Several days of soaking in penetrating oil accomplished exactly nothing, and I had to resort to breaking them in order to get them off. Now the machine could be moved somewhat, and I was able to get the carriage out. The wingnut carried ominous plier marks, and six of the numeral wheels would not clear. What goes on in the head of someone who puts vise grips on a wingnut - are they honestly thinking "Right, this will solve that problem of the clearing being stuck!" as they splinter the clearing teeth?
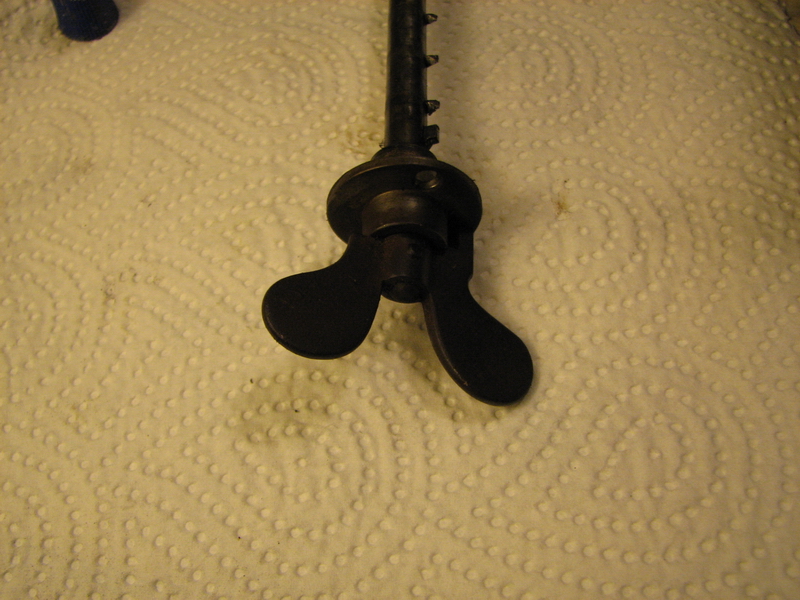
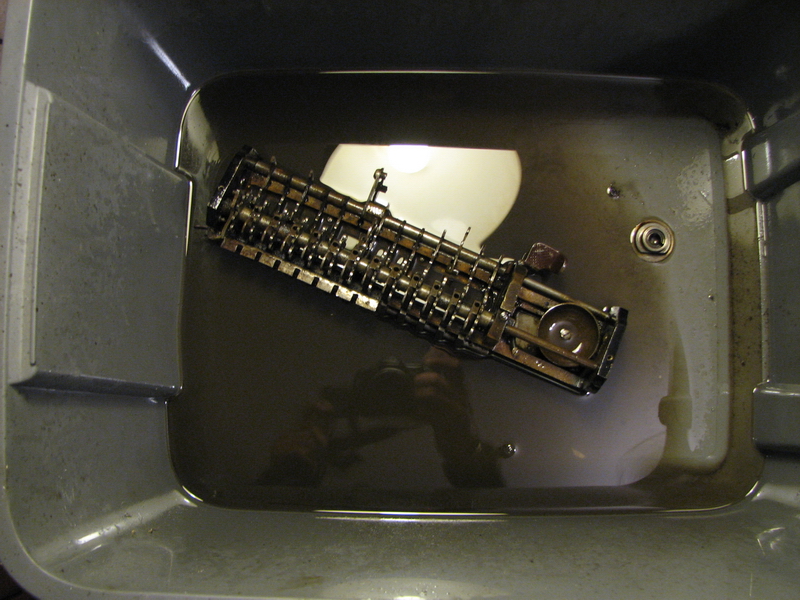
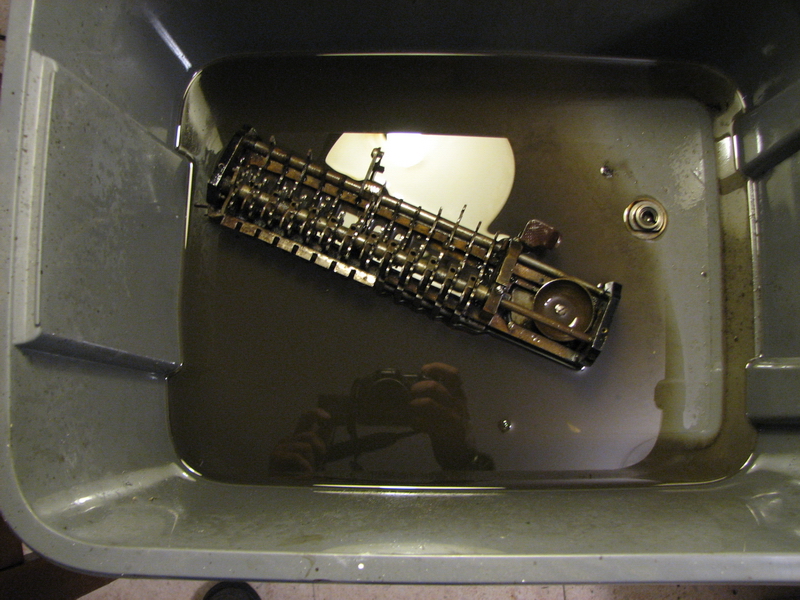
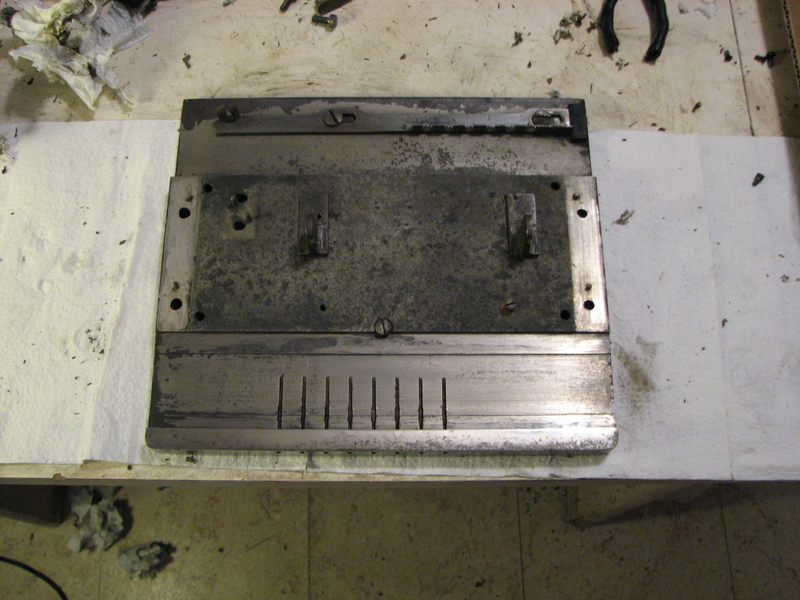
Time for a bath ...first the carriage
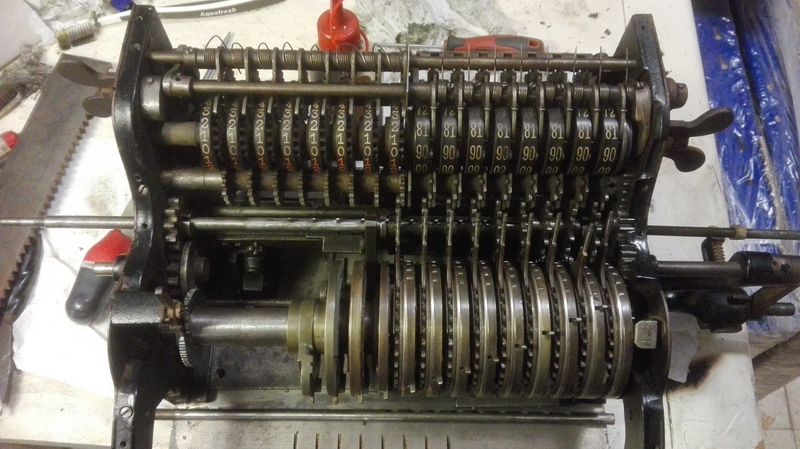
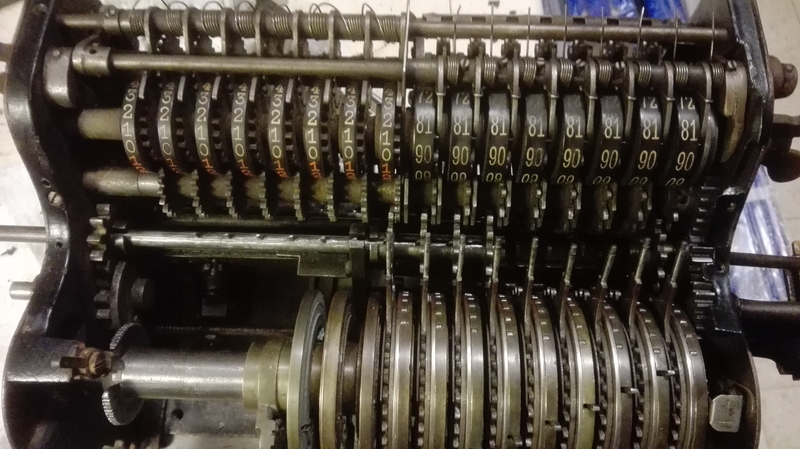
..and then the rest of the machine
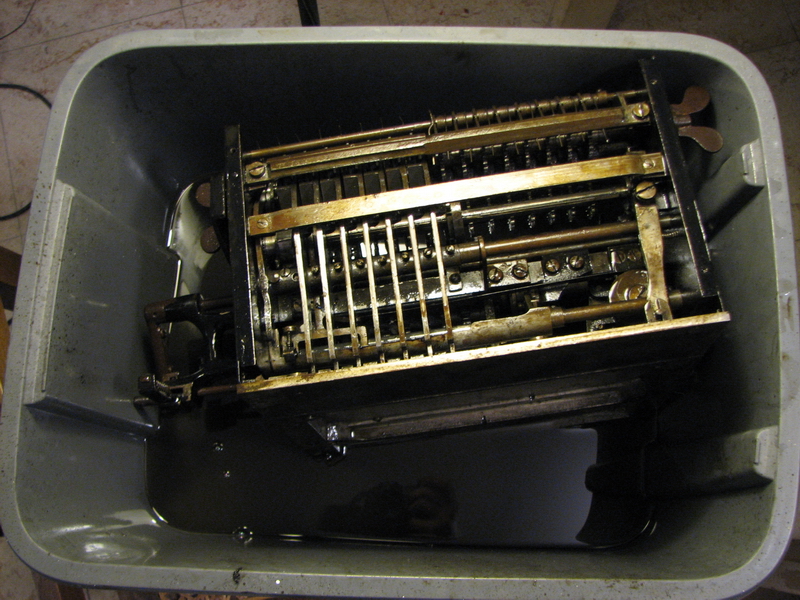
It looks a lot cleaner already!
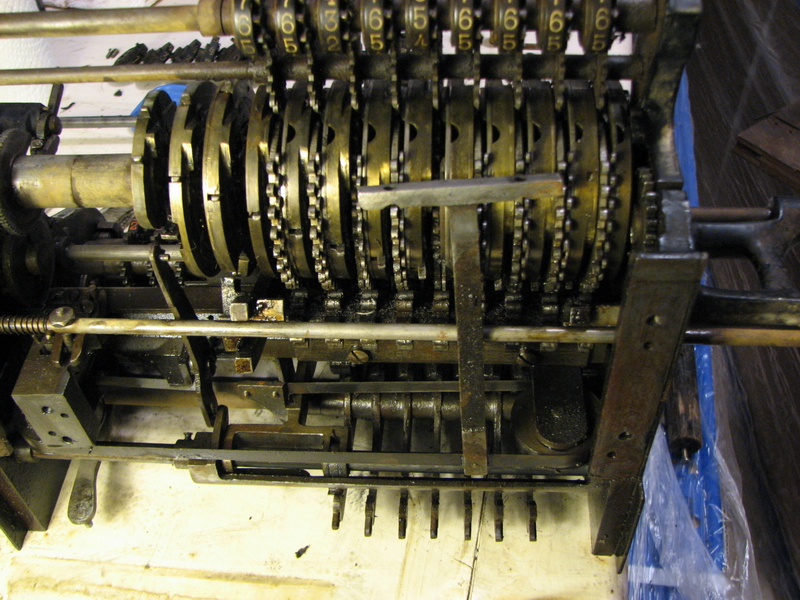
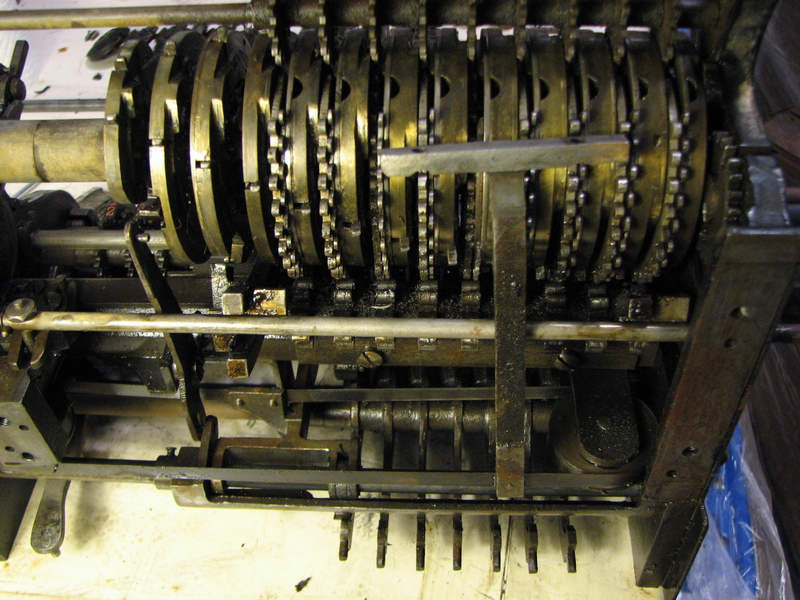
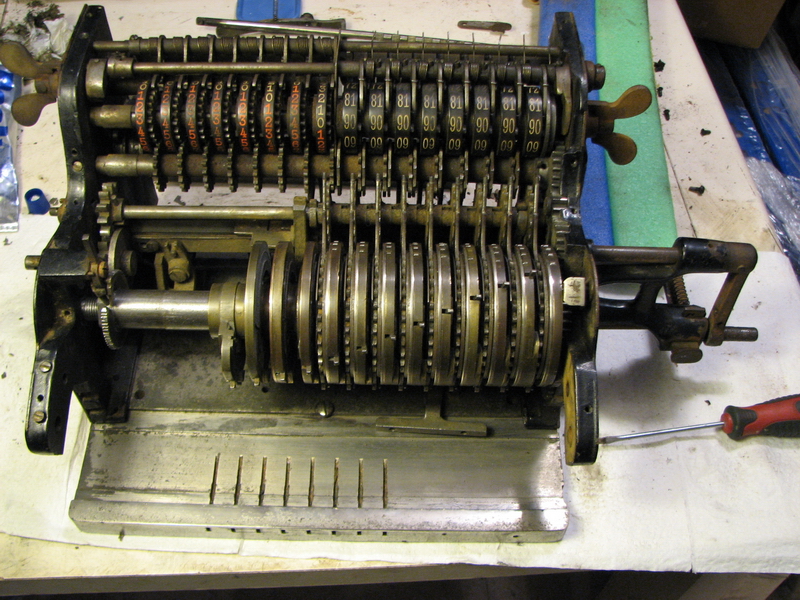
The next step was testing whether the bath had freed up the pinwheel cylinder enough to leave it at that. The clear answer to that question was "no". So that meant taking a number of good pictures to establish the timing of the machine before taking the side plates apart and removing the pinwheel cylinder ...
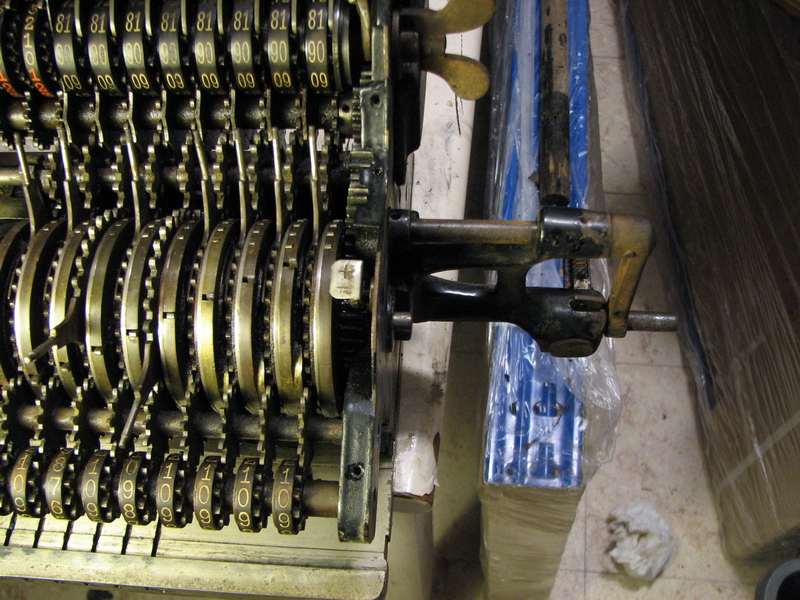
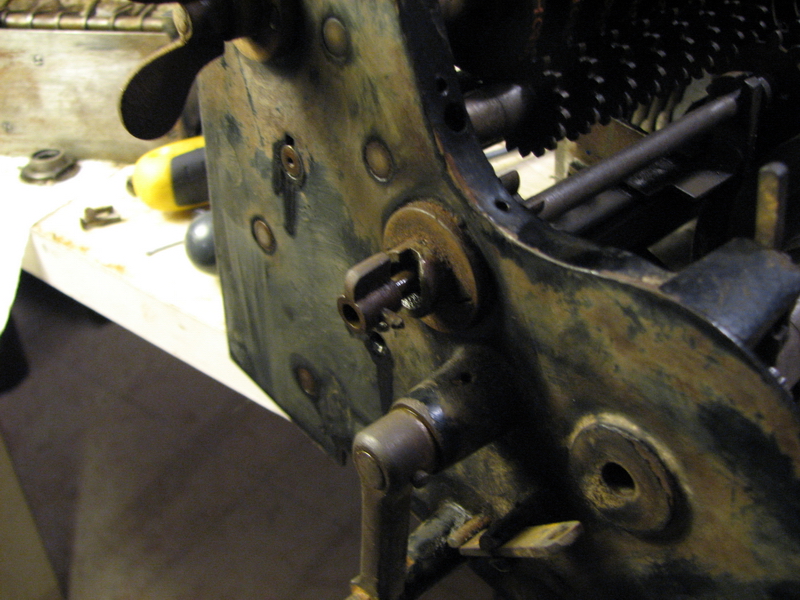
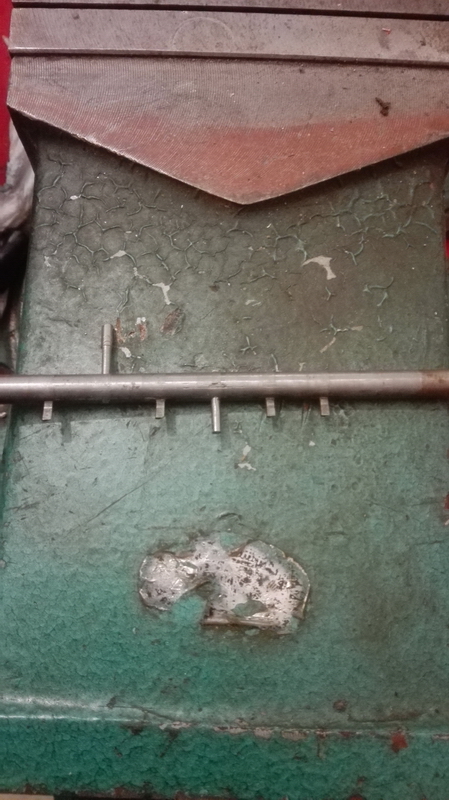
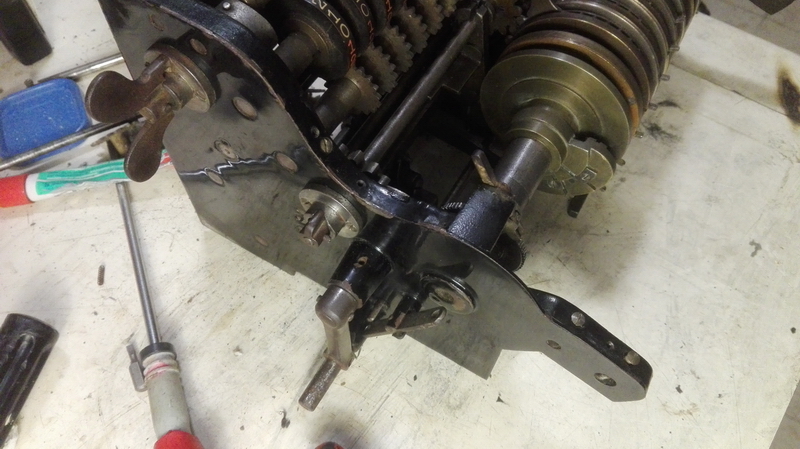
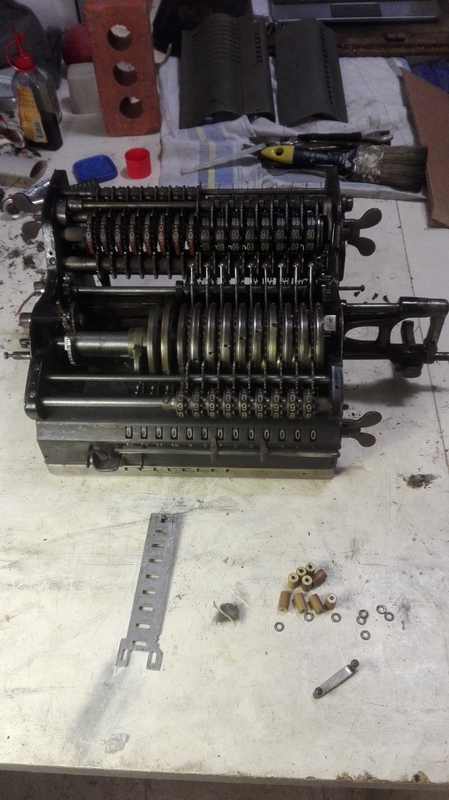
First, the bottom plate needs to be unbolted (from the bottom, obviously), together with the supports for the bar running through the machine at the bottom for locking/unlocking the setting levers, and the pivot block for the security to prevent unlocking the setting levers when the machine is not in its rest position. There's also a pivoted bar that connects the action of the main crank to the unlocking of the left revolution register (you'll see it about 7 pictures down) - it is easier if you take this off the machine completely - it can easily be reassembled afterwards. Here's the machine lying on its back.
Turns out there's still quite a bit of dirt and muck underneath there ...
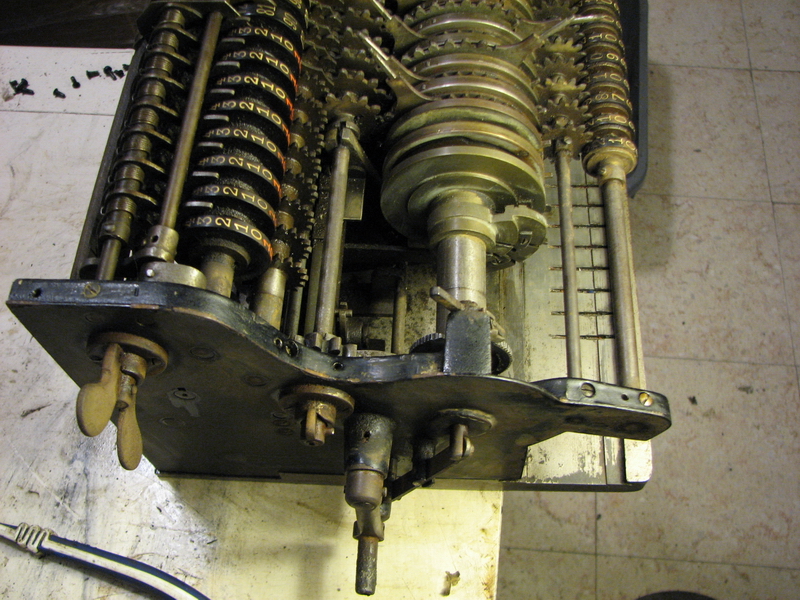
After taking the machine off the base, take out the front setting indicators and intermediate gears.
As well as the bar running through the center of the pinwheel cylinder.
The frame can then be undone by undoing the left side frame screws and lock screws for the axles running through the machine, and carefully wiggling the left side frame away from the machine. The zeroing wingnut support for the left counter register needs to come apart for that, and pulling the axle out probably will lead to the last spacer ring and perhaps the last gear on the clearing falling out of the machine - see the fifth picture down, where the spacer that fell out is lying on top of the register. We'll return to getting it back in place later. Finally, also the gear on the input clearing needs to be unpinned from the axle, because otherwise it gets stuck against the gear attached to the clearing lever. Now the frame can just be taken apart enough to wrestle the pinwheel cylinder loose.
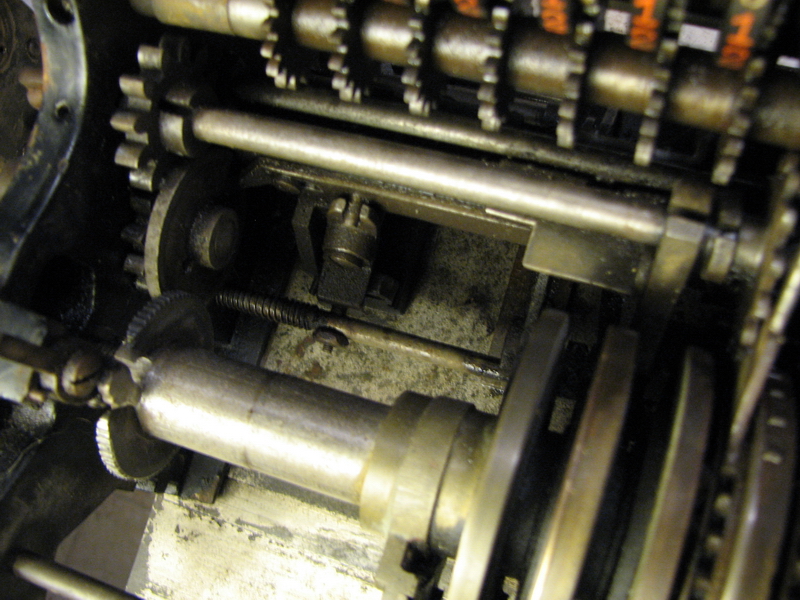
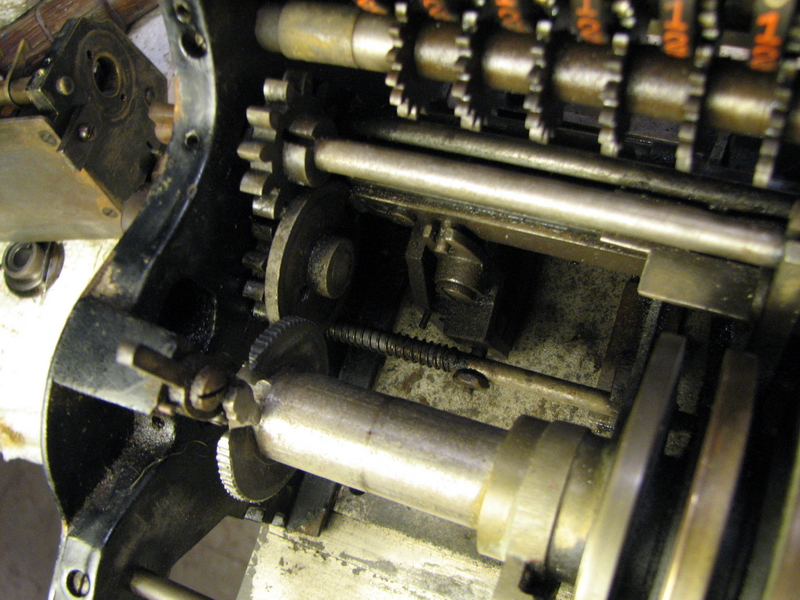
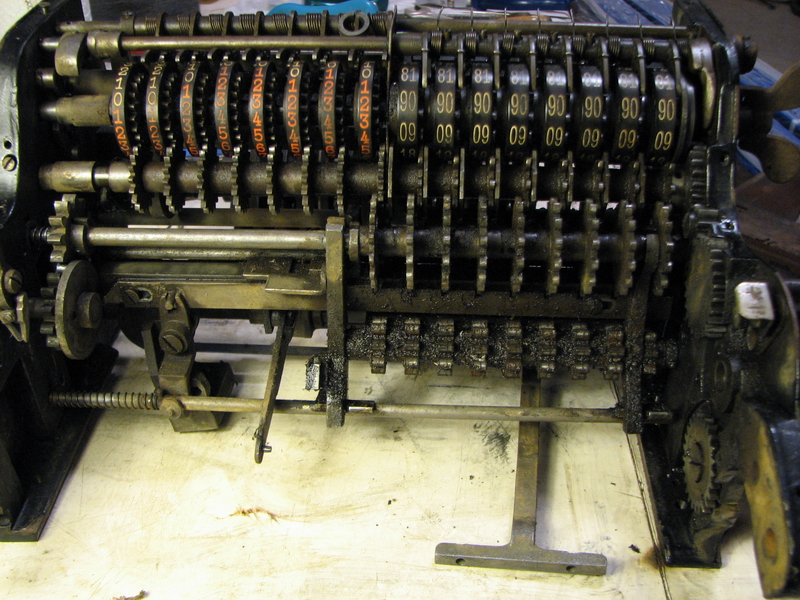
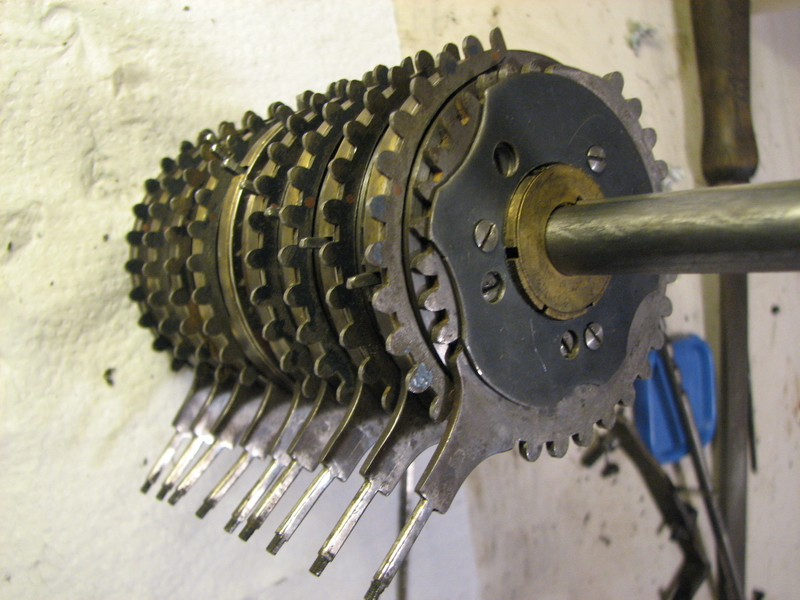
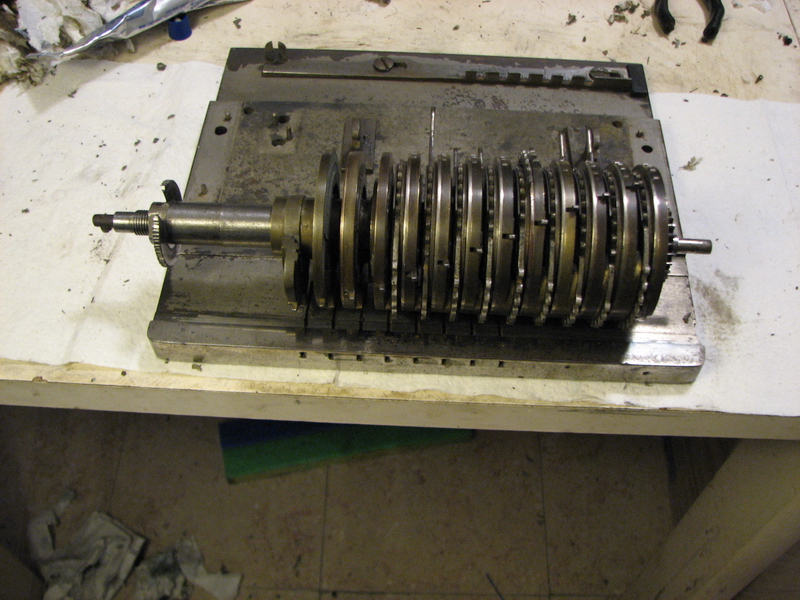
Take good, clear pictures from all sides, so you know exactly how it has to go back - moving the gears by as much as one tooth will screw up the timing in the machine, and the worst part is that the most crucial mistake, namely the slotted gear that provides a lock for the carriage position, can go unnoticed until the whole machine is back together and you try to put the carriage in (I managed to dodge that bullet this time, but I once got tricked into it with a Brunsviga J!) ... and eventually, here it is!

It also turns out that a bath in white spirit doesn't really help for cleaning dirt out of places where you couldn't scrub ...
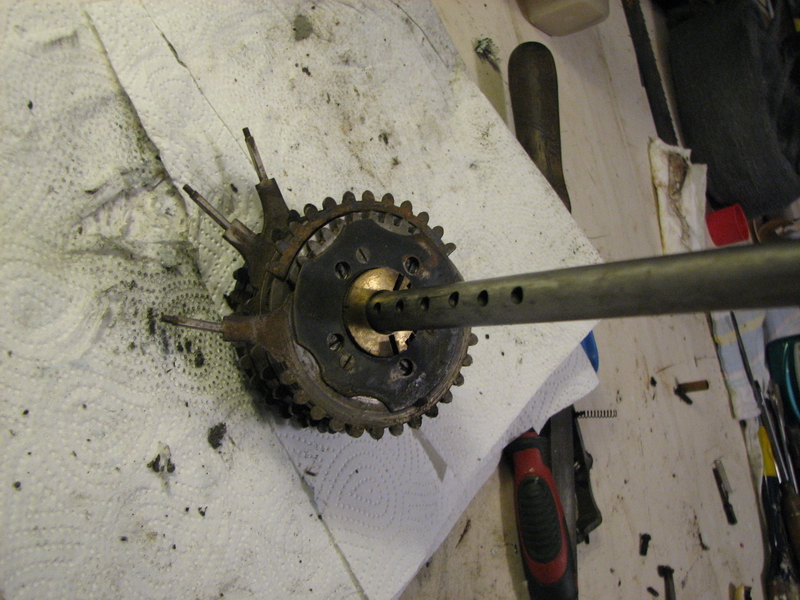
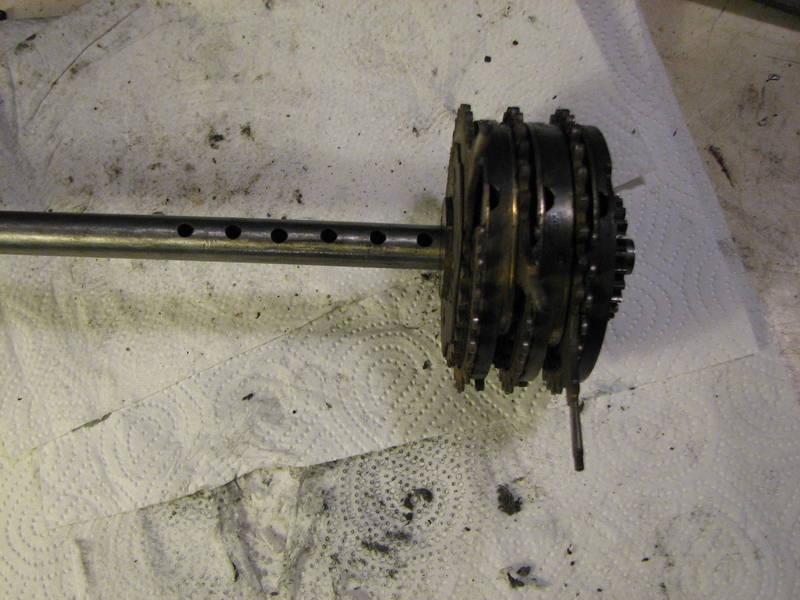
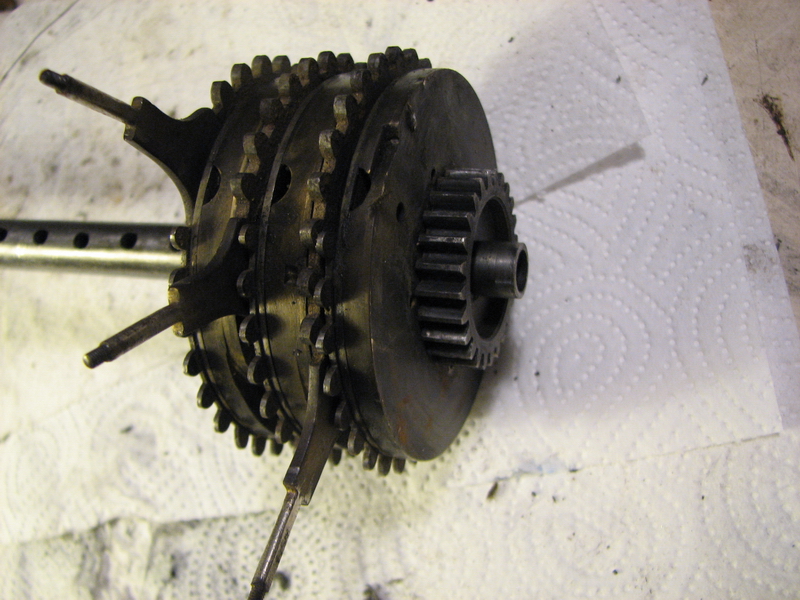
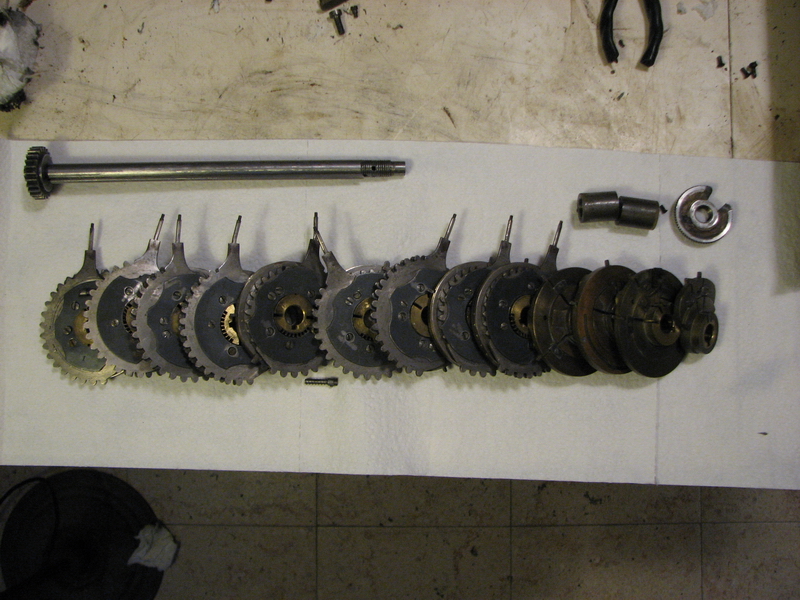
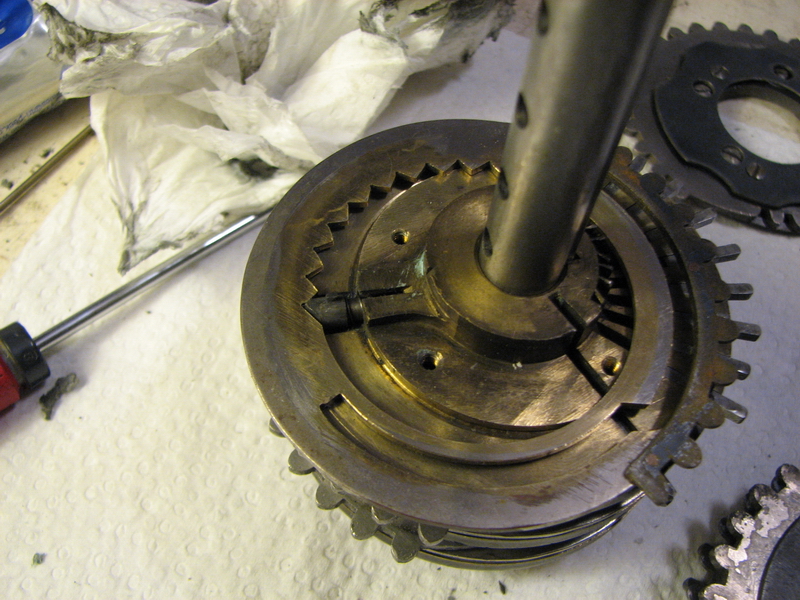
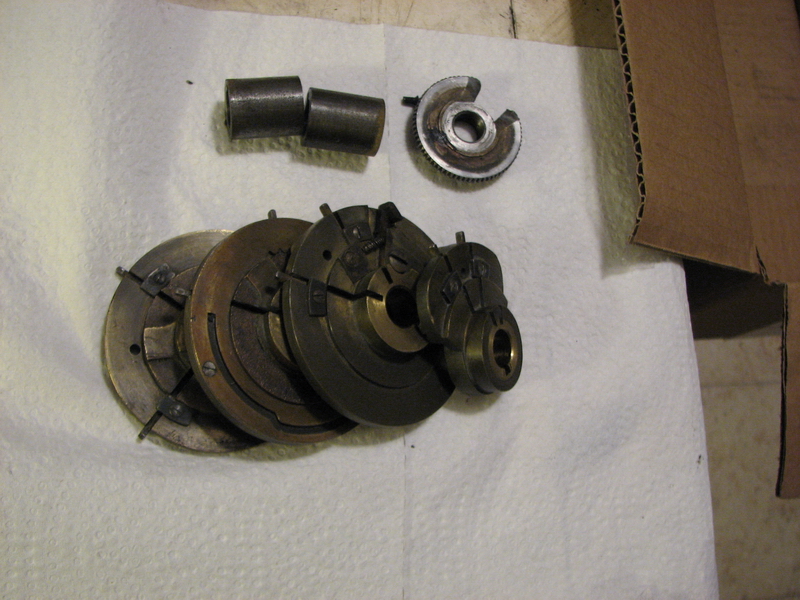
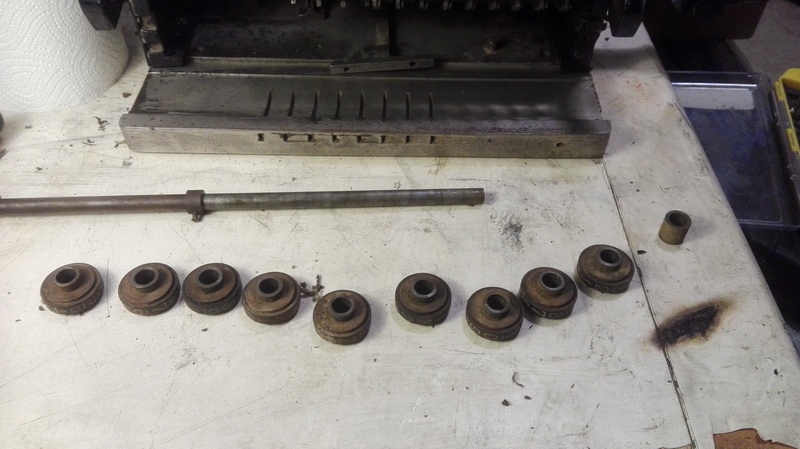
Anyway, once the pinwheel cylinder is out, the lock screw at the end can be taken out, and the big nut that holds everything together can be unscrewed. One by one, the pinwheels can then be taken apart (don't lose any spacers!) and off the central axle. The individual pinwheels need to be disassembled for this, because the "clicker" pin, which provides positive location for the various positions of the pinwheel, sticks into a hole in the central axle, and it can only be slid out by disassembly of the pinwheels. The fixed setting lever machines have a rather elaborate pinwheel design, where the lever is connected to a geared sector, which in turn is connected to the geared sector that operates the actual pinwheel by a gear in the back of the machine, that can be switched forwards to make setting possible, or backwards to make calculation possible.
The pins in this pinwheel were so stuck that I needed to lever/tap them out with a thin driver and a light hammer. I would never have been able to free that up without disassembly.
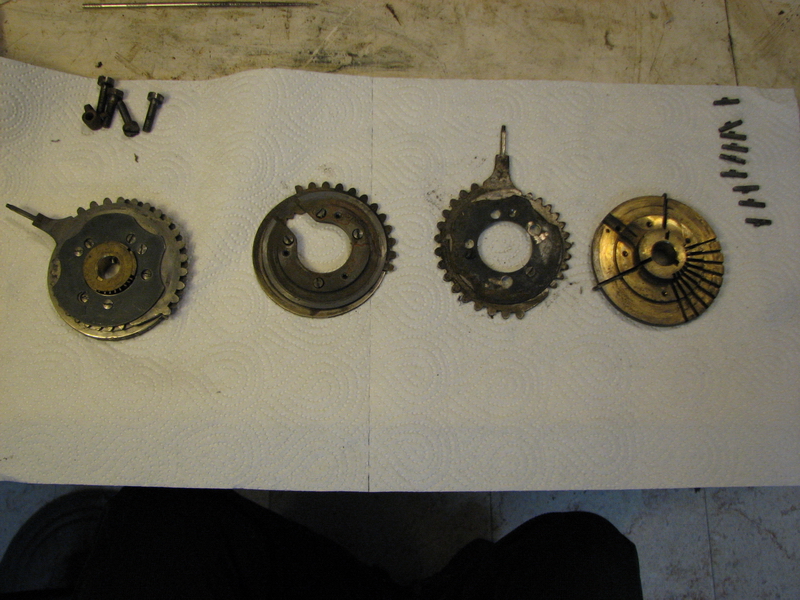
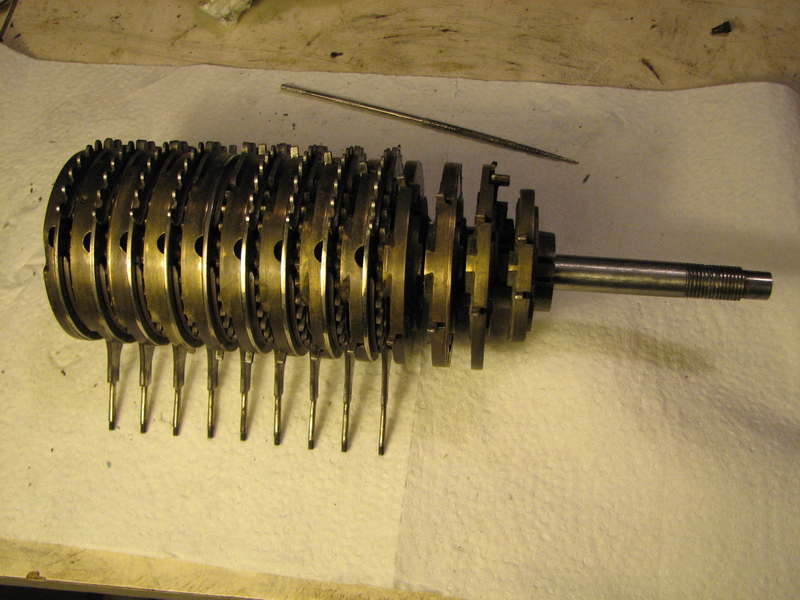
Clean up all the parts, and especially the individual pins and their grooves.
They need to slide as smooth as butter, or they are guaranteed to stick. Put the pinwheel cylinder back together. (That is much quicker to write than to actually do it ...). Again, the pinwheels need to be assembled individually to be able to insert the sprung pin that provides the detent for their action, and that sticks into the central axle (it interacts there with the rod we've taken out of there earlier to provide a lock for the pinwheels when the machine is in "calculating" instead of "setting" position).
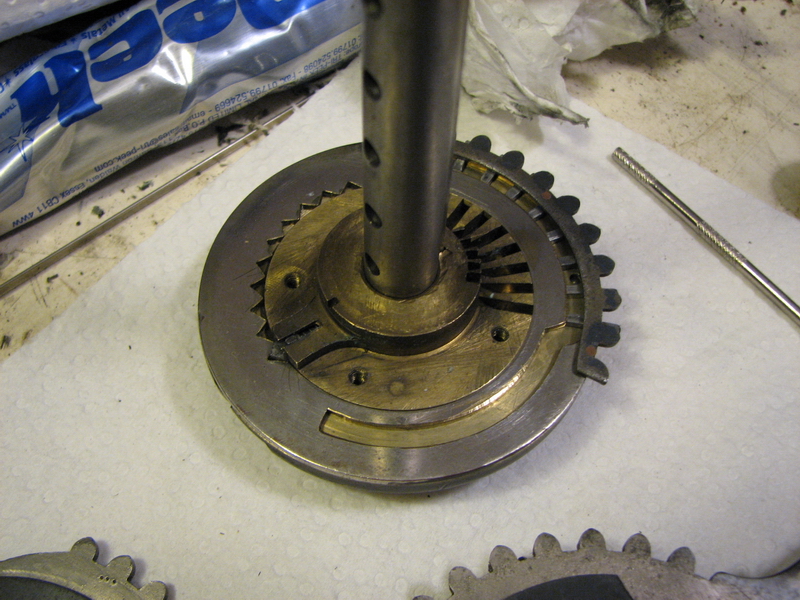
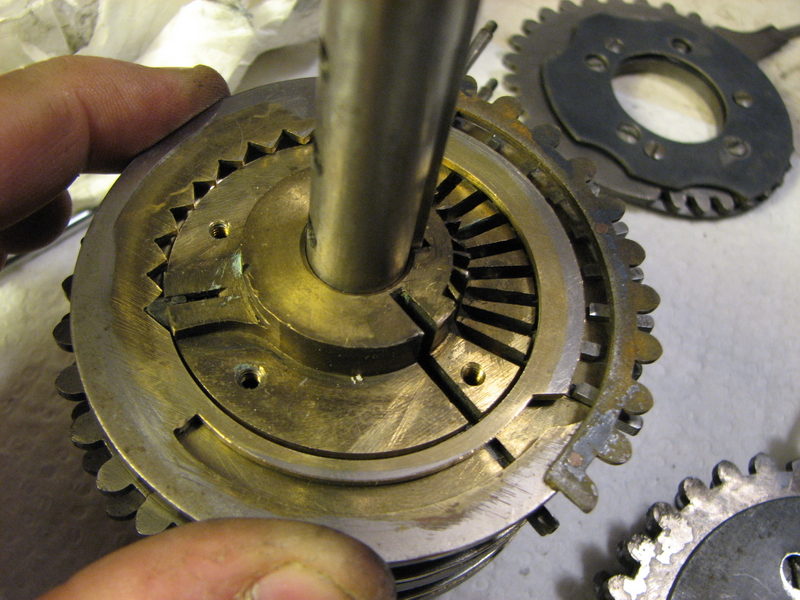
First put the pinwheel on, with the pins too far out, and the sprung lock pin ready to go into the hole of the central axle.
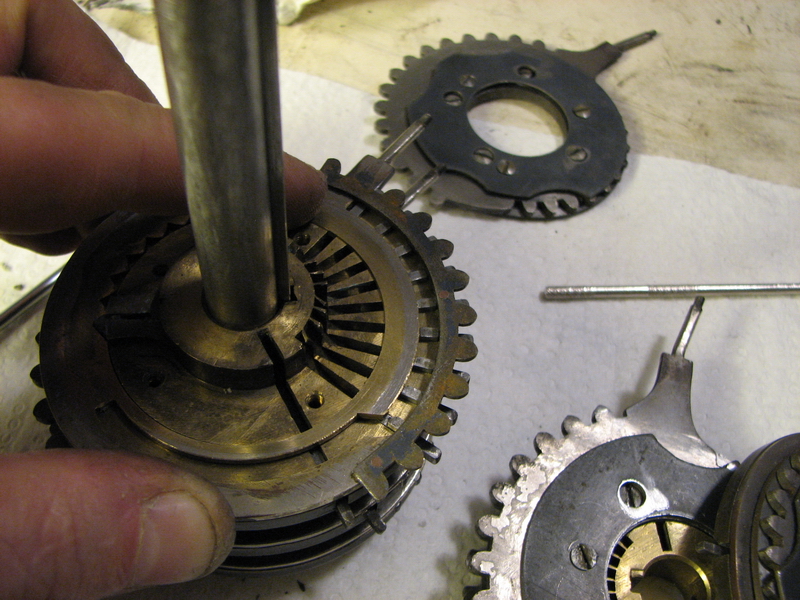
Then catch the lock pin in the final serration of the internal geared sector of the operating disc ...
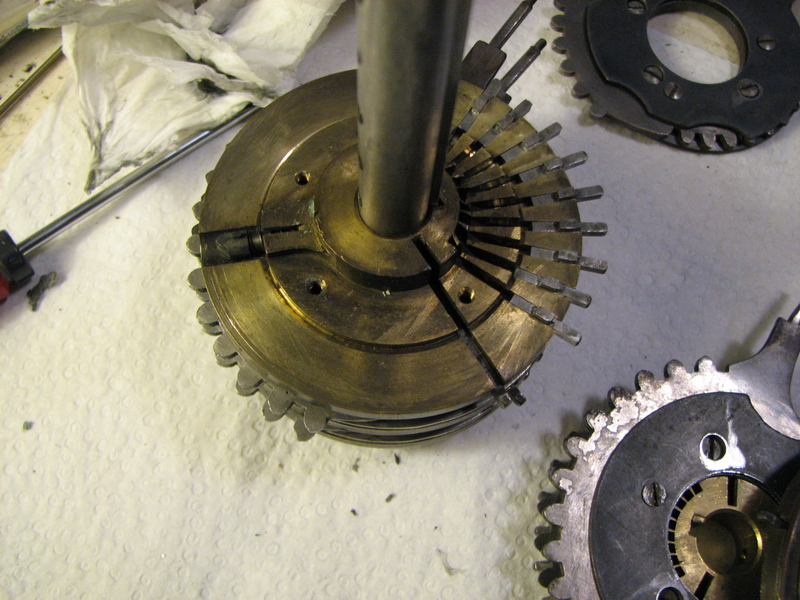
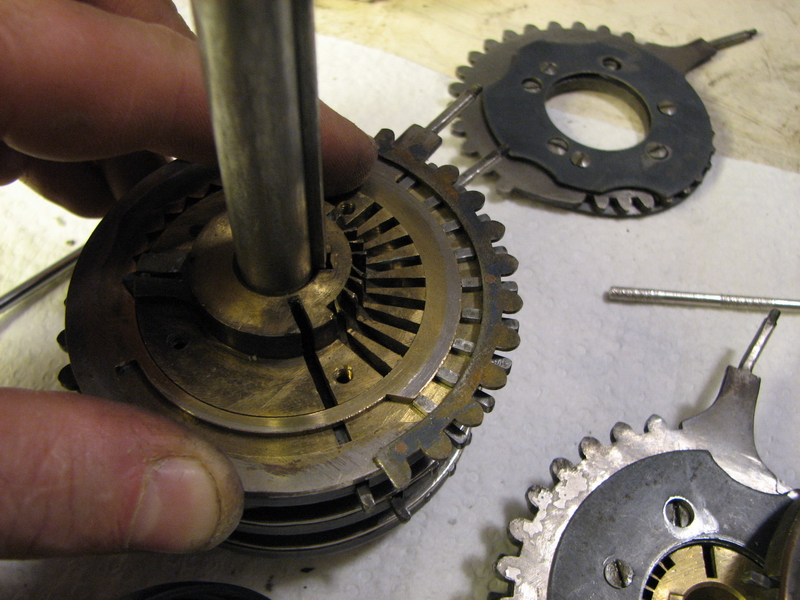
...put it in its proper place, and then slowly and carefully start sliding the pins in from one side until they snap into the groove.
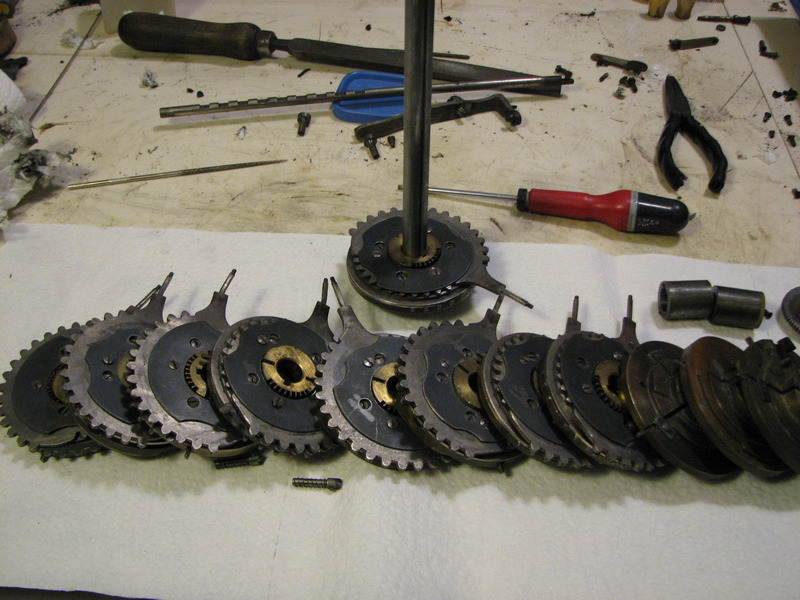
All done - the rest can now be reassembled, and then there's another 7 to go !
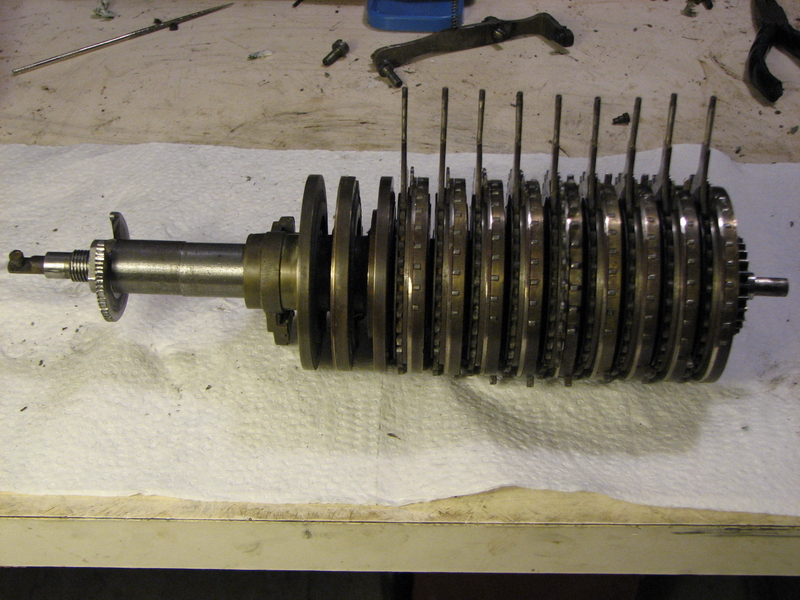
A clean slate, so to say ... this looks more dramatic than it is, actually most of the machine, and certainly the counters, was still together.
The pinwheel cylinder goes back in in the same way it came out. Make sure you orient it exactly right - the cutout in the direction lock on the left goes straight up. It is easiest to switch the lever on the main crank out, to the calculating position, so there will be no interference from the coupling gears when reassembling. Then it is just a question of using witchcraft and black magic to get all the axles back in their respective holes, and slowly tap the left hand side of the machine back into place. Make sure all the setting levers are in their correct positions, because once they engage with the clearing gears at the back, they will be definitively stuck in place. Also double check that the cutout in the wheel that makes up the security interlock for clearing is in the correct position when meshing it with the gear on the clearing axle in such a way that the conical pin can be driven back in. Once the frames are back together, you might be excused for thinking you're home free now - but that is not the case, because there is still the left revolution counter clearing to deal with, which is guaranteed to have fallen apart. In any case, the machine can be put back onto the base and the pivot support and two axle supports screwed back in place, to prevent any accidents with the machine falling apart again.
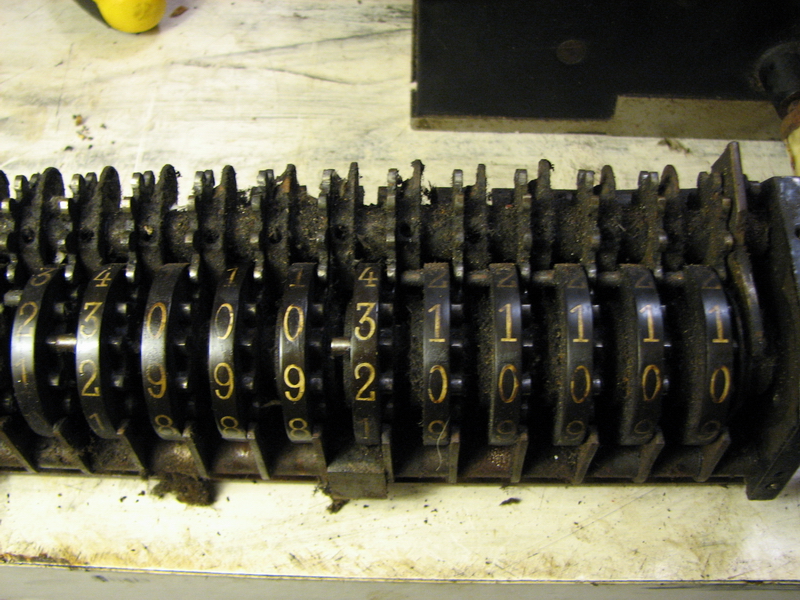
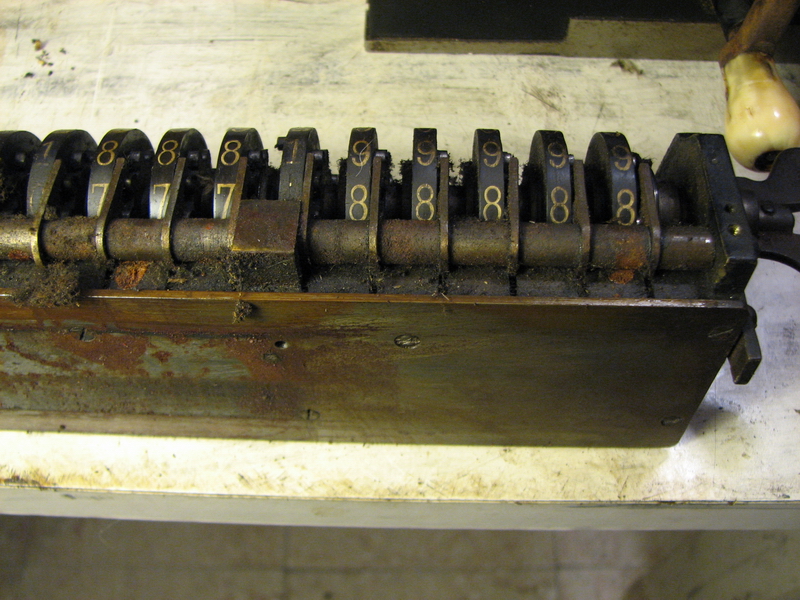
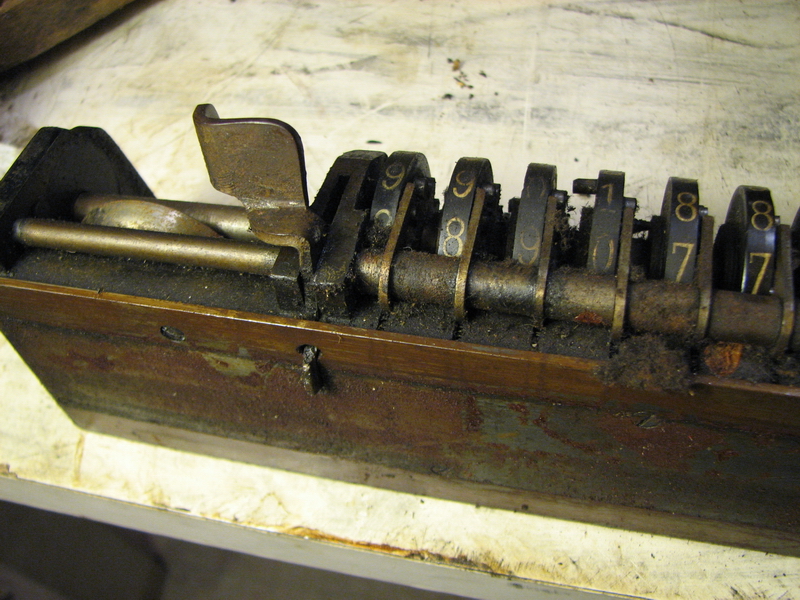
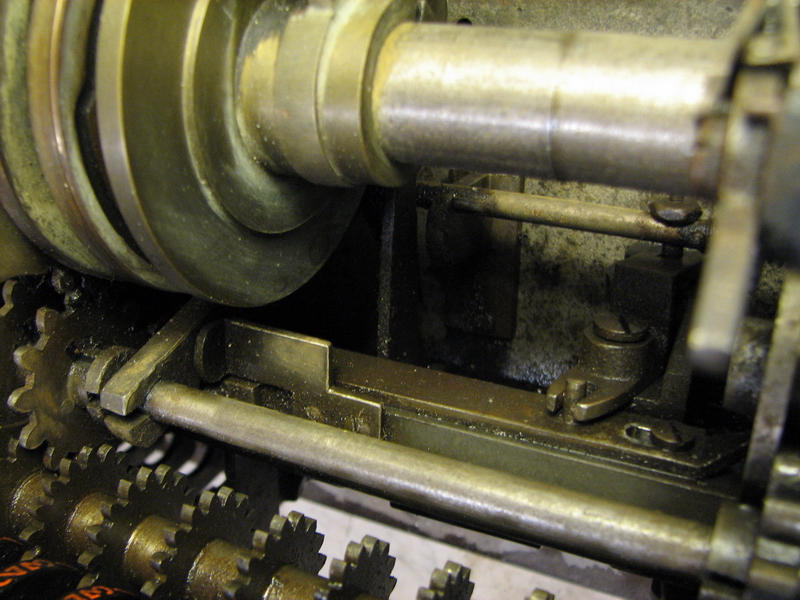
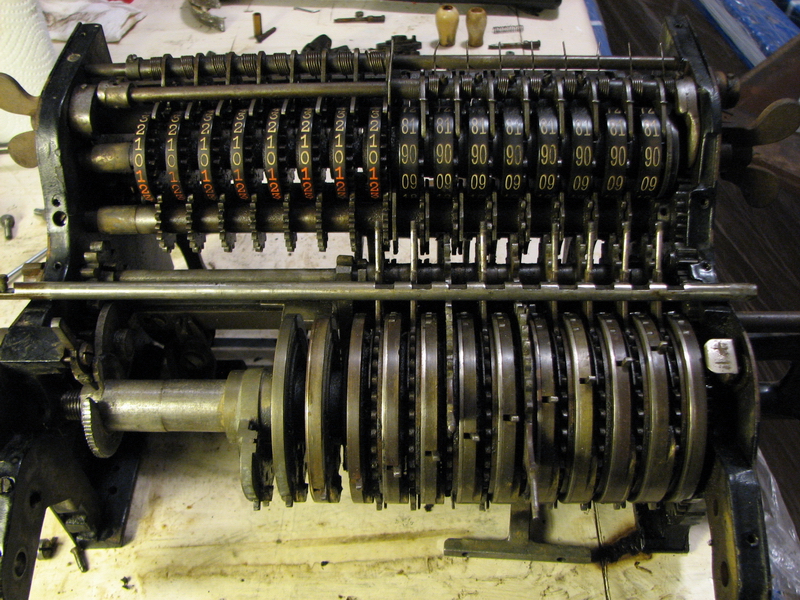
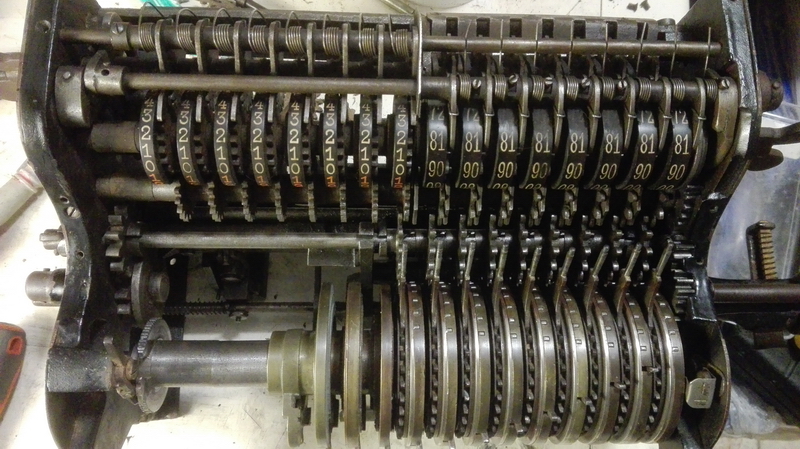
In the counter register, once the axle was pulled out, the alignment of everything will be screwed up anyway. As you can see in the next picture, what happens is that the sprung levers that provide detent positions for the gears fall off the gears, and then block the axle sliding back into place. In addition, the gears will have lost engagement with the numeral wheels, which are then free to rotate as they please - and of course it pleases them a lot... The main thing for getting this right again is that the slots provided for the clearing teeth in all the gears and intermediate rings need to line up, preferably at the top where you can see them. However, this is not the position in which the clearing ends - in fact, it is 180° degrees away from it. So in order for everything to end up working as it should, the numeral wheels should be aligned in the red 9 position, or, when sitting at the back of the machine where you cannot see that properly, the red 6 should be at the top. (Guess how many tries it took to figure that out ... in this calculator business, you can't be in much of a hurry!). Now you can reassemble without further worries ... it is easiest to keep things in place to undo all the springs from the levers and leave them loose - the effect will be that the lock levers lock the numeral wheels, and leave the gears you're trying to get into their proper place untouched.

Now we are finally in a position to try out the machine - and this of course is where disaster struck. When running the pinwheel cylinder through all of its setting positions, it is surprisingly resistant for having just being cleaned, but that might be due to any of the unlubricated gears that connect to it. However ... in pinwheel number three, it now turns out that one of the pins was reassembled backwards. Two pins fell out when trying to get the lockpin in place, and I put them back without double checking the orientation ... and since you have a 50% chance of putting one pin back in the wrong orientation, it follows that there would only be a 25% chance that everything would have gone right ... no luck this time, and now the pin is too short to operate the machine poroperly, so the next step will be to undo all of today's work and get the pinwheel cylinder back out. It never goes exactly as planned ... so, wash, rinse, repeat all of the above! Did I mention you can't be in much of a hurry?
In the end, it all worked out fine though, and the pinwheel cylinder is smooth in operation.
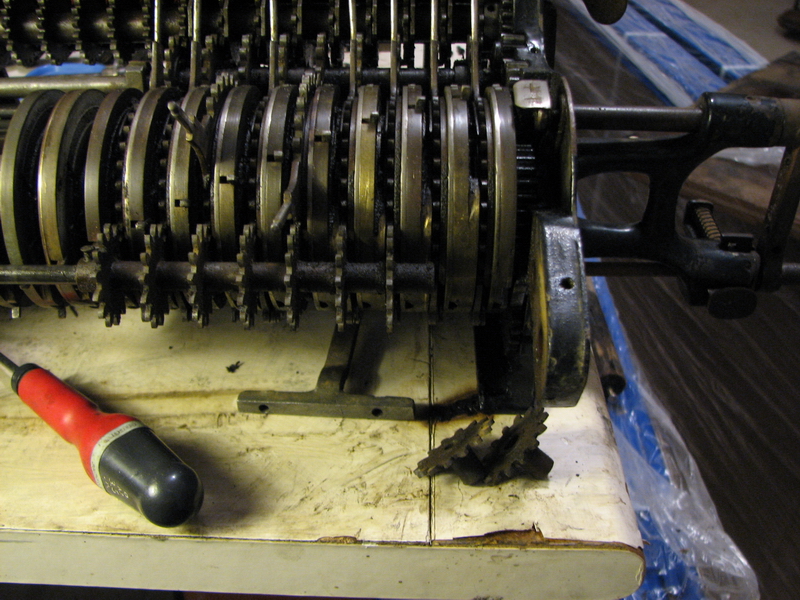
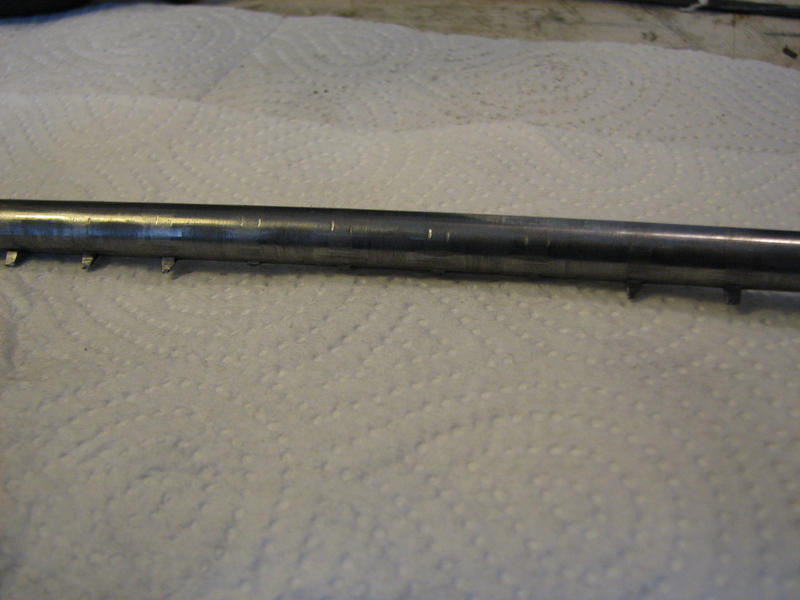
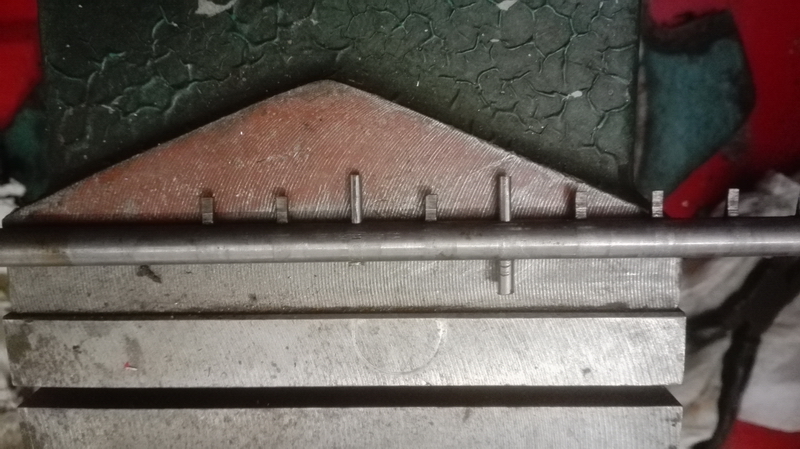
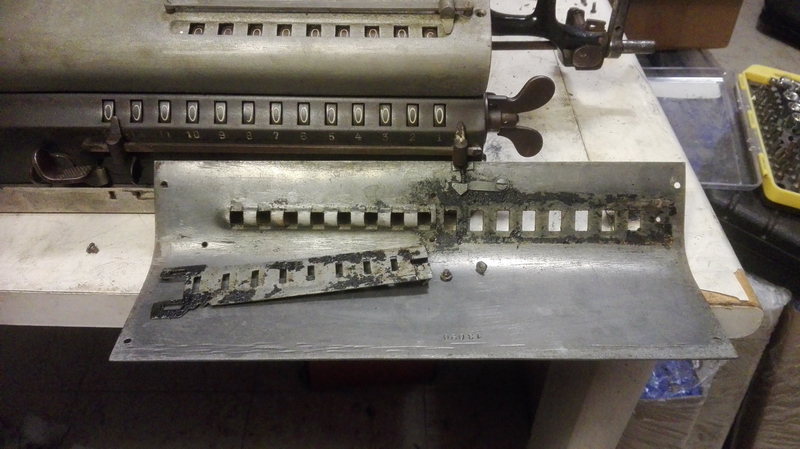
So, immediately onwards to the next challenge - remember the carriage clearing, where a self-imagined Hulk had torn off most of the clearing teeth ? That would obviously not do. The location of the missing teeth is marked on the side of the axle with a file, so we know where to file to later. If one tooth is missing, this can relatively easily be solved by measuring with calipers from the side of the next tooth, but if a whole lot are missing, you better prepare to know exactly where they were before they broke off ... or you will be in for an endless cycle of trial assembly and disassembly, and then you'll end up filing one of the new teeth too far and will have to start over.
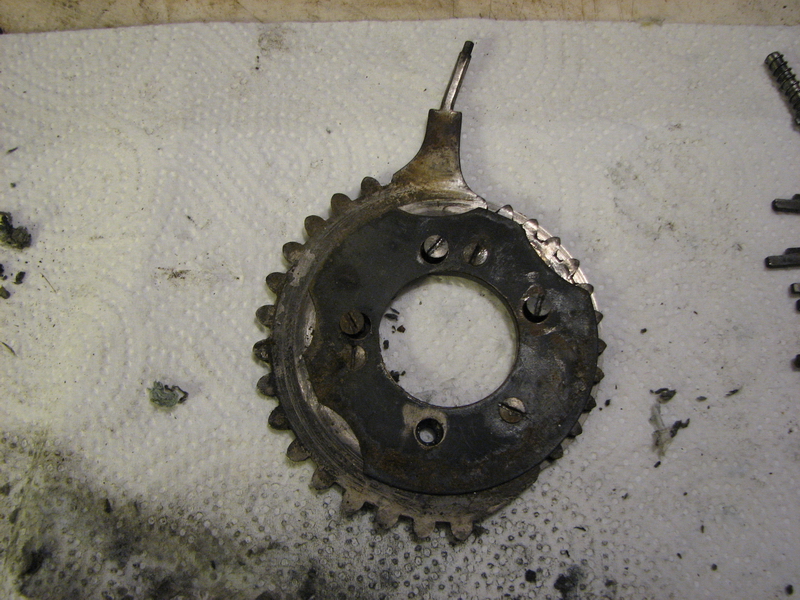
The next step is to grind away the remains of the teeth.

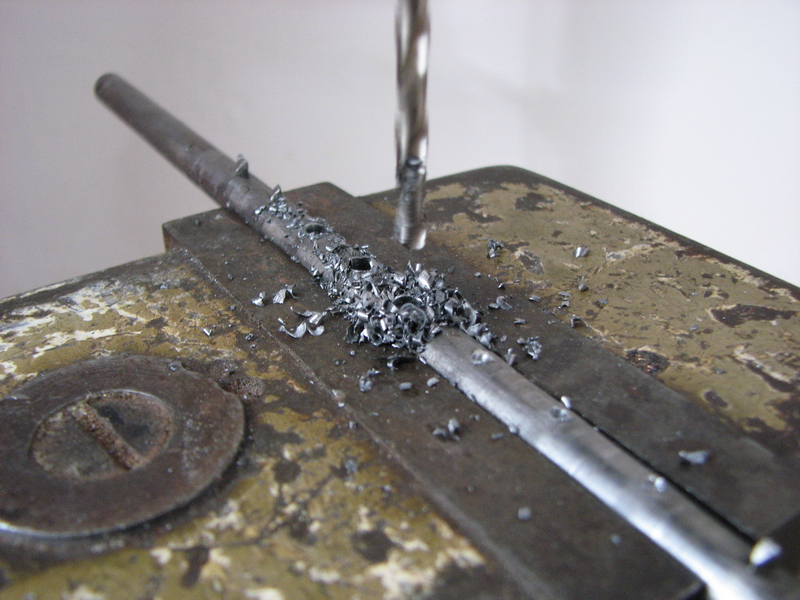
Center drill - my pillar drill is not very rigid, unfortunately, which poses problems trying to drill a cylindrical axle ...
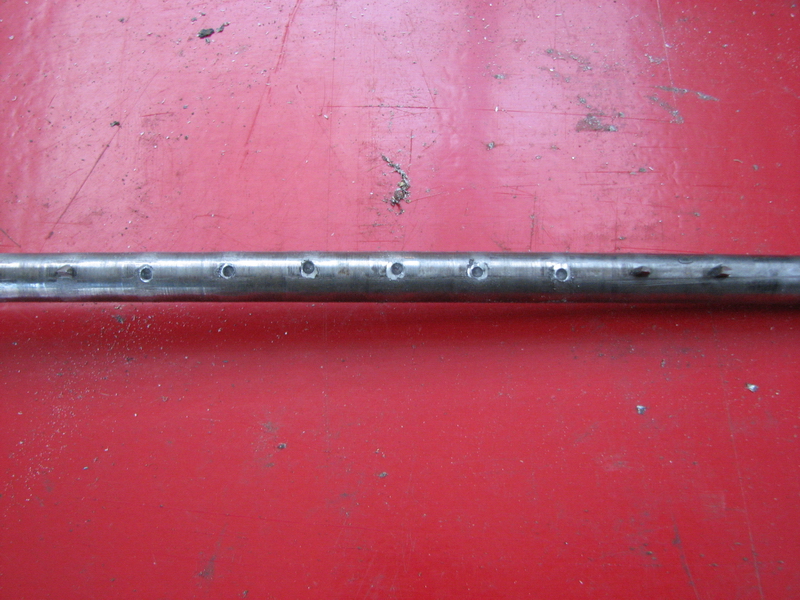
Then drill out the pins.
...leading to these six ugly looking holes!
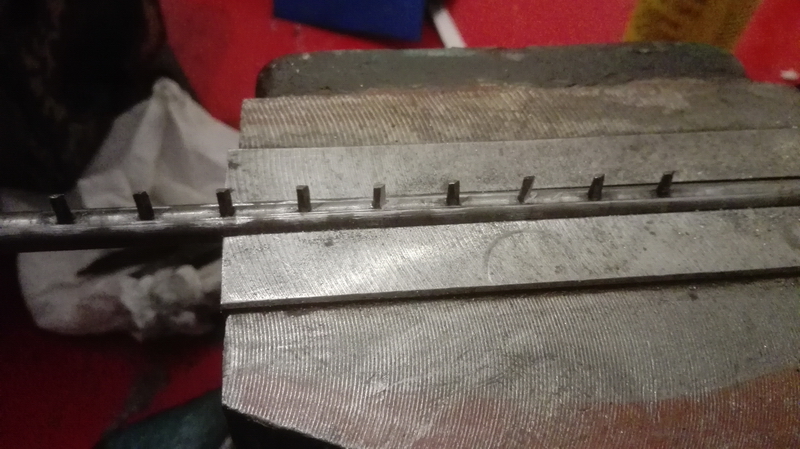
Pins turned on the lathe for a light interference fit, and then fitted with loctite, and filed to closely resemble the original shape of the teeth.
Then reassemble, fingers crossed, and ...
...this time it went right the first time! Phew!
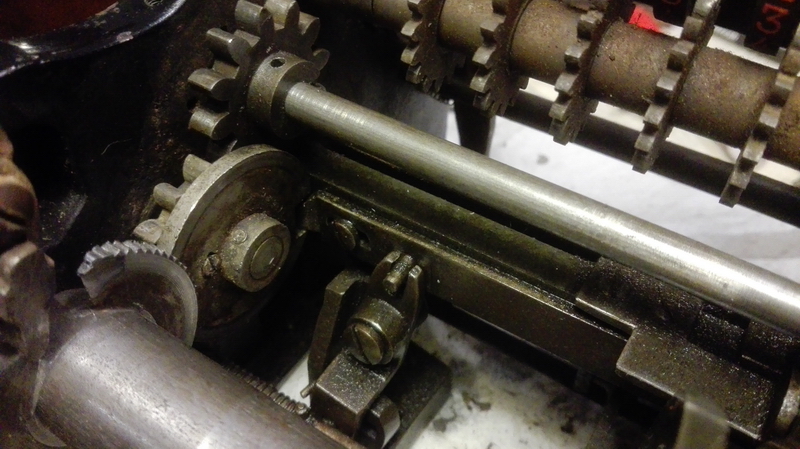
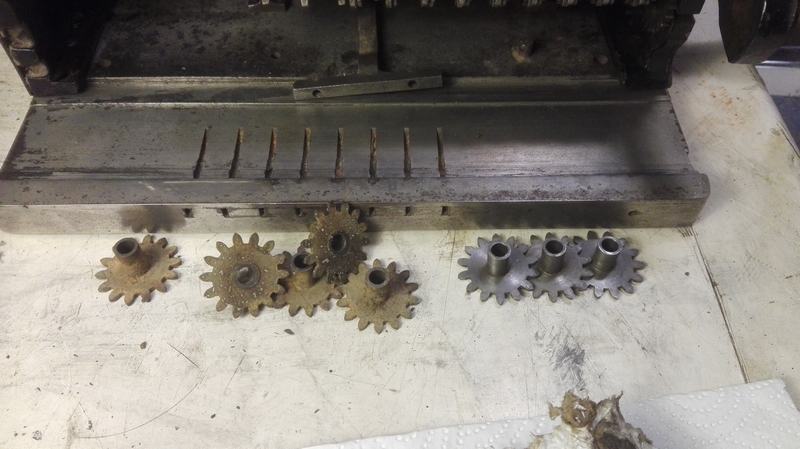
Onwards to the final technical challenge - the repair of the input clearing, where also two clearing teeth were missing. Very nice, the Hulk has shown some restraint here! This consists of an axle with gears at the back of the pinwheel cylinder, and similar to a carriage clearing comb, there are pins set into the axle that engage with pins sticking out of the gears sitting on the axle, when it is pulled to the left by the snap lock on the outside left of the machine. Everything on the axle (gears and spacers) is slotted, in order to be able to slide it out. So this is exactly what I did, putting another axle through from the other side, in order to keep everything in place. Once must always check, double check and triple check where things could be going awry, and so at some point something butted up against something else, I pushed a little harder, and somehow created a gap between the ends of the two axles, causing a spacer ring to fall out.

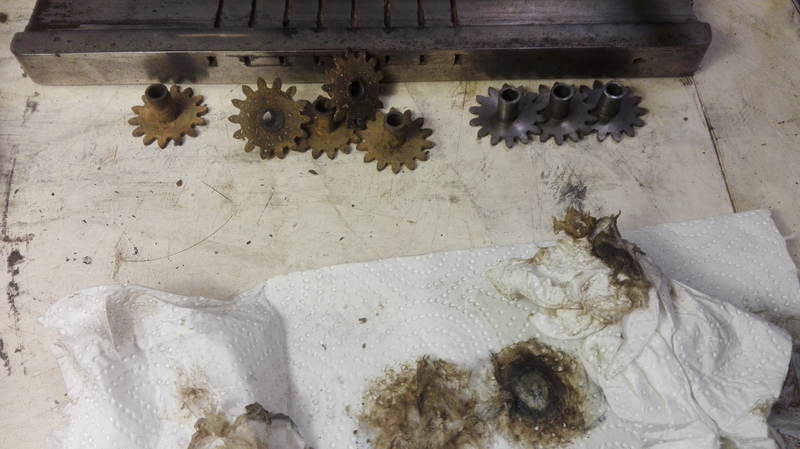
This gave me an excellent excuse to take everything out and clean it thoroughly, because I couldn't for the life of me get the spacer back in. The reason for this turned out to be that the clearing gears have, again very similarly to the technology in the carriage, a spring-loaded pointy detent lever coming in from the bottom to keep them in a particular orientation with respect to the pinwheel cylinder, and provide a positive feeling of "detent" when moving them. As soon as you shift the gears as much as one mm sideways, these levers will jump up next to the gear (or even all the way around the back where they can no longer be seen) and prevent the gear from shifting back into the direction it came from. Anyway, I managed to tap out the two broken pins in the axle (using a brilliant thin little punch inherited from my great-grandfather - new ones are usually rubbish), and fashioned new ones.
Then the axle had to go back in, using more witchcraft and magic to prevent the detent levers from jumping up next to the growing series of gears that was going back inside. Eventually, I got that done, and then started thinking about getting the clearing to operate - this is not possible until you put the machine completely back together, because it needs the snap lock on the axle and the lever, or it cannot be turned. For some reason I made a thinking error, and decided that apparently, during the time the pinwheel cylinder was out, the two gears meshing from the clearing lever to the clearing axle had gotten misaligned.
For fixing this (well, "fixing" this ...) the frames need to be separated again, and in a premeditated but fatal move, I rotated the gears relative to each other by about 90°, thinking that that would be about right. I then started to put everything back together, so that the clearing could be tried, and it immediately became obvious that it wouldn't work, because the gears were now 90° off (and the hole to pin the clearing gear to the axle as well, obviously). After some expletives that do not bear repeating here, I subsequently got confused about which side of the hole in the axle would be the narrow one. Luckily I figured that out correctly, took the frames apart again, and rotated the clearing gear back to where it had been in the first place - except that, when everything was reassembled, and the clearing could be tried, it turned out that it was off by one single tooth - and one tooth or 90° doesn't make a difference in the amount of work needed to get it correct - separate the frames, and think not once, not twice but three times in which direction you're going to shift it by a tooth ... Bear in mind that every time I write "separate the frames" it involves all the necessary charades with the left counting register as well, which will come out of its support on the righthand side, and when unlucky will lose a spacer that has to be put in, then all the detent levers put back in place on the gears in order to get it to work ... it was quite a job. But currently, the input clearing works!
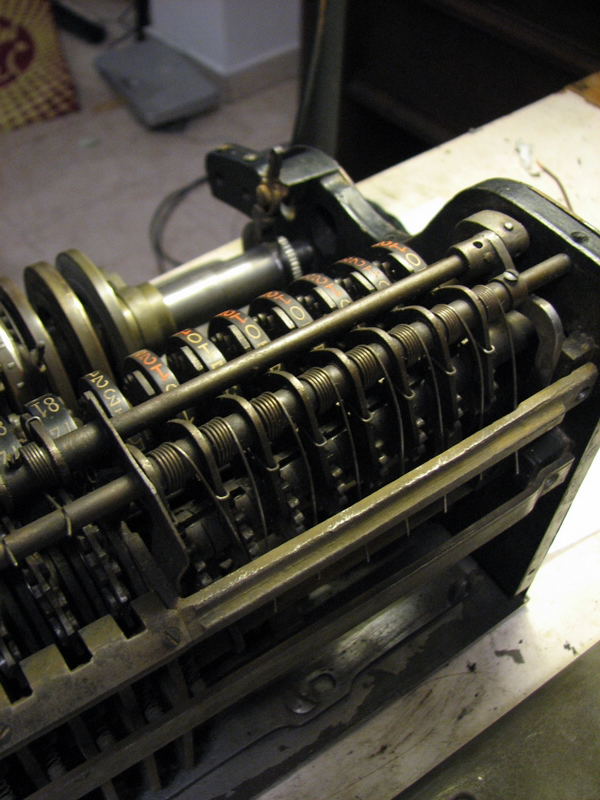
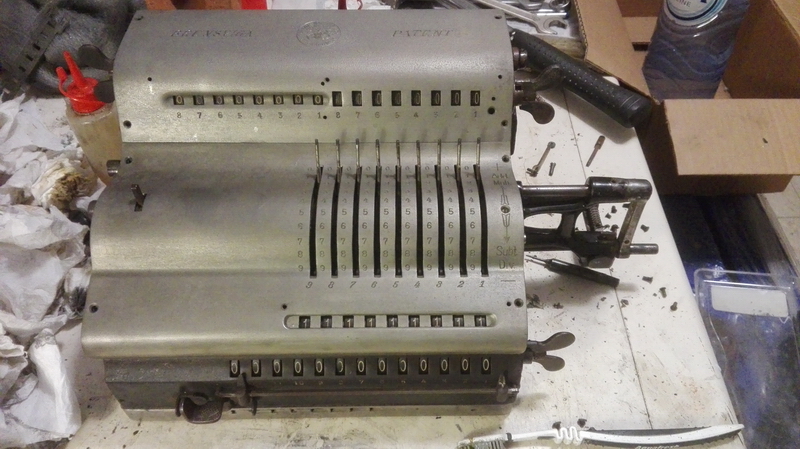
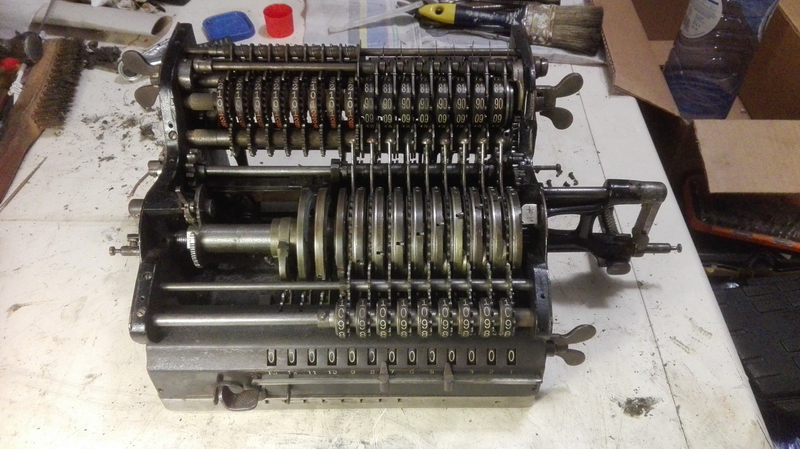
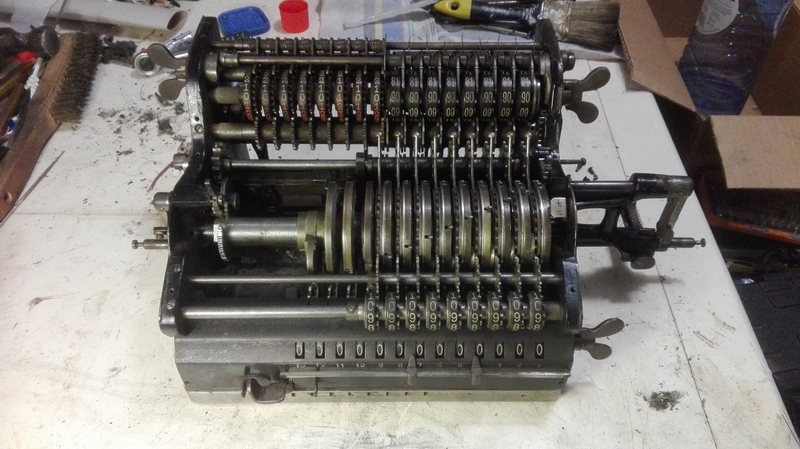
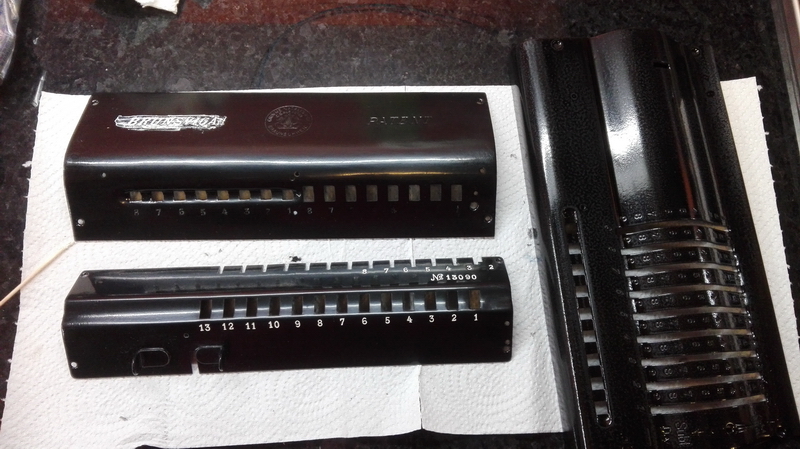
That left the front indicator register to be cleaned and put back together.
That is quite a thankful job, because it is easy, and the steel and black resin cleans up really well. Visually, the machine now looks much the same as it did when it arrived, but all the technical difficulties had been remedied, and everything works as it should. Now the outside and the brightwork had to be cleaned thoroughly.
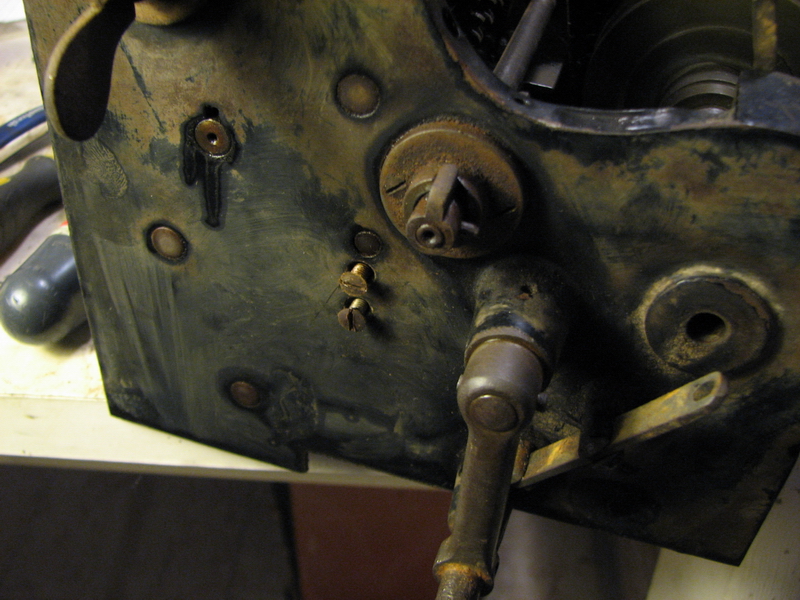
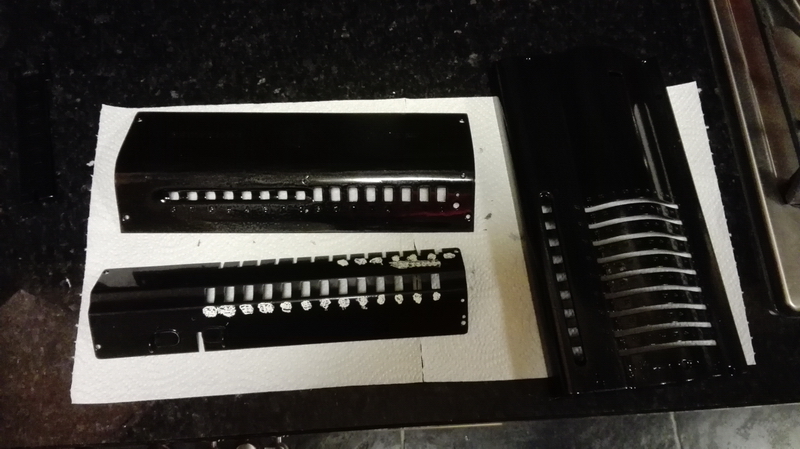
I had agonized for a long time about the rather special finish that the top plates of the machine displayed - initially I had thought that it was aluminium, but this turned out not to be true - a magnet clearly indicated that they were steel. But there was not a trace of rust on them, just a lot of pitting. From the comma sliders and rails, all the nickel coating had been stripped, and they had the same dull light grey aspect as the rest of the top plates. This suggested that something was done to the top plates, and indeed, when taking off the blind of the right counter register, there were traces of cracked and bubbling black paint.
Someone had probably put the two top covers in a (very effective) acid bath to remove rust and paint, and then left them like that. It did mean that I should have no qualms repainting these two pieces, as well as the carriage cover, in order to not disturb the visual aspect of the front of the machine. The major problem was the pitting though, which I would have to fill without affecting the (very thinly engraved) GN&C° logo in the middle of the top plate. For now, they brushed up rather nice.
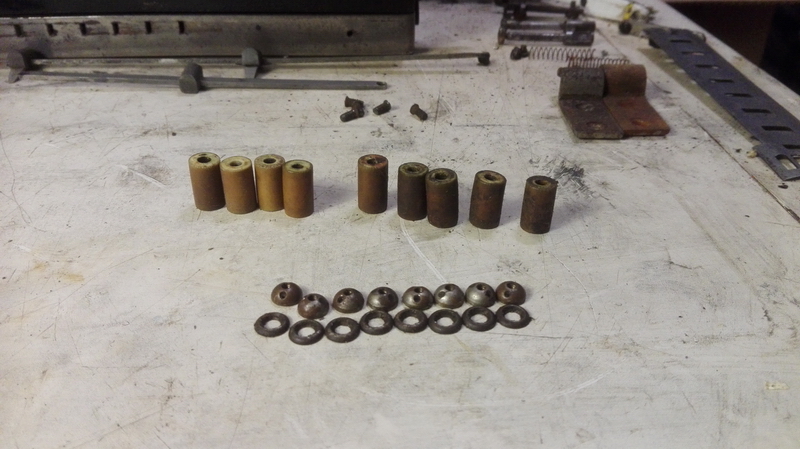
Also the bottom rings, caps and ivory or bone handles (which incidentally are quite a bit shorter than in the later J-type machines) were cleaned up at this point, as well as the ivory crank handles, which were cleaned and glued back together.
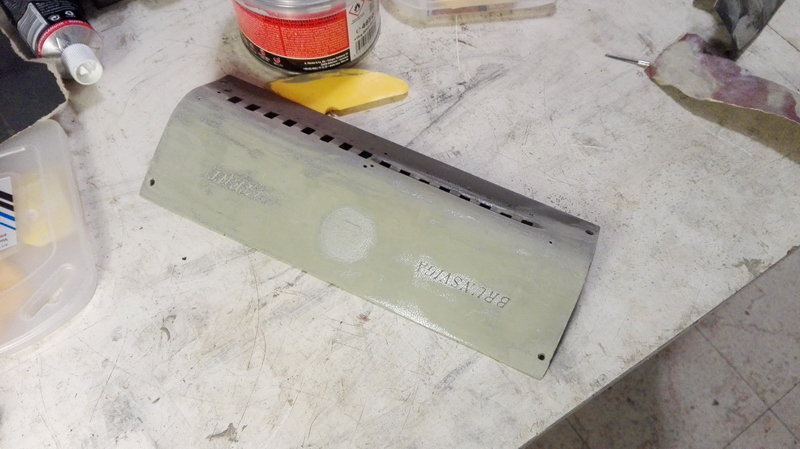
Usually car body filler is quite tough, but I found a tube of solvent-based "finish filler" from the MOTIP brand which is perfect for this application. I smeared it all over the top cover, working around the BRUNSVIGA PATENT text and logo, and sanded it down. By feel, there are no longer any pits, but the proof of the pudding is of course giving it all one colour and then seeing. I added a layer of cream-coloured primer and wet-sanded it down with 600 grit sandpaper. It worked a charm. Note the piece of paper covering the GN&C° logo, to prevent it from filling in with paint.
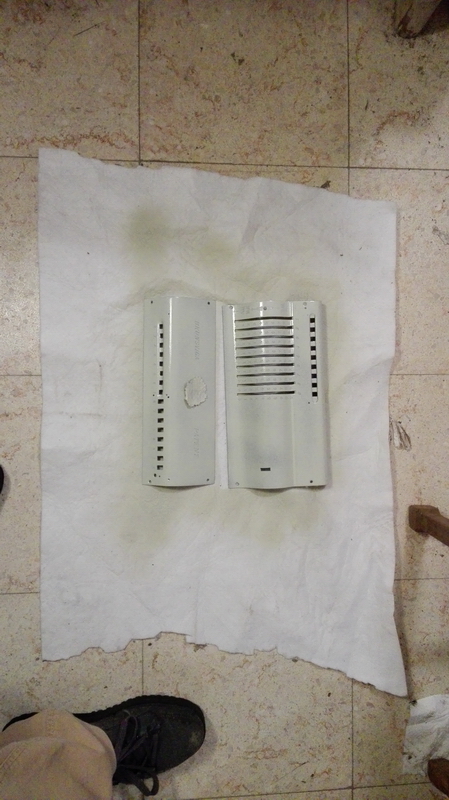
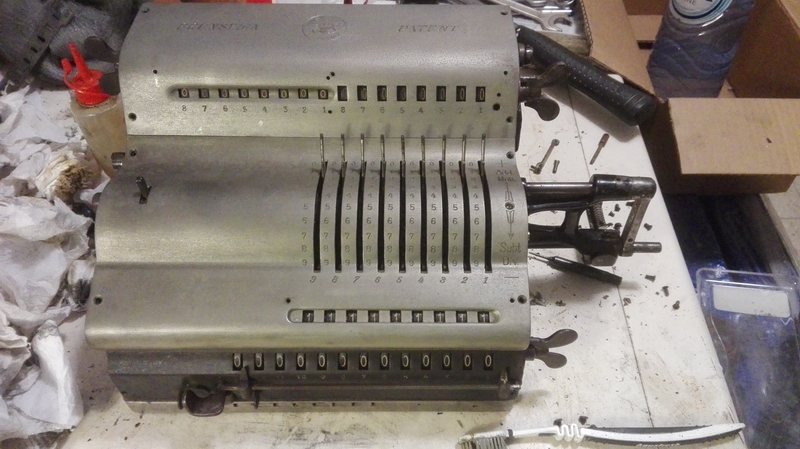
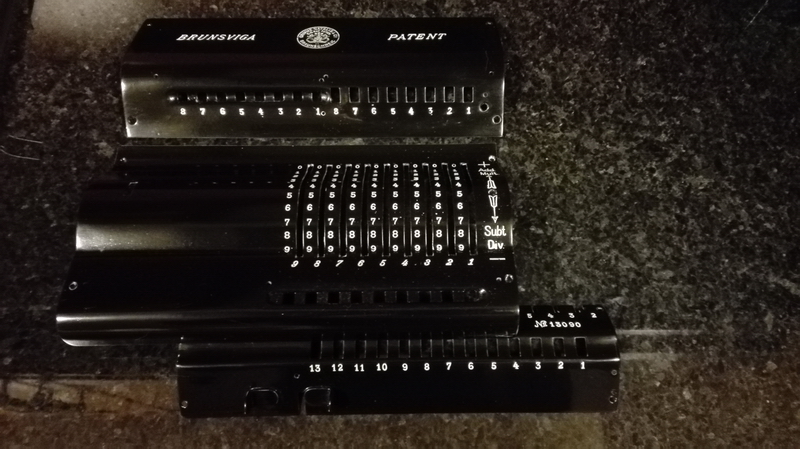
That led to this posed shot of a Brunsviga H in a colour scheme in which you will probably never see one again!
After wet-sanding and several coats of black paint, which was in turn smoothed out with 3000 grit sandpaper and polished with metal polish, I filled in the numbers, letters and logos with my trusty old cream-coloured latex paint tester I've been using for ten years,
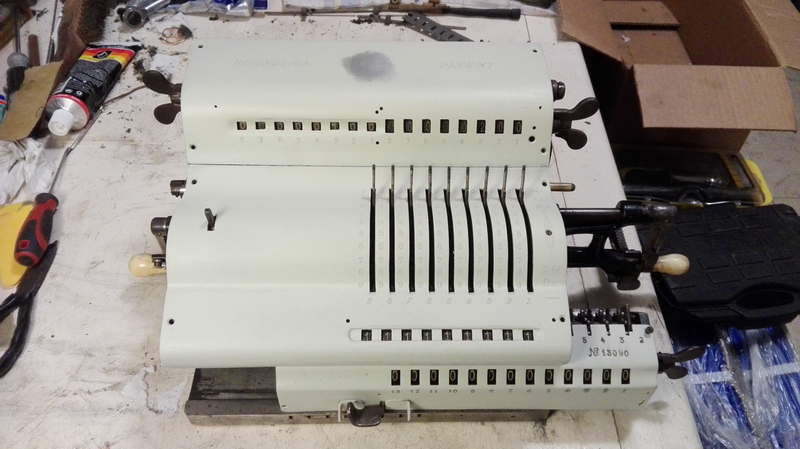
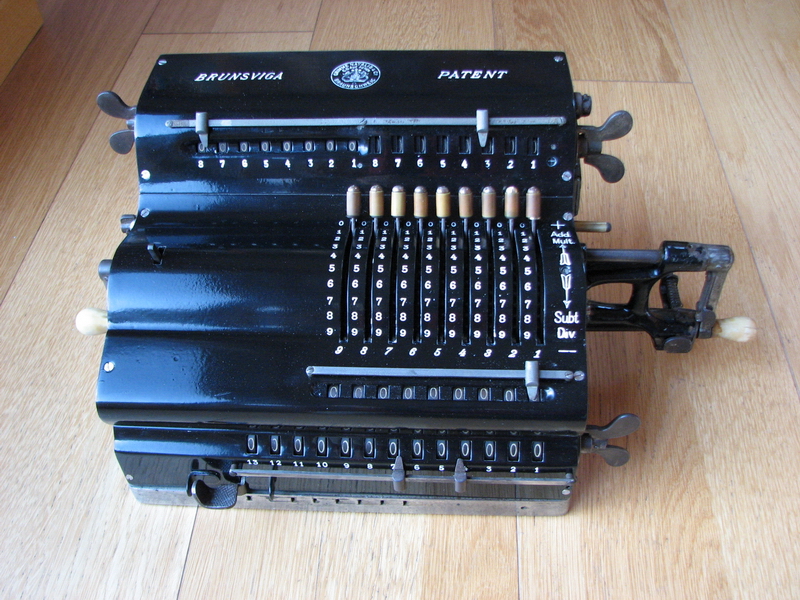
So here are the final set of pictures of a fully functional and more or less clean Brunsviga H. It has been by far the most complex restoration I've undertaken so far, because literally *everything* needed machining work to set right - a little more intensive than "take apart, clean, reassemble, done". But I'm very happy with the result! And remember, this is what we've started with!
I'd venture to say that this looks a lot better!


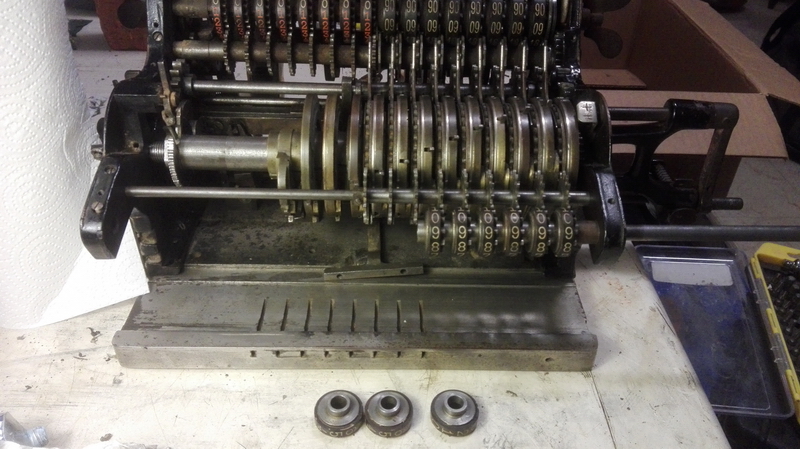
So let's recap what's so special about the H-type machine - it has two counter registers, a left one, which is classical and has no tens' carry, and a right one, which is in the happy possession of tens' carry, making shortened multiplication possible.
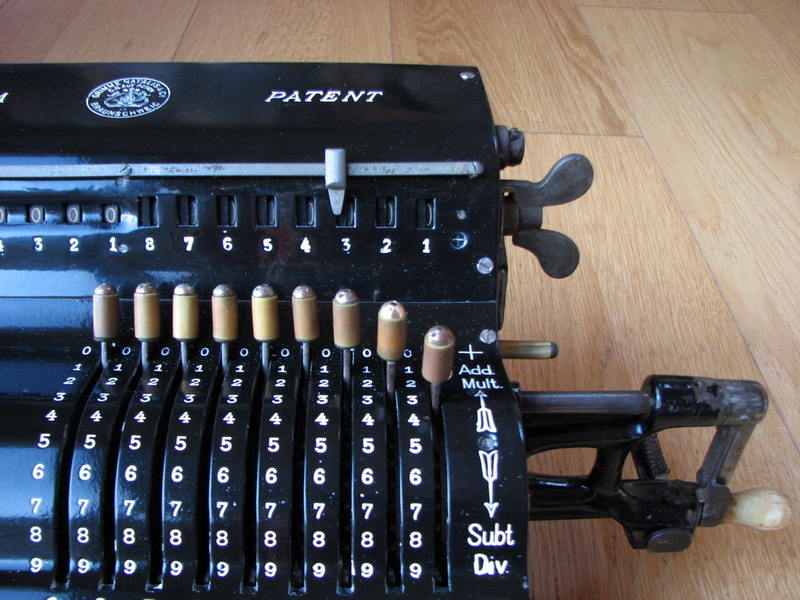
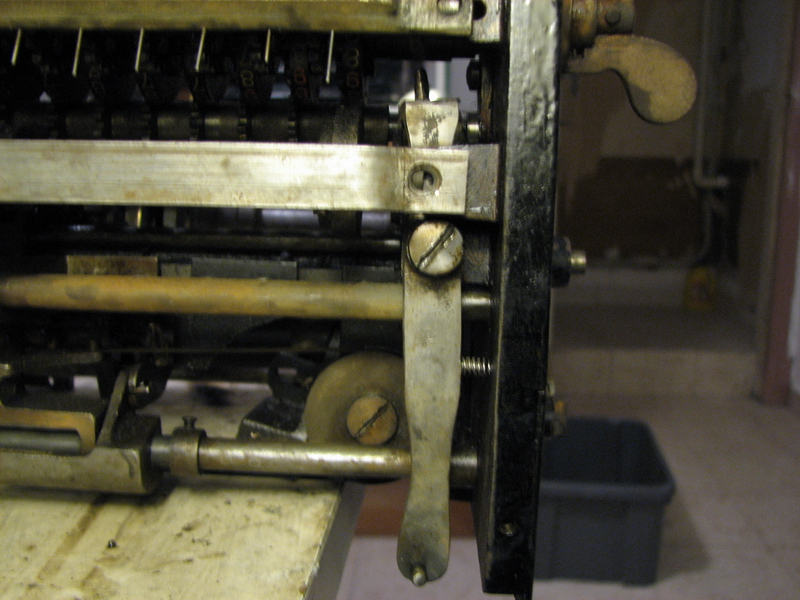
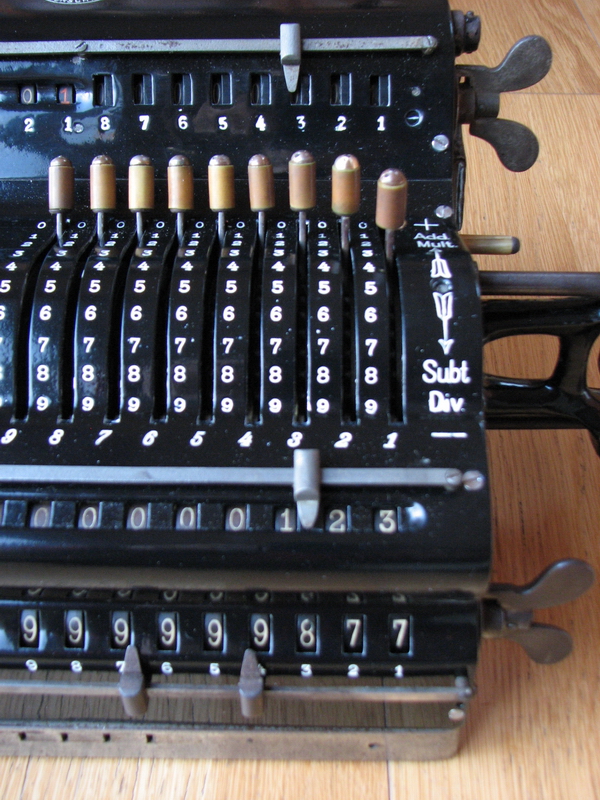
In addition, it operates true to sign - if the lever at the righthand side of the body of the machine is pulled it locks into place, the blind will shift to reveal all 9's, and the next turn of the crank has to be negative.
When this is done, the counter is increased by one for the turn, and by another one, by the action of the lever being released. The counter now shows 000000001, as it should for one negative turn. (the other register shows 1 in red)

This picture shows off the serial number of the machine - 13090, which dates it back to mid 1908, about half a year earlier than the model G I also have.
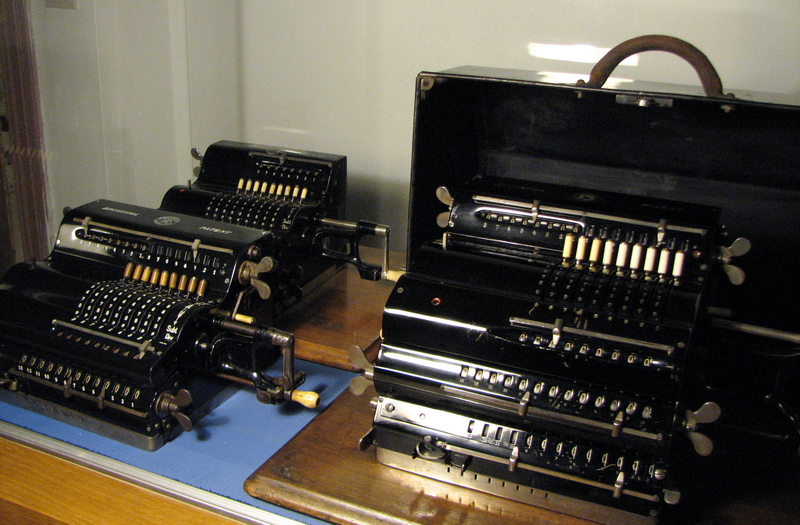
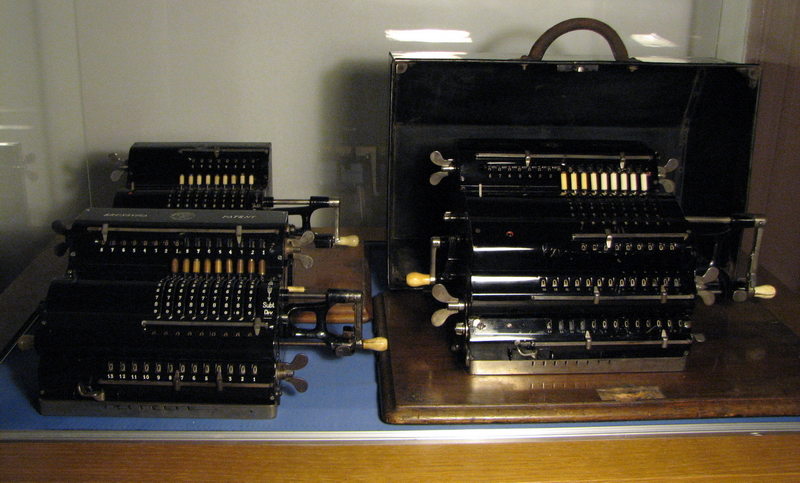
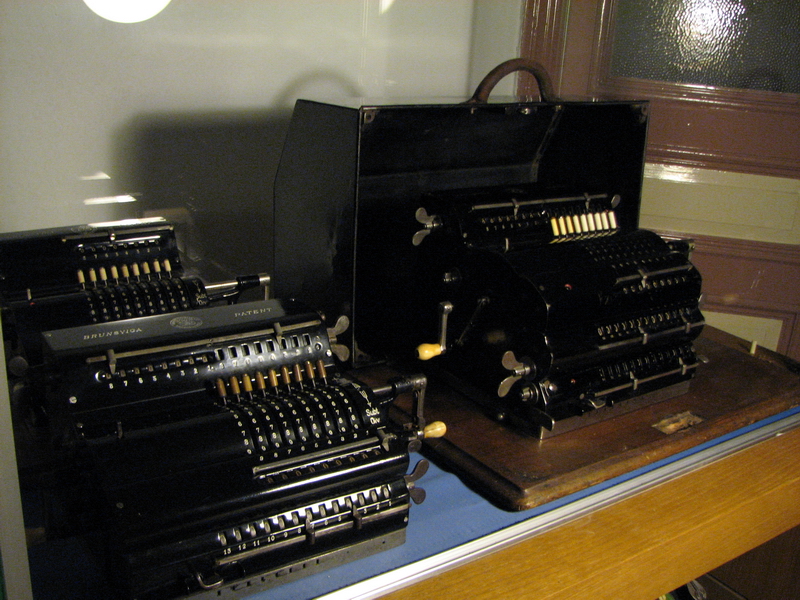
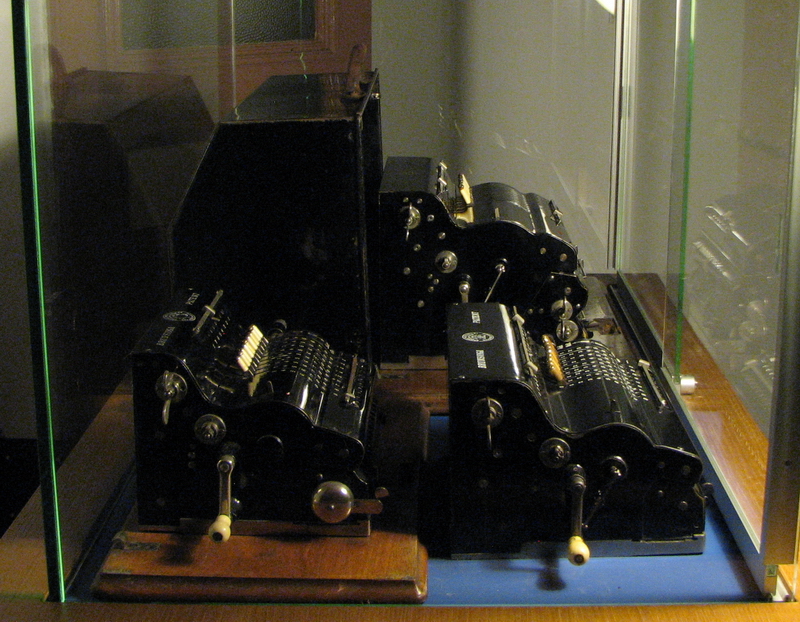
To conclude, a family portrait in the display cabinet the machines reside in - On the back at the left, a Brunsviga PJ or K with an alternative fixed setting lever system, useful for size comparison as it is equally large as a normal Brunsviga J - 16kg for this machine. Front left, the Brunsviga H, which has a pinwheel cylinder the size of the Brunsviga J, but is as wide as the Brunsviga G - 19kg, and finally on the right, the Brunsviga G, which is truly enormous - the width of the H, but also a much larger pinwheel cylinder and thus both higher and deeper. It weighs 35 kg.