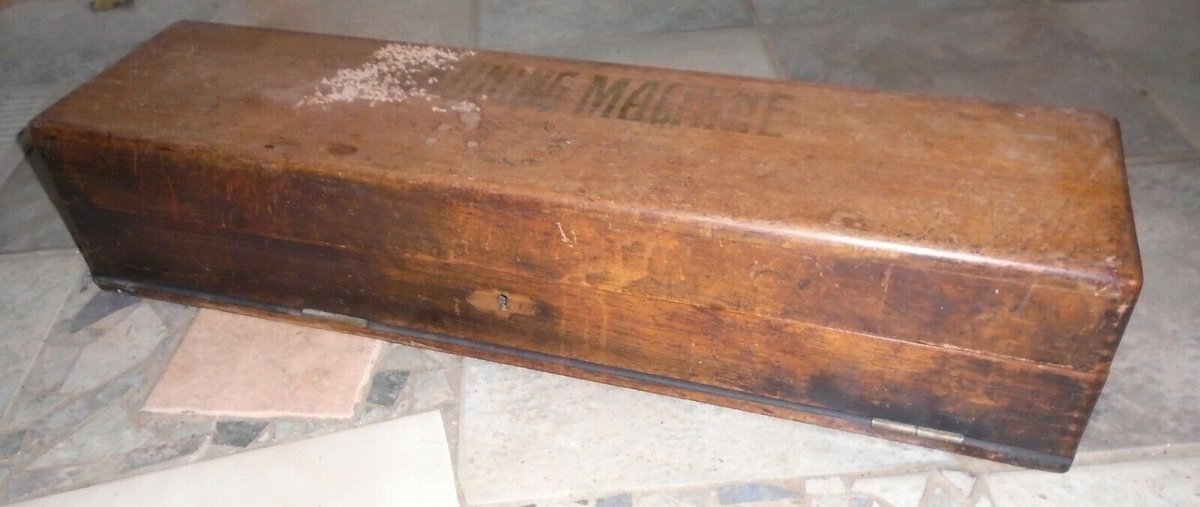
TIM "reckoning machine" by Oscar Müller in wood box
This machine came off ebay, sold by a man who had acquired it out of an estate of two scientists, who collected all manner of weird and wonderful things - so besides musical instruments, there was this "Time Is Money" Reckoning Machine by Ludwig Spitz, imported into the US by Oscar Müller, who also added some nice gold lettering to the lid of the wooden box.
After I bought the machine, it was sent to Belgium by the seller in a bespoke box - one of the best packed machines I have ever received. Unfortunately, then USPS managed to lose the box. Its last scan was in Chicago, where it "left" - assumedly on a plane. I didn't make much of it for a while, as it would of course have to go thorugh customs here in Belgium, but when nothing had transpired after five weeks, I gave the postal people in Belgium a call. The assured me that it would definitely have been scanned if it were at customs, and that that would show up in the tracking information. So after five weeks, it did not even arrive in Belgium yet. I contacted the seller, who went to his local post office to inquire. Rather incredibly, this dislodged the box from where it was stuck, and it turned up in Warsaw - of all places. Anyway, it made its way into Belgium, into customs, and out of customs again, and showed up at my doorstep after a good 7 weeks. Phew. Now I could take a good look at it.
As can be read in the excellent article by Reese and Anthes in n° 100 of "Historische Bürowelt", these wood-cased, antique looking machines were built between 1907 and 1910, before innovation caused some changes to be made in the way they were built.
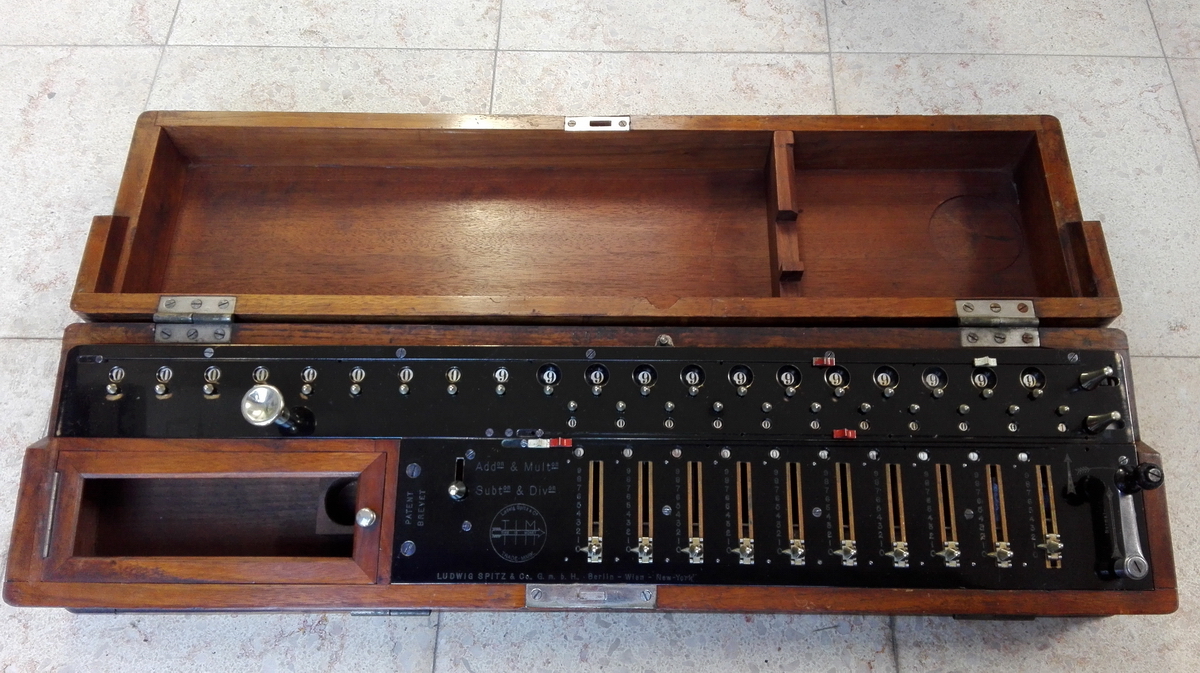
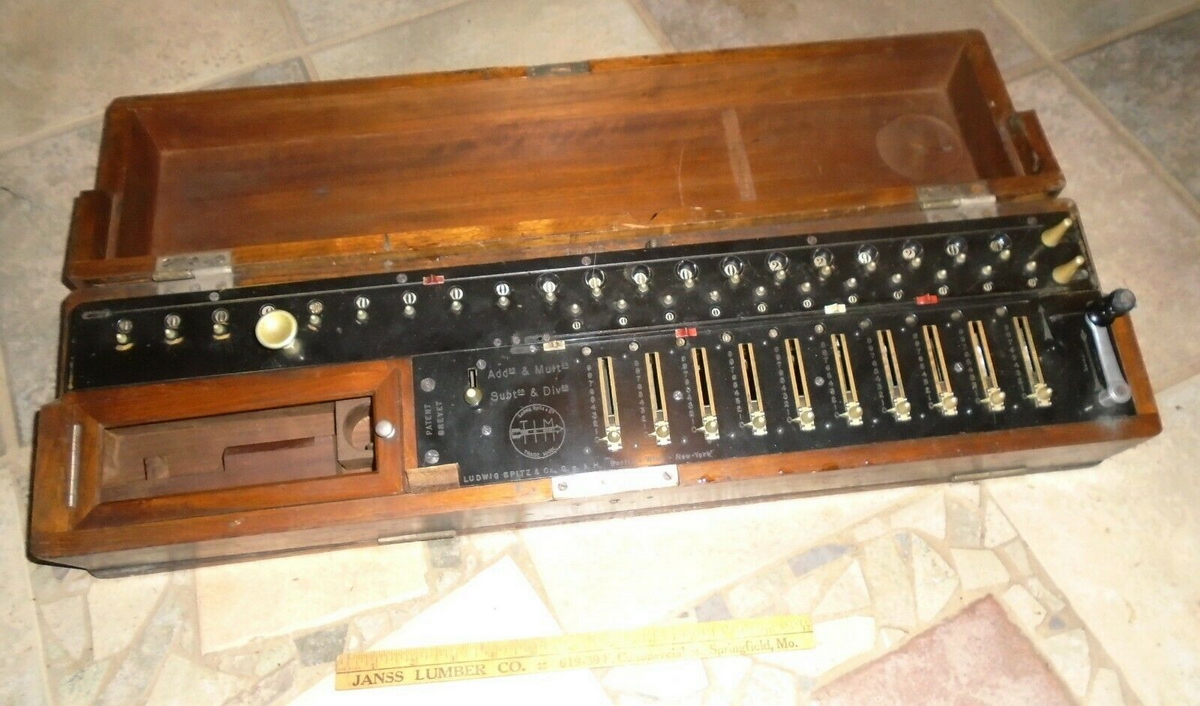
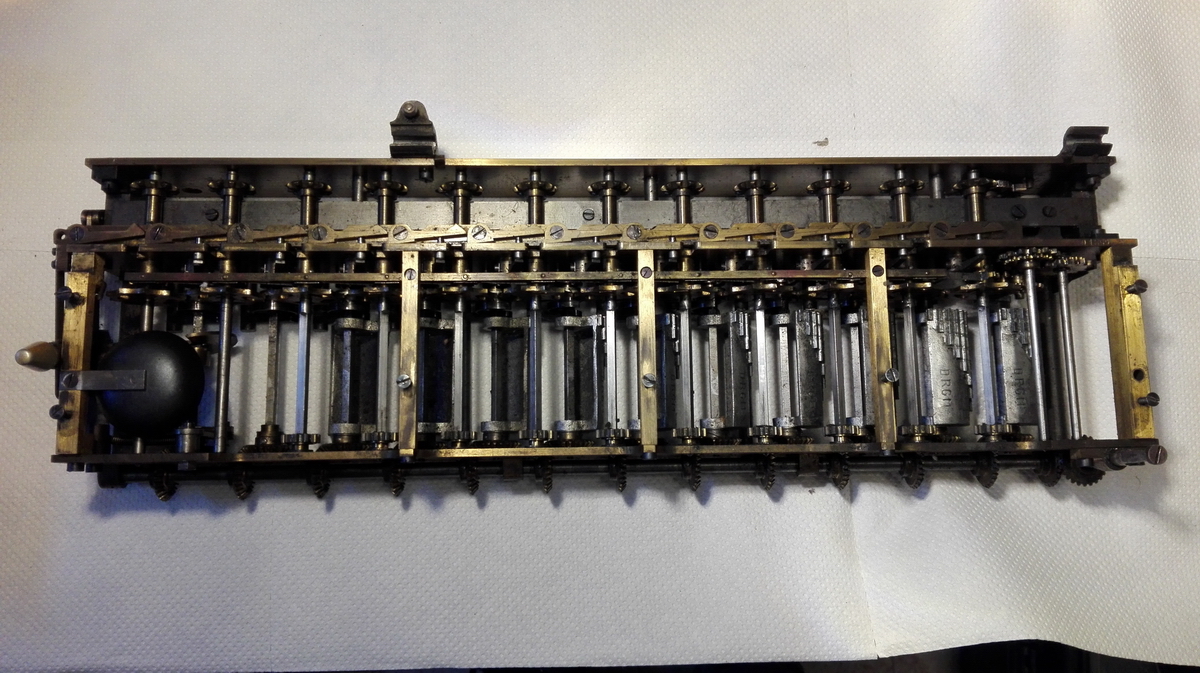
This, however, is still a "classic" arithmometer, already posessing some stylistic cues from the later machines, like the clearing levers and hand knob on the carriage, the font and size of the registers, and if fact the entire carriage is nearly identical to those on the later TIM and Unitas machines.
The wooden case is very solidly built, and a thing of quality - it has auxiliary metal frames and can be tilted towards the user, but some of the glued joints had become undone, so I had to reglue it.
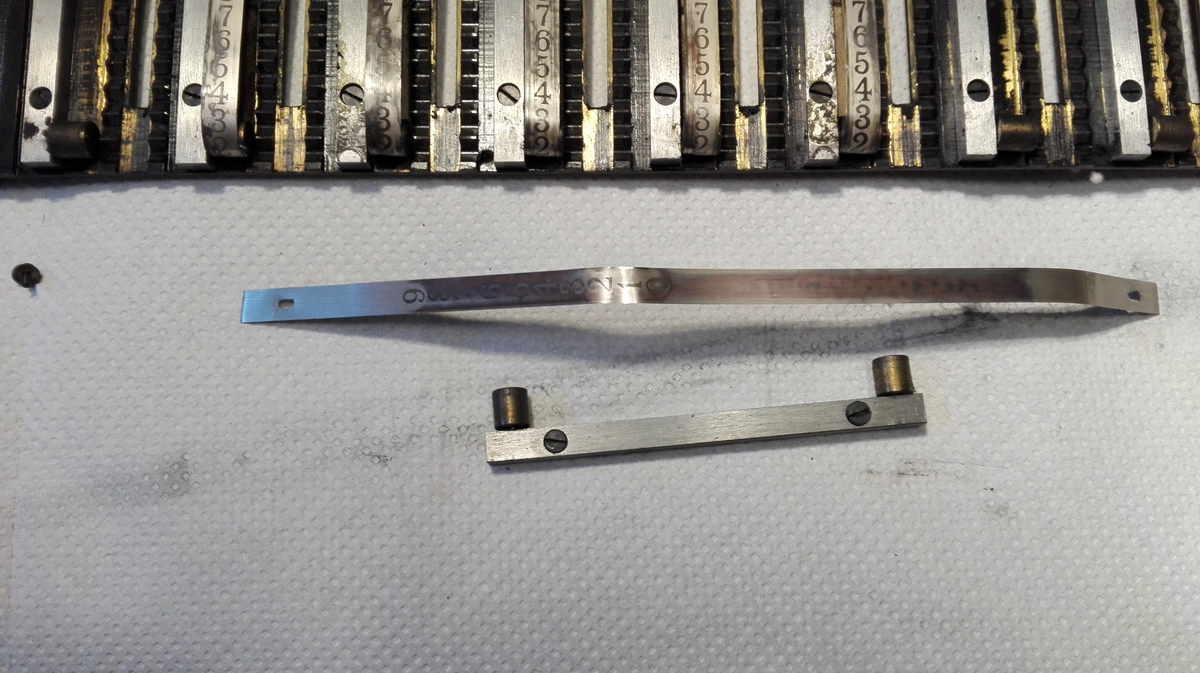
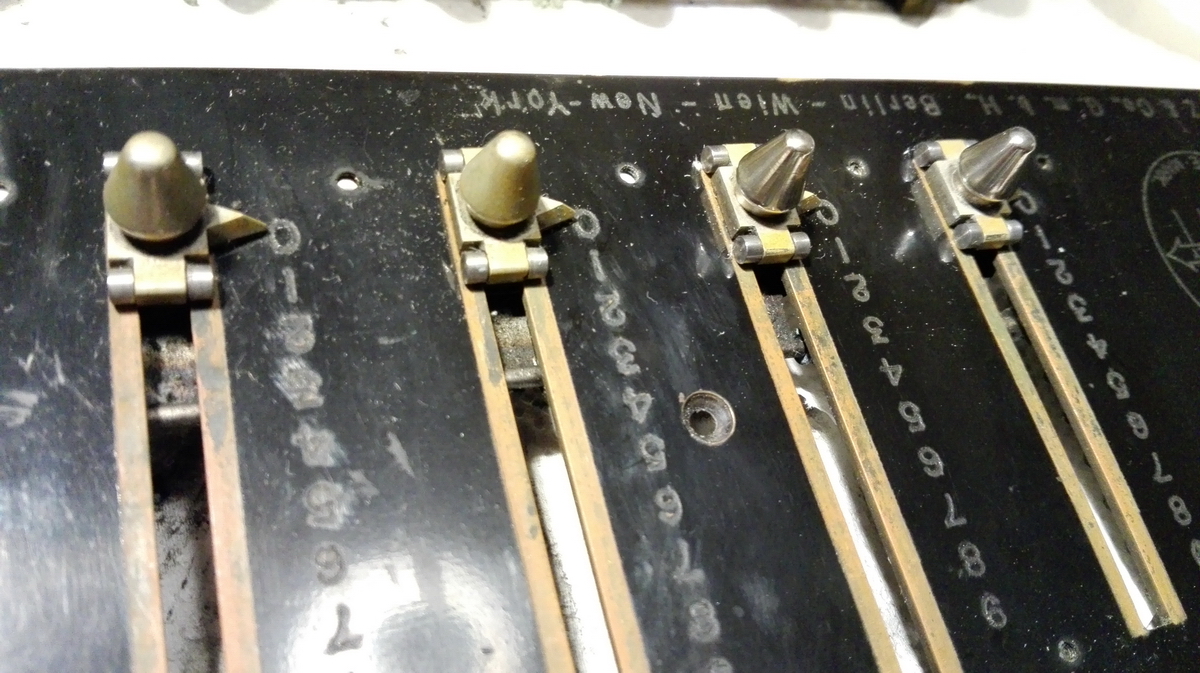
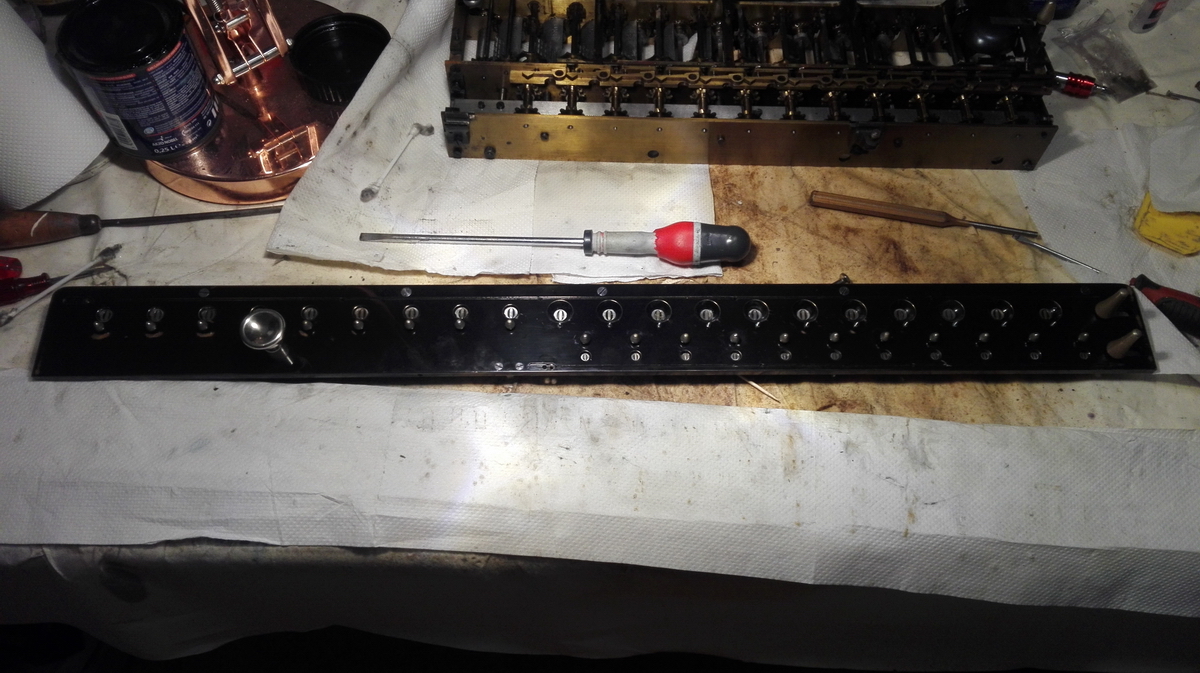
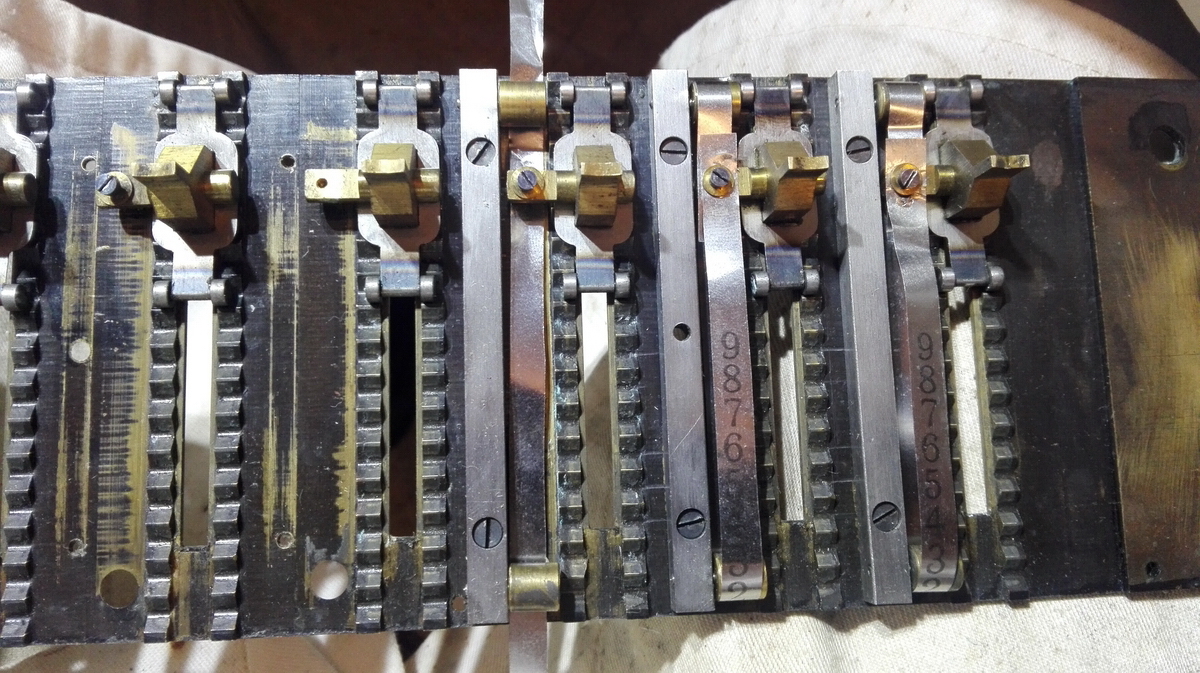
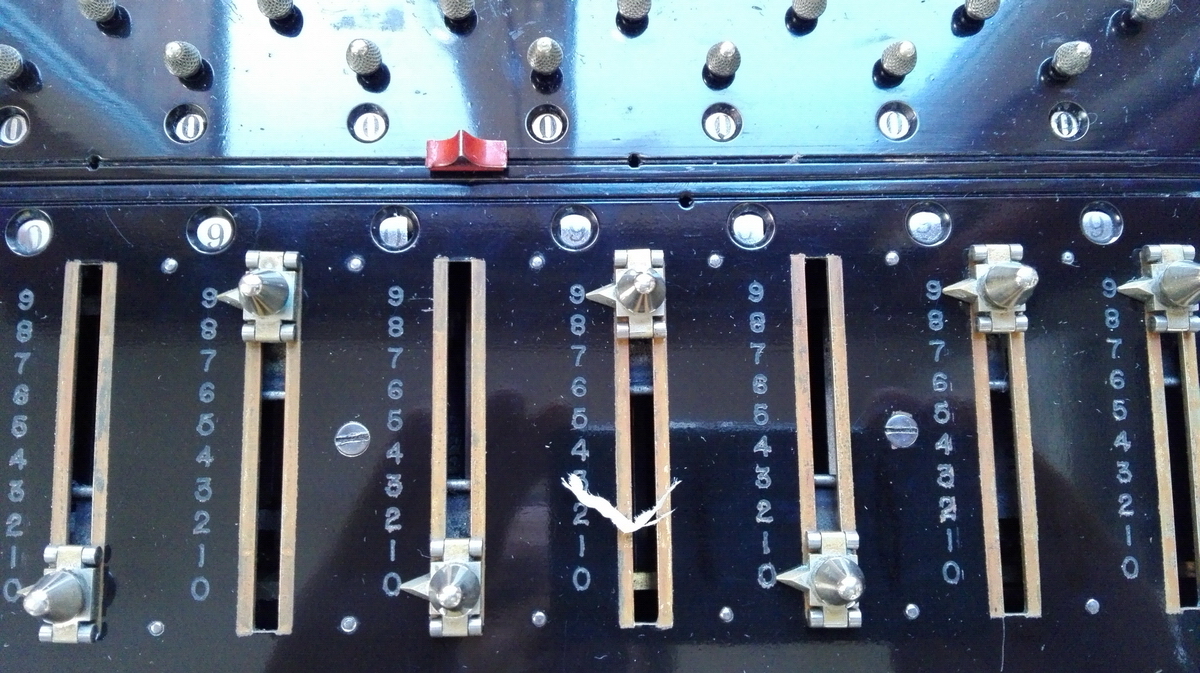
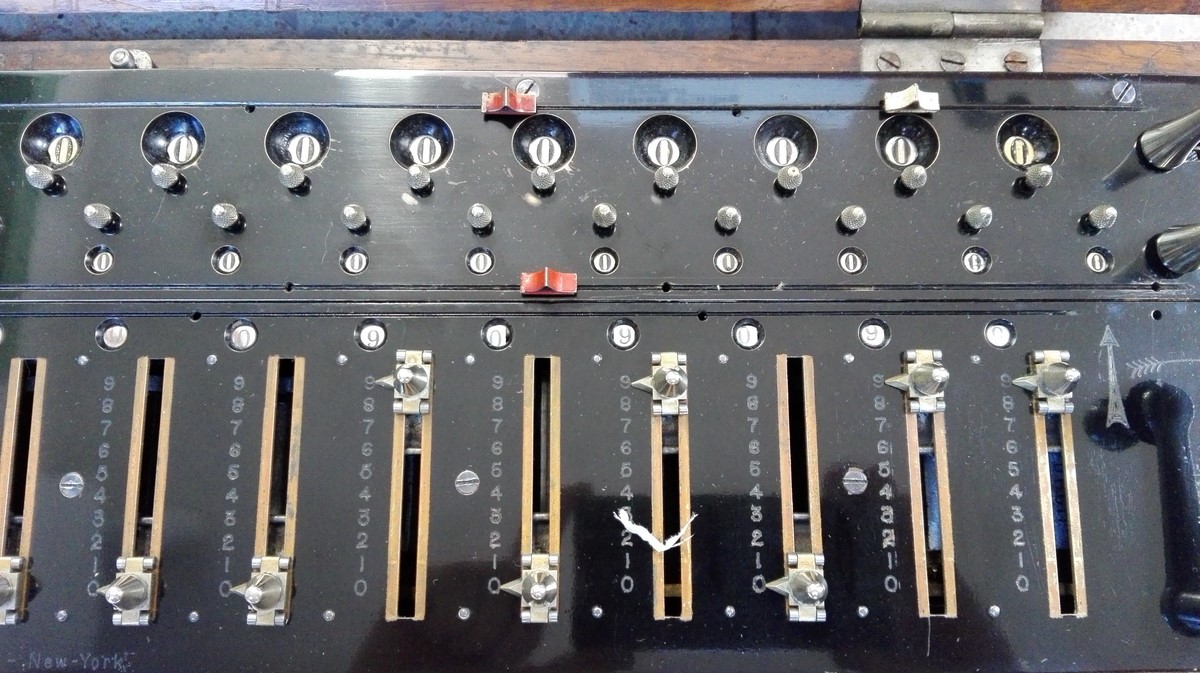
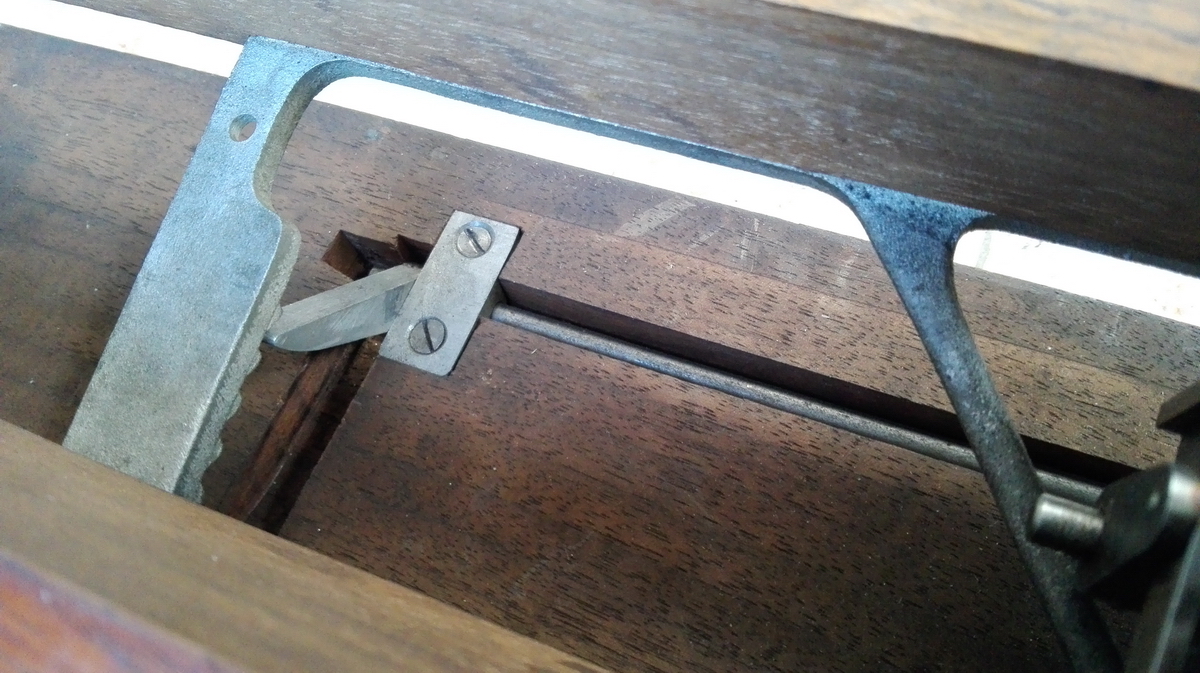
The machine itself has some interesting features. There is a setting control register, which shows in a row of tiny windows at the top of the input field, the number that has been set. This is somewhat similar to the later TIM machines, but the way in which this effect is obtained is completely different. In the later machines, there is a geared numeral roll that turns as the setting slider is moved. In this machine, however, the slider is connected to a loop made of thin nickeled steel, that has the numbers 0-9 engraved, which then slide past the window as the slider is moved.
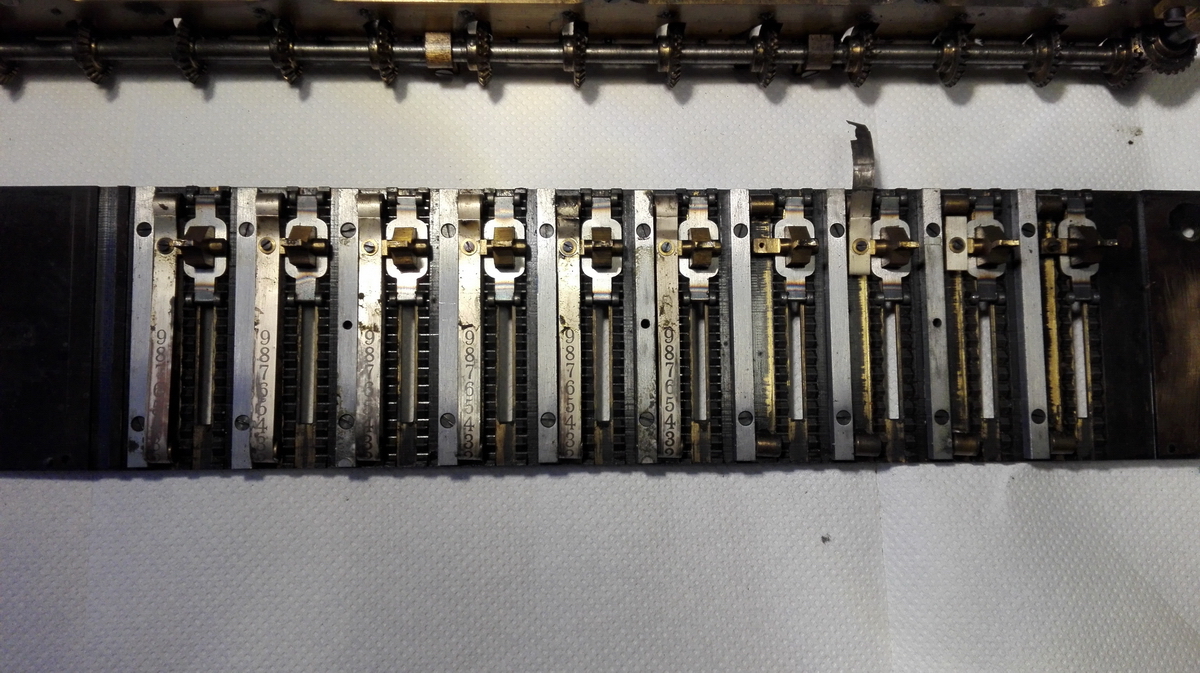
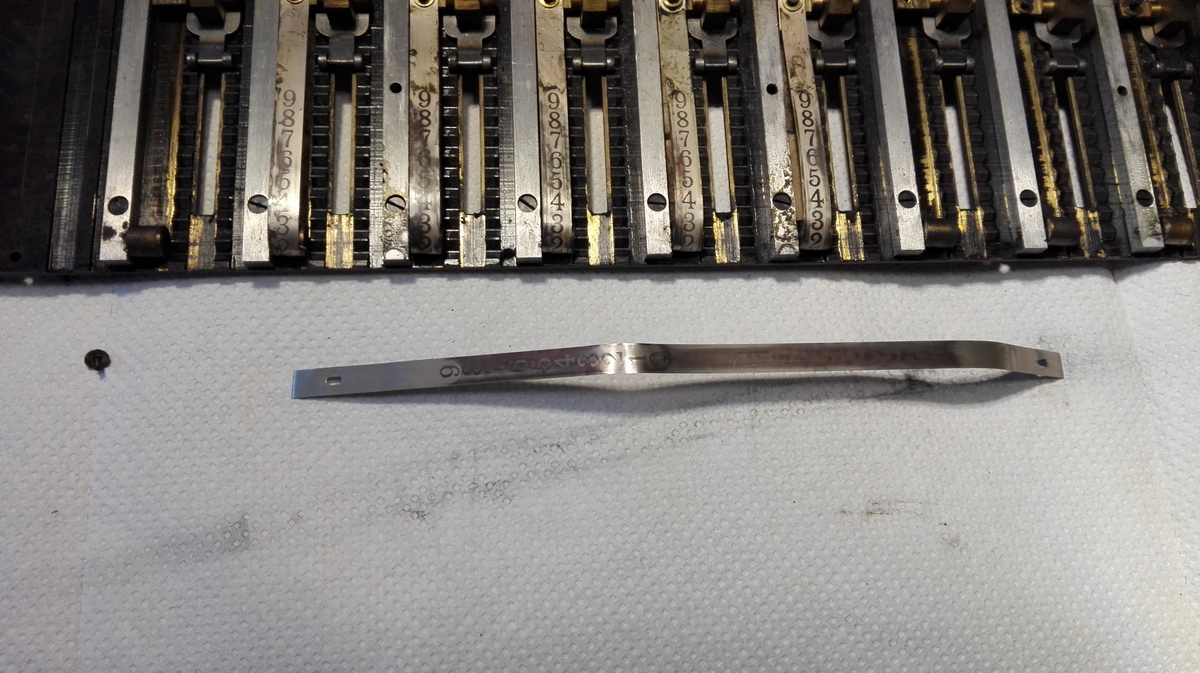
Four of these steel bands were missing and would have to be replaced...
The slider itself has four tiny wheels to roll on, to make it smoother in operation. It must have been quite an expensive system to build.
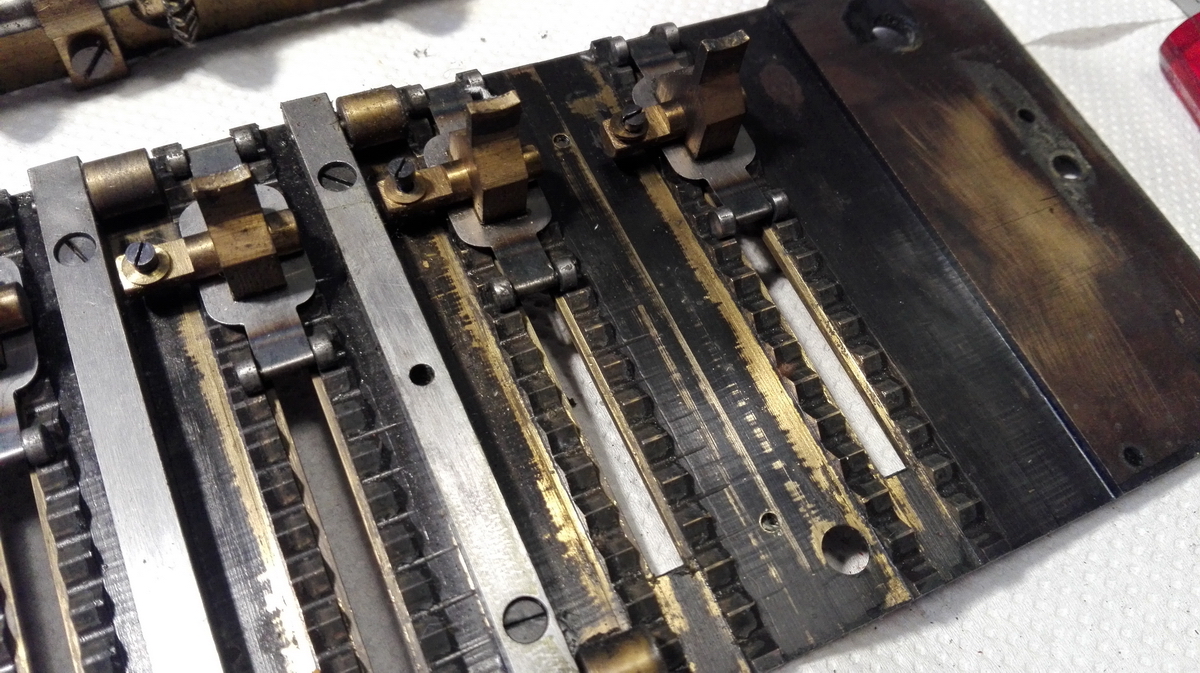
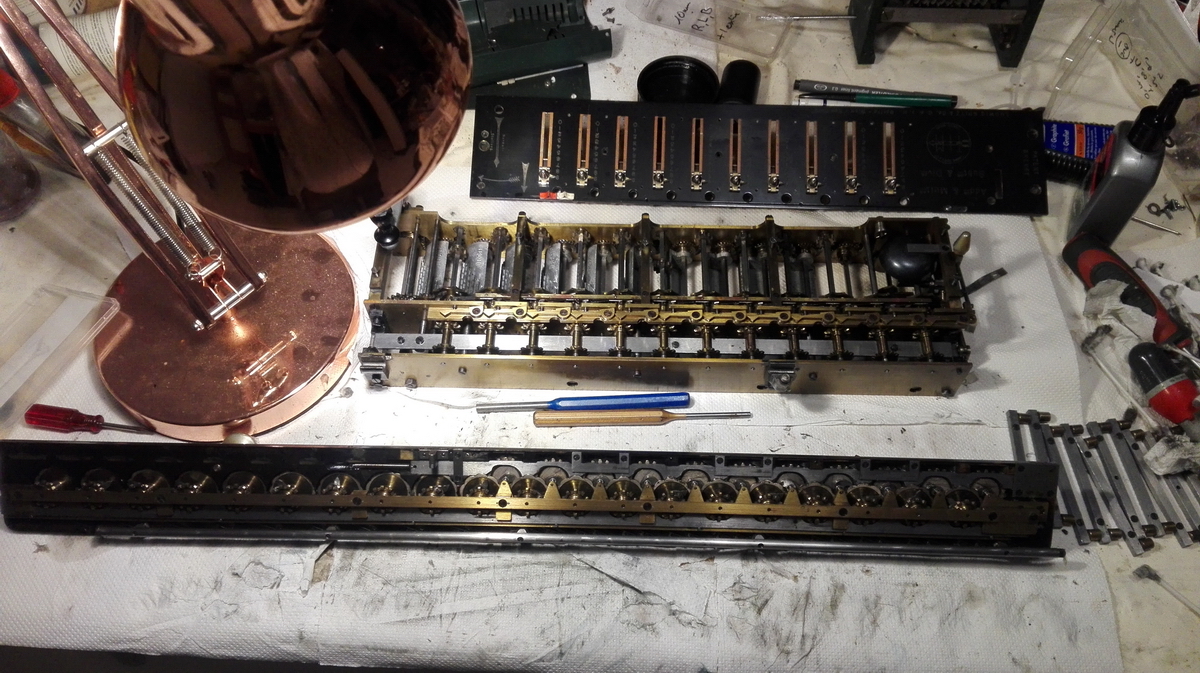
Other than that, the machine was in great condition, and just needed cleaning. So that is what I started to do. The main body of the machine was washed out with WD40 and then cleaned with paper and cotton swabs.

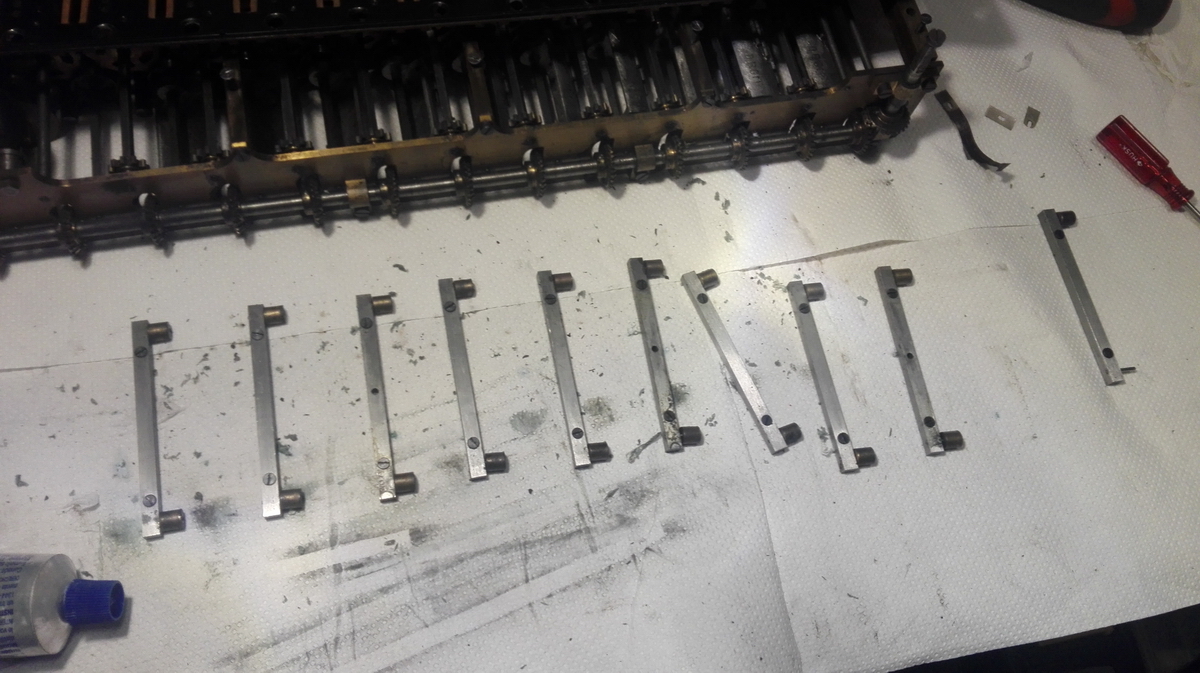
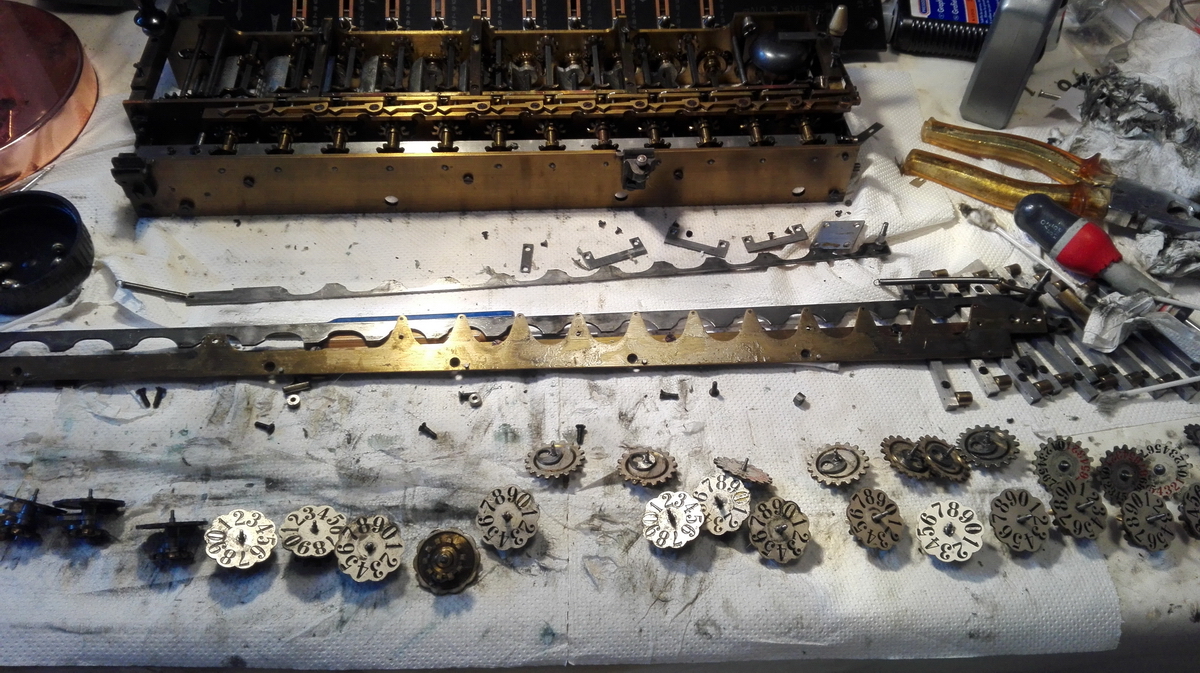
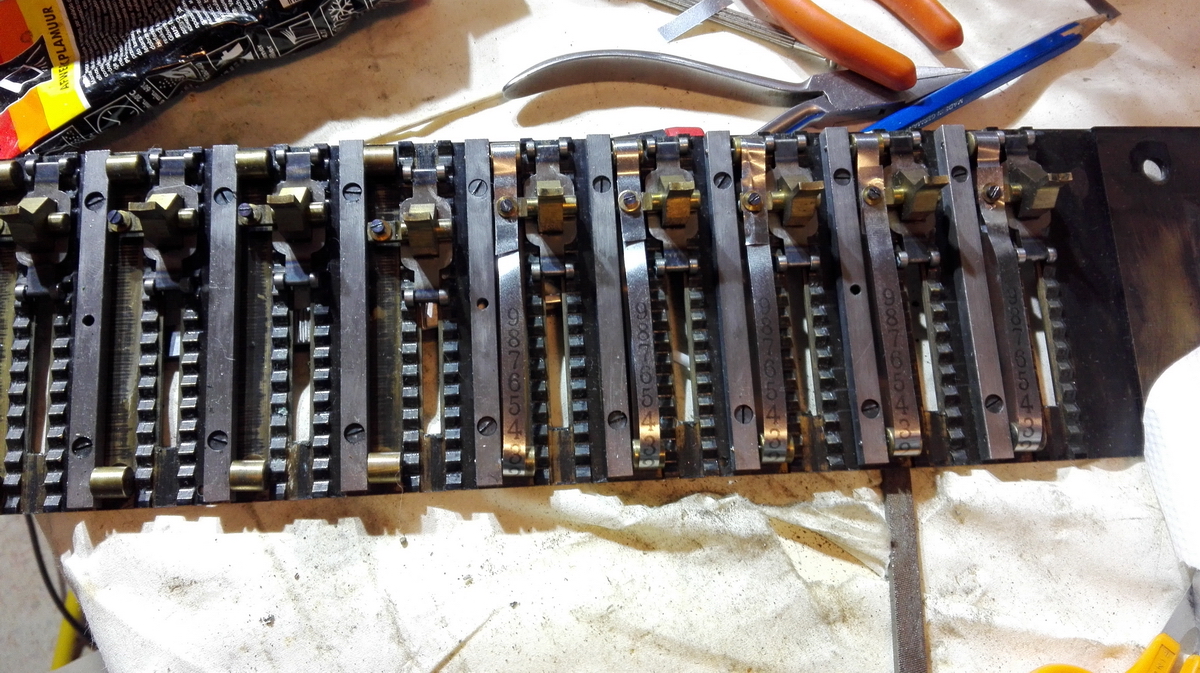
For the carriage, this was not an option, and it had to be disassembled entirely.
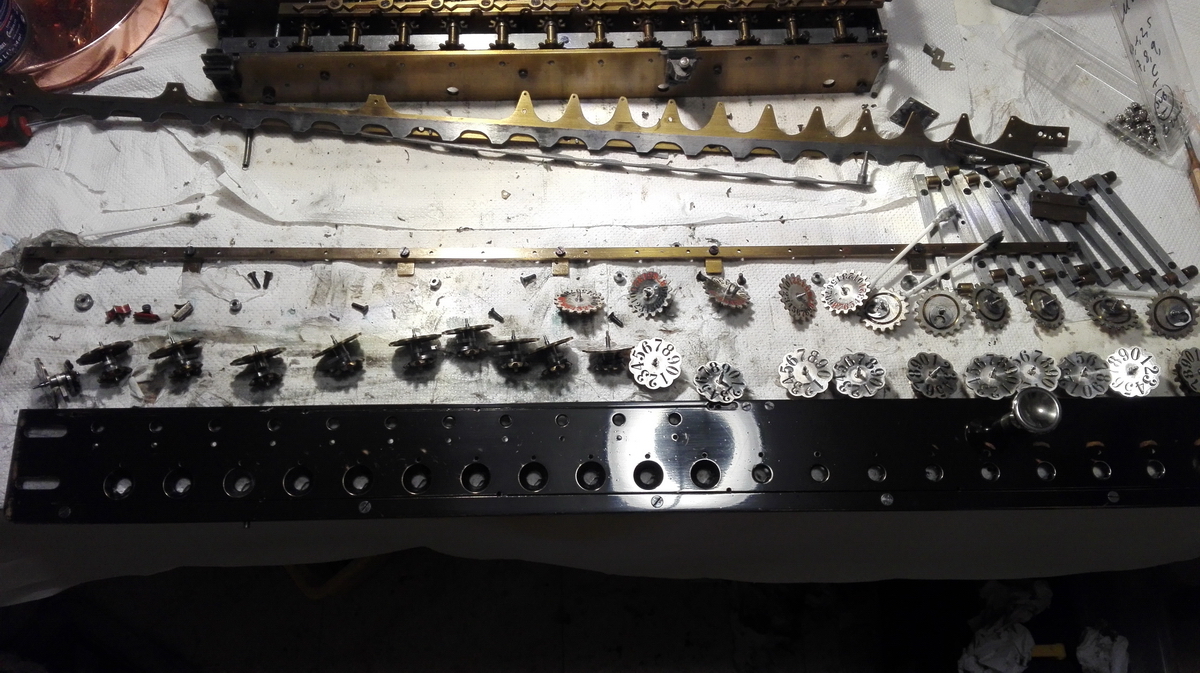
The pictures allow to show a strategy of which I was only recently made aware that it can be called that - a strategy. This was brought to my attention by none other than James May, of Top Gear and Toy Stories fame. In a youtube video in which he repairs an electric OO gauge toy train, when disassembling, he discusses at length what he calls "the geography of parts". Essentially, you lay out all the parts, screws, shims and other doodads that come off a machine on the working surface like an exploded diagram, with every part in its correct location with respect to the others. In addition to taking lots of pictures from all angles, this helps immensely not to lose things, and to reassemble them correctly again afterwards. You can see here tht the carriage was looking quite grotty ...

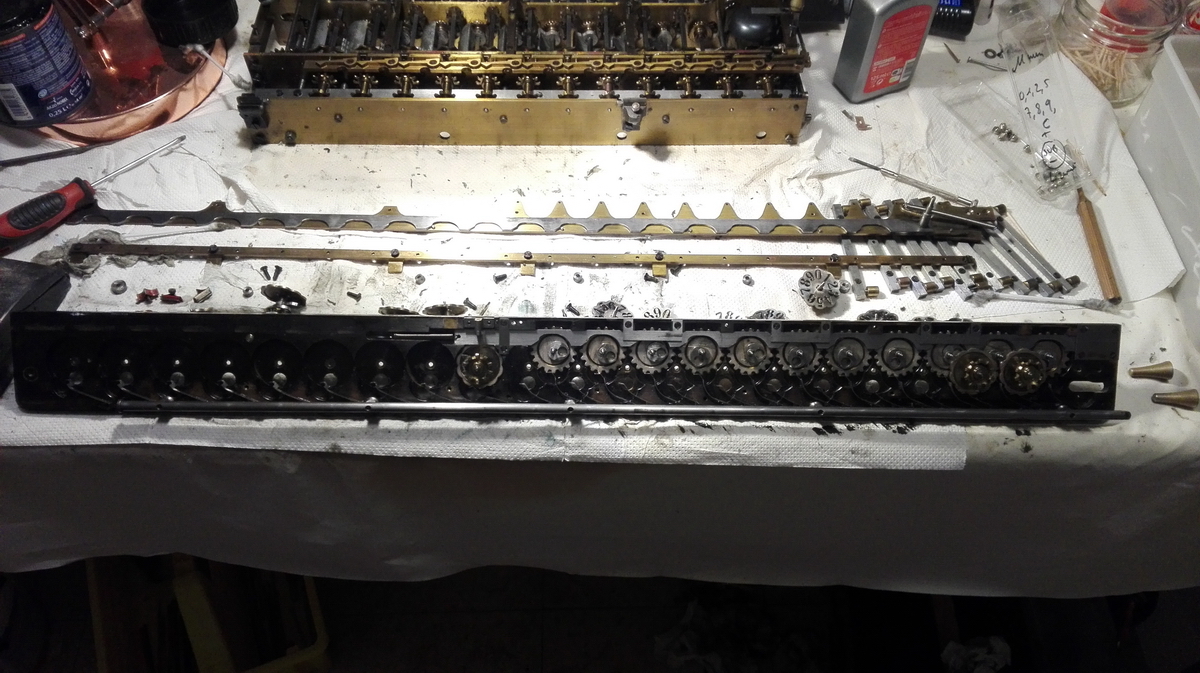
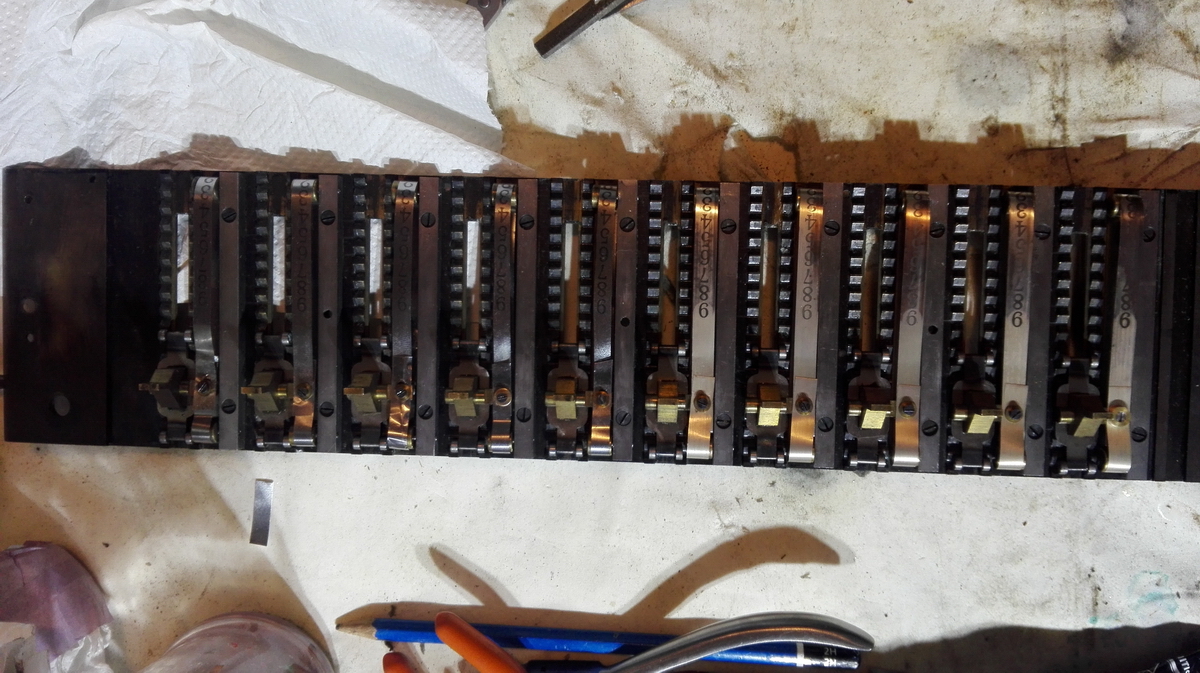
After cleaning, and filling in missing black paint from some of the zeroes on the numeral wheels, everything was reassembled, keeping all the peculiarities of a TIM carriage in mind. For example, the result wheel at position 12 needs to be set into the carriage before the clearing bar for the revoluton register is assembled, or it can no longer be put in. And the little steel bar which is just to the top right of that result wheel is handed - it can only go in one way, otherwise its corner blocks the rotation of result wheel 11. Ask me how I know ...
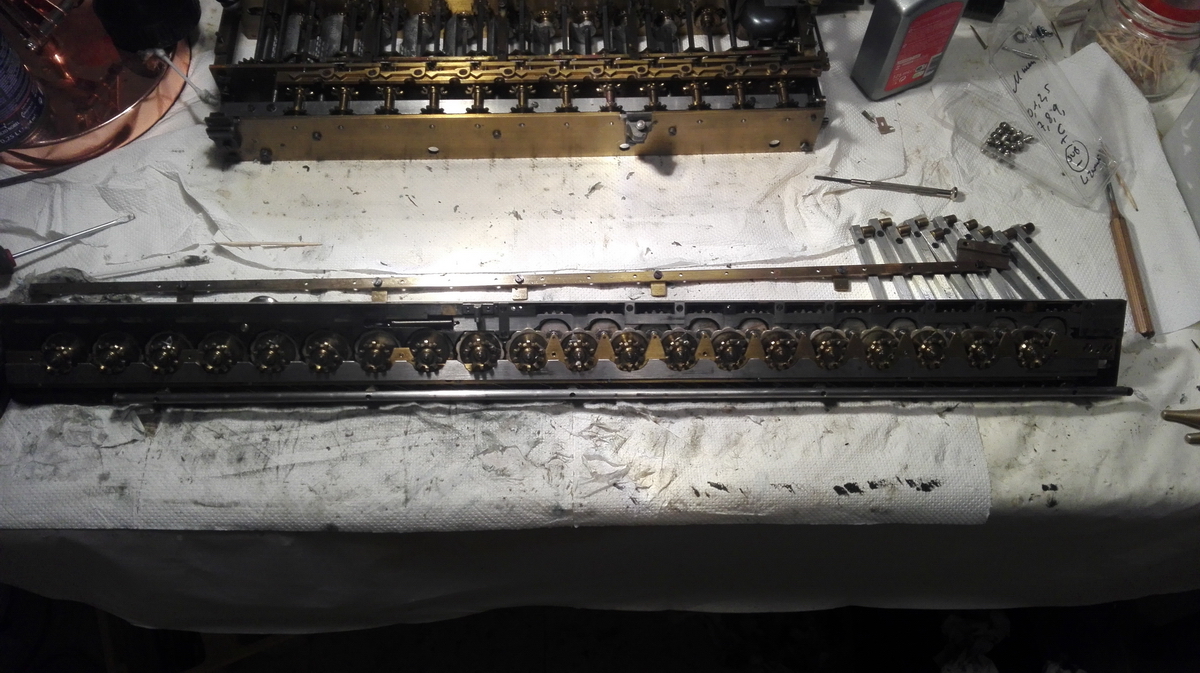
...and back together, with just some of the twirly knobs still to screw back on.
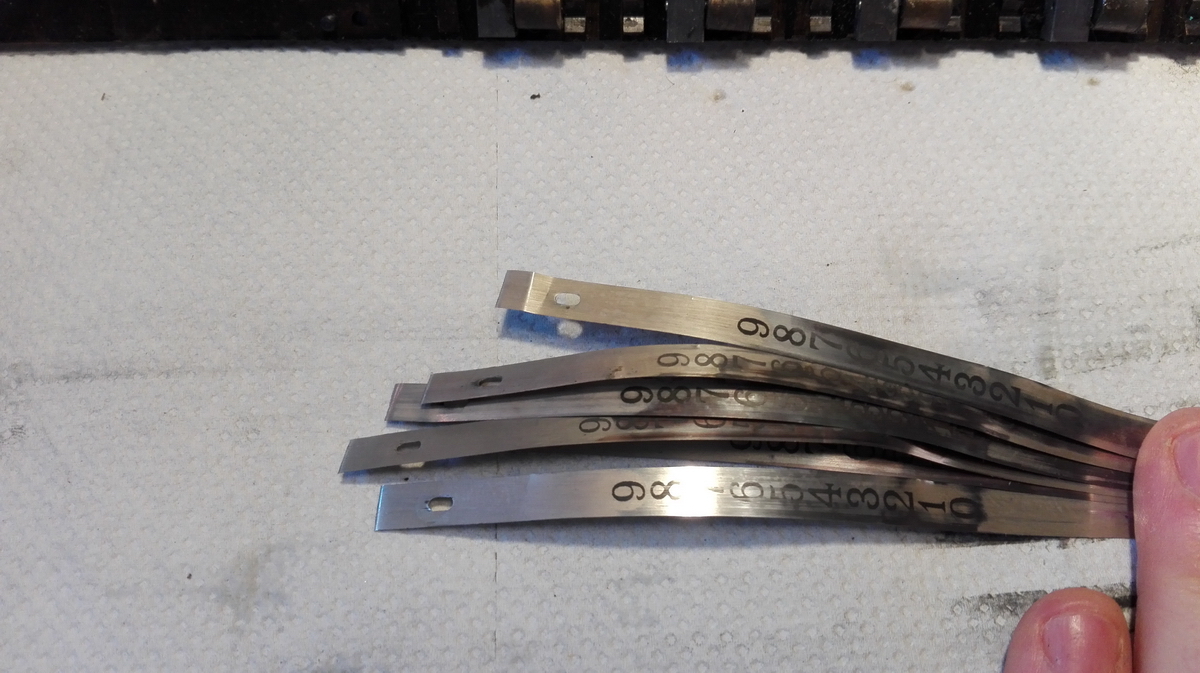
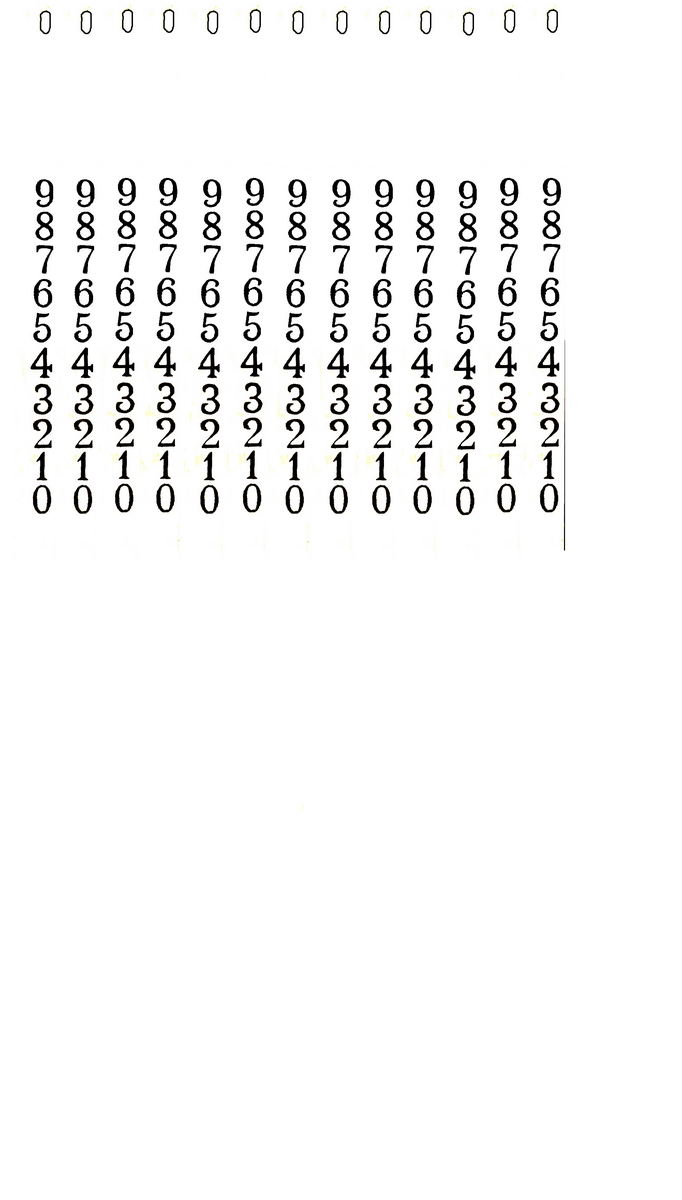
After the carriage had been sorted, the next issue was the setting register, with the missing steel bands to be replaced, and one of the tiny screws and washers that holds them in place was missing as well. So I started by making a picture of some of the steel bands (that are really hard to photograph with proper lighting ...) and turned it into a black and white image after increasing the contrast to get rid of the background. After cleaning up the numbers, I multiplied the number strips and printed that image with a laser printer on 0.05mm steel shim stock. Yes, a regular laser printer. That took some experimenting to get the settings right, because steel is obviously not paper, but in the end it worked very well.
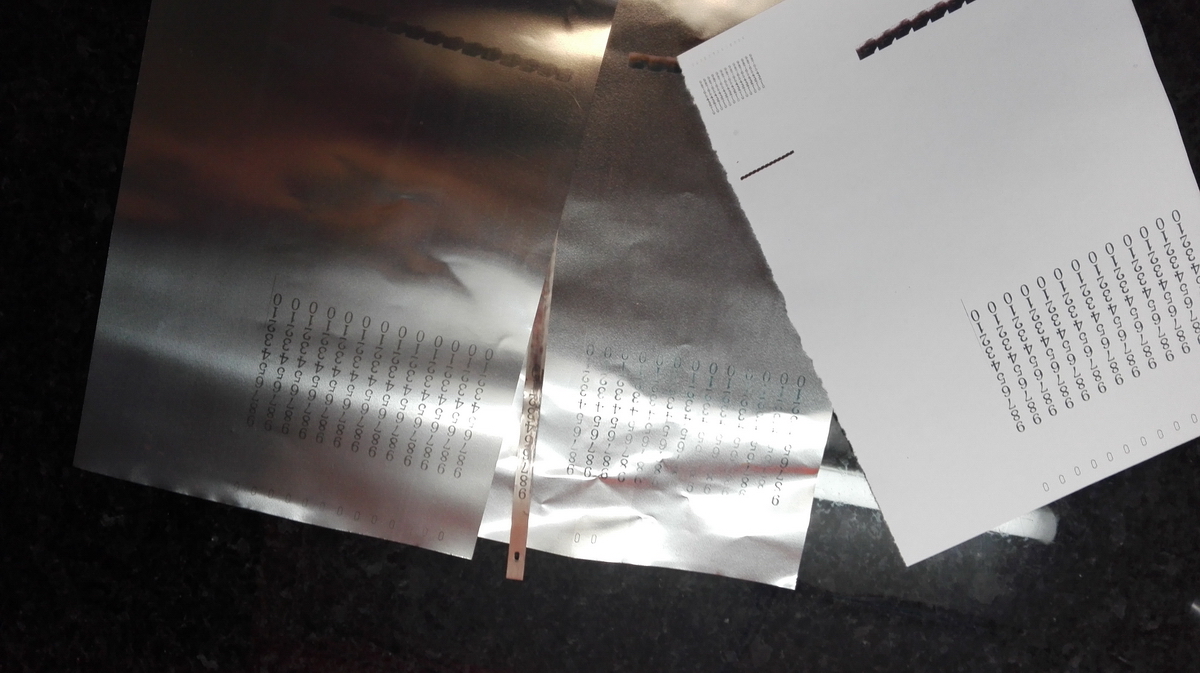
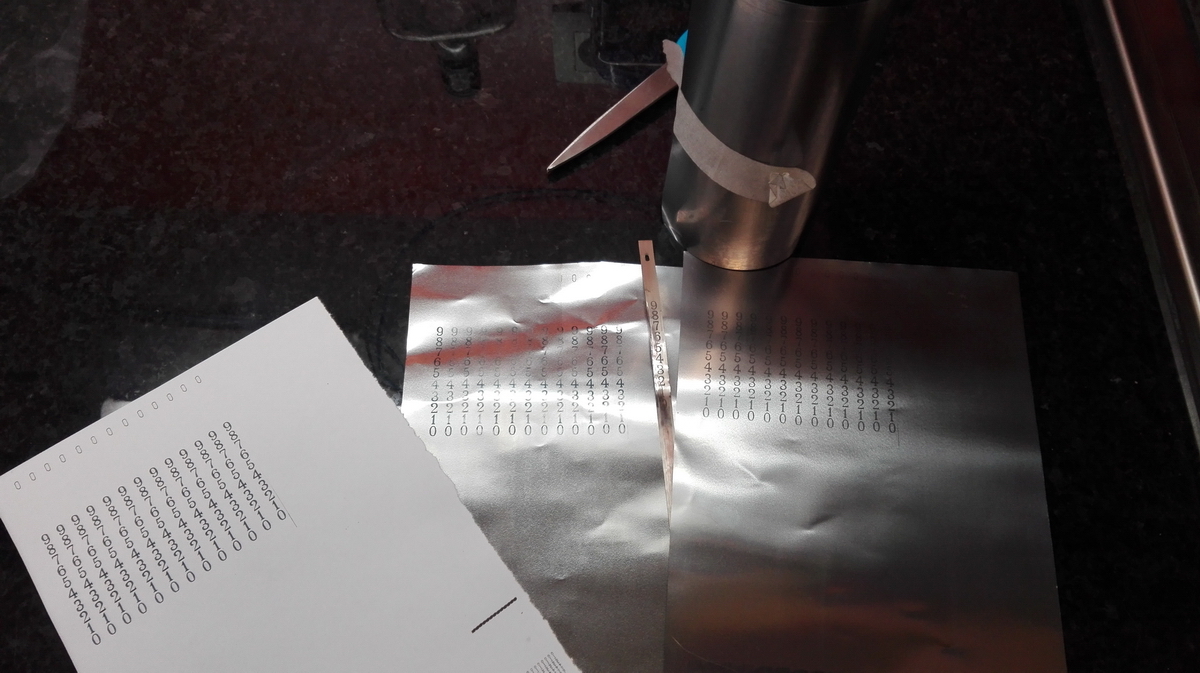
With an added coat of glossy varnish, I cut the strips, and making the elongated holes was the next challenge. I couldn't make a proper punch that didn't crumple the steel band, but with a dremel tool and a diamond grinding bit, I could make very nice holes.
After that, it was just a question of reassembly.
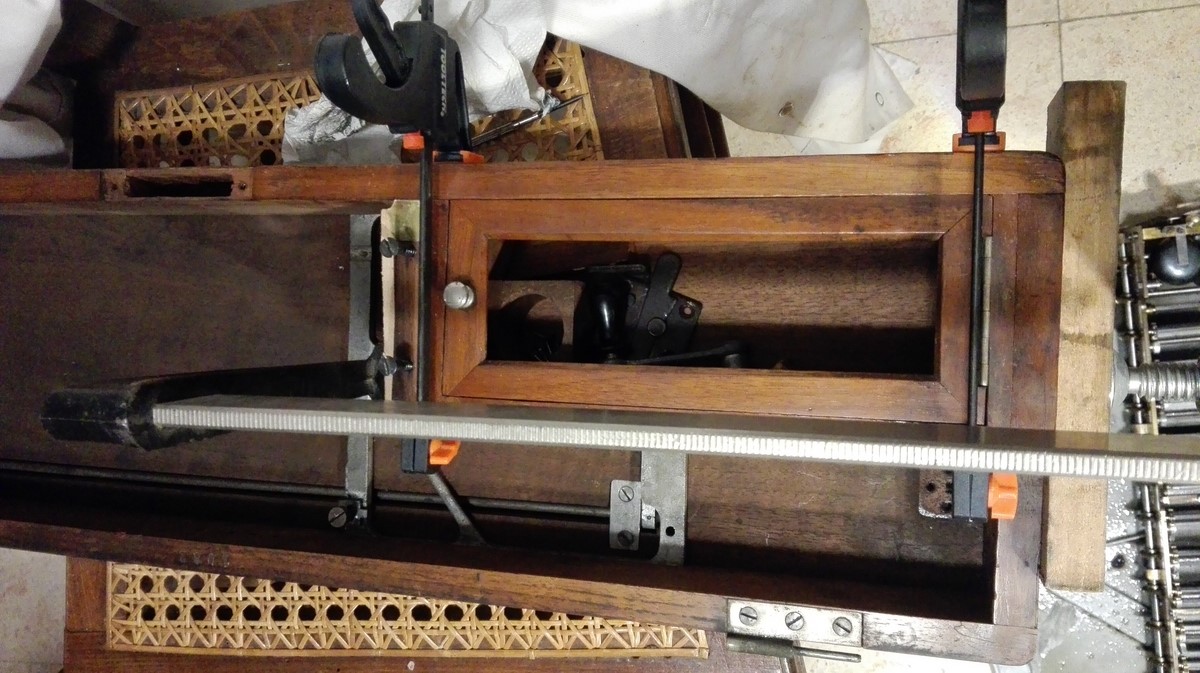
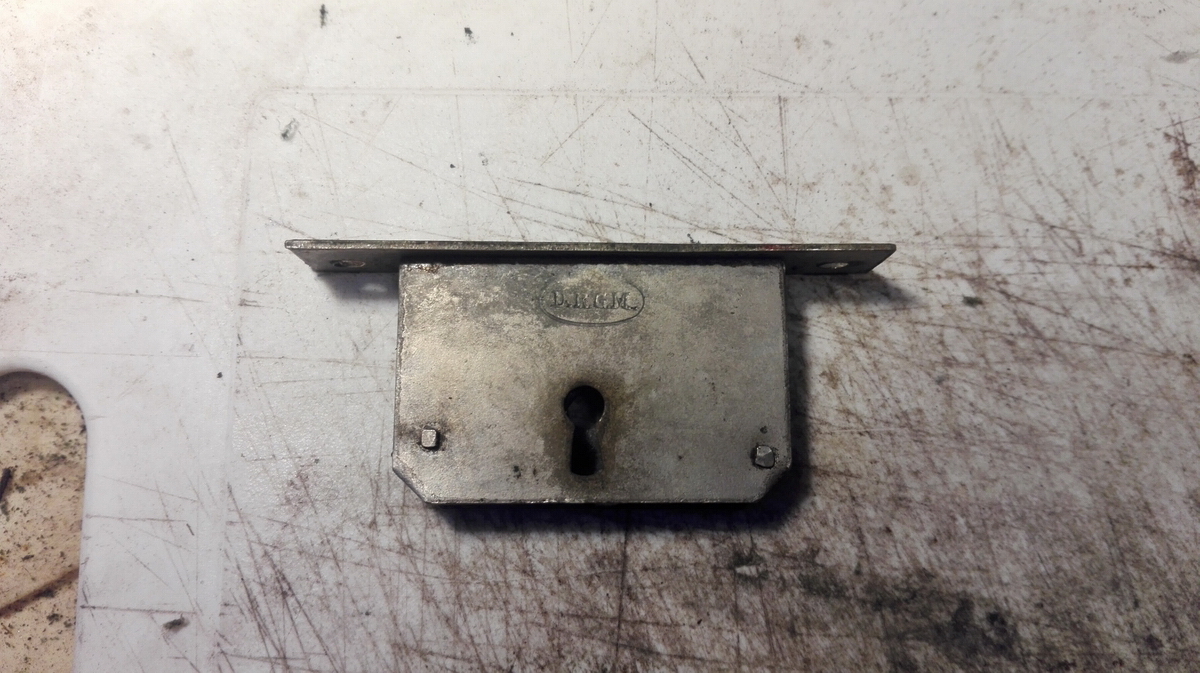
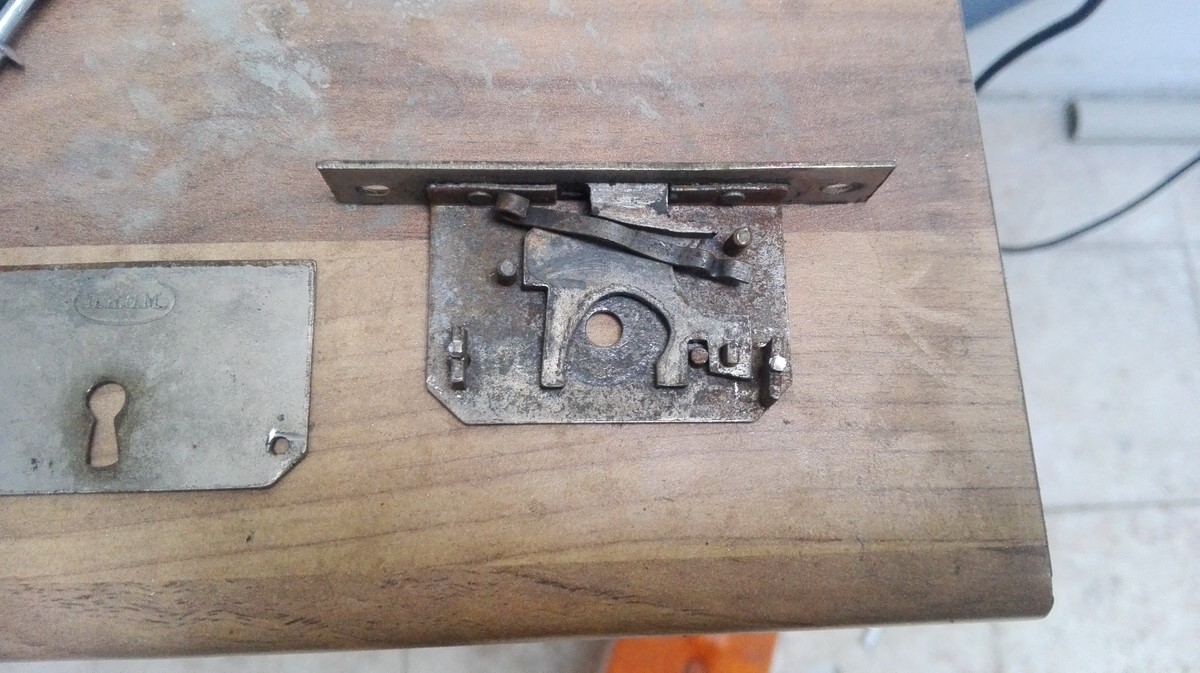
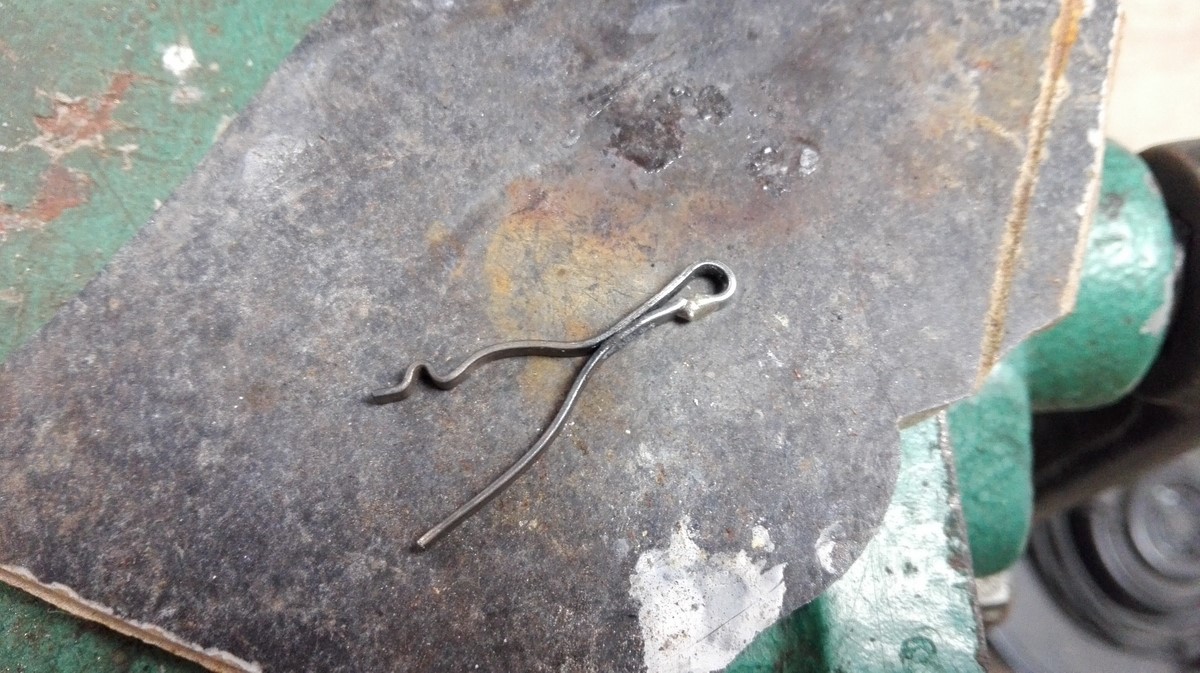
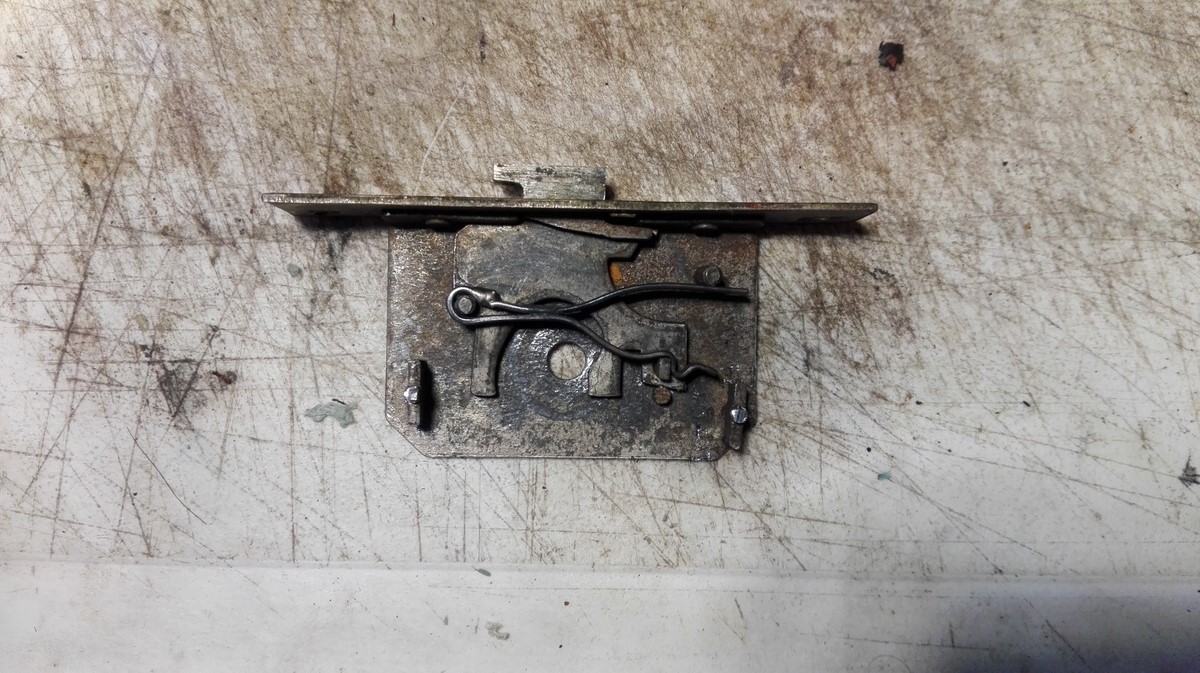
The case also caused some headaches, because the lock that keeps the bottom closed, and also takes care of the bottom not falling completely open when it is loosened had somehow been bent, and in trying to bend it back, the casting, which is apparently a very brittle iron, broke. Luckily it could be silver soldered, and after doing that it functions perfectly.
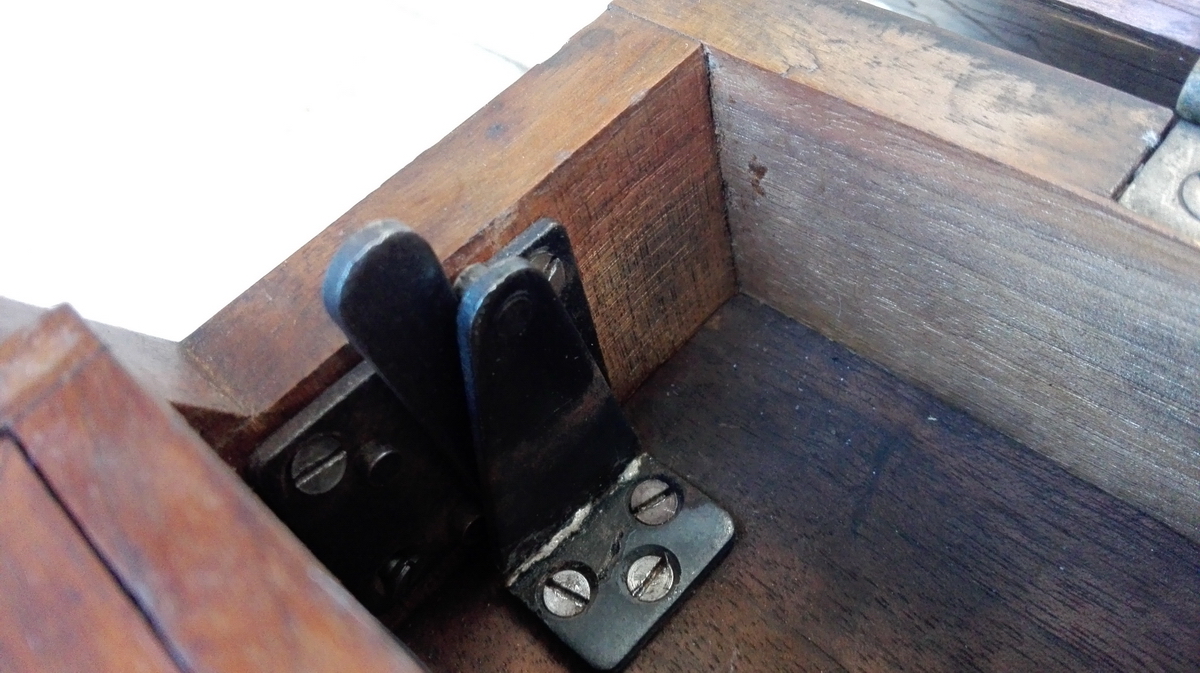
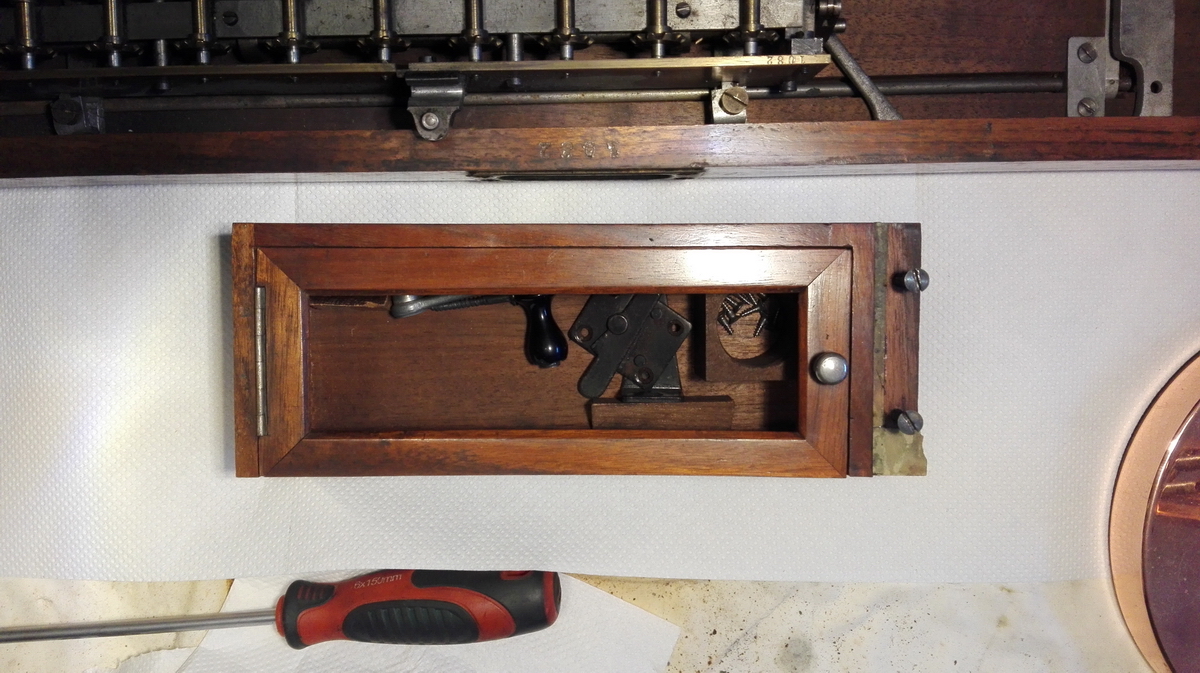
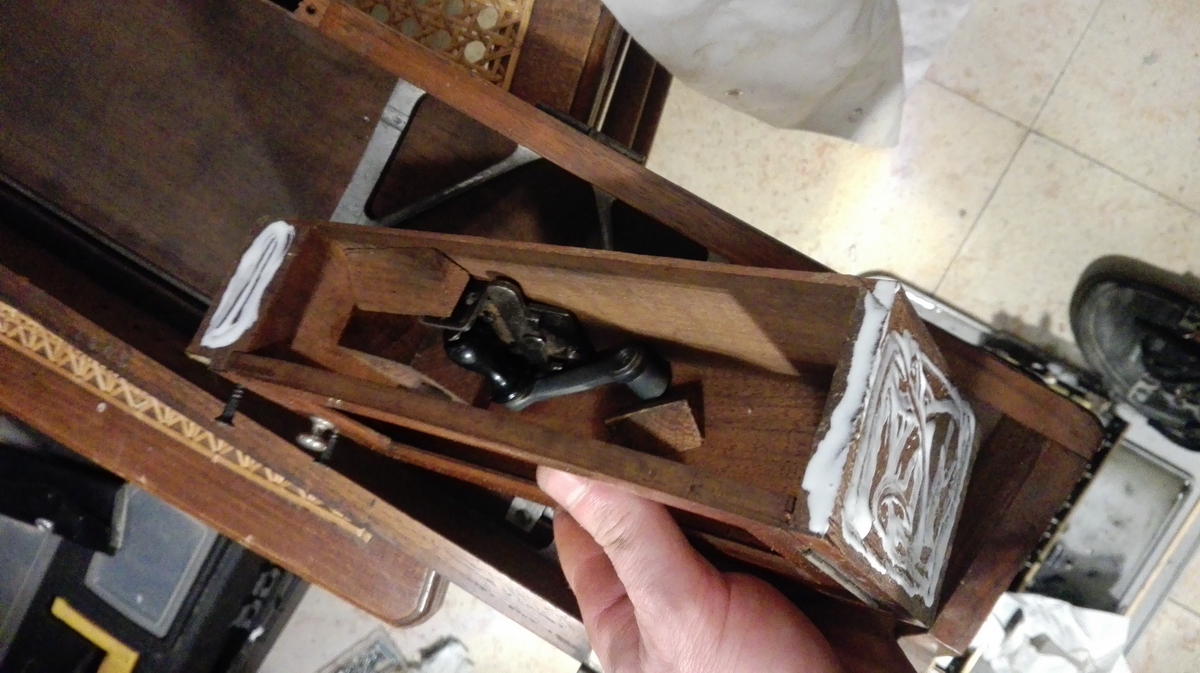
There is a very elaborate system in the case for tilting the machine up for use - it has two steel struts that prop the machine up, and a spring-loaded knob at the side which can be used to select which position these should be in.
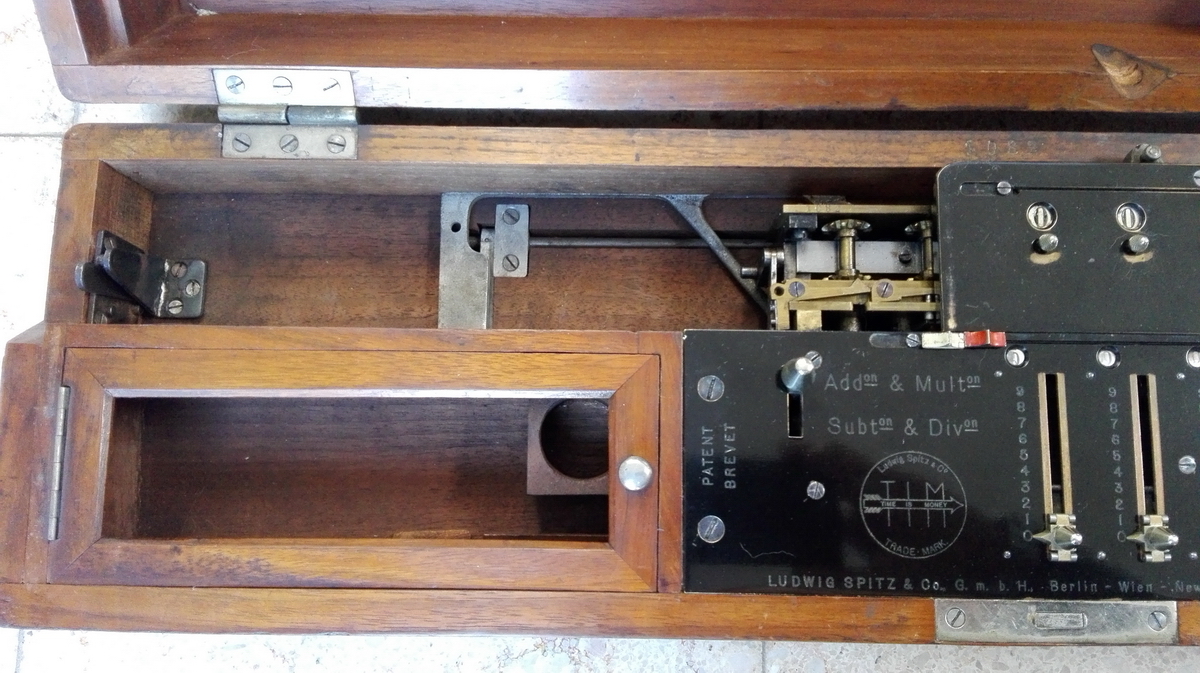
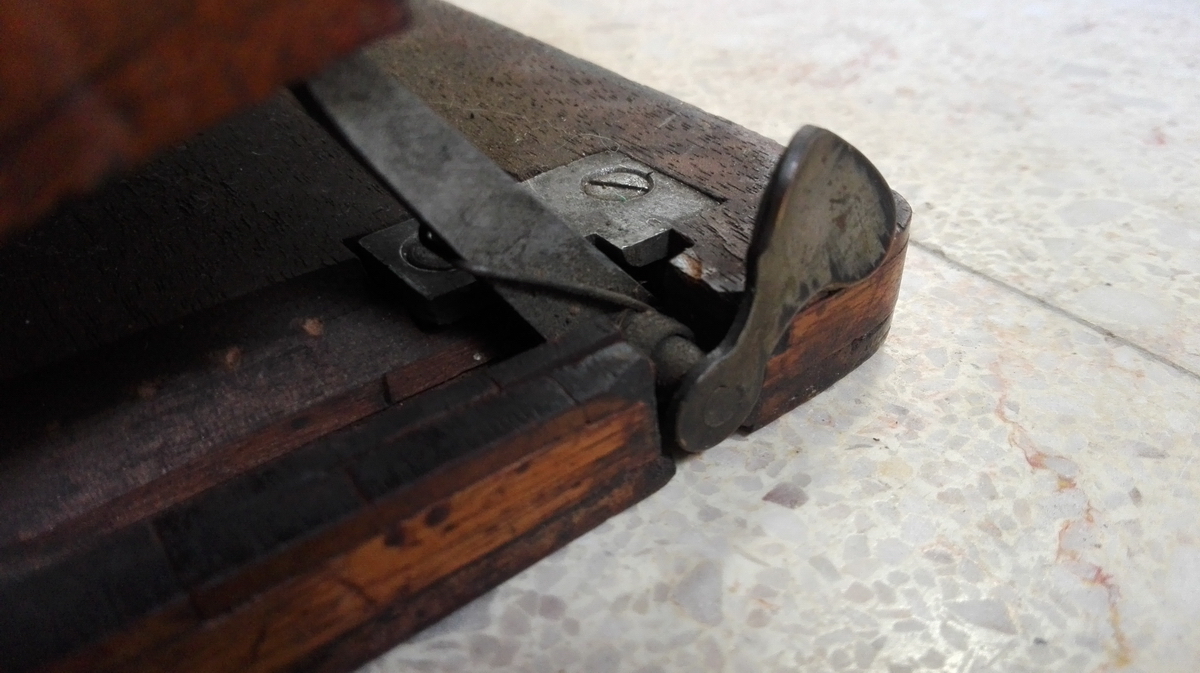
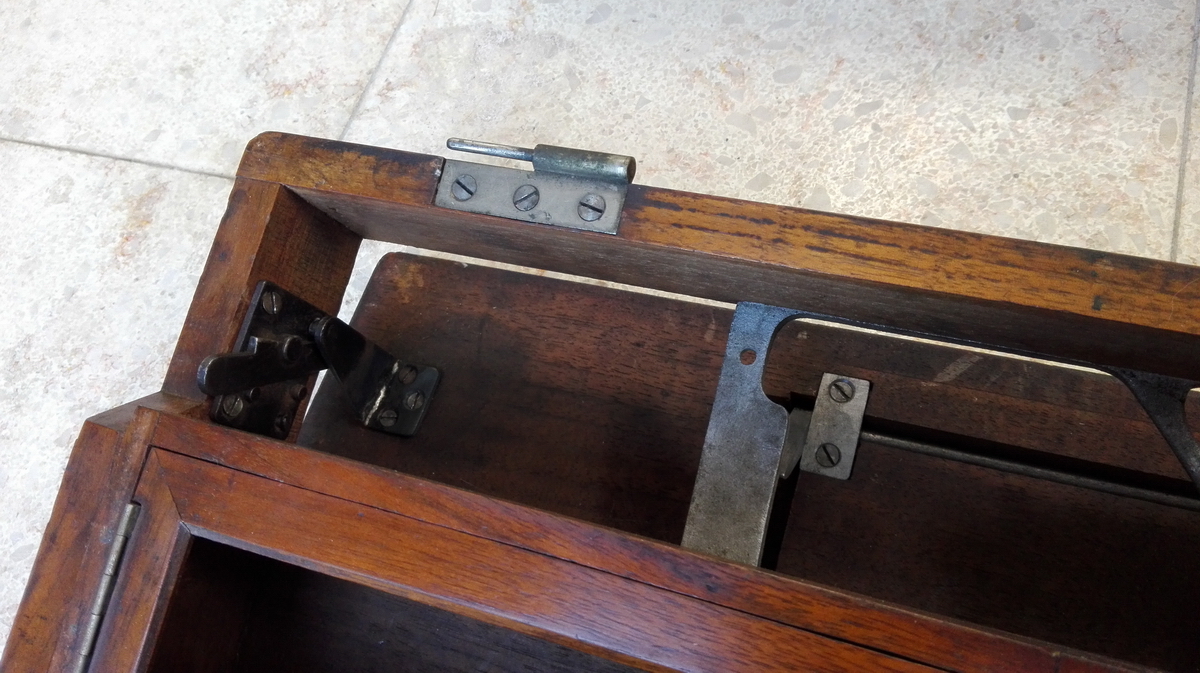
There are some more very nice TIM features, such as a bearing for the back of the carriage, so that it can not be lifted too high when shifting it...
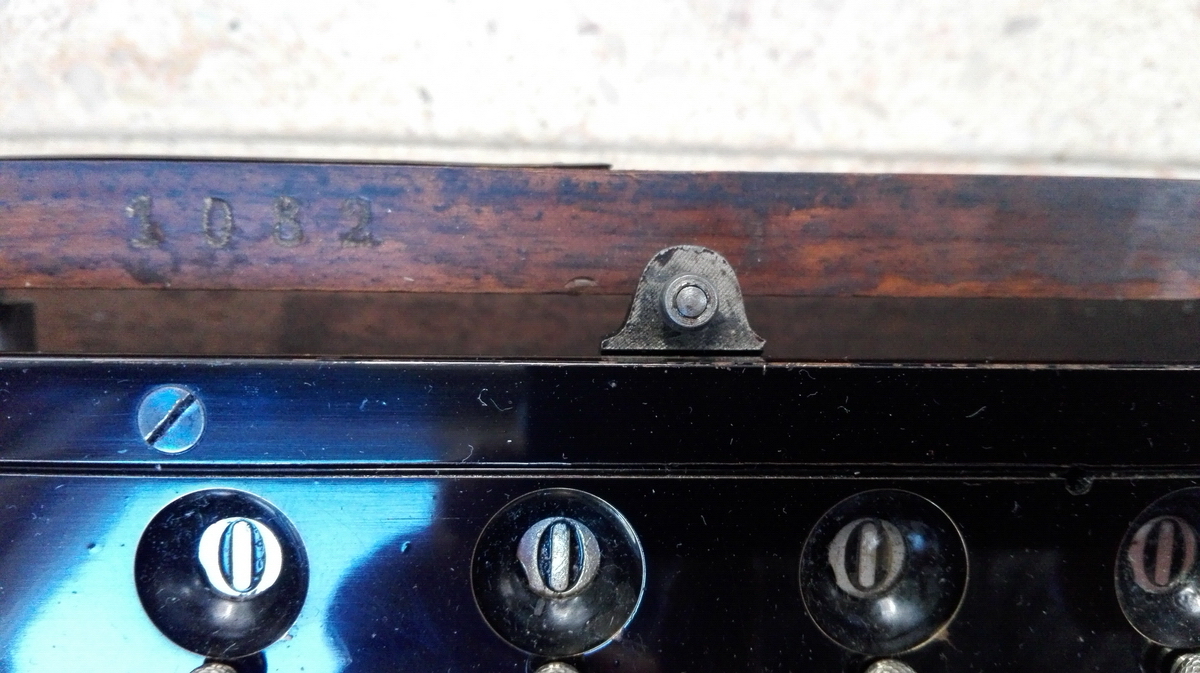
...a wooden block with a circular hole for an ink pot, and obviously the slate for the results is still missing - I need to find a suitable piece to put in.

The lock had a broken spring, and has been repaired, but because the front of the cover is very slightly bent outwards, it cannot be used, even though I have a key that fits.
What a beautiful machine it has become!