
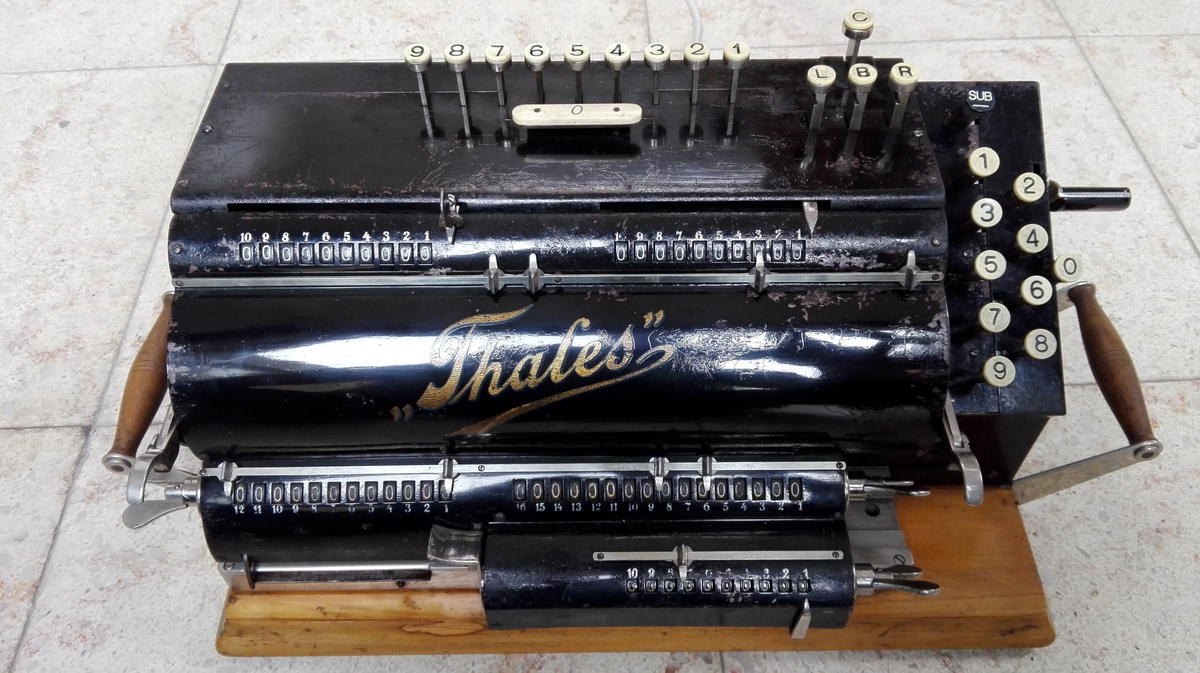
Thales Electromat
This is a super interesting prototype by Thales, presented at a Berlin trade fair in 1928.


Interest must have been underwhelming, or it must have been very difficult to make it function reliably, because it was never taken into production. But it does contain a lot of interesting ideas to electrify the pinwheel machine.
Emil Schubert apparently didn't give up hope, because he filed a patent in 1929 that describes a different mechanism than implemented in this machine for making it stop reliably and tab the carriage. That patent is DRP551907, granted in June 1932.
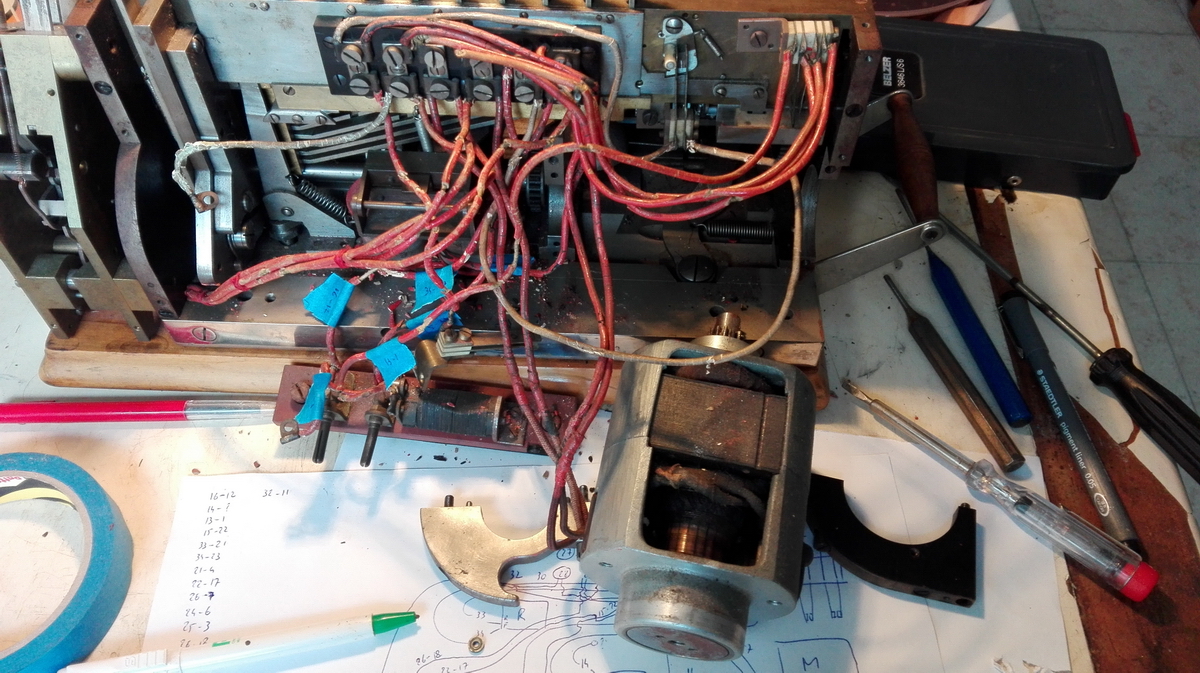
The only known example of this machine is in the collection of the Arithmeum, but has always been in a sorry state ever since it was acquired. They requested me to do try and do something about that, and if possible, bring the machine back to operating condition. This also meant we would find out if it had ever worked properly. With prototypes, this is always a risk.
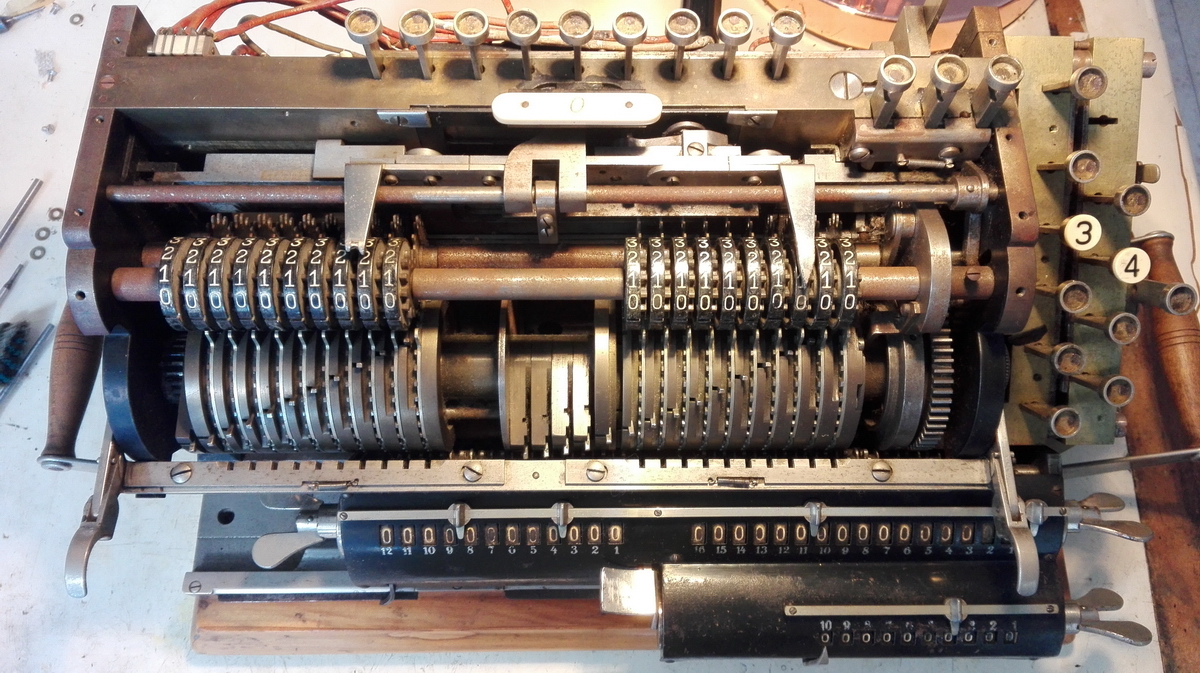
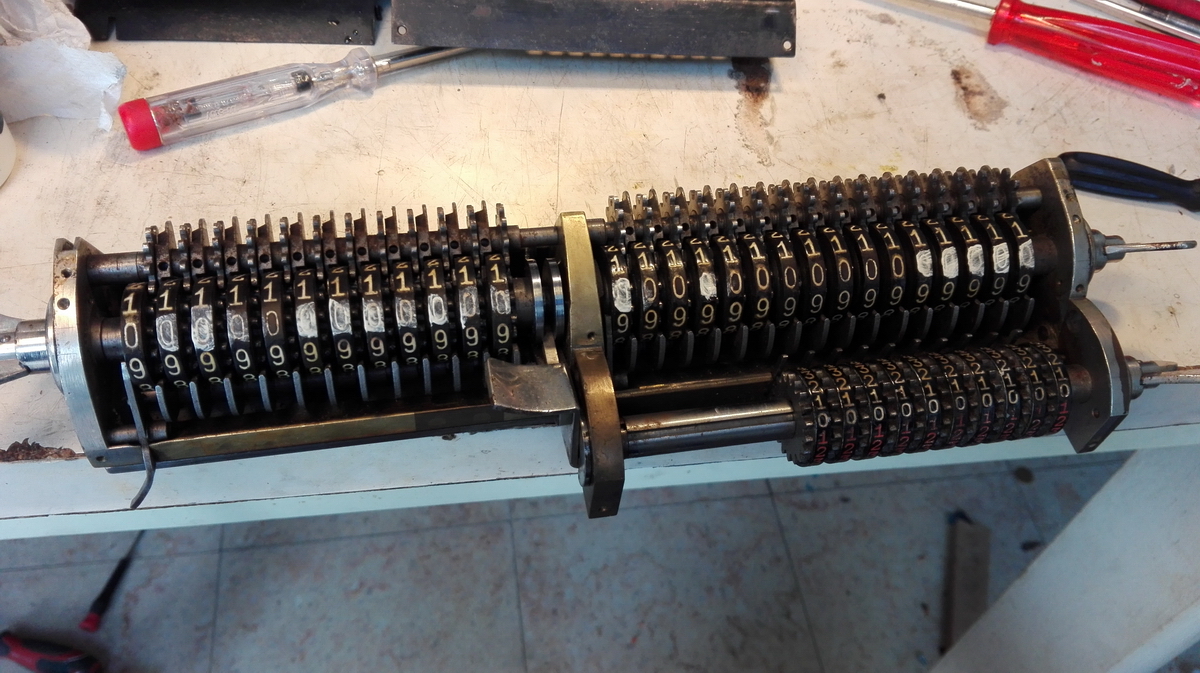
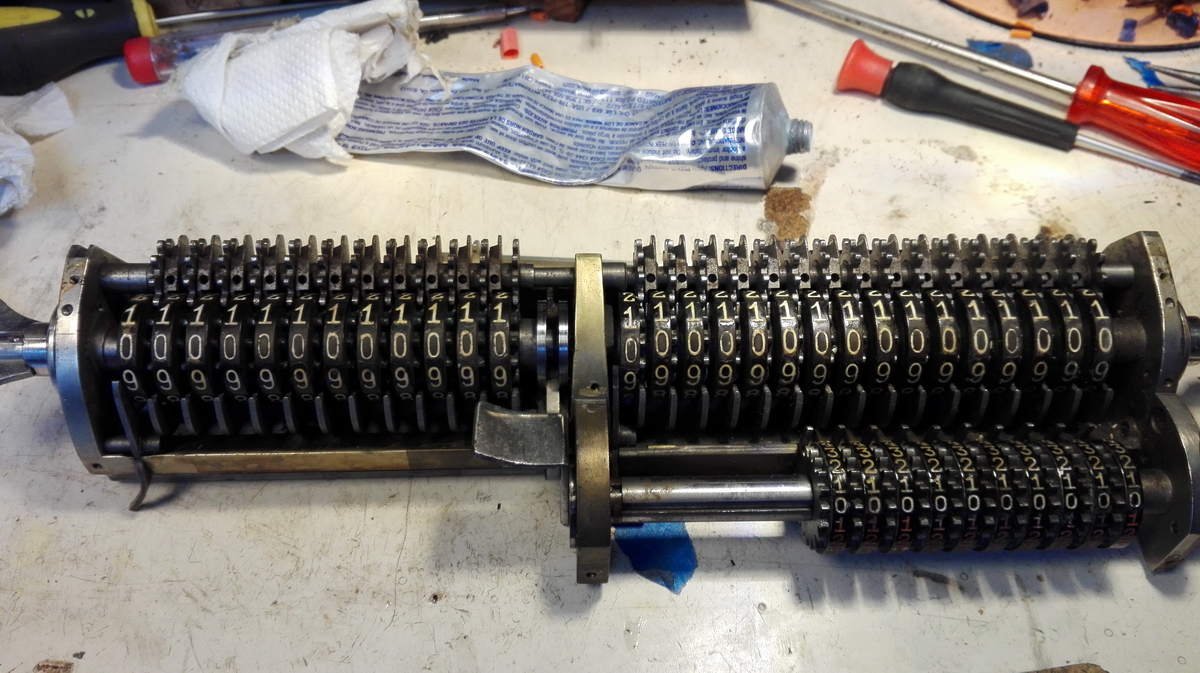
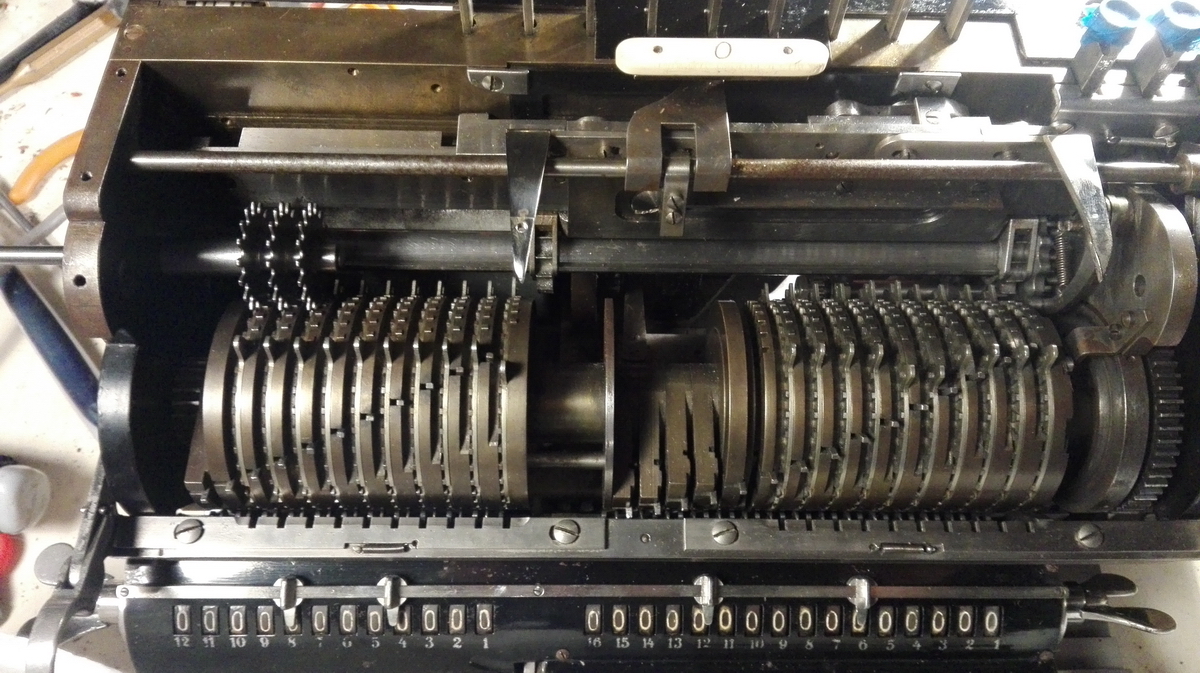
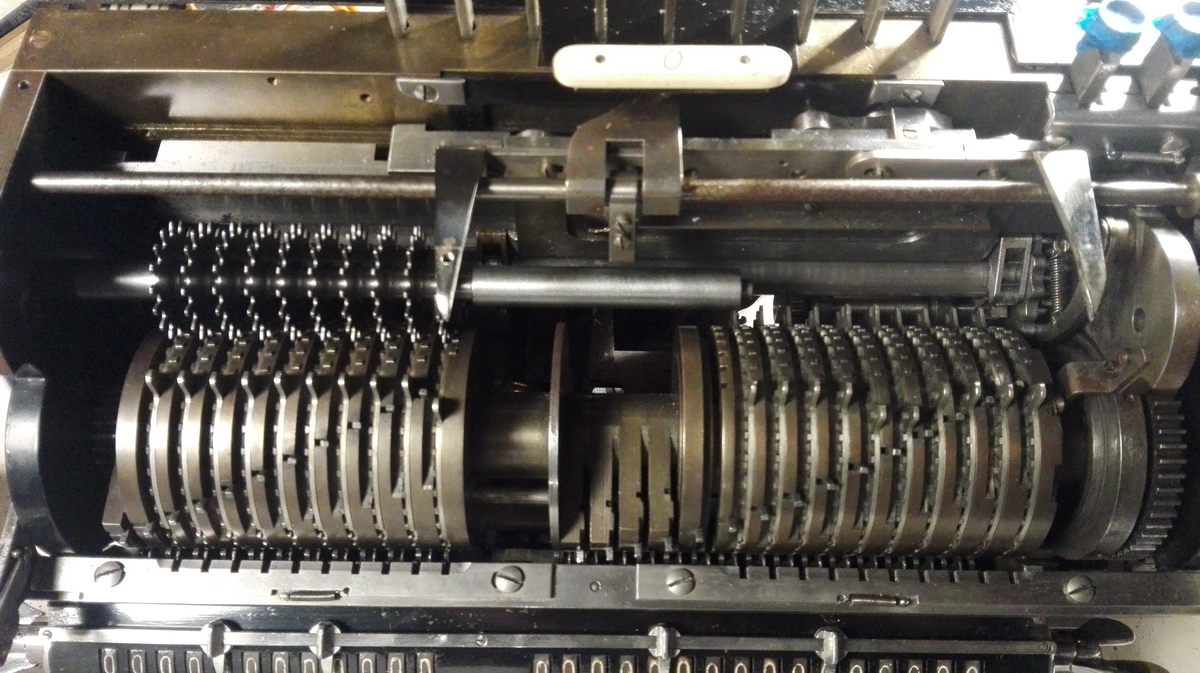
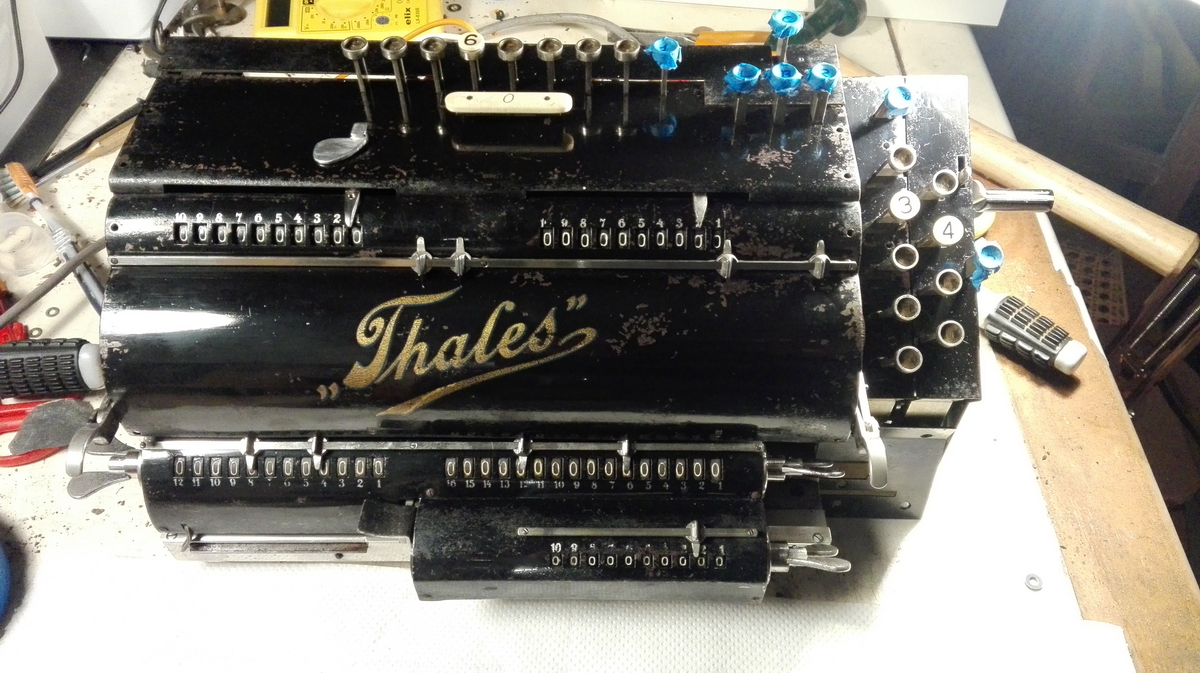
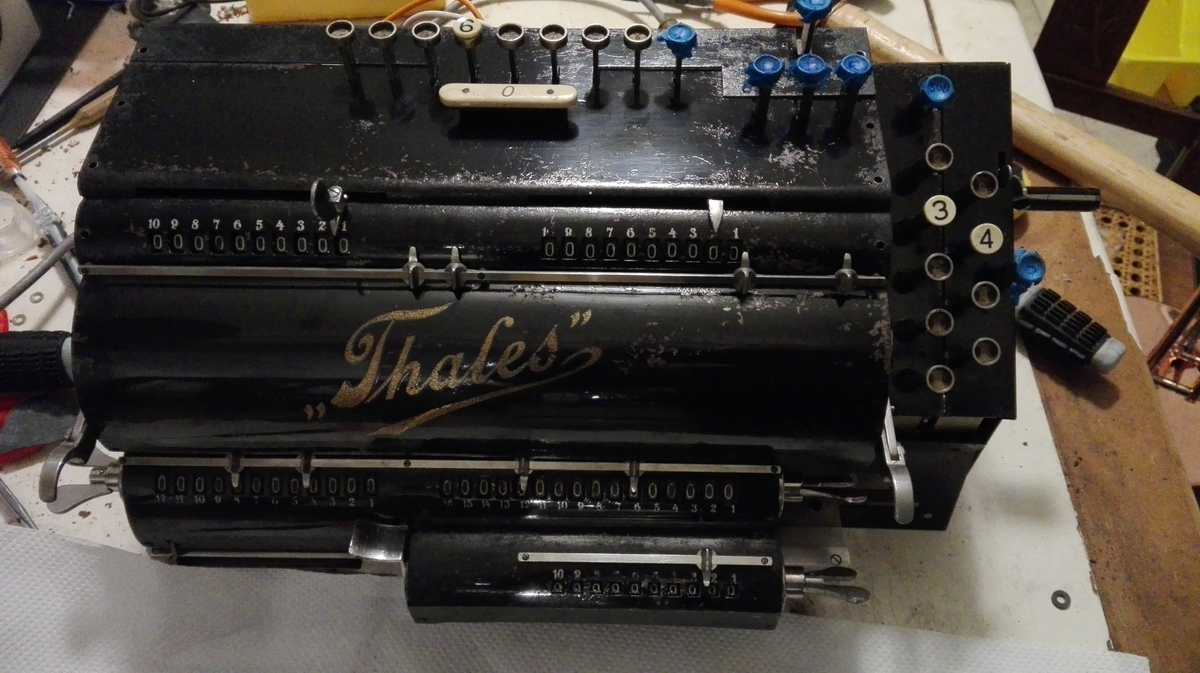
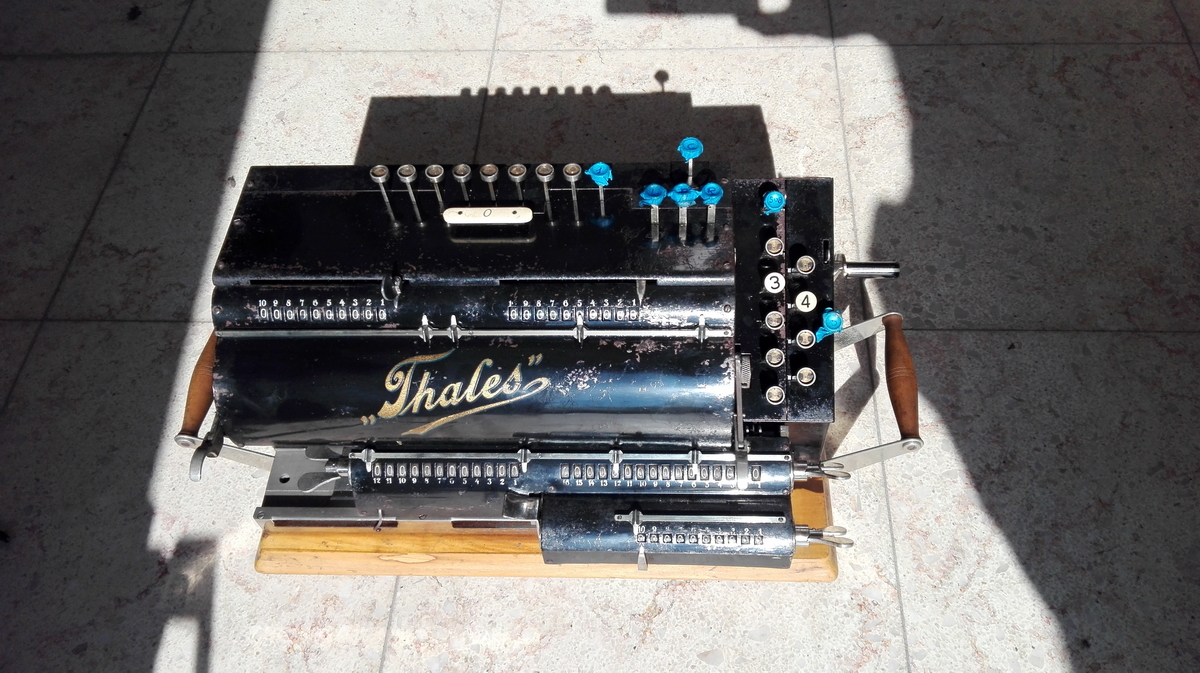
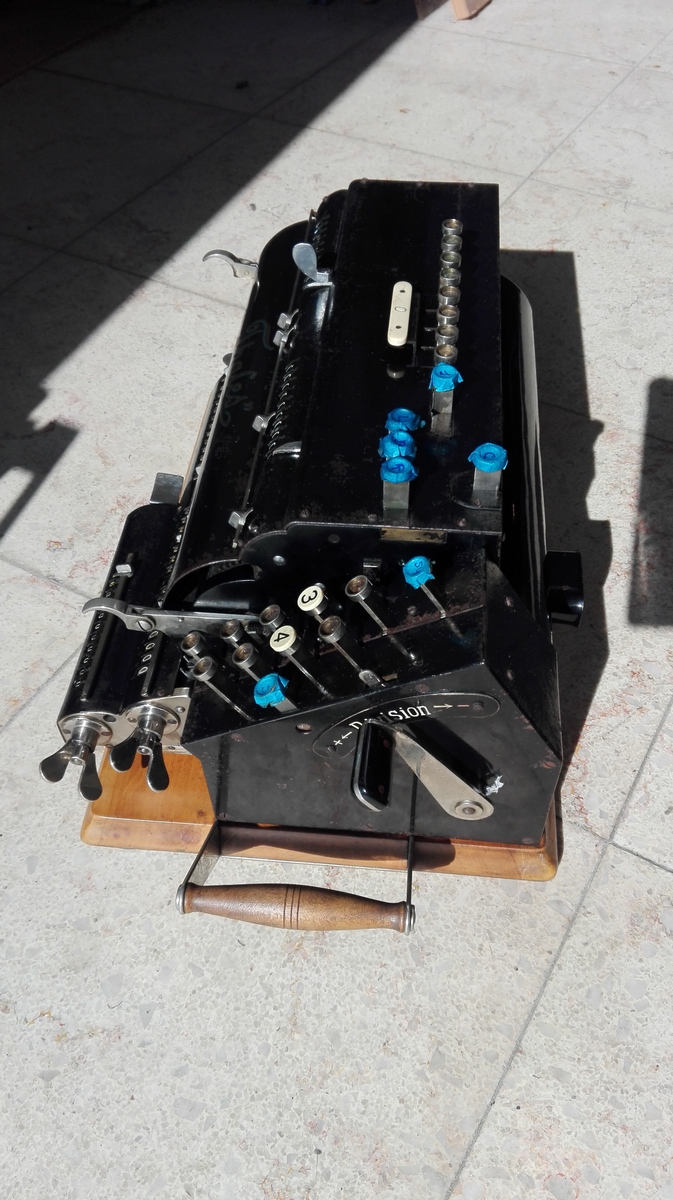
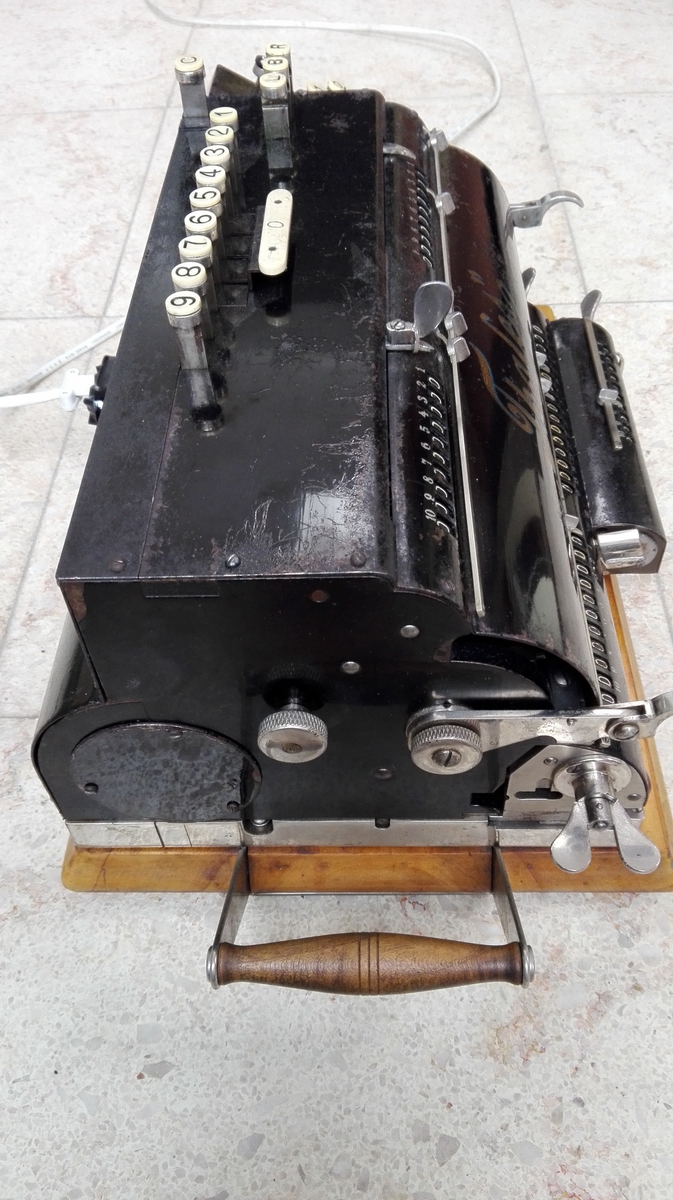
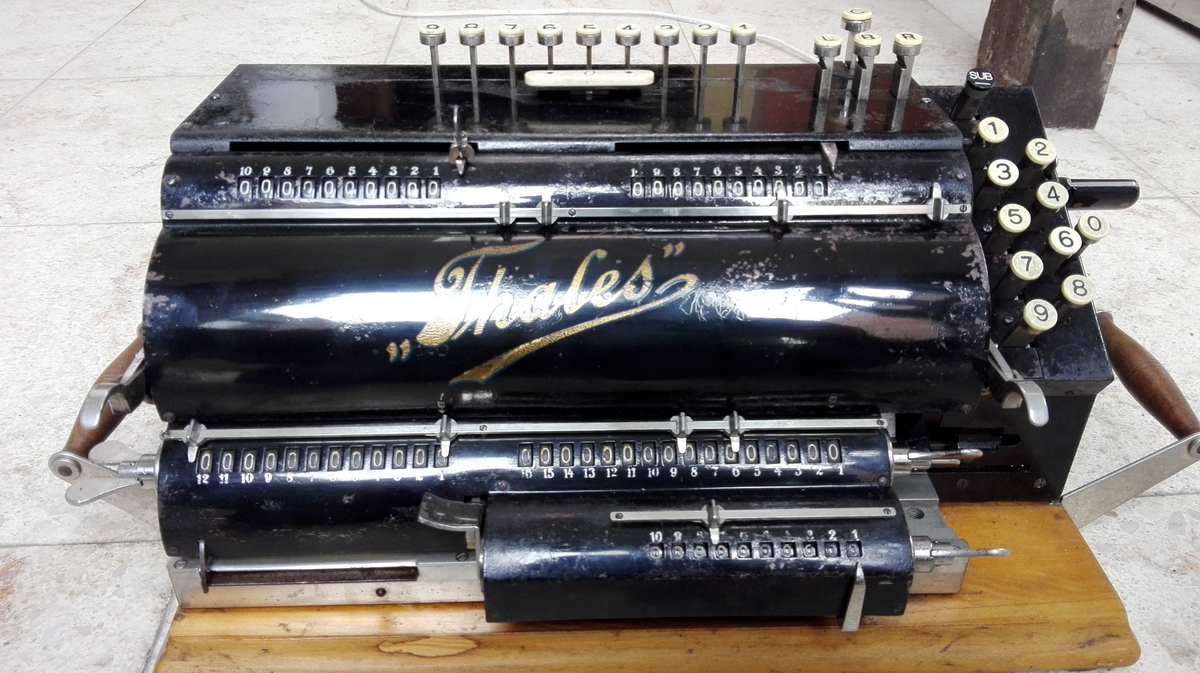
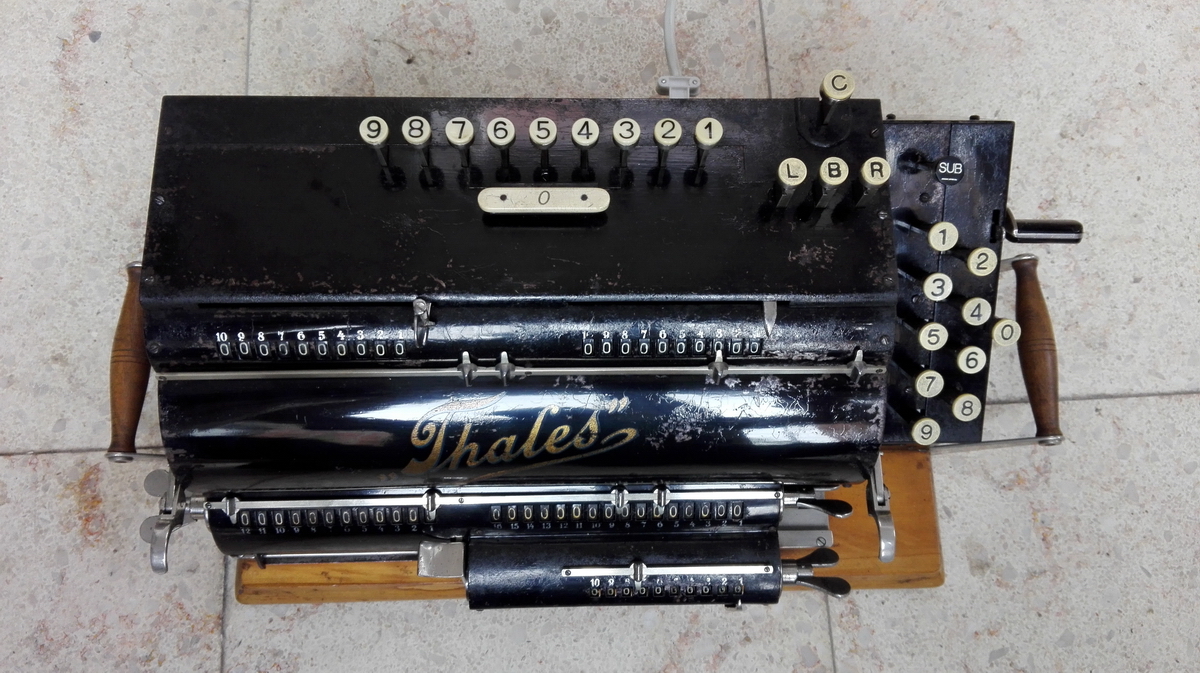
I will start with a brief description of how the machine is supposed to work. It is a dual register machine, like the Thales Geo, but both registers always turn in the same direction, so it is a bit useless as a geodetic calculator. In addition, the left register is a bit smaller than the right one. There is a counter register without tens' carry at the front of the double carriage.
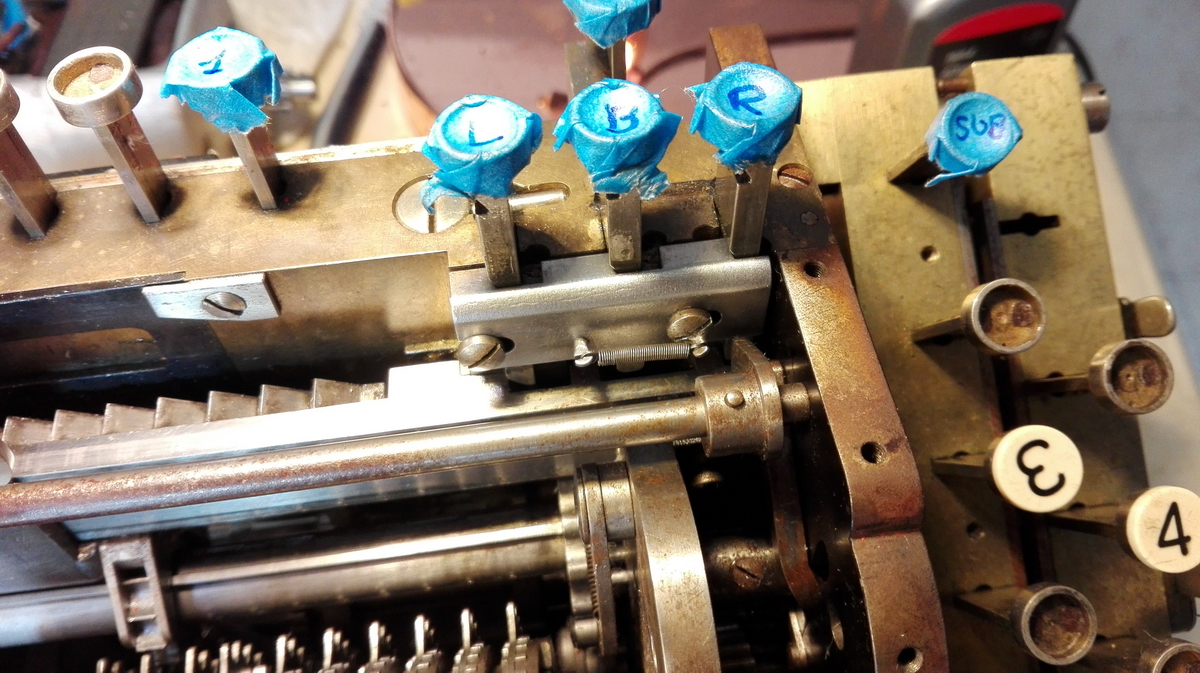
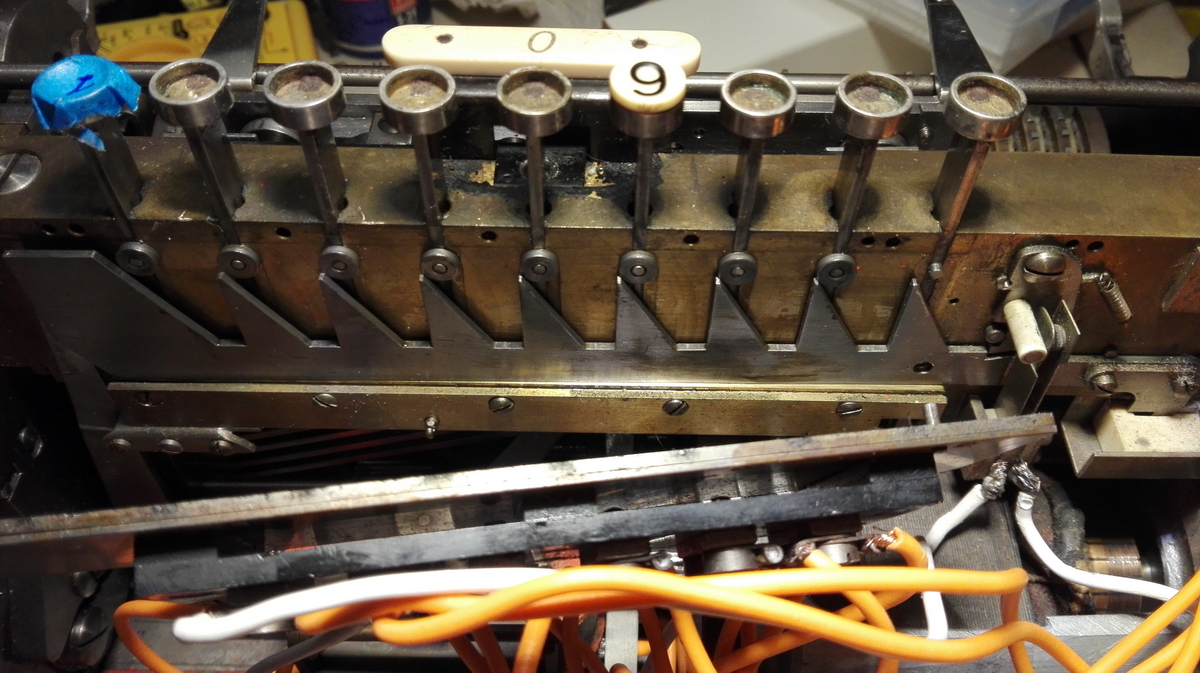
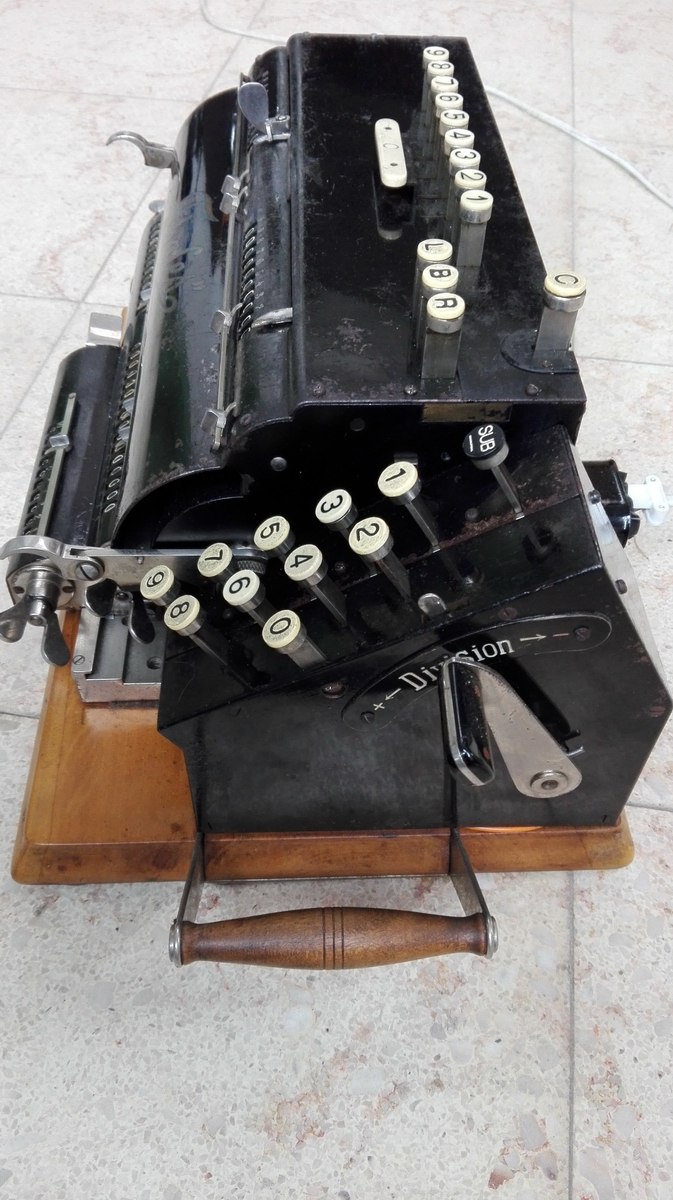
The machine has buttons numbered 1 to 9 on top, as well as three buttons for selecting which register you'll enter numbers into. The location where a number is set is controlled by a handgrip on top of the left number pointer, that was unfortunately broken off. You set the pointer to the leftmost position you want to enter a number into, and push one of the buttons L, B or R (Links, Beide, Rechts), then key in the number left to right with the numeral buttons up top. Pushing a numeral button will start the motor and enter the digit in the rotor(s), then stop. When the button is released, the electromagnet is operated and the top carriage shifts right, ready for entering the next digit.
Once the carriage is completely to the right, the multiplier preselector frees up for keying in the multiplier. You first set the carriage in the correct position to the right, then key in the numbers of the multiplier one by one, and at the end of every digit multiplied, the carriage tabs left.
For subtraction, there is the "sub" button, which rotates the machine backwards for as long as it is pressed, and completes the last revolution when the button is released.
The division lever has a + and a - side. You start division by pressing the handle to the subtraction side, where it locks. The machine keeps subtracting until the capacity of the register is exceeded, then the machine stops. Now you pull the lever forward, and the machine starts addition cycles, until the register goes positive again (so, 1 cycle if al is well), the cycling stops, and the carriage tabs left. In that way, you can keep alternating directions until the division is complete.
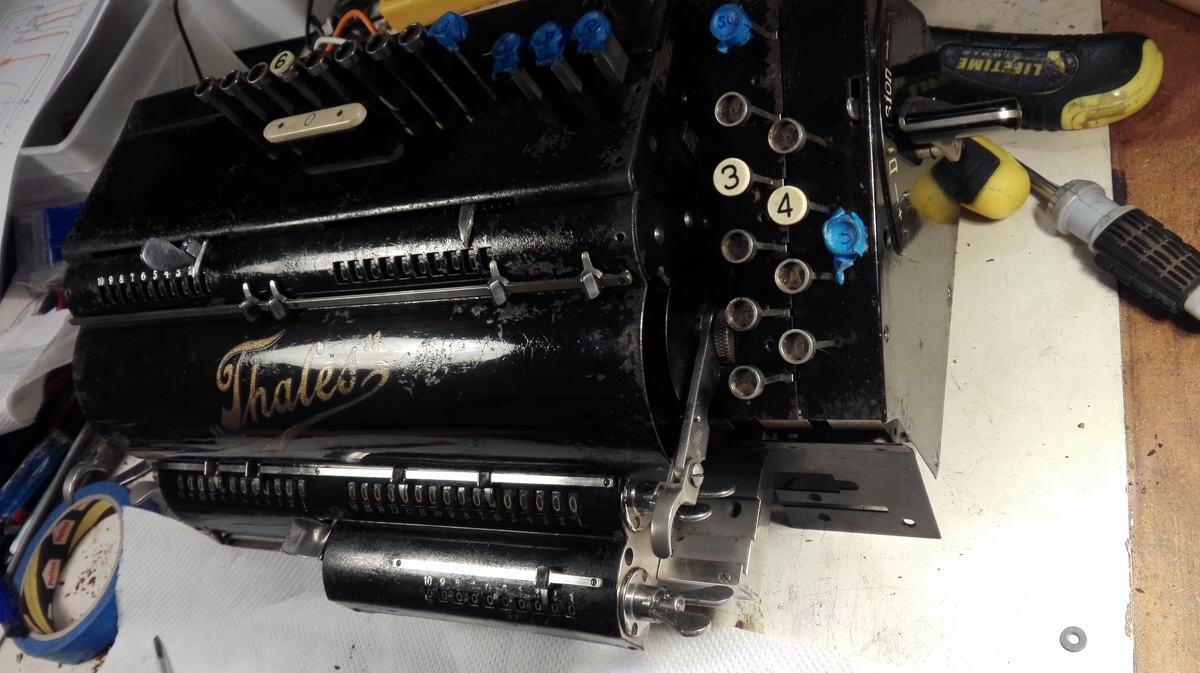
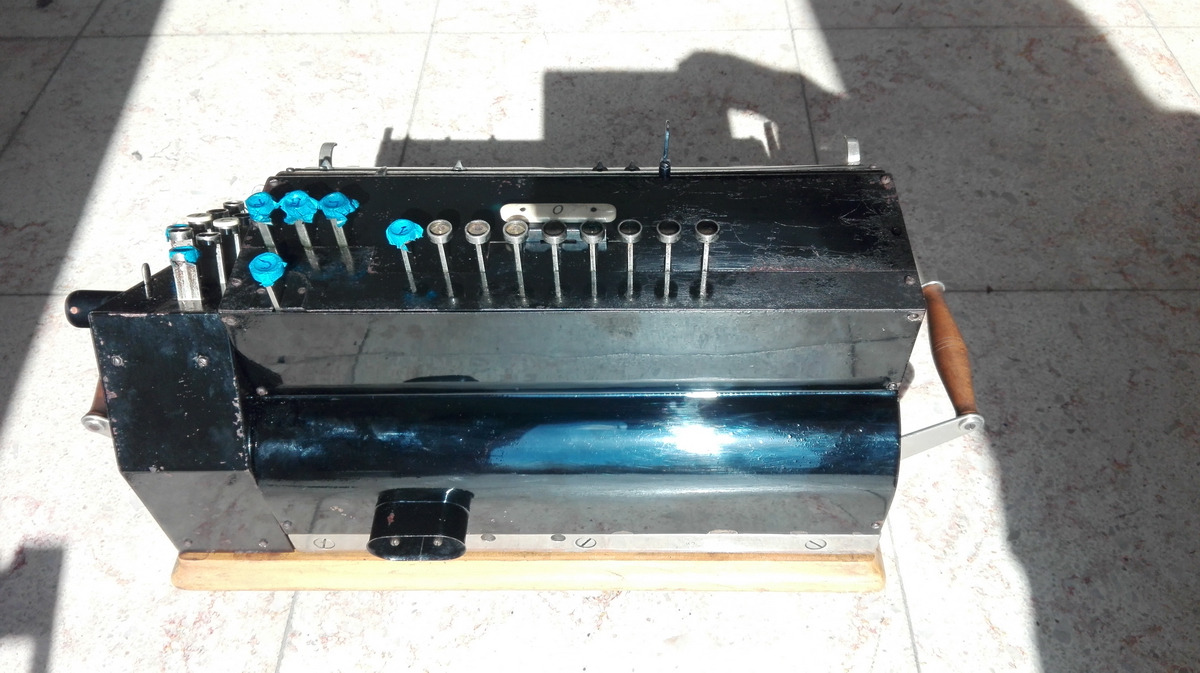
The entire multiplier block can only be operated if the setting carriage is in the rightmost position, and likewise, the buttons for entering digits in the rotors can only be operated when it is not.
There are three more controls which have not been discussed yet. There is a lone "cancel" button at the back of the group of three buttons on top of the machine. This works in conjunction with the nickeled knob sticking out the left side of the machine. If for some reason one of the pinwheels is too stiff to be operated by the motor alone, the operator can give a small assist by turning this knob, but numbers can only be increased by it, because it rotates only in one direction. The "cancel" button allows to rotate this knob counterclockwise and also decrease a number in a setting position if an error has been made.
Finally, there is the "0" button on the multiplier, which will tab the carriage left when pushed. The small nickeled lever on the multiplier block serves to interrupt a running division. Clearing butterflies on the carriage are self-explanatory, and the clearing of the input requires to push the clearing lever up on the side of the rotor that needs clearing, otherwise the clearing bar will pass without touching the setting pins.
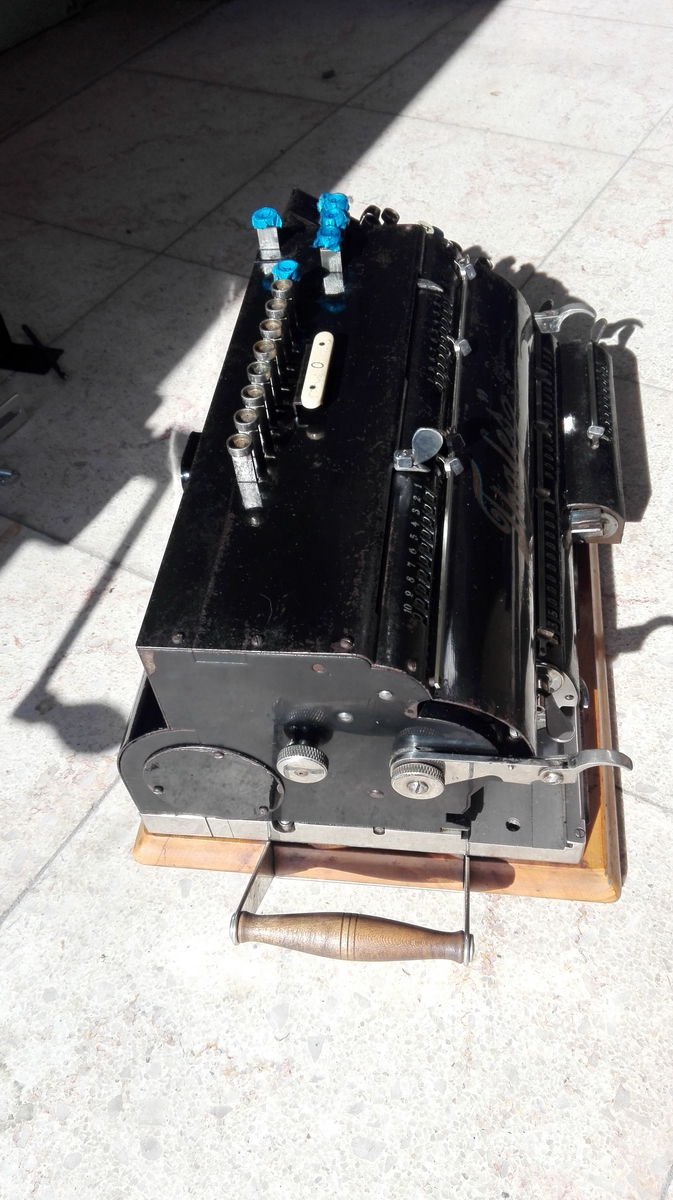
So that is a brief description of the operation, now on to the process of repairing and recommissioning a machine that had not been moved for decades. This is how it arrived in the workshop:
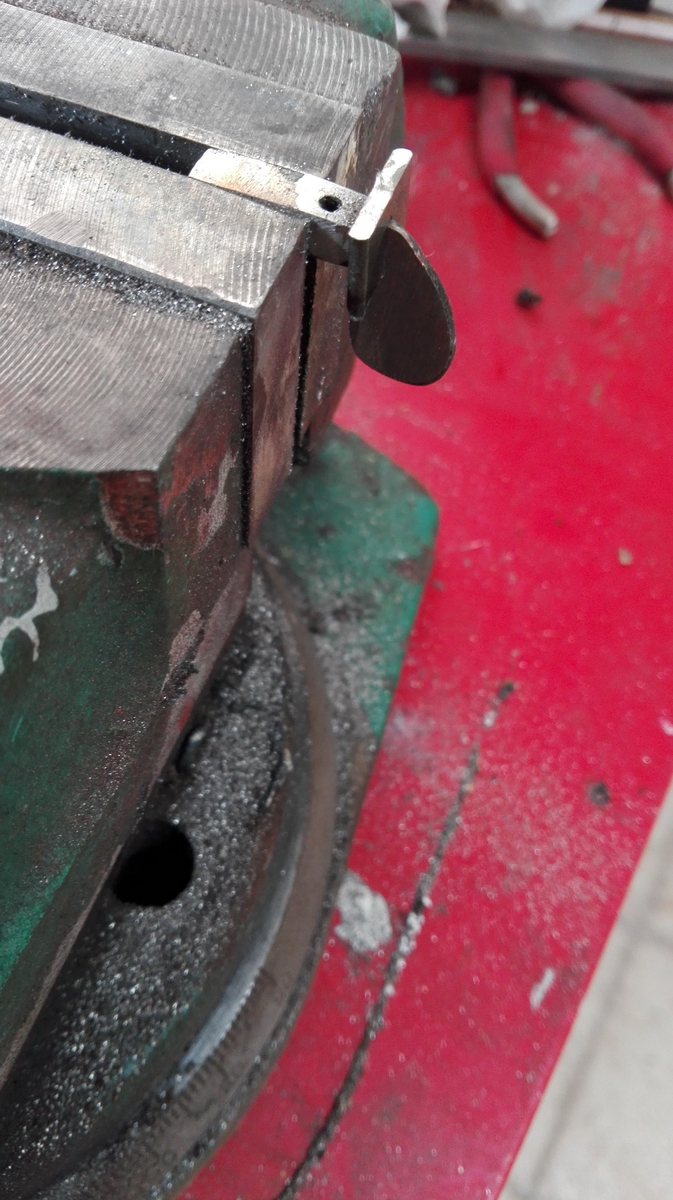
Broken pointer:
Rust, stickiness and corrosion...
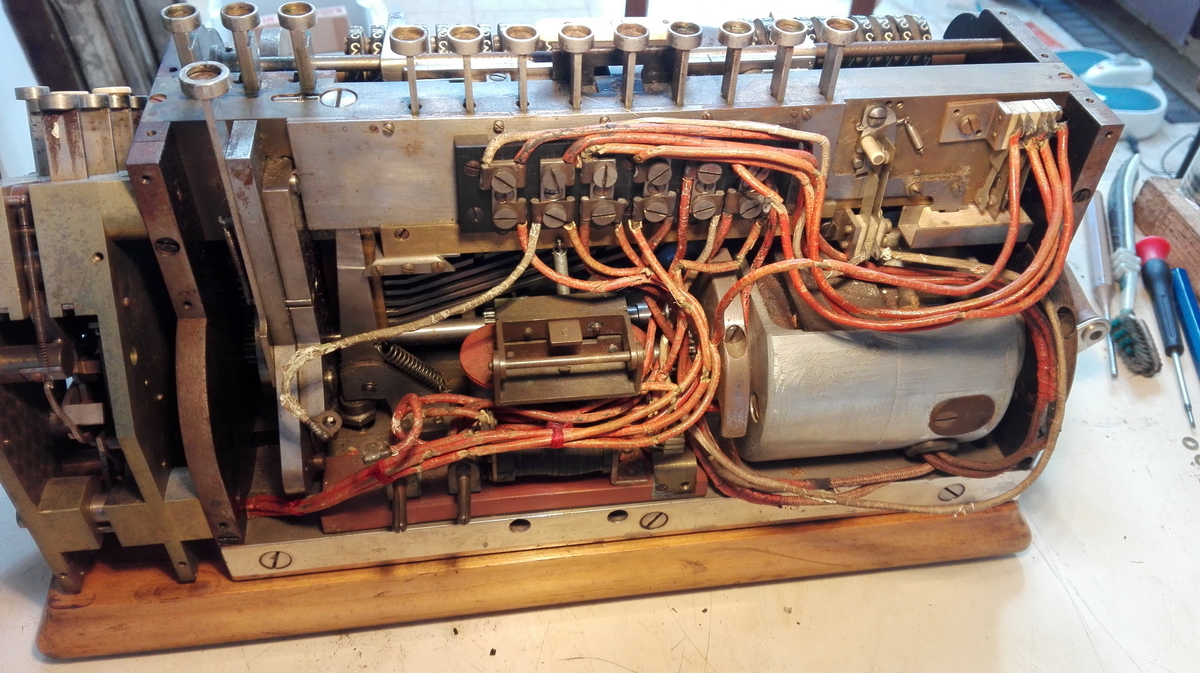
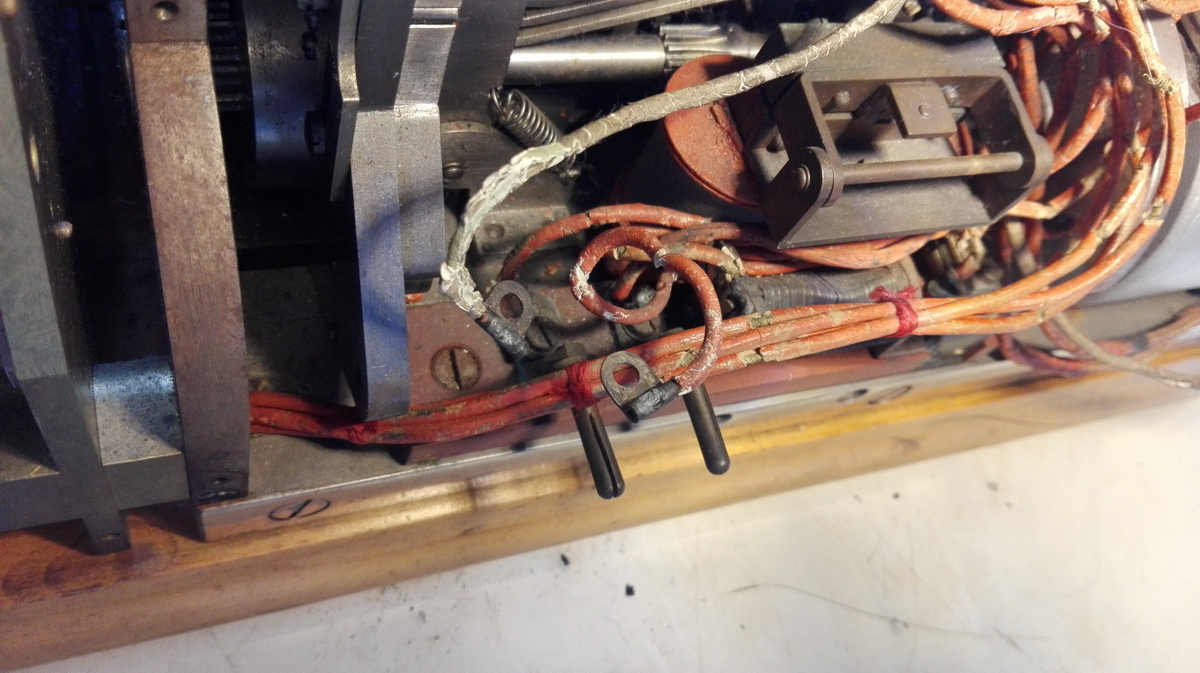
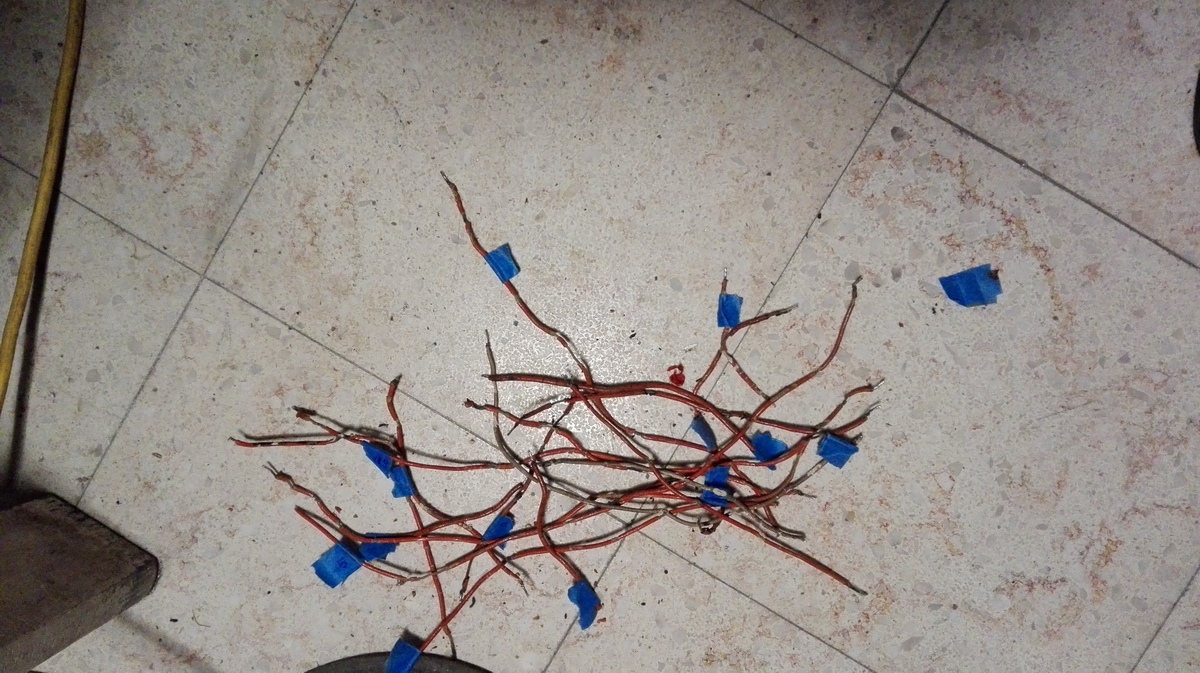
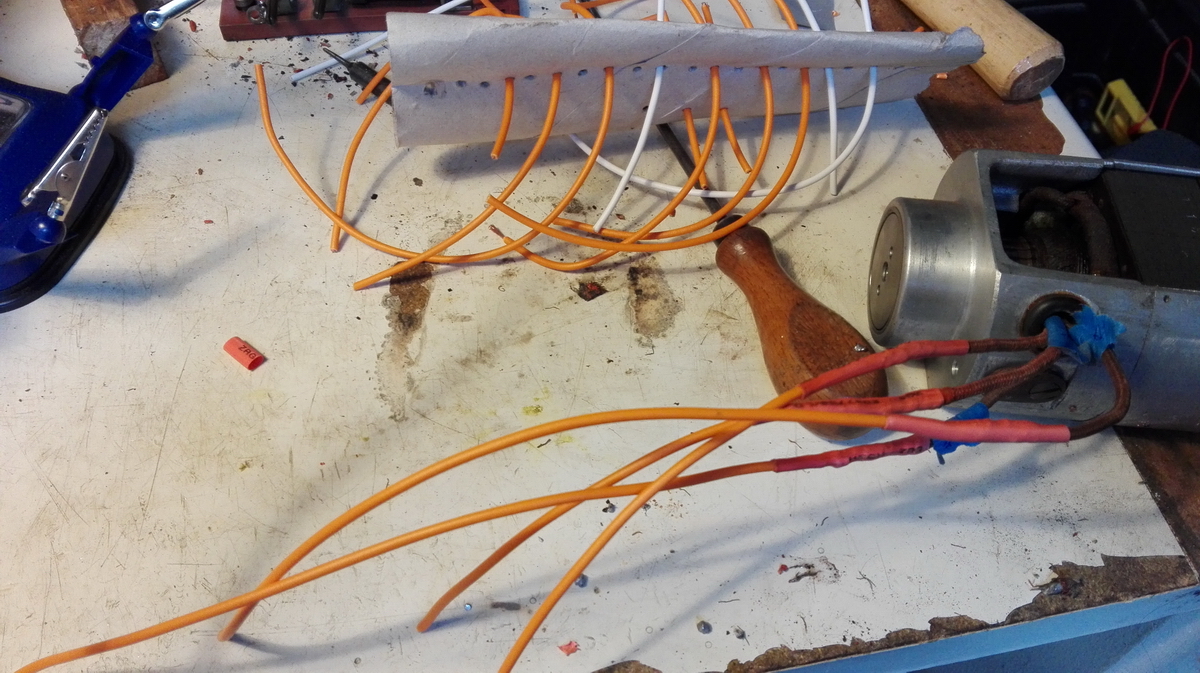
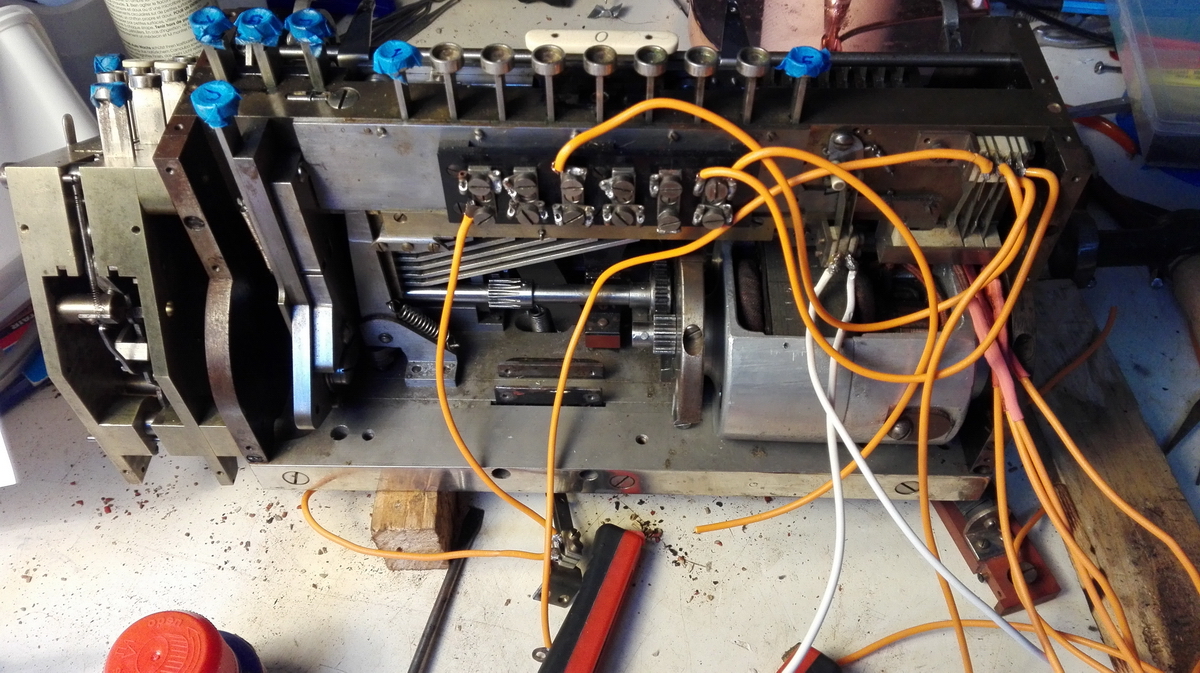
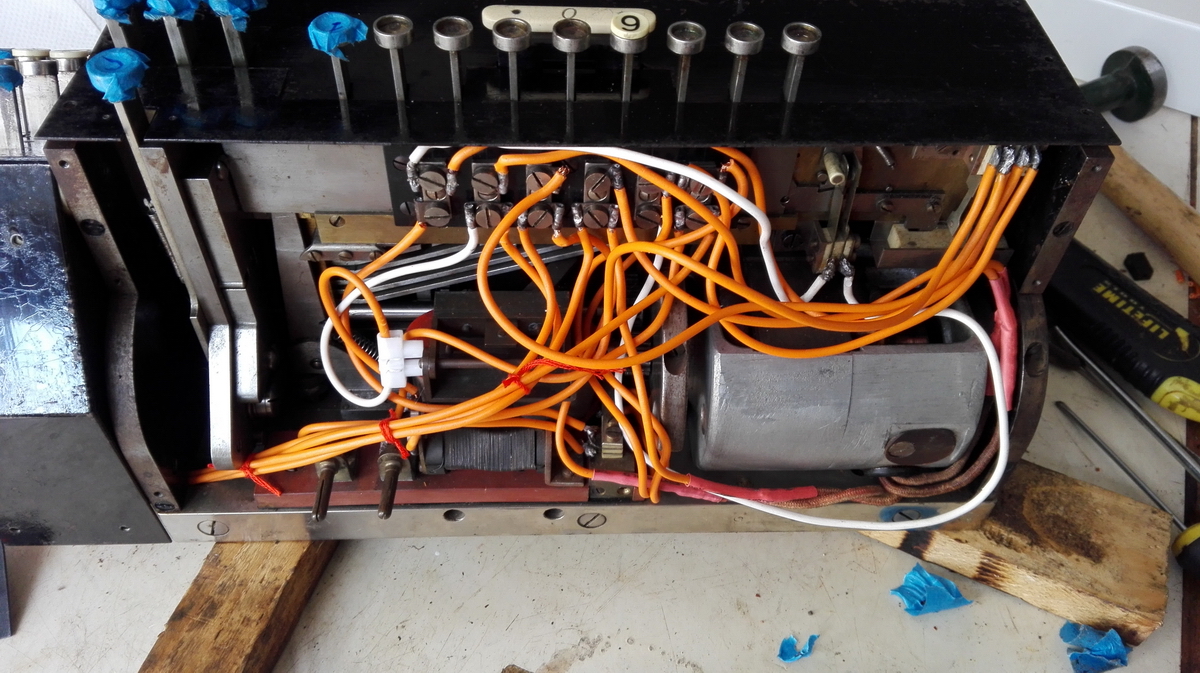
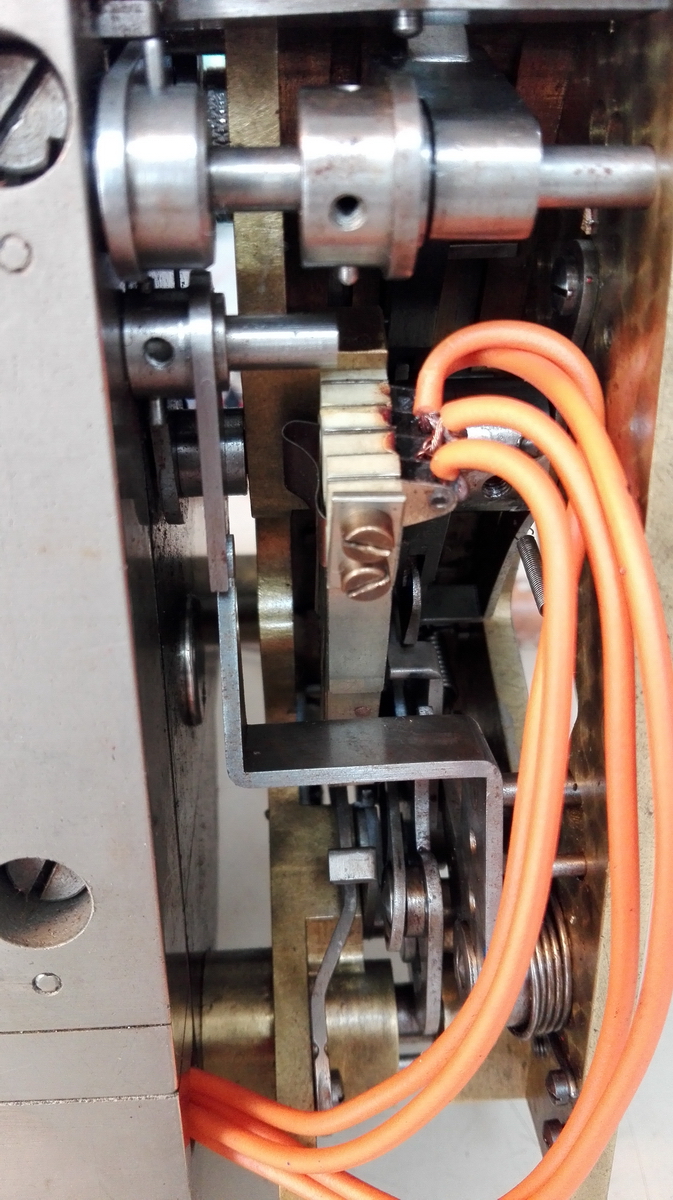
Not to mention this rats' nest of crumbling wiring.
Missing capacitor:

I started by lubricating everything that seemed to be stuck, mainly the setting mechanism. Then I made a wiring diagram and took out all the old, crumbling wiring.
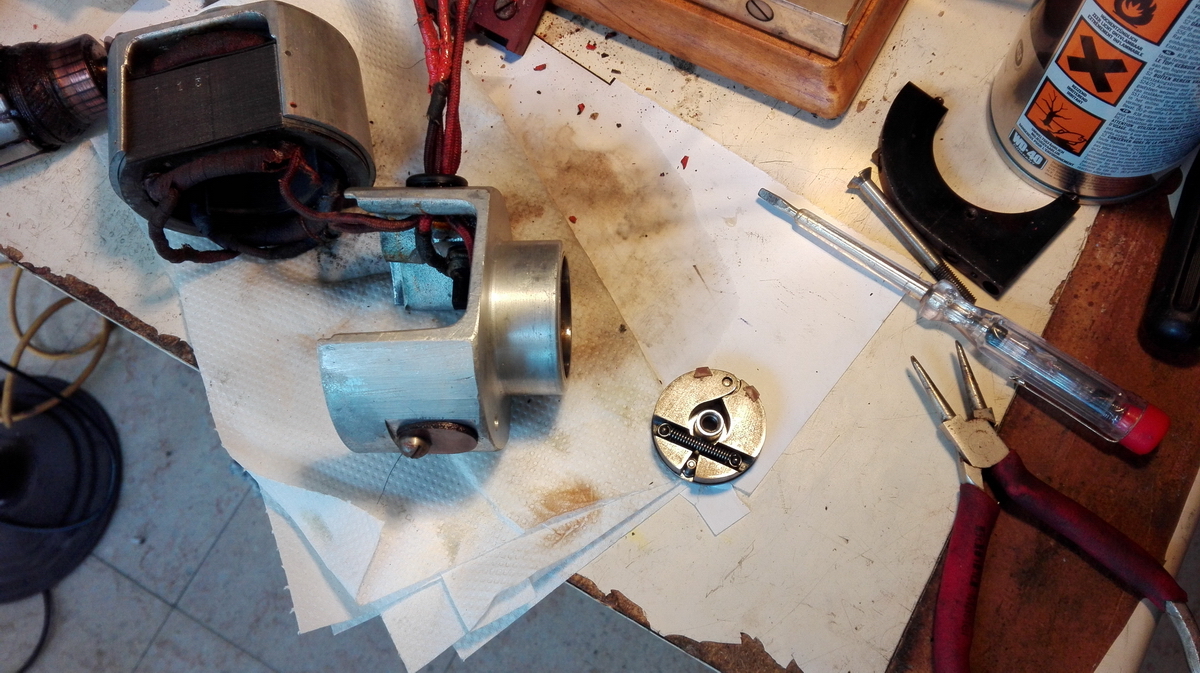
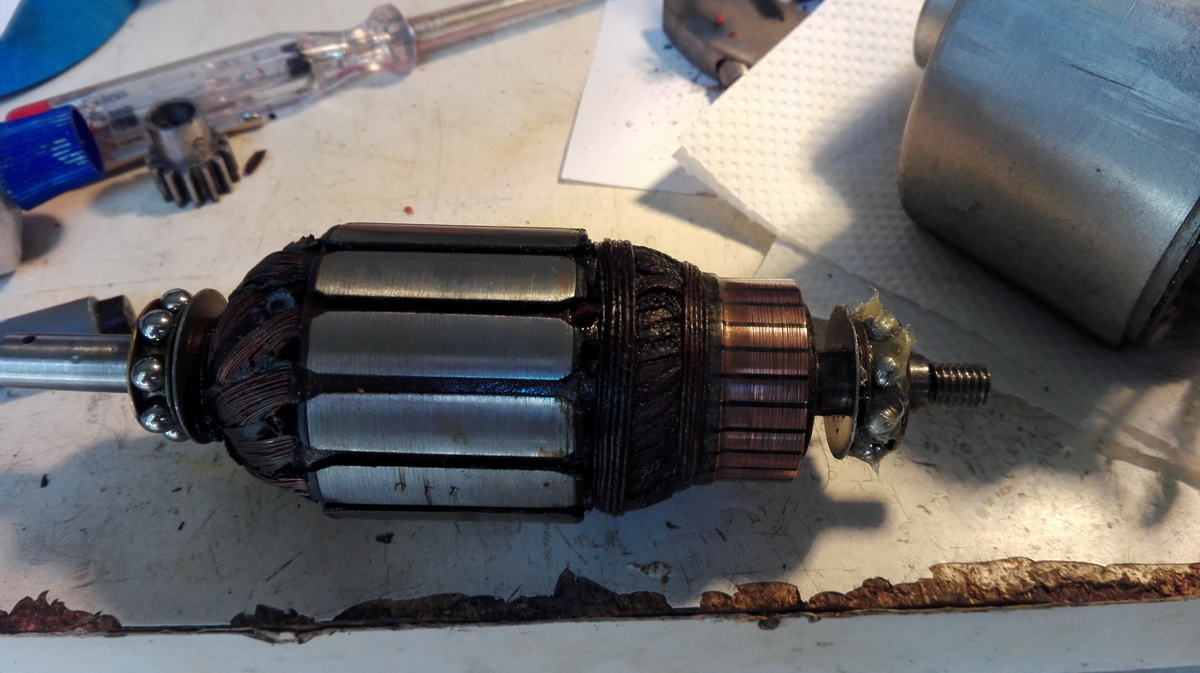
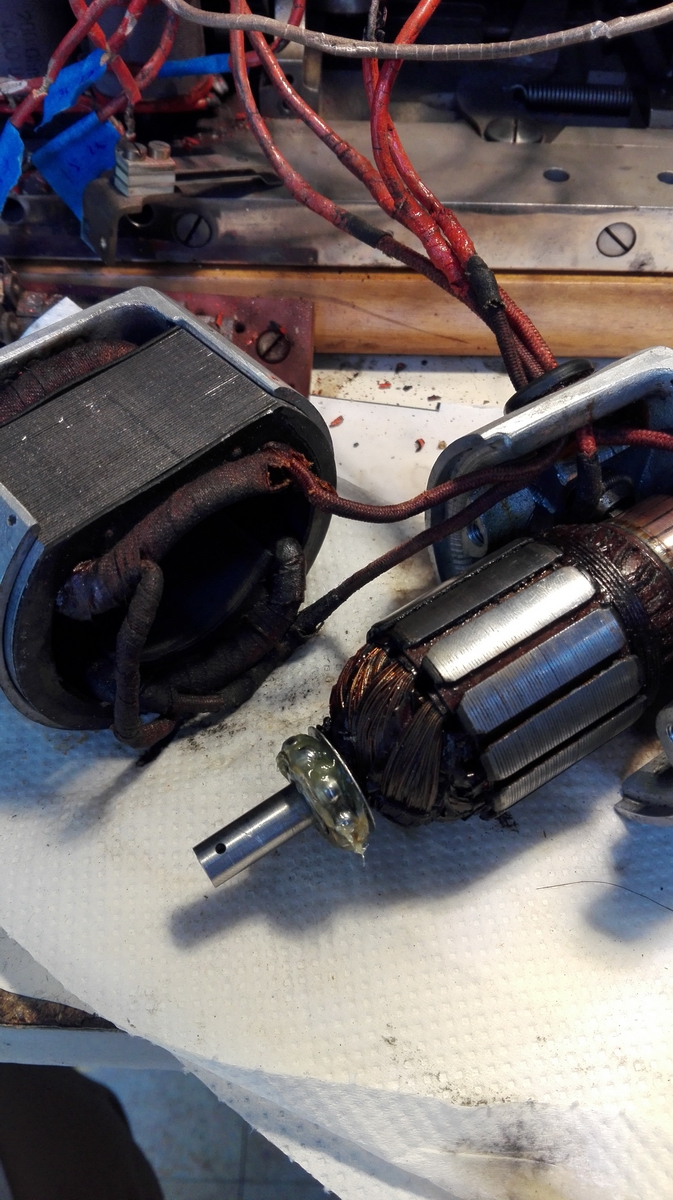
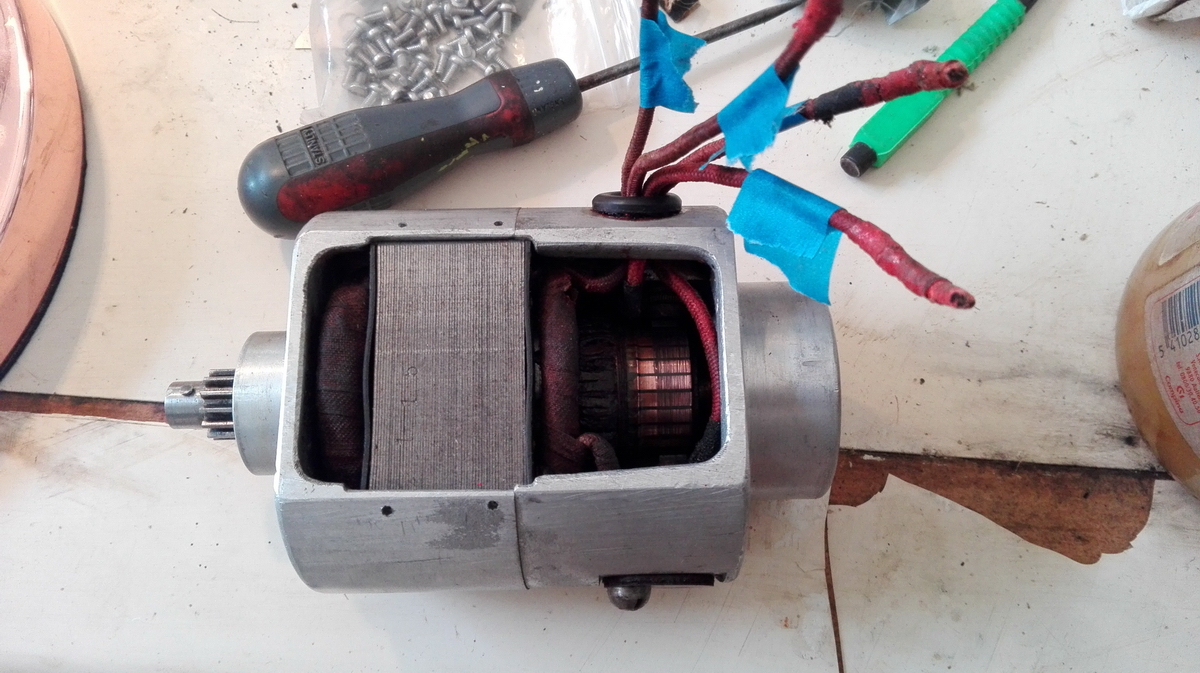
I then took the motor apart, tested the rotor and stator (all fine, luckily), and reassembled with fresh grease on the ball bearings.

Done!
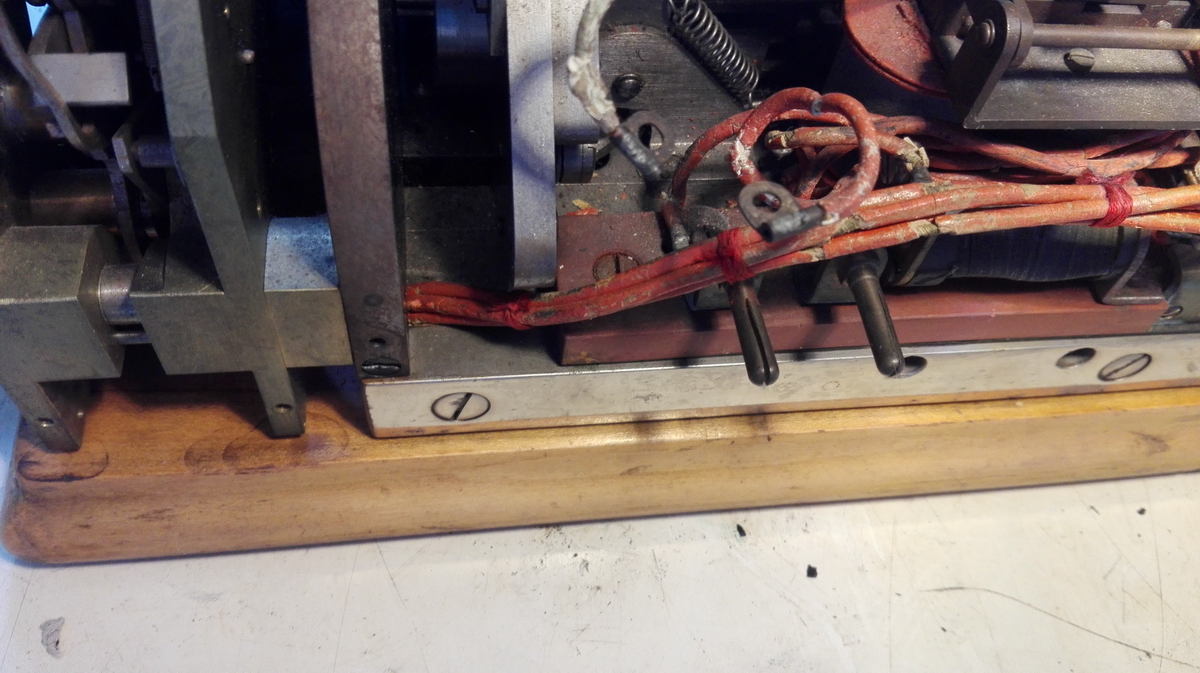
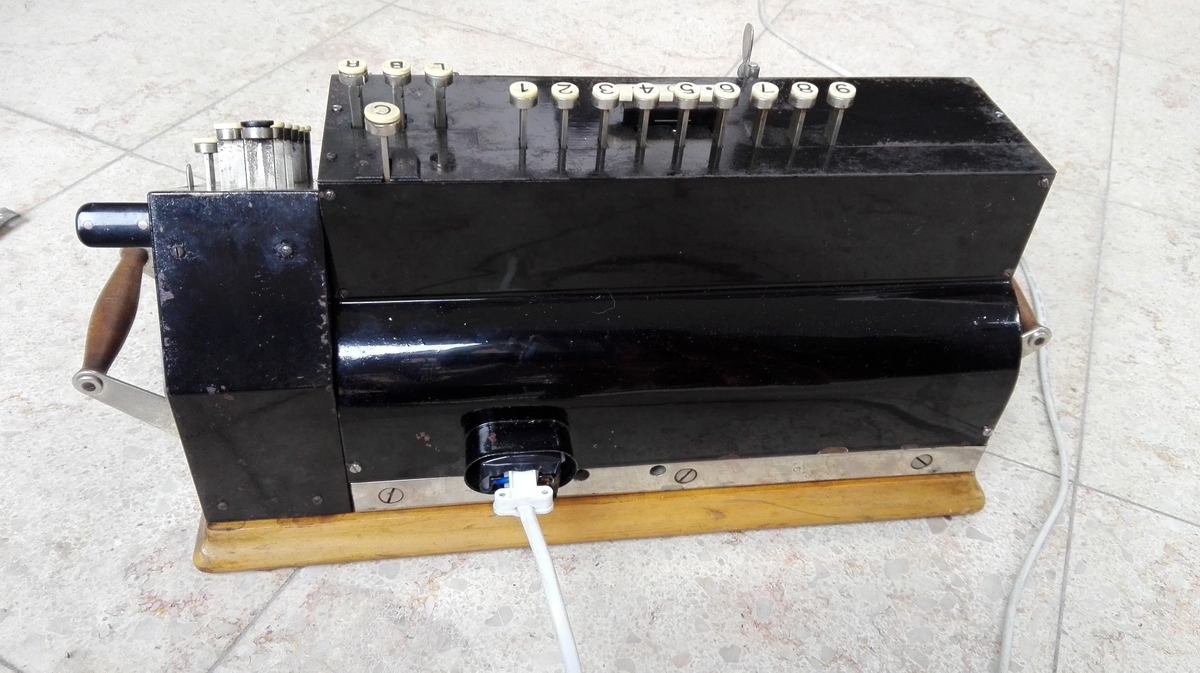
Finishing the disassembly of the wiring required the machine to be taken off its wooden base plate
...because of this at the bottom - the direction switch for the motor for subtraction.
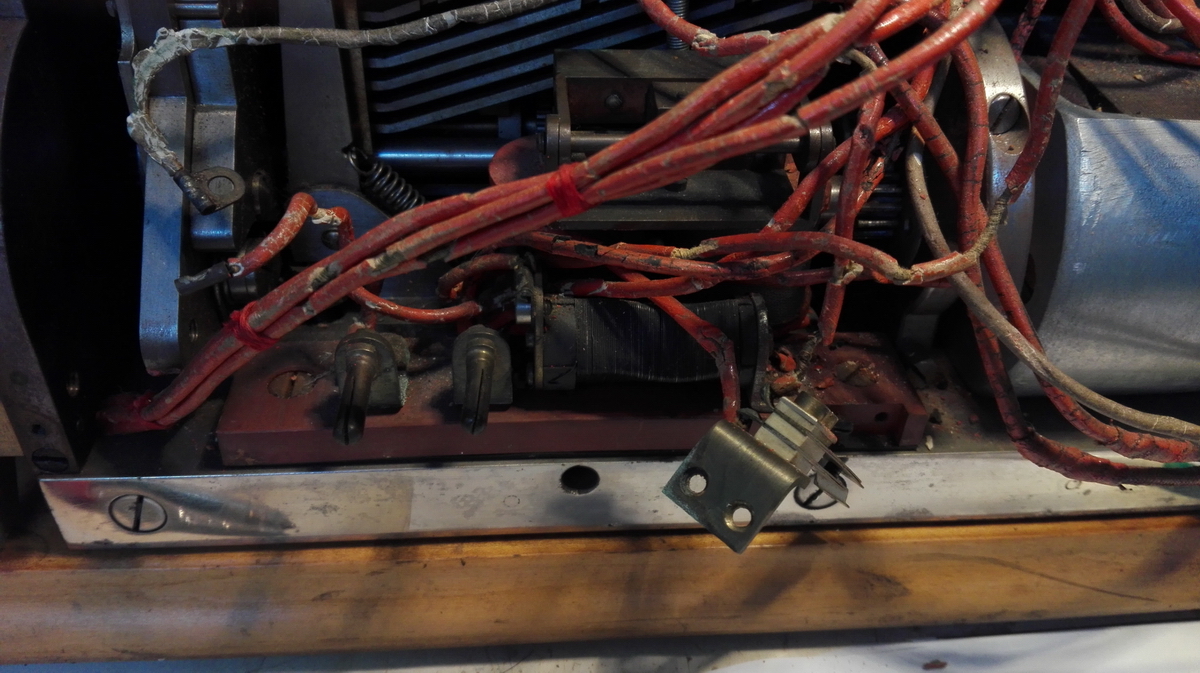
So with that, the machine was cleaned a bit further, and the wires labeled, desoldered from the switches and removed.
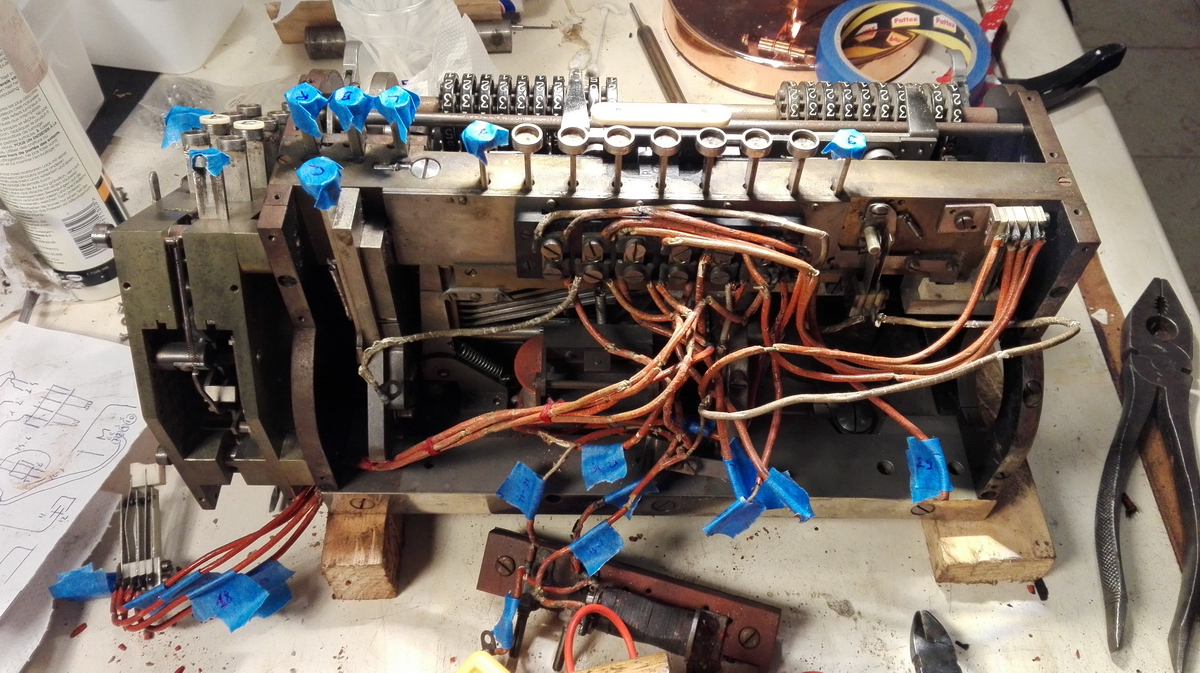

Wire spaghetti ...
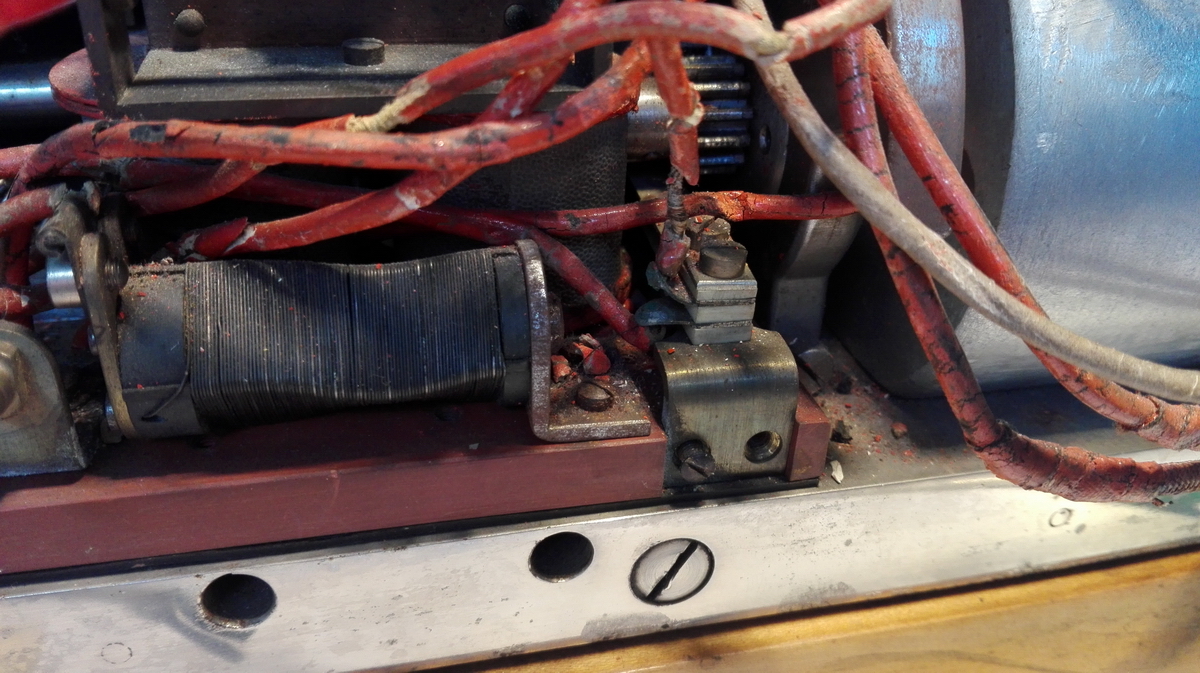
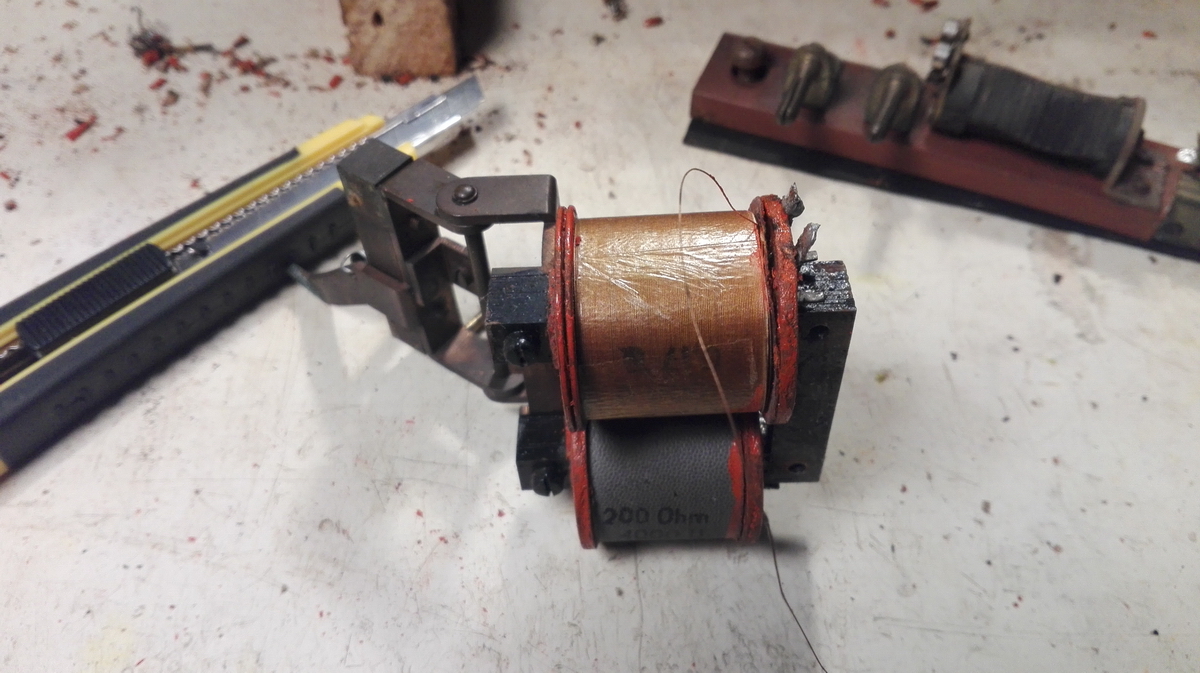
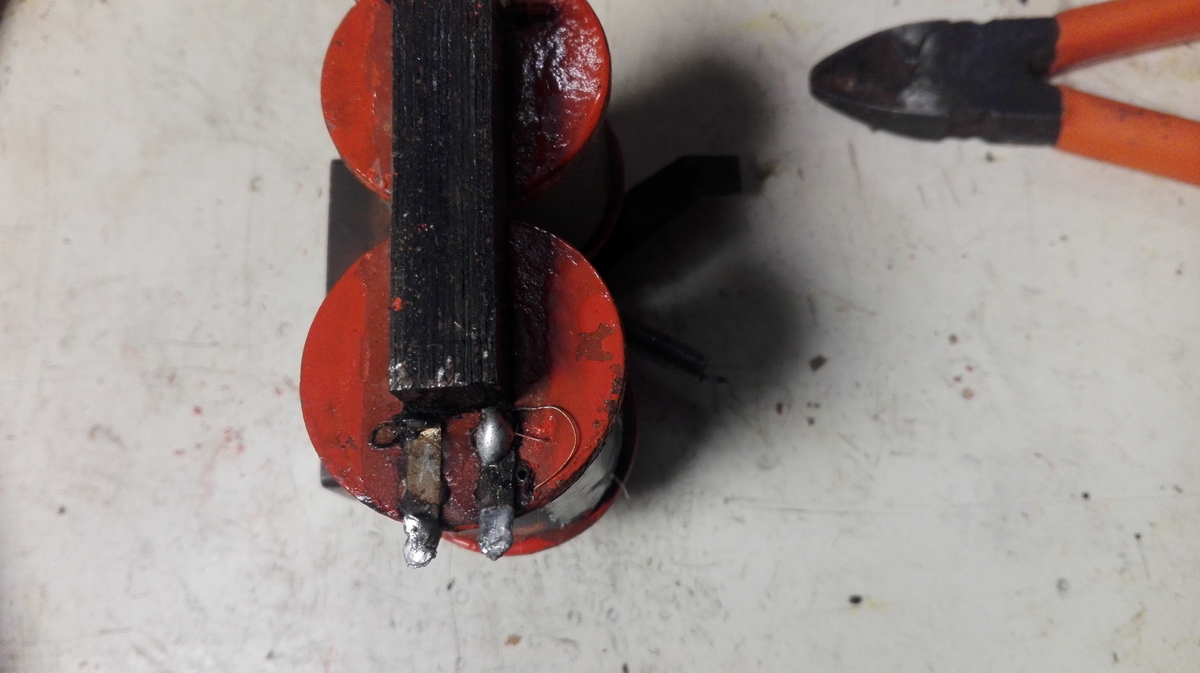
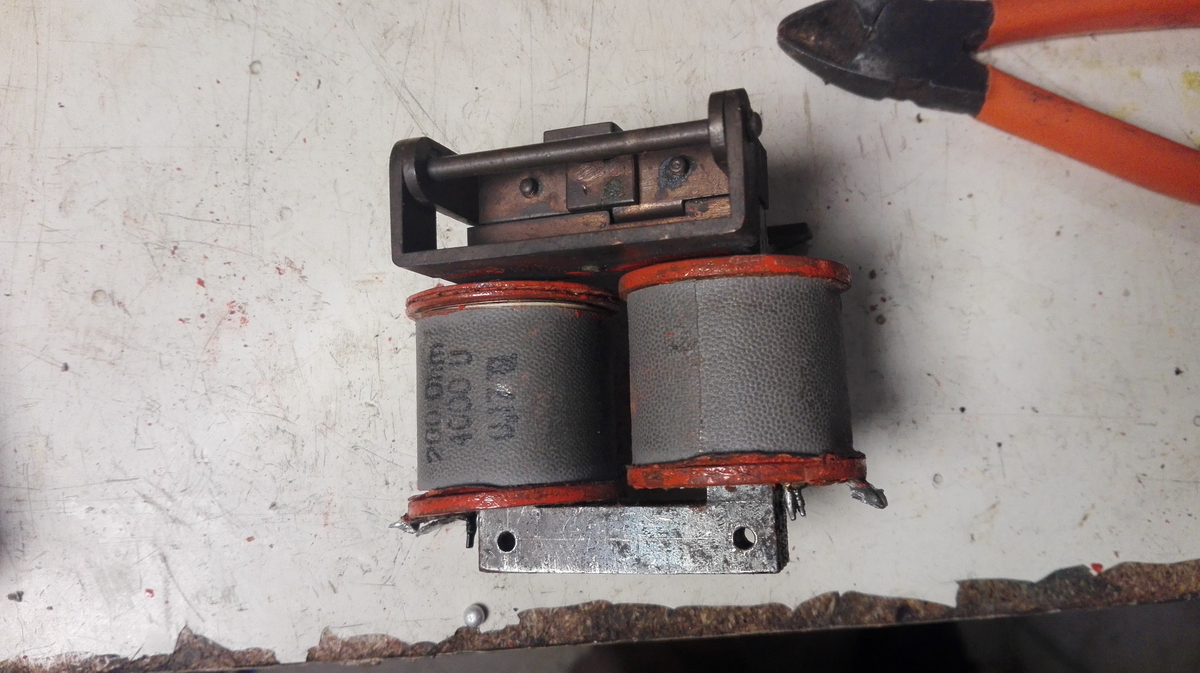
I cleaned and tested all the switches, the resistor and the electromagnet. The electromagnet didn't work, due to a broken wire.
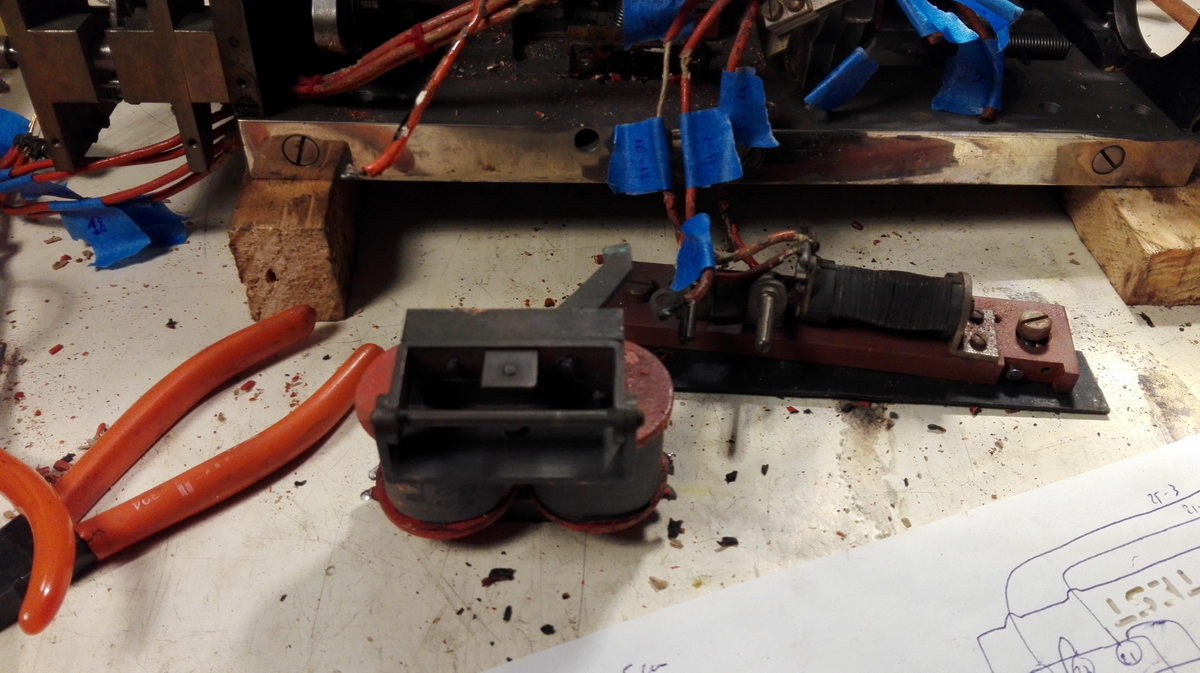
Luckily this was easy to reach and resolder.
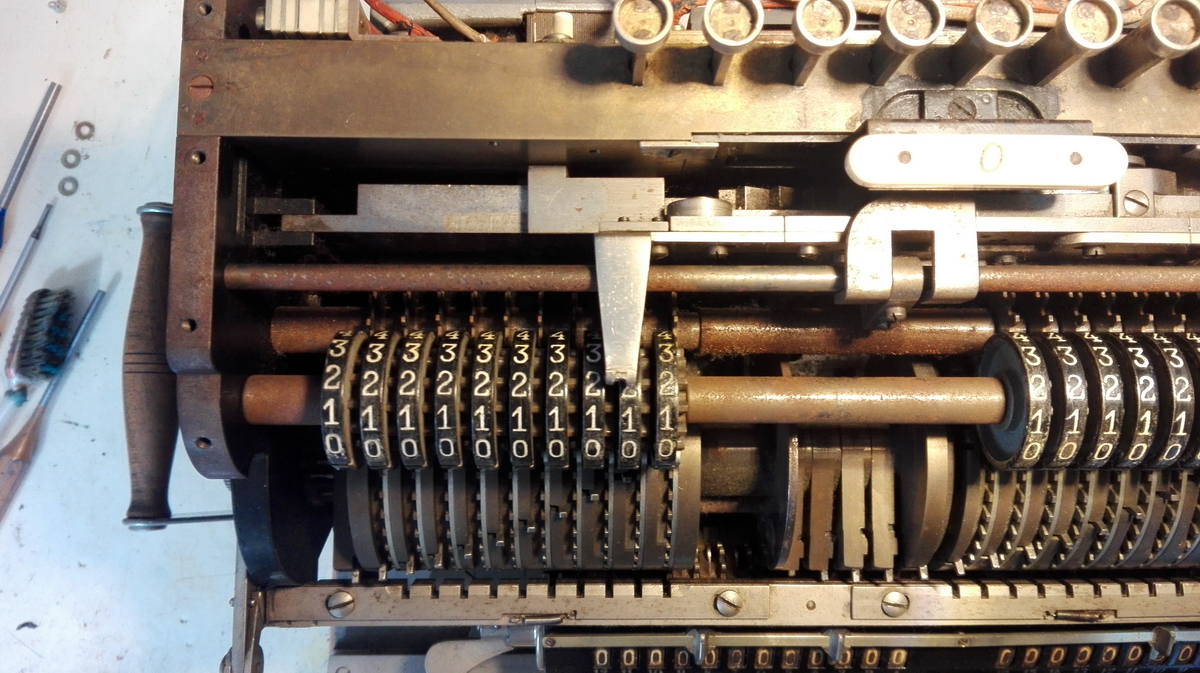
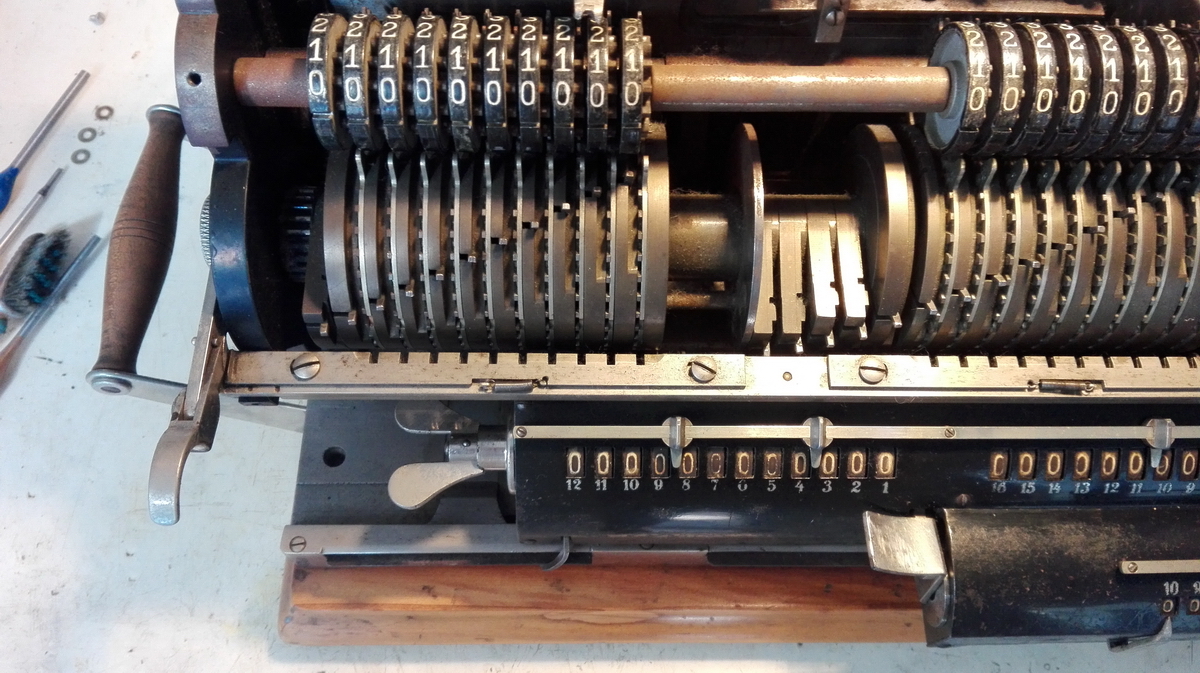
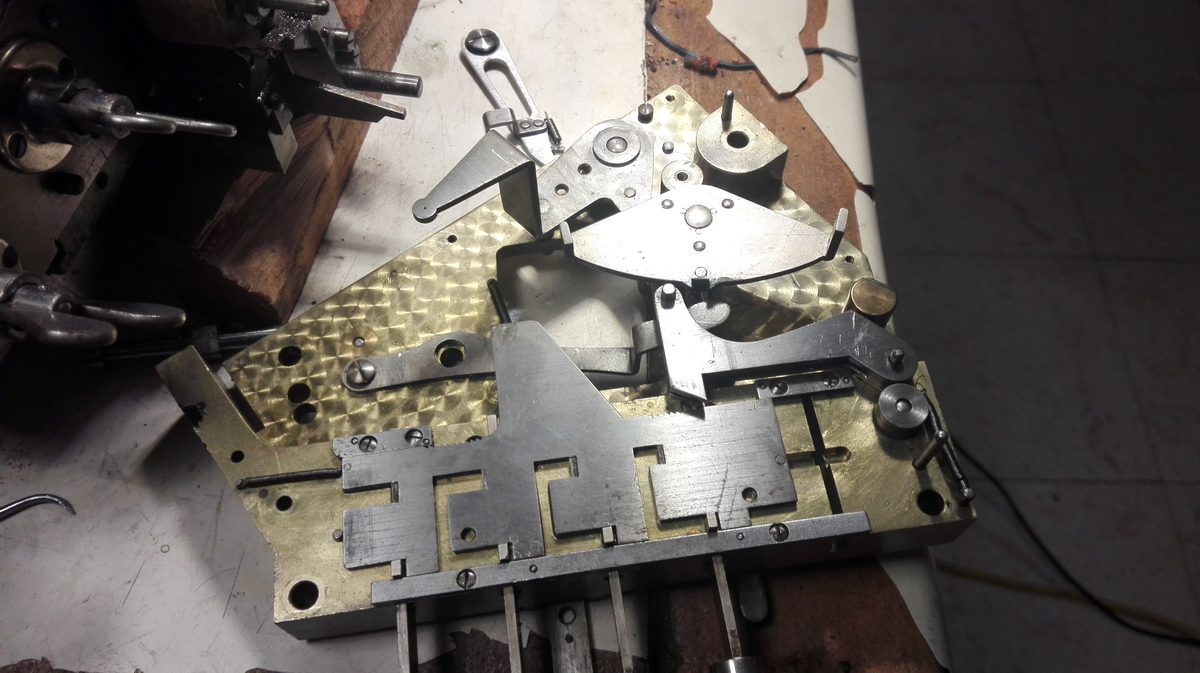
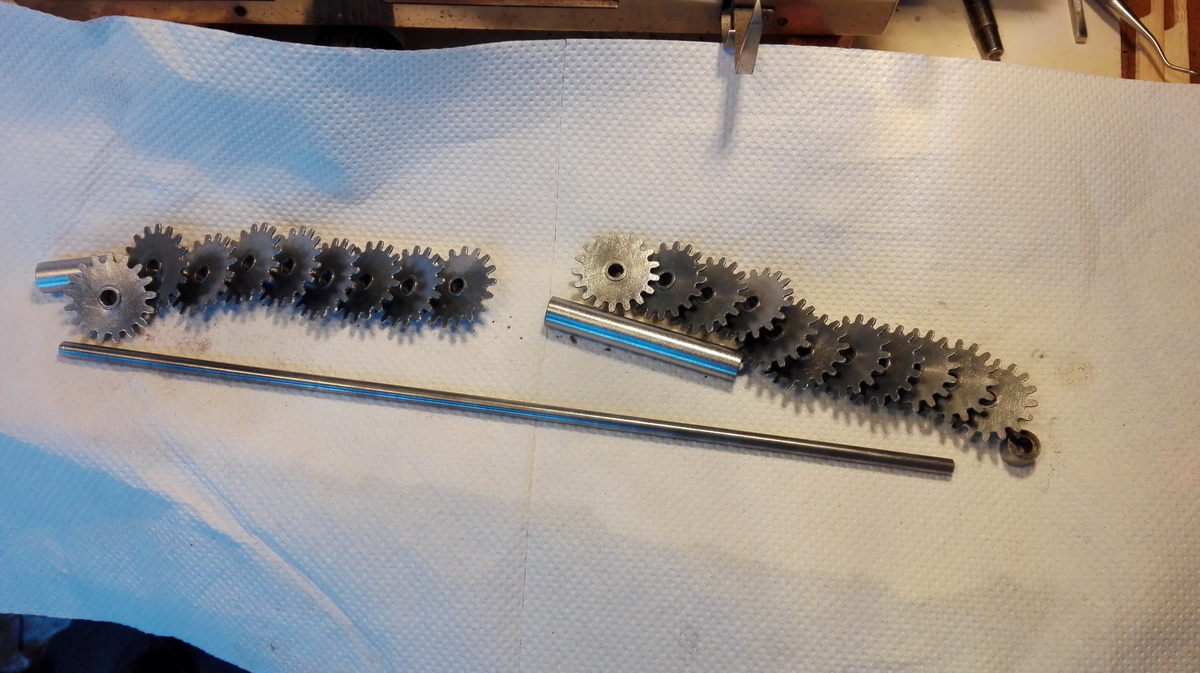
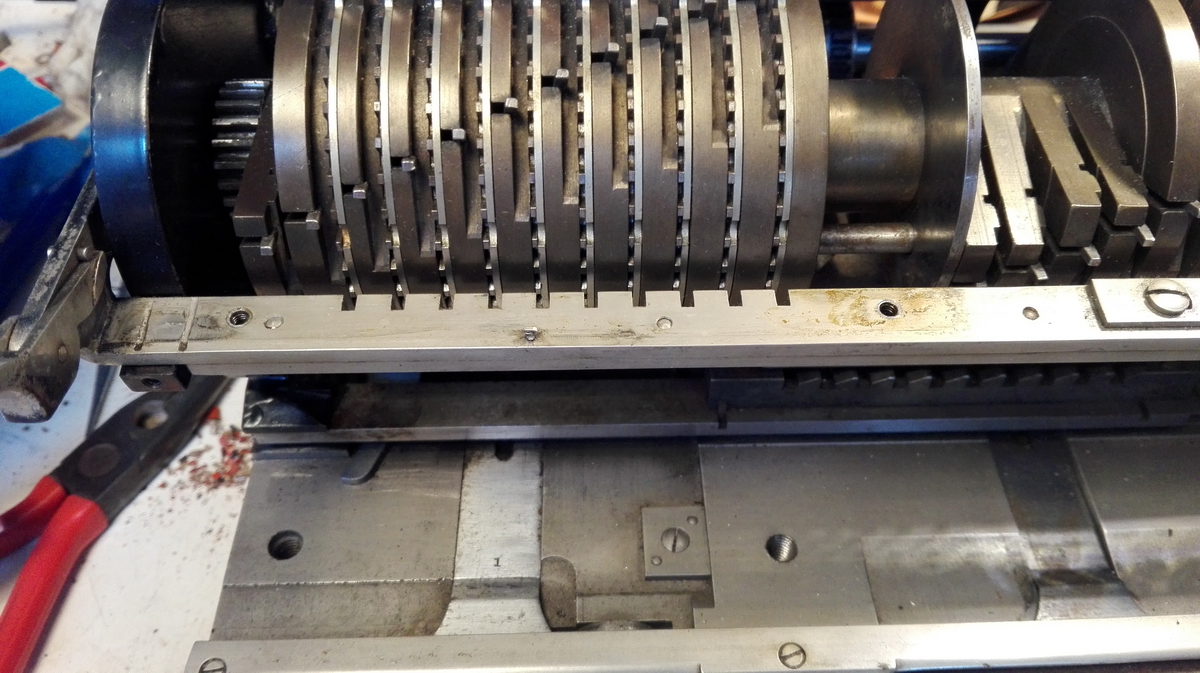
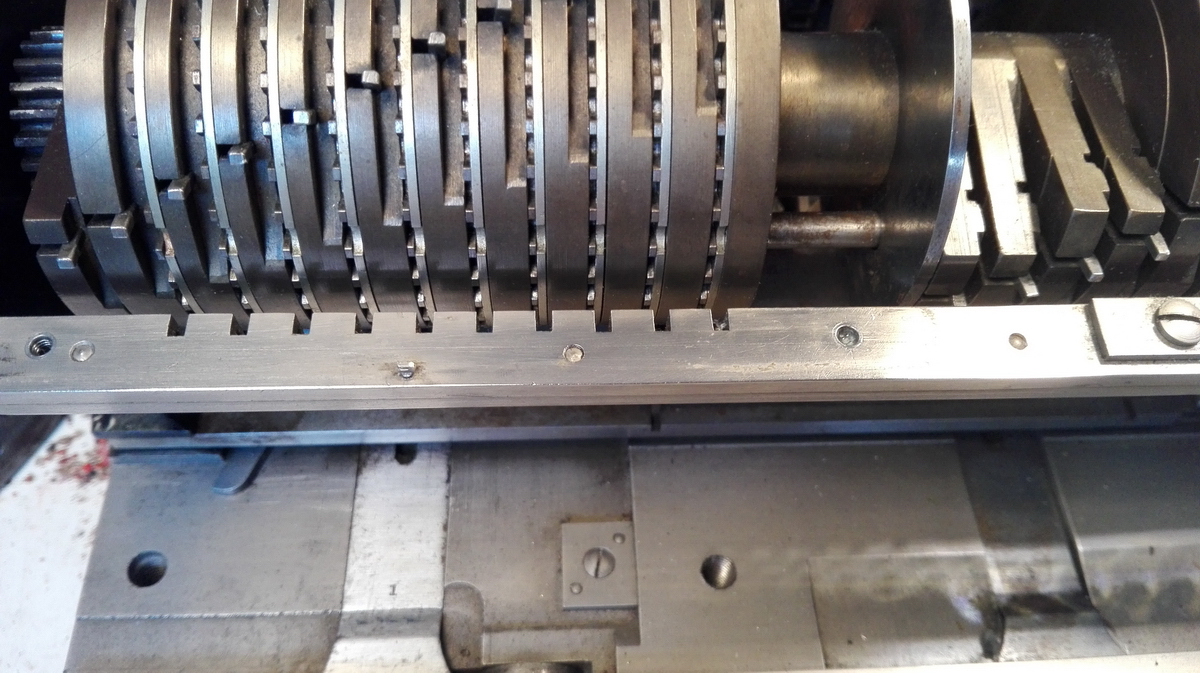
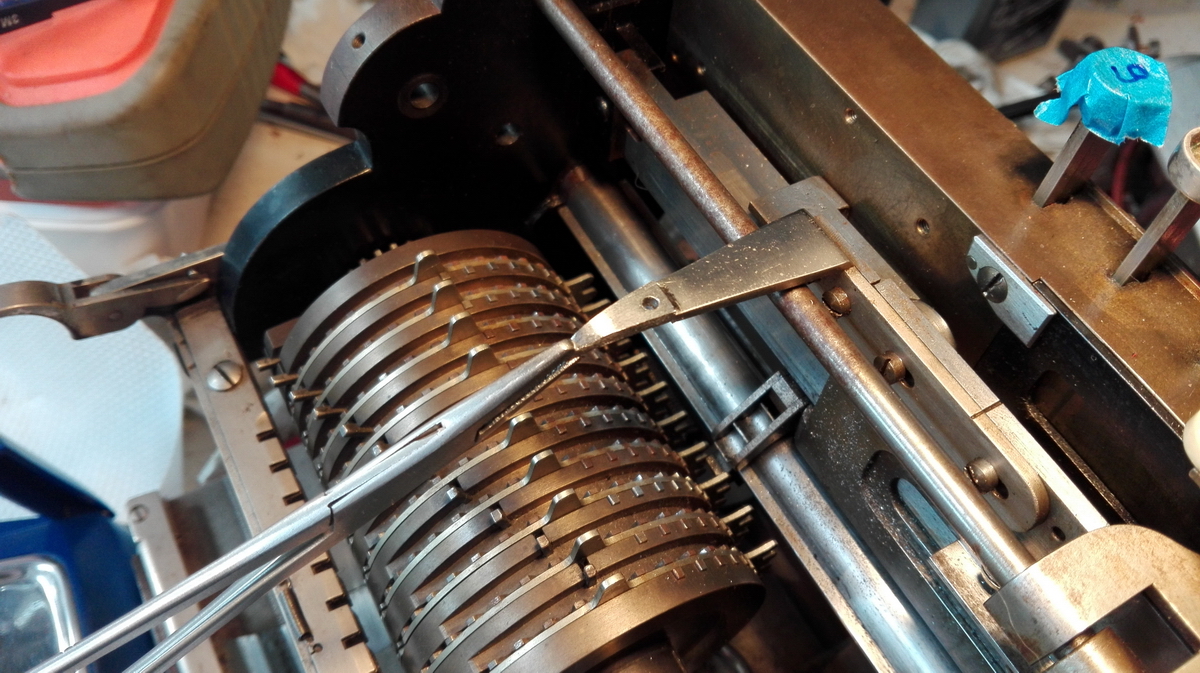
The carriage was cleaned and the setting register taken apart:
Look! no setting register!
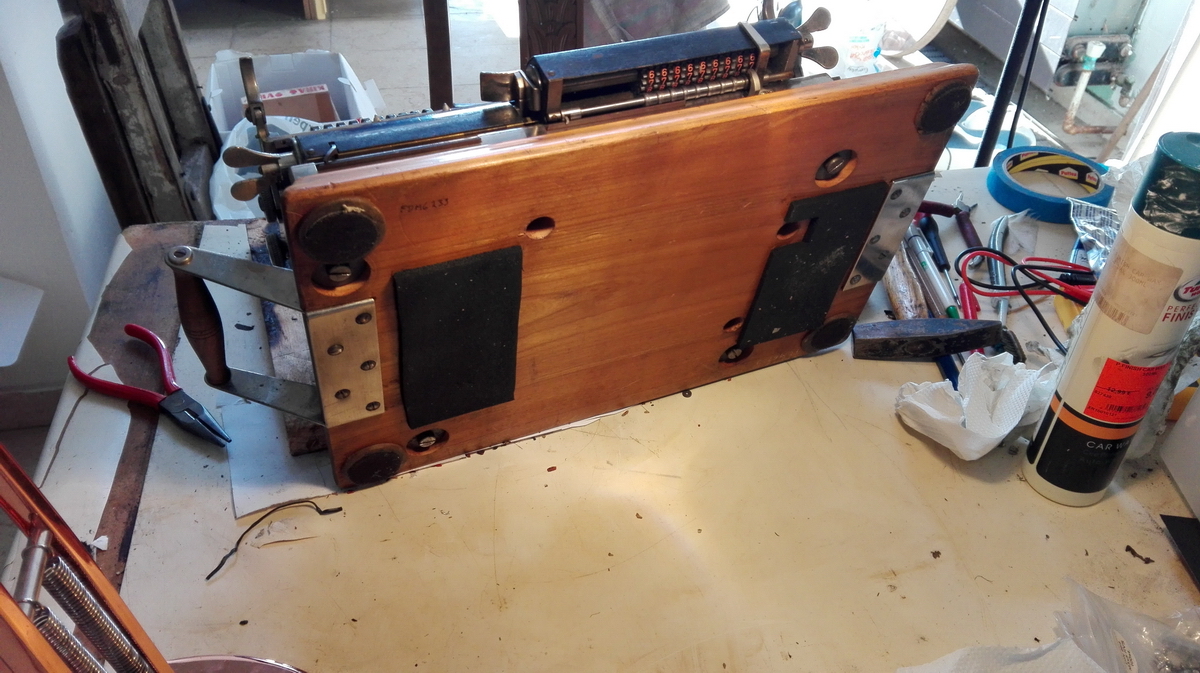
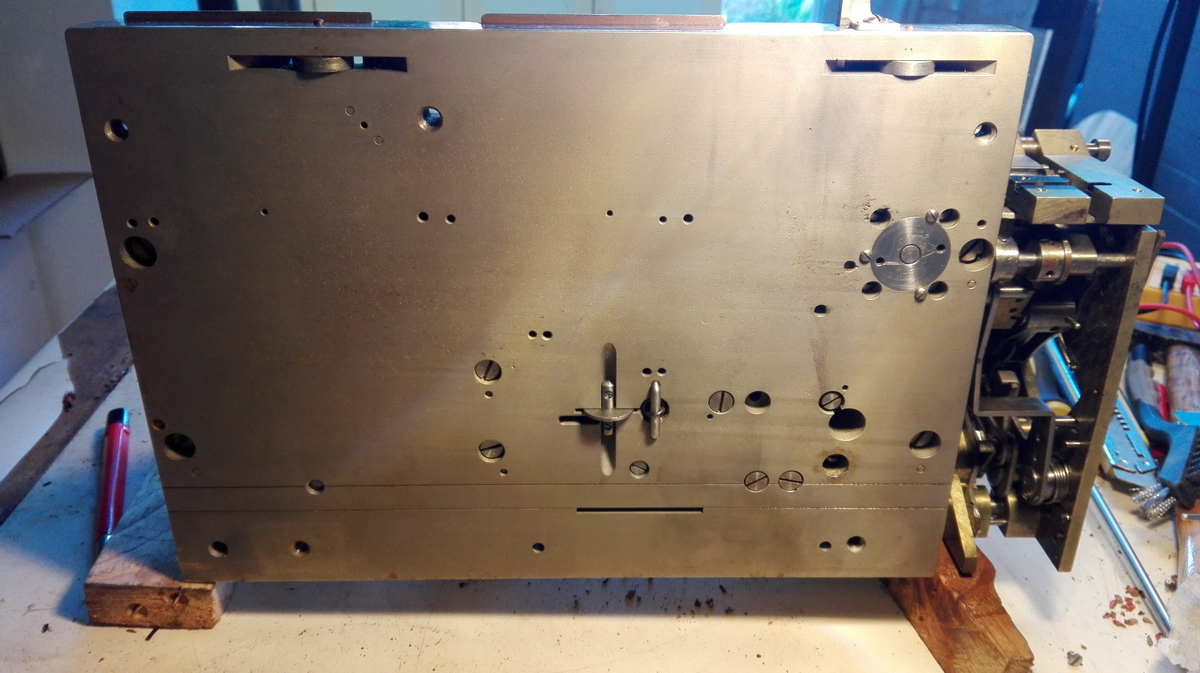
The machine, by the way, is fiendlishly difficult to balance on anything else than its bottom, and then only on its dedicated wooden plate with holes, because all sorts of things are sticking out on the bottom, so it has to rest on two pieces of wood that are judiciously placed not to hinder the function of the machine.
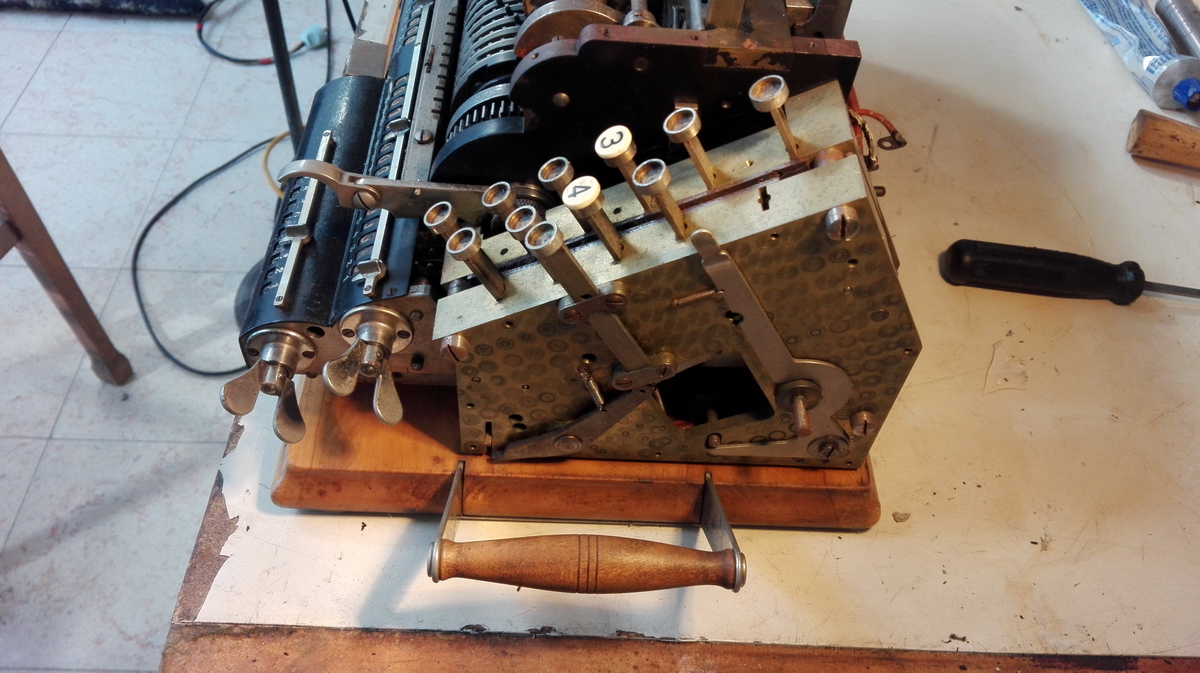
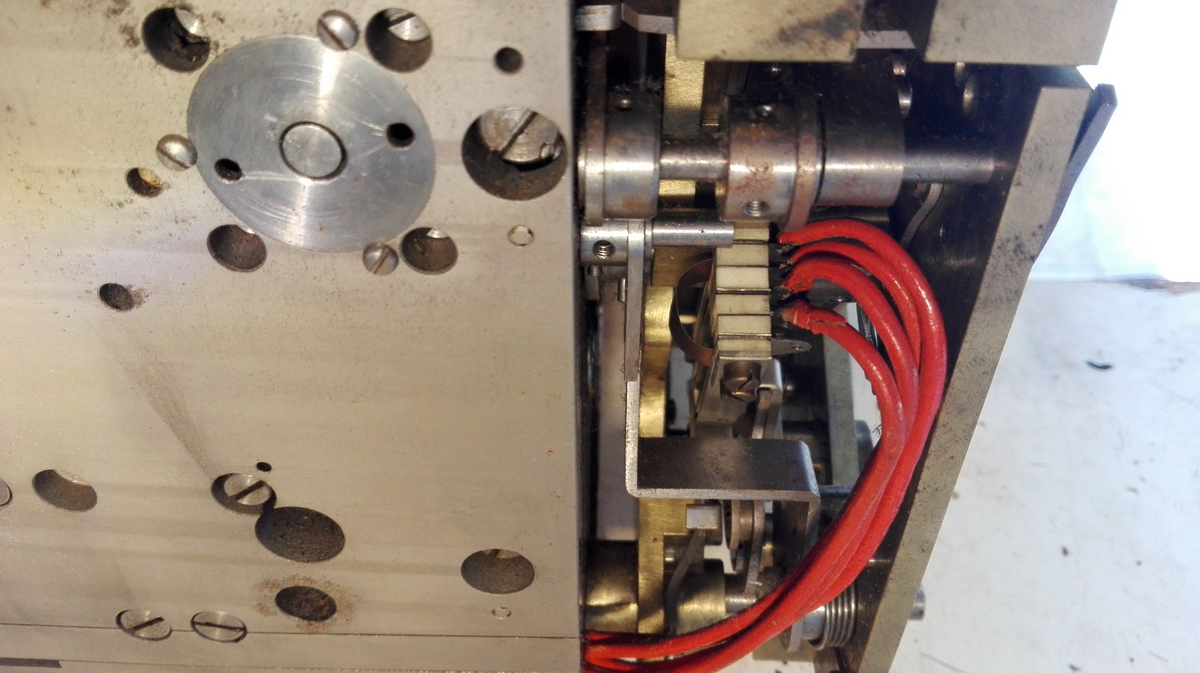
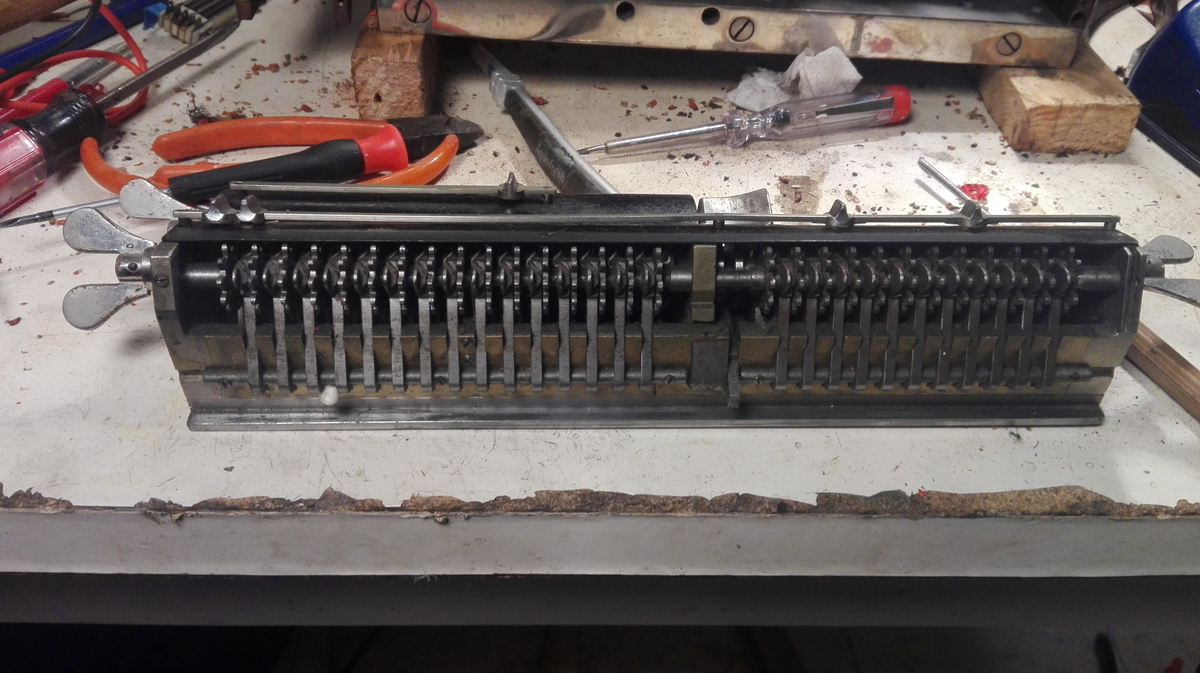
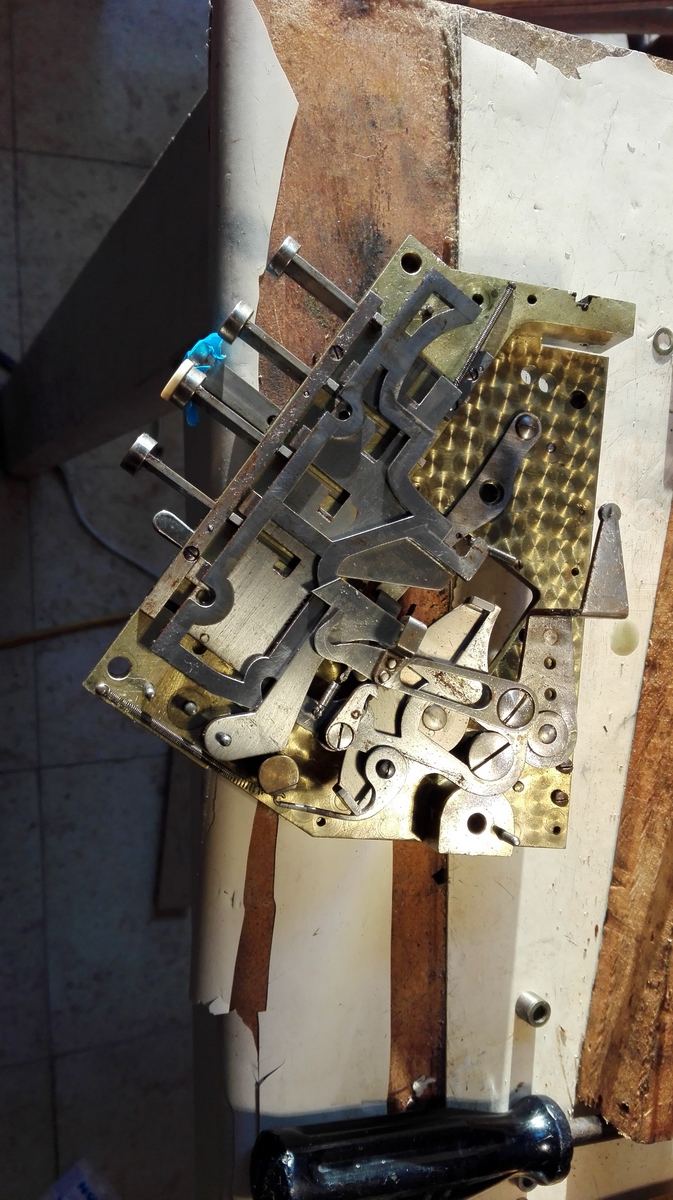
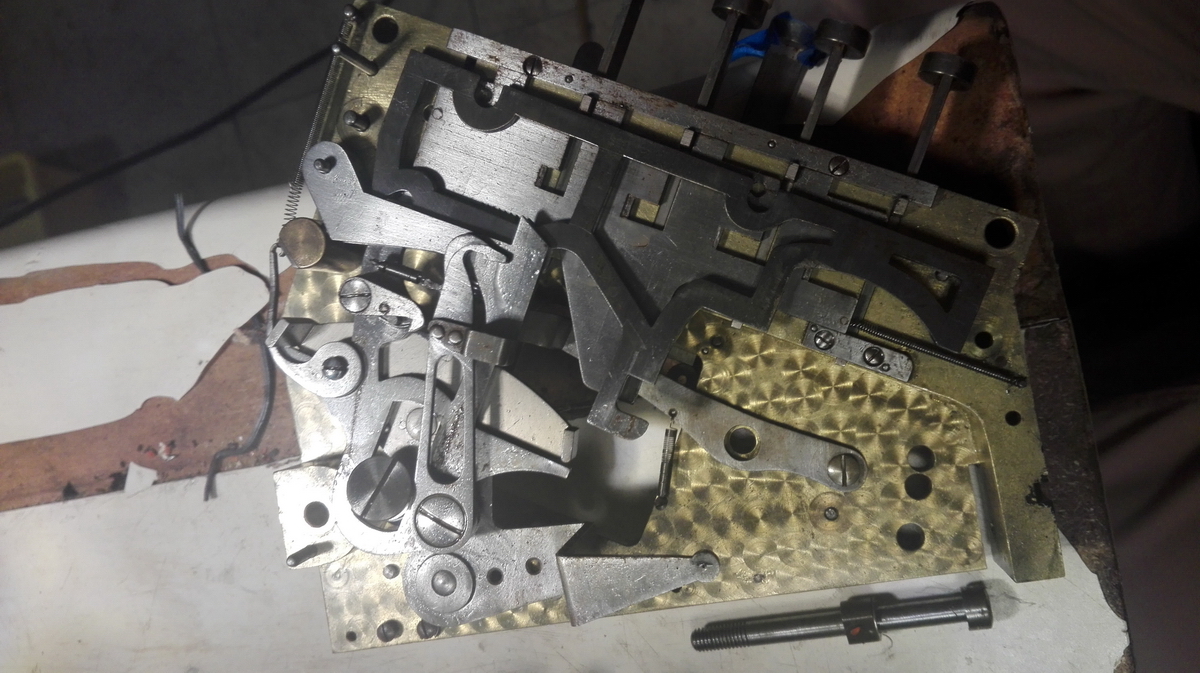
Then we moved on to the multiplier. This is its bottom.
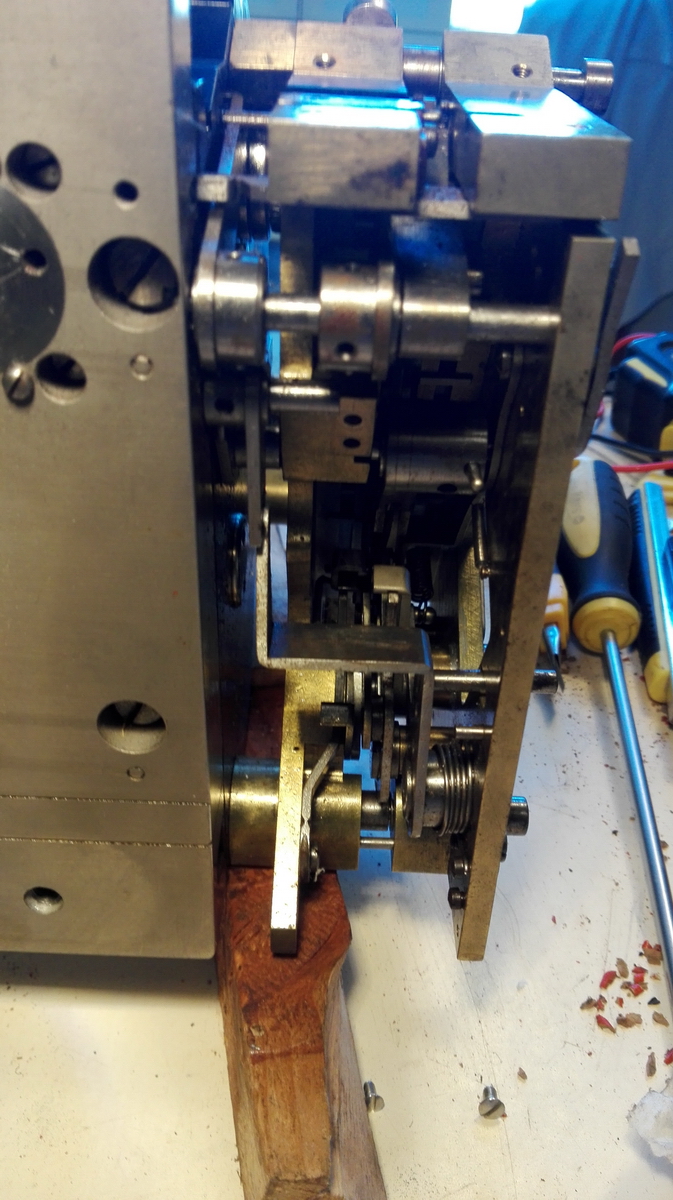
The front with the see-saw that operates the carriage movement
The gap between the multiplier block and the machine itself:
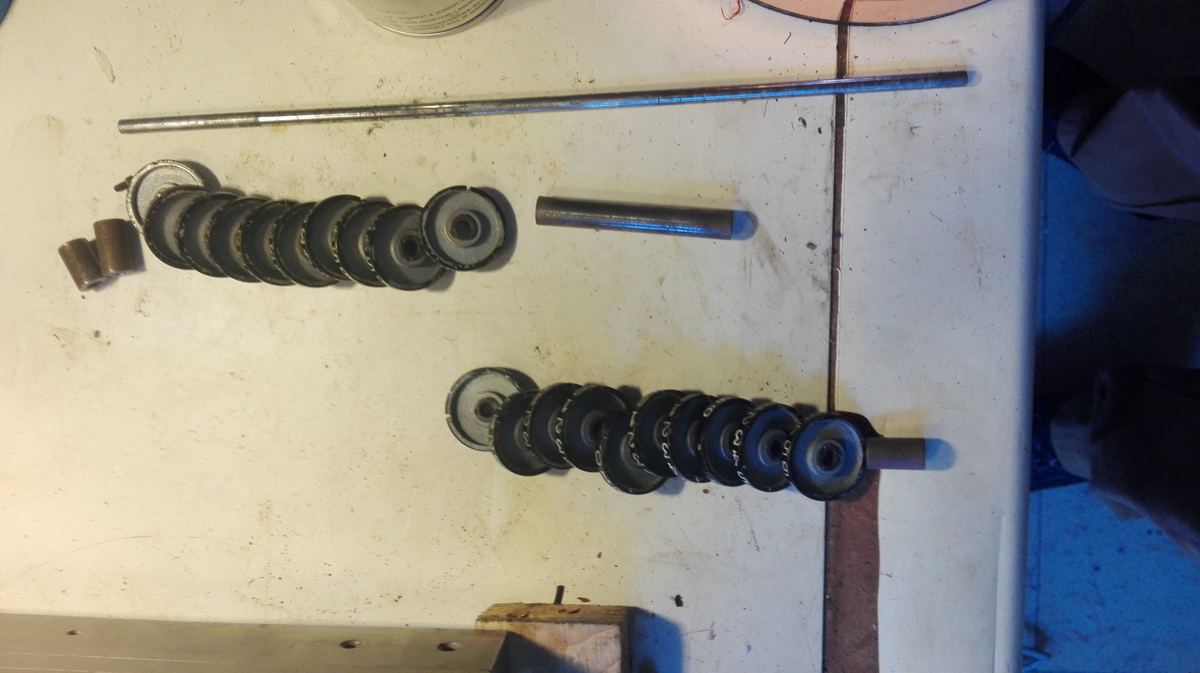
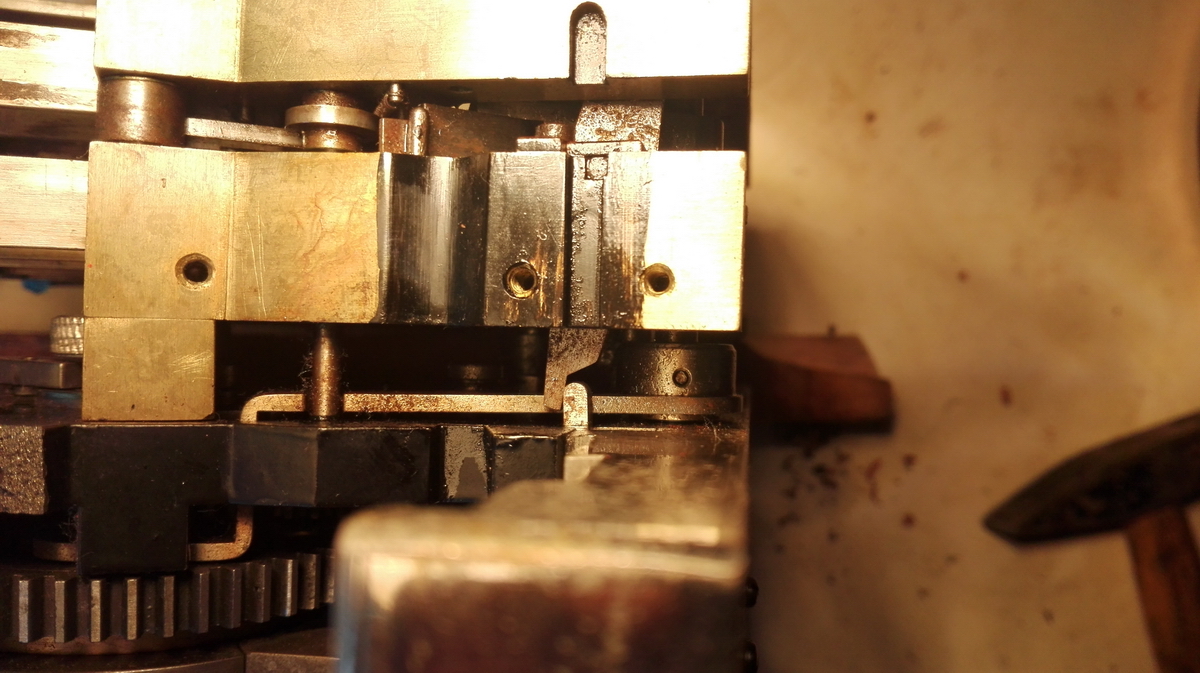
Taking the three long bolts out and trying to disassemble the multiplier ...


Finally succesful!
I probably bent a few parts in the process though, because it turned out that the two parts on the shafts at the bottom left of this picture really needed to be unpinned and disassembled to take it apart, or reassemble it.

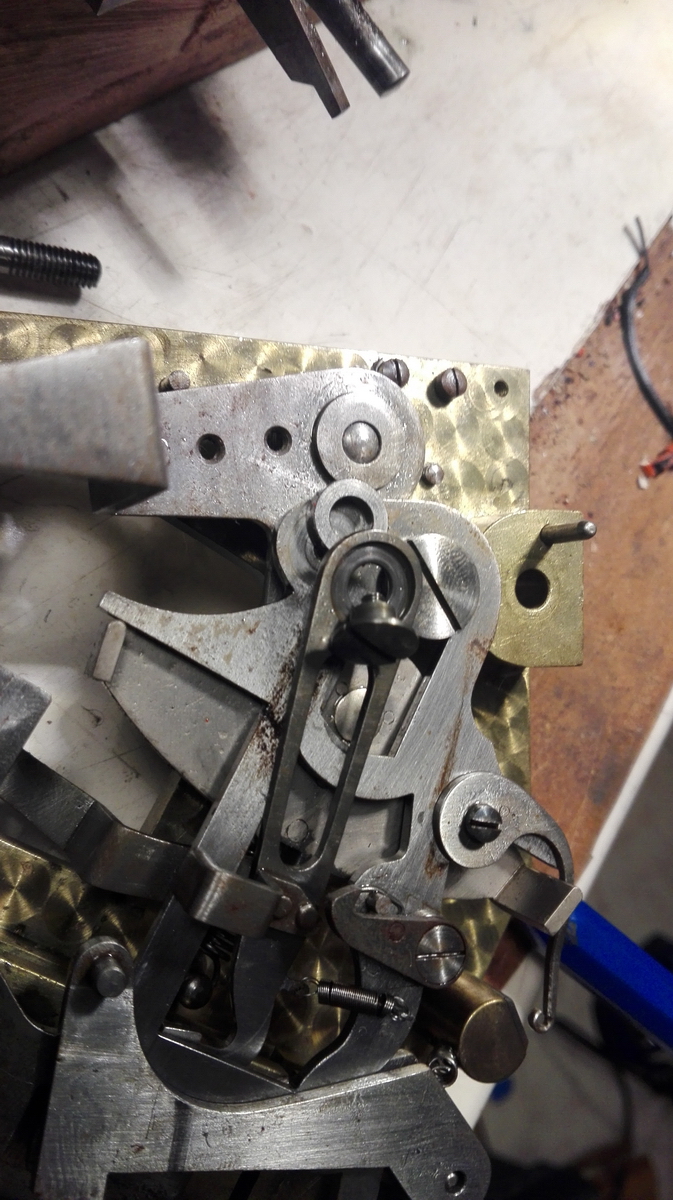
The idea behind the multiplication selector can now be clarified a bit - pushing any numeral button (or the SUB button) presses the middle frame down, switching on the motor and releasing the two catches that keep the sliding plate on one side of the selector in place, so it shifts to the front, until it touches the protrusion on the button shaft with the end of its respective slit. The other protrusions of other buttons on the same side slide harmlessly though the much deeper slits at the top. The catches then re-engage with the toothed rack at the bottom of the sliding plate, with a number of teeth past the catch that is equal to the number on the button that was pressed. The motor is now running, and on every rotation, an arm coming indirectly from the rotor moves the sliding plate one tooth back. On the last tooth, the button disengages and springs back up, the motor stops, the lock for the pinwheel cylinder engages, and the pinwheel cylinders come to rest at this lock at the 0 position.
All corrosion was cleaned off the sliding plates, they were well-lubricated with very thin teflon-based oil, but still the higher numbers (7 and up) will not reach their final position of the catch before the end of the first revolution of the motor. This has for effect that if the button is released too early, the number of revolutions will be too small, becaseu the plate has not had the time to slide all the way down, but if the button is kept pressed for too long, the plate reaches the full depth of the slit, but already the rotor has rotated once, so then the number counted will be too high.
Clean!

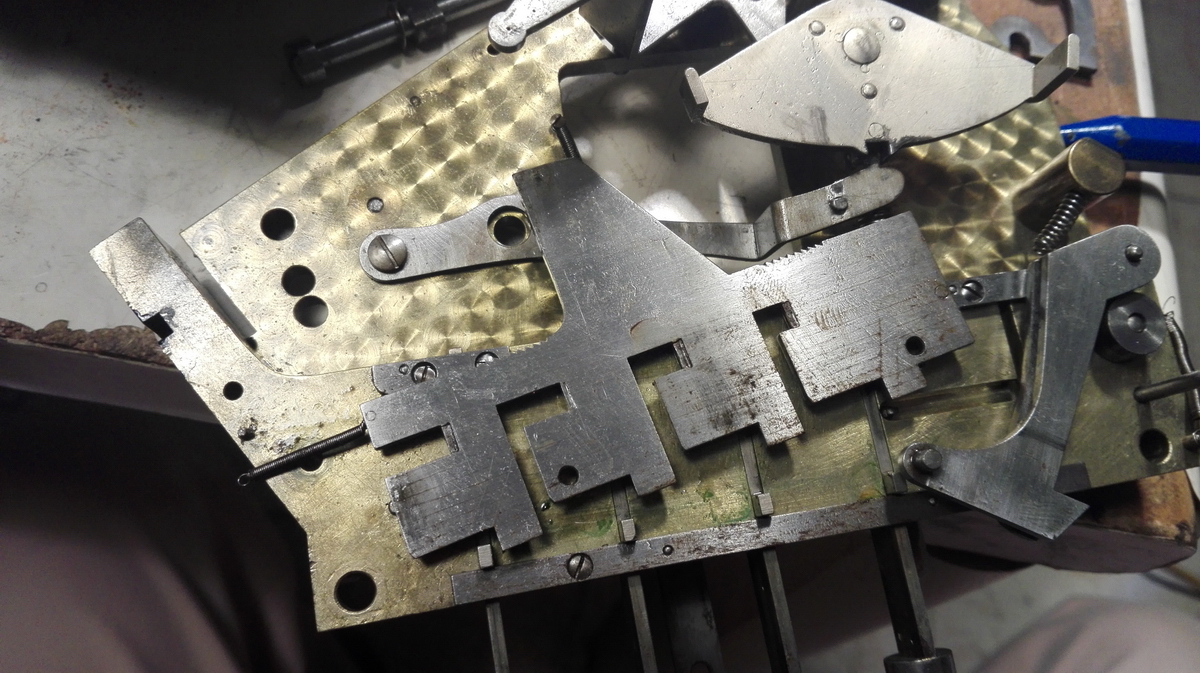
One of the sliding plate with its racks of teeth - the second catch is on the other half of the multiplier.
Reattaching the spring for the catch:
Sliding plate and one of the catches:
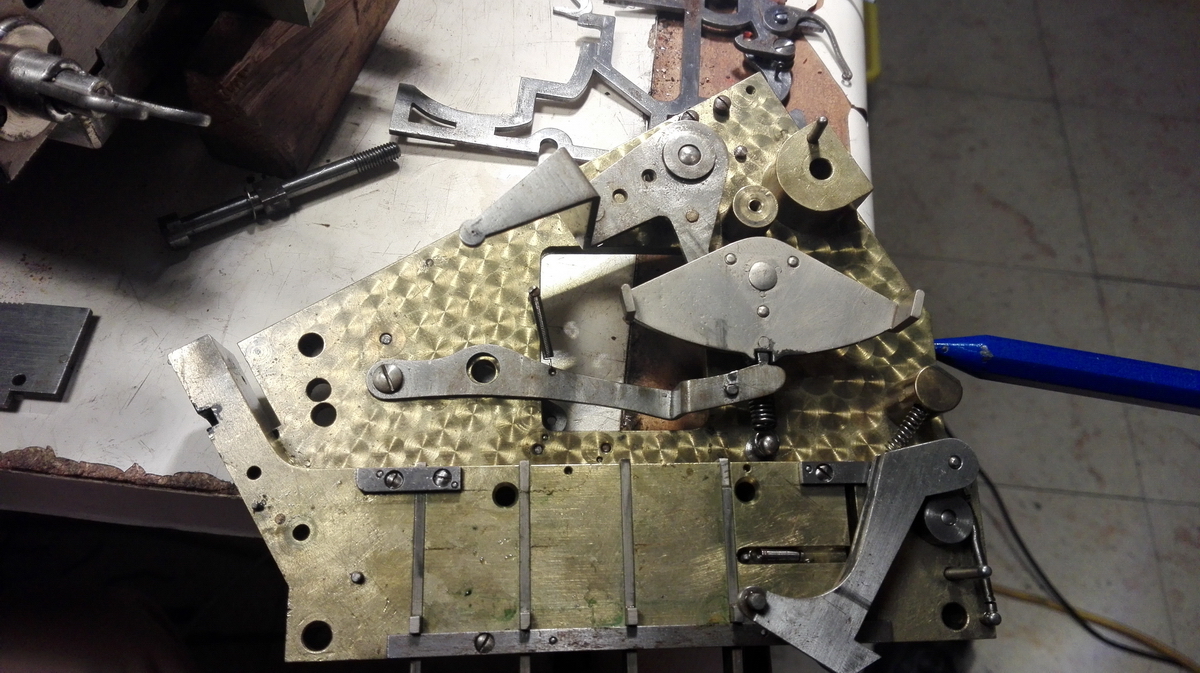
This is the other half, ...
...with the second catch and the operating lever for the electric switch. Both will need to be removed for reassembly. Two holes are thoughfully provided in the right part of the multiplier to be able to reach those two screws with a screwdriver!
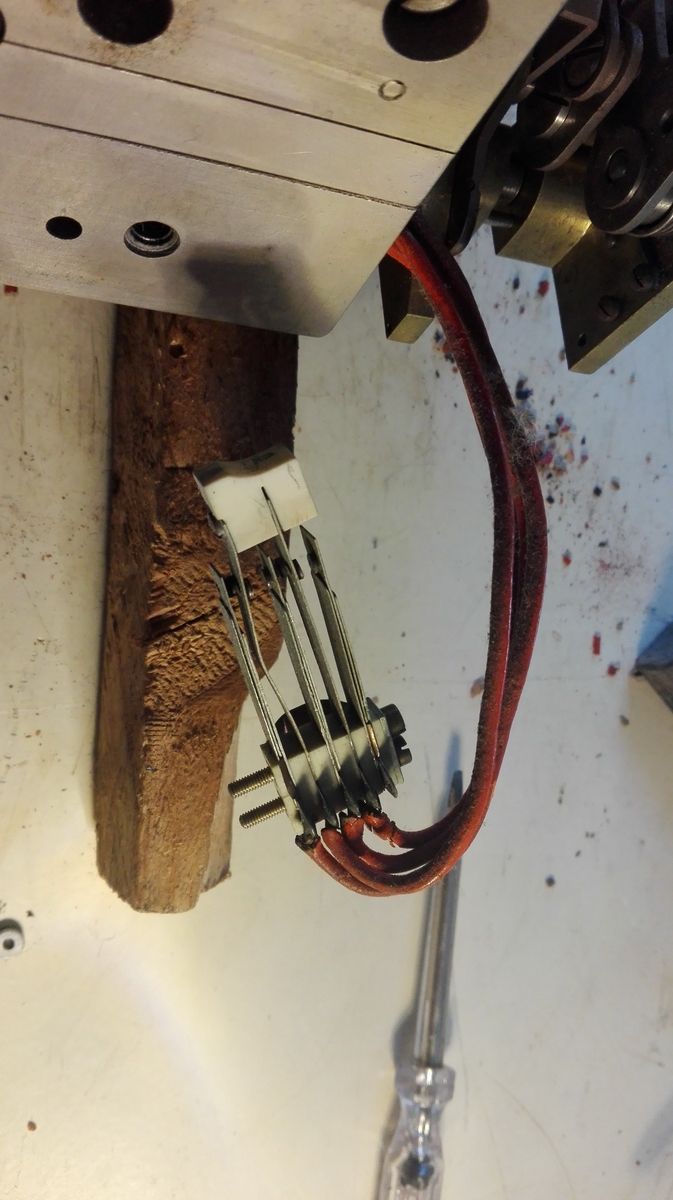
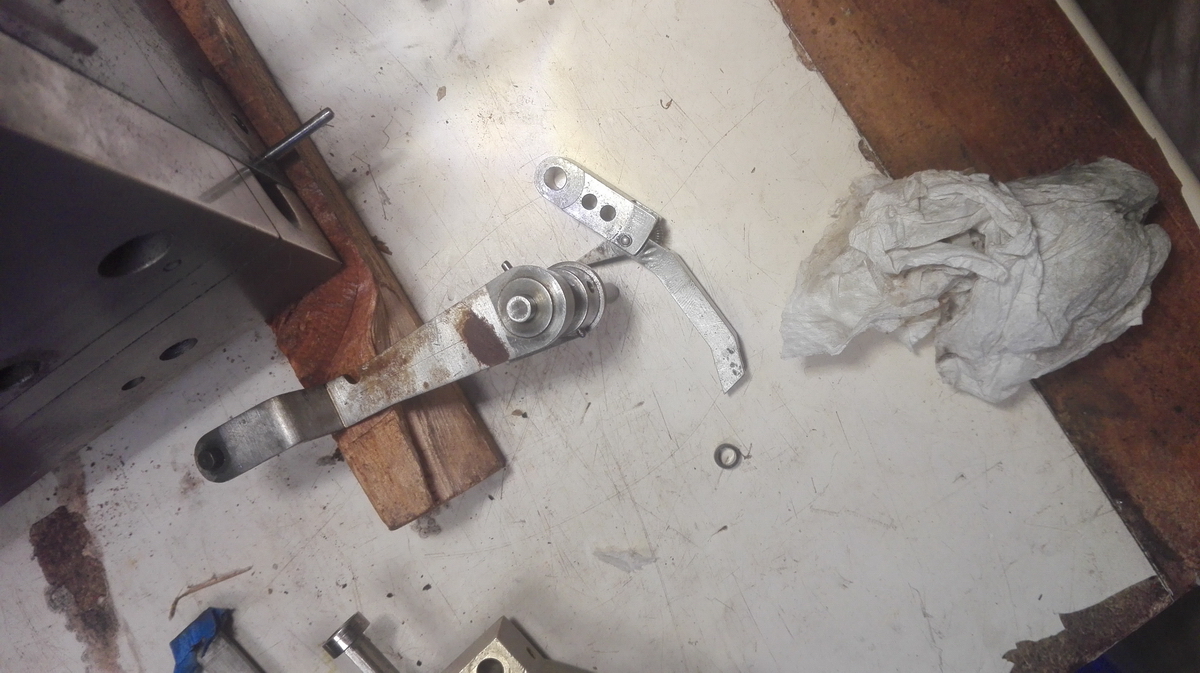
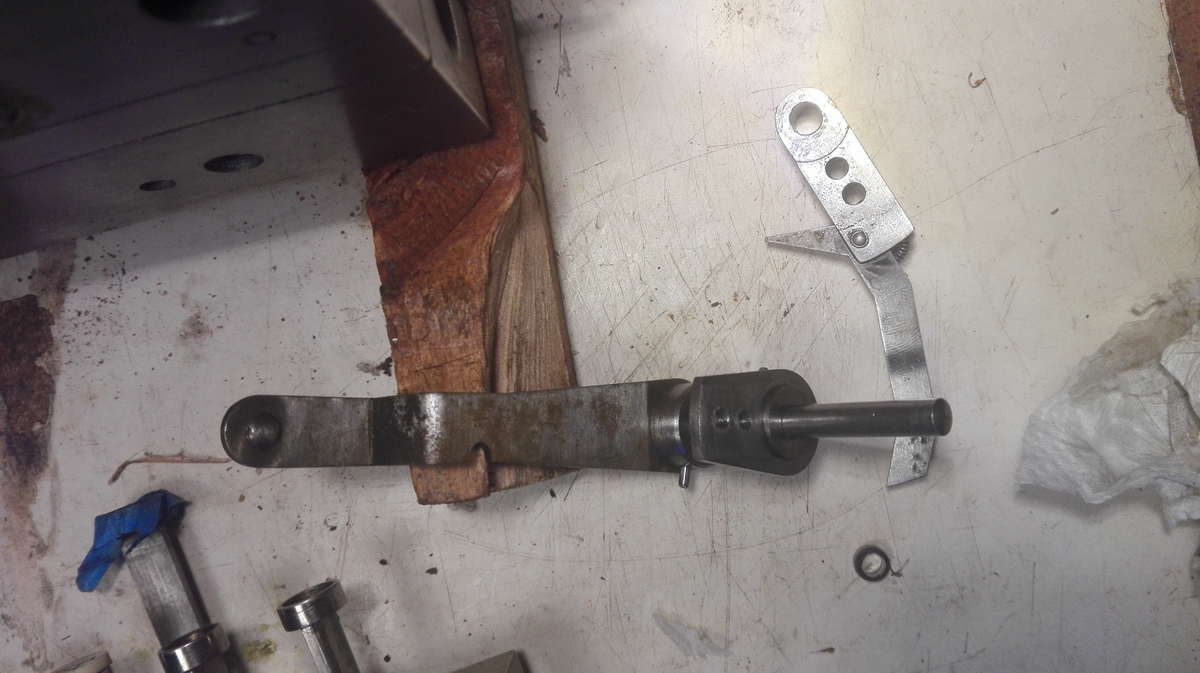
This is the catch that is operated by a lever coming through from the rightmost edge of the pinwheel cylinder.
...this lever, in other words.
which was cleaned up a bit too.
Corroded sliding plate - no wonder this didn't work.
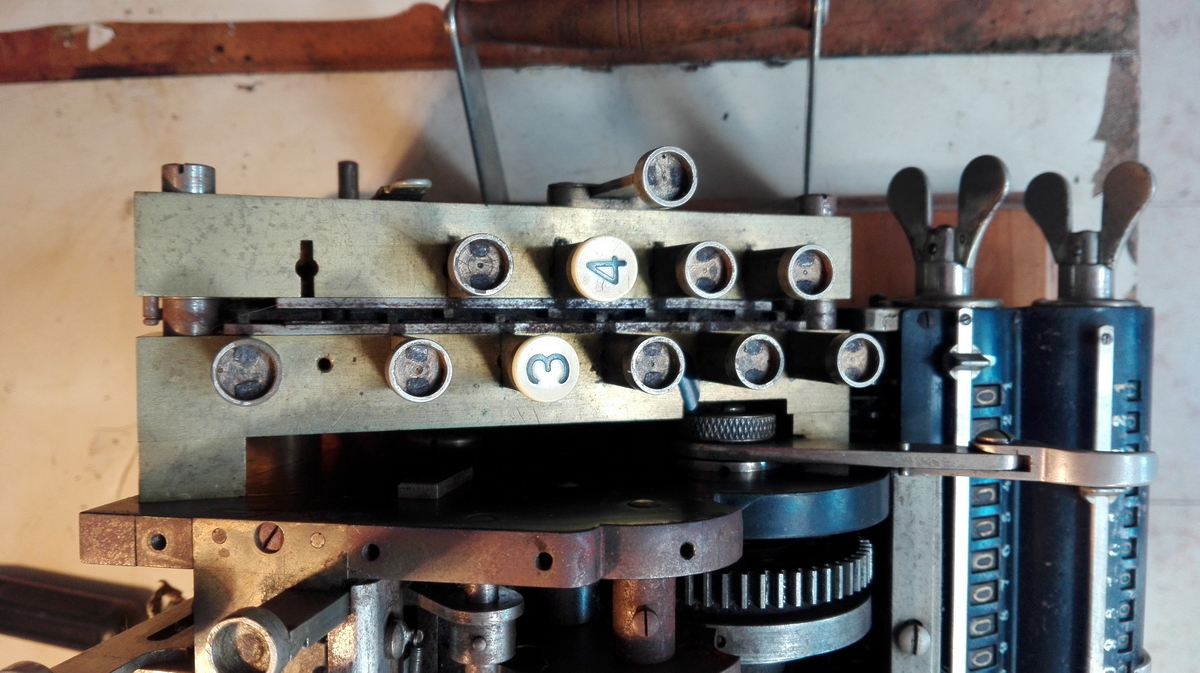
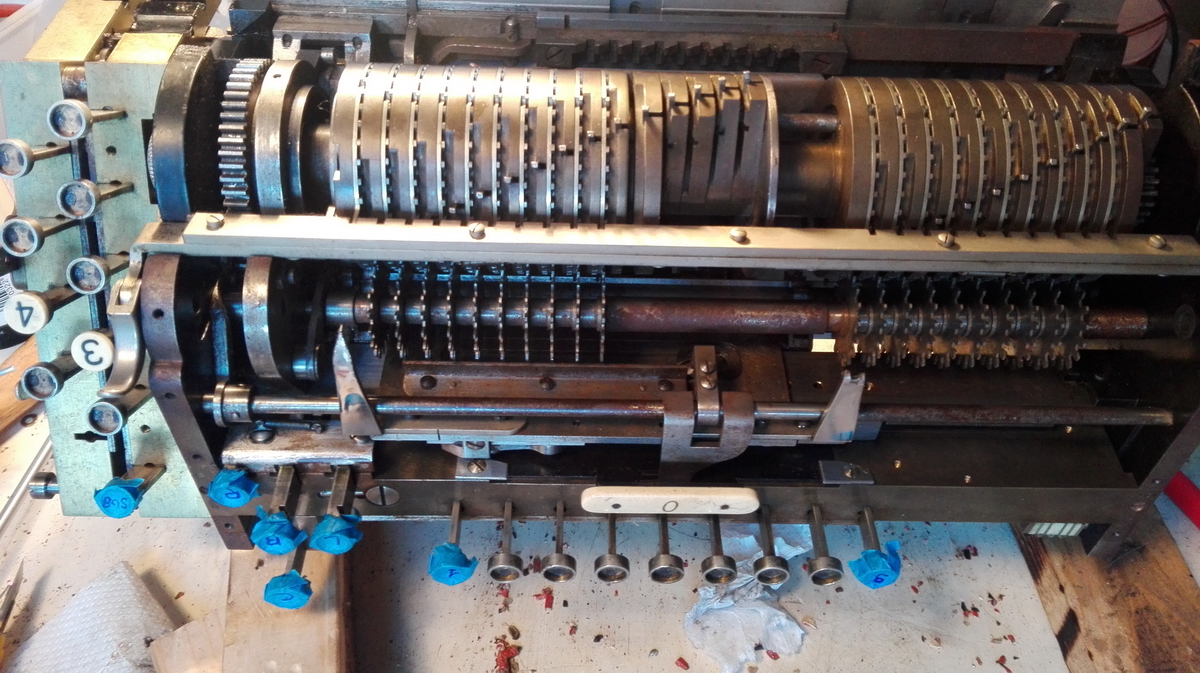
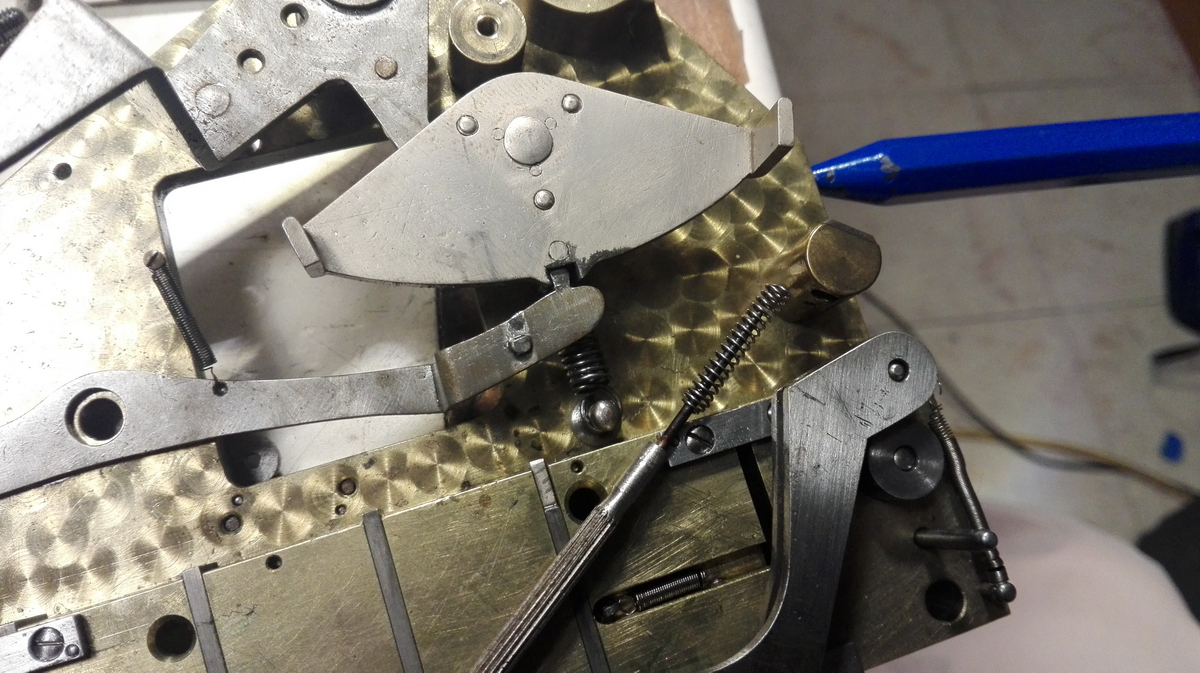
Right side clean and reassembled with both catches in place - you can see how it is supposed to function now:
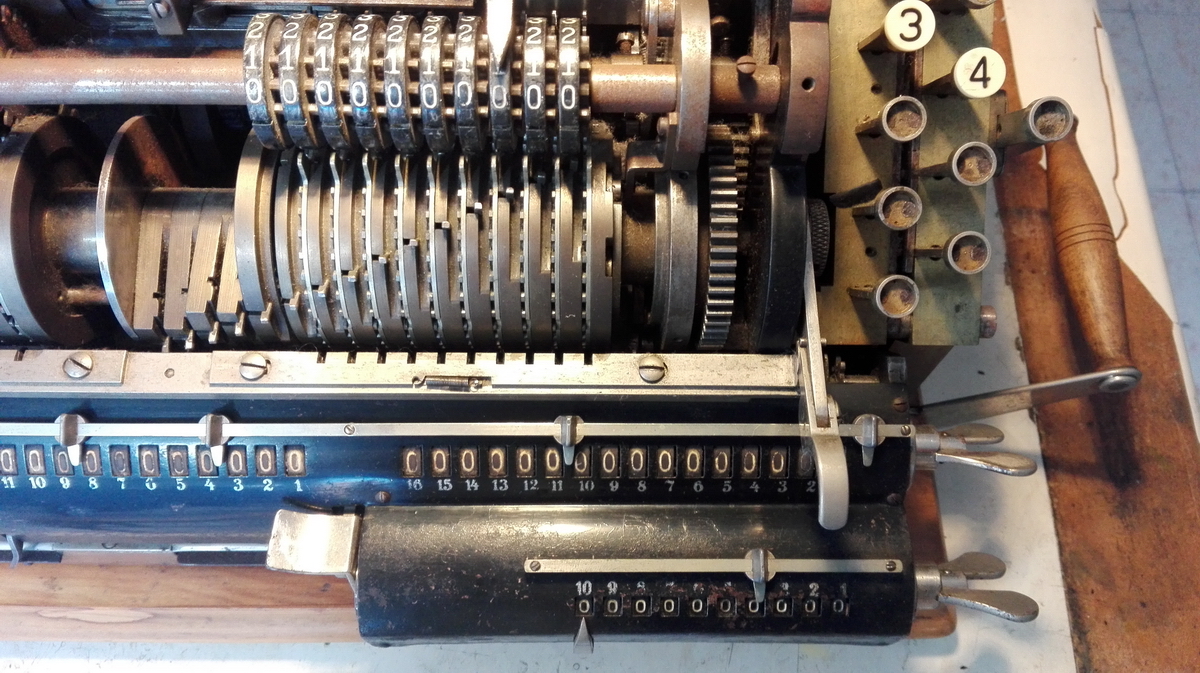
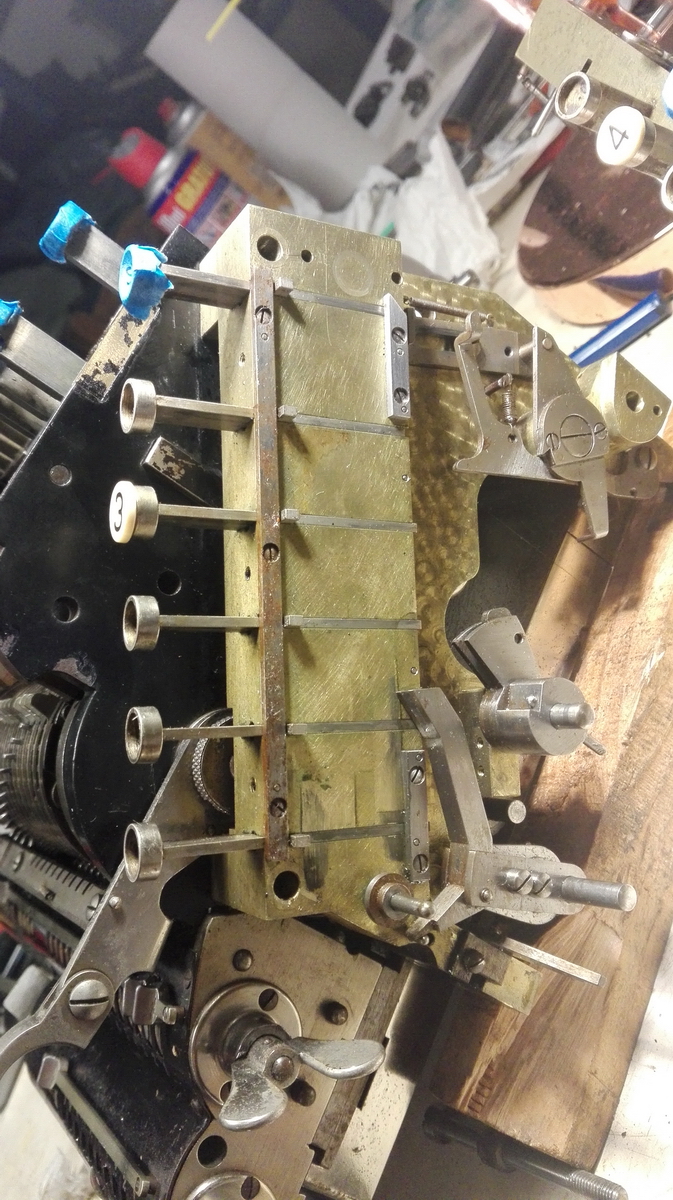
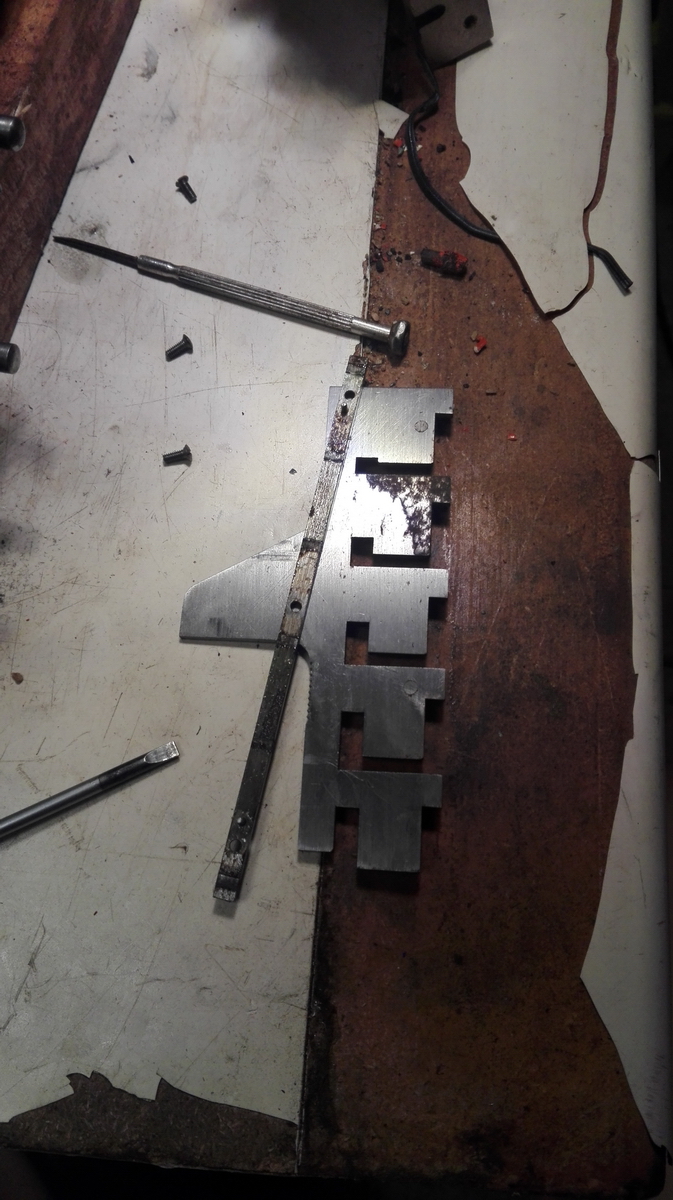
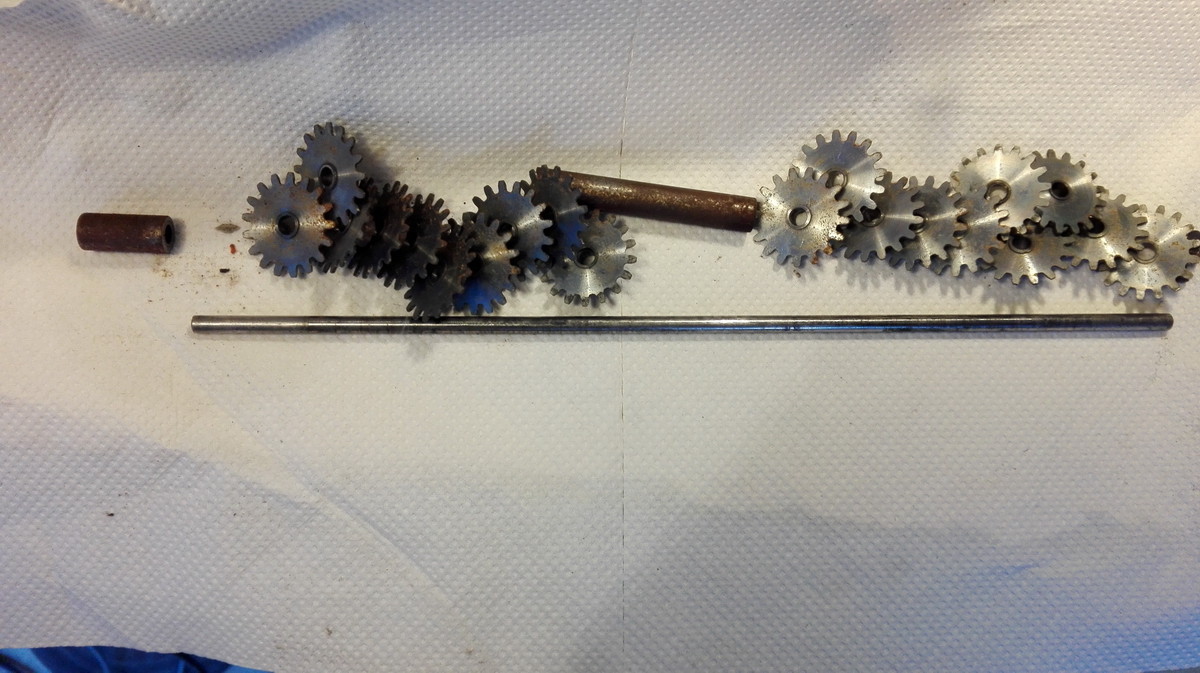
Why not clean the intermediate gears for the setting register too ?
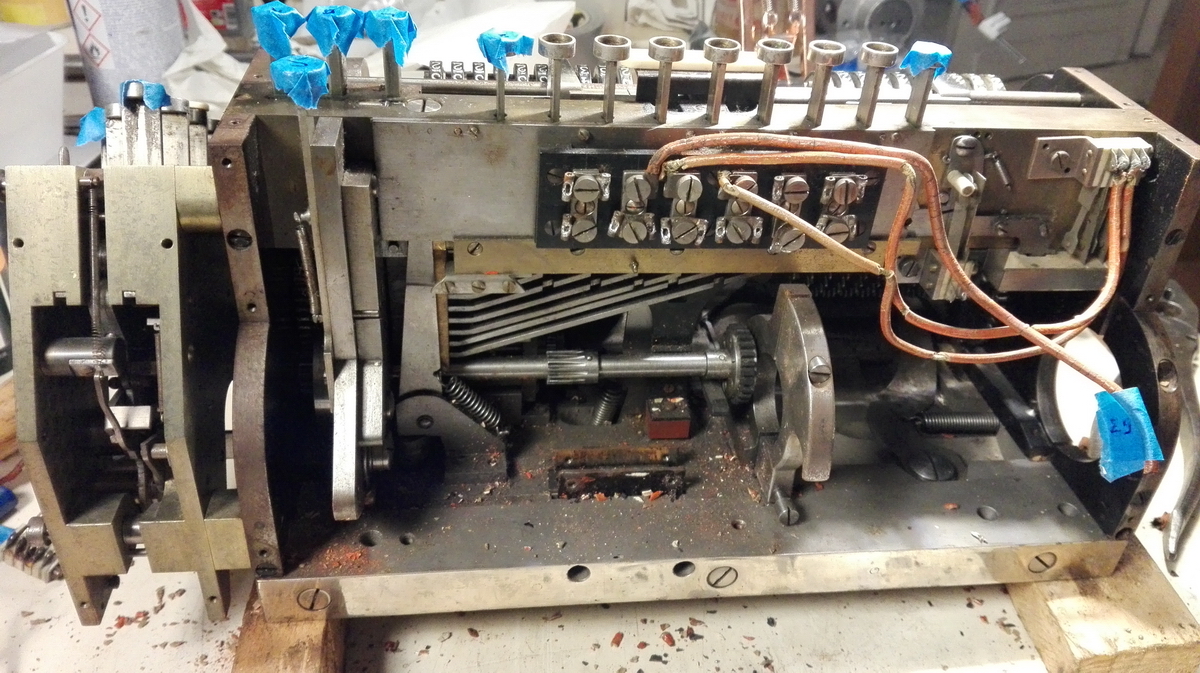
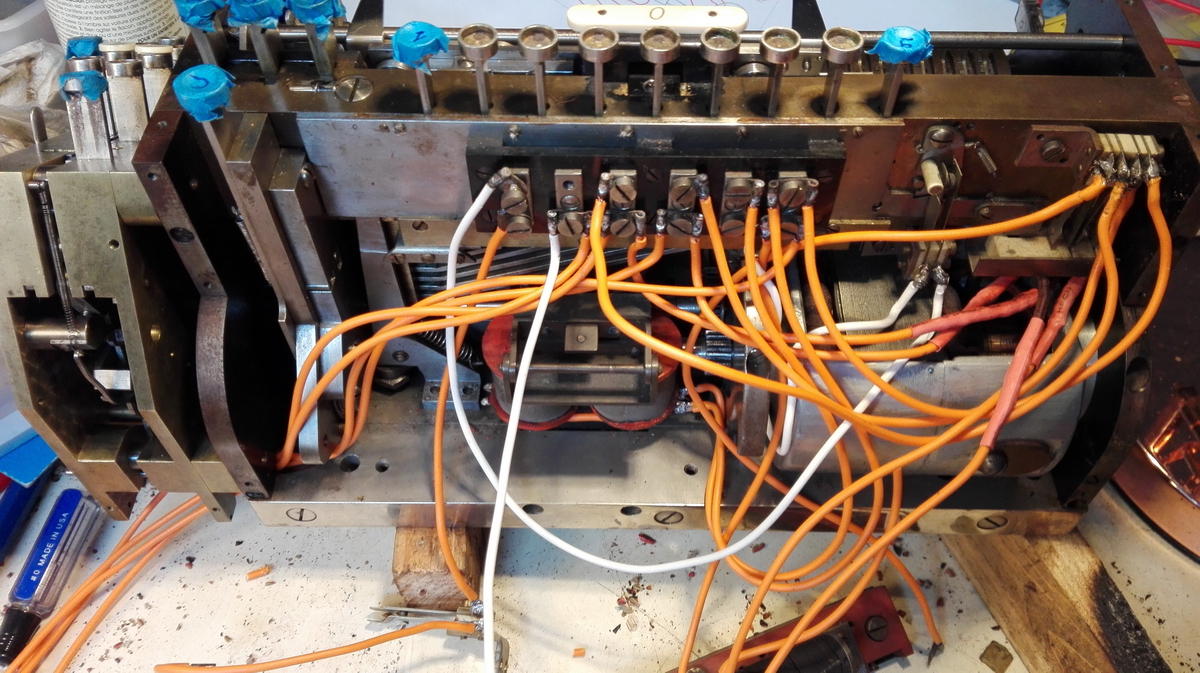
Then I had to make up new wiring - 23 wires in all, for a total of about 5 meters, measured carefully from the originals.
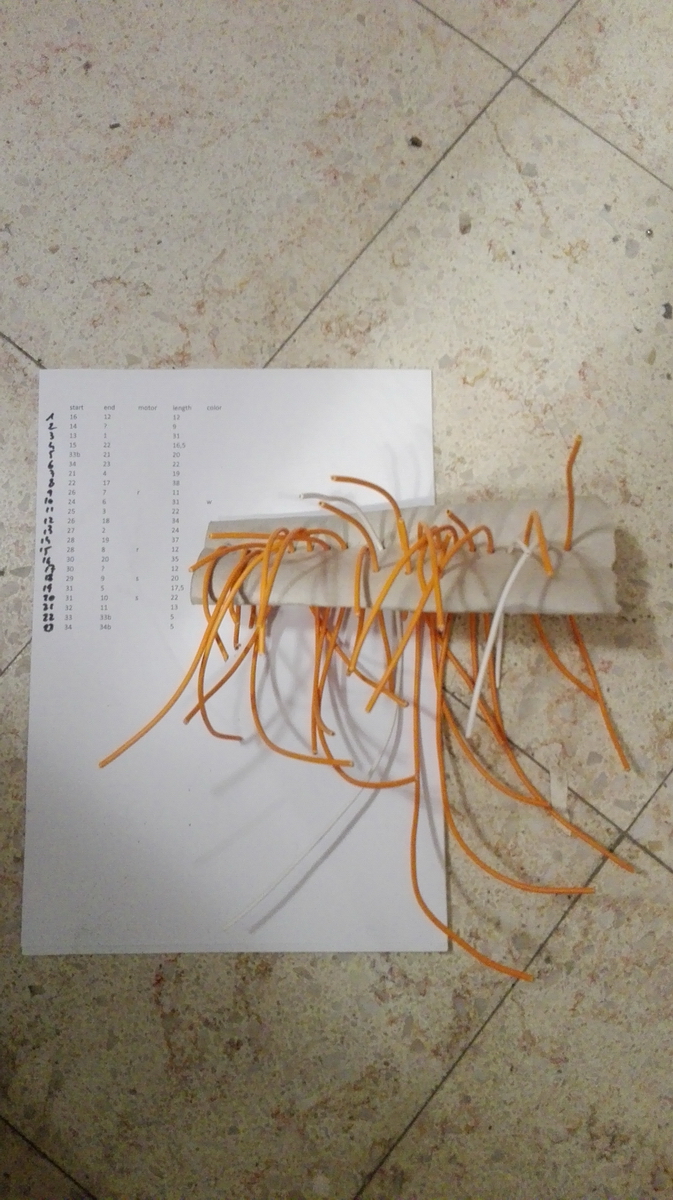
and the machine had to be rewired:
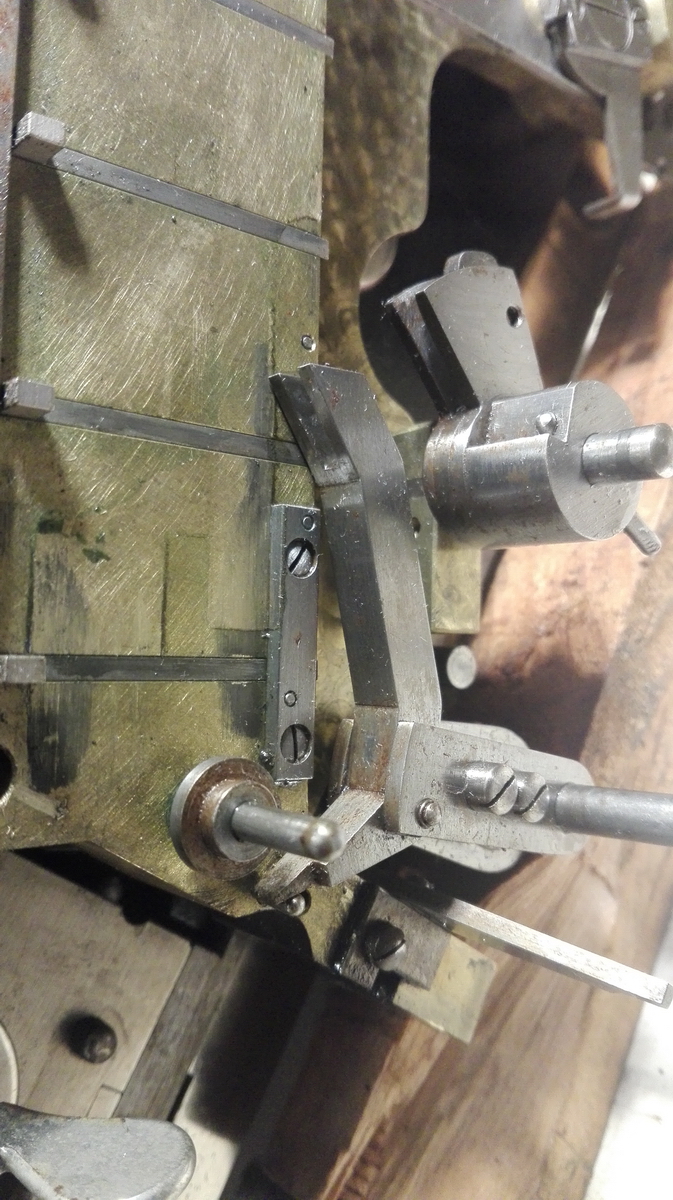
Disassembly and cleaning of the sticking clearing bars
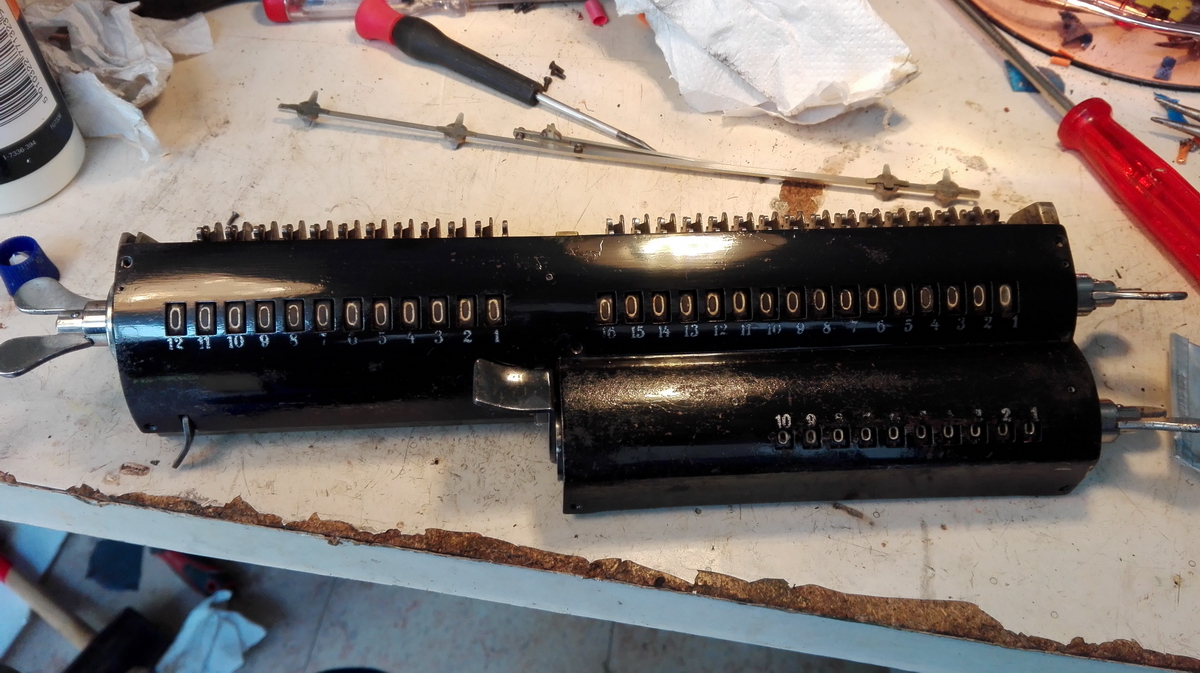
Carriage numeral wheels were cleaned and polished, and missing white filled in with latex paint:
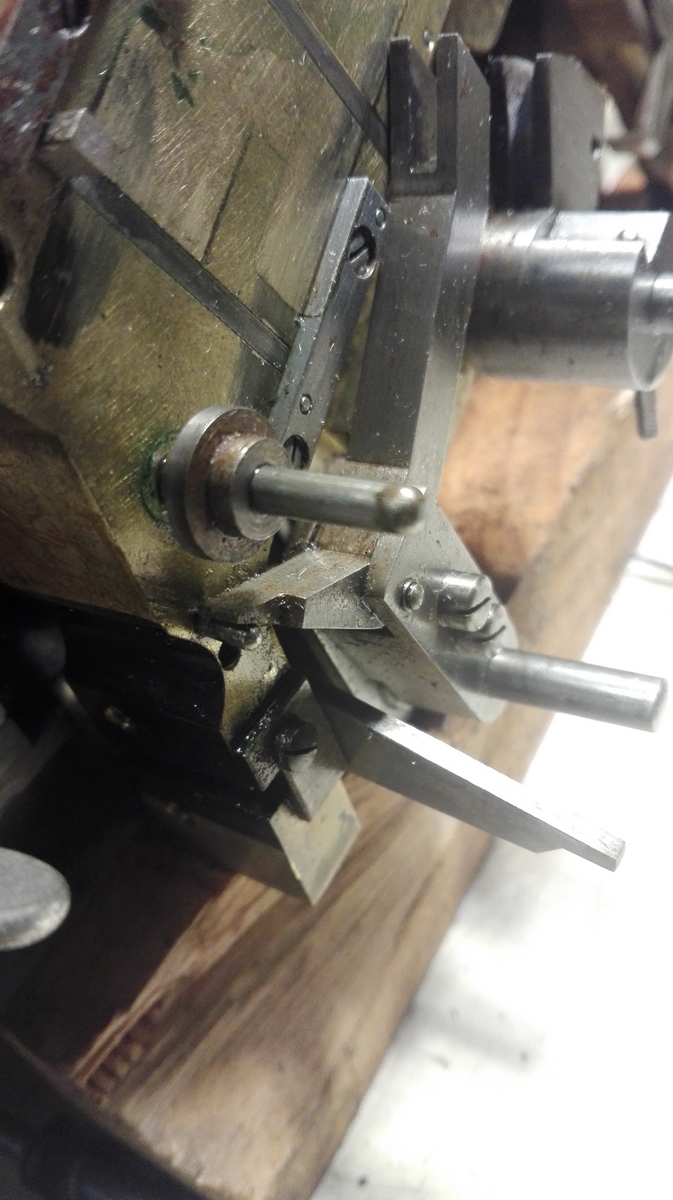
I had to take the setting selector buttons apart, derust, lubricate and clean, then reassemble. All of the selector mechanism was really stiff through dried up grease and oil, but more new oil and cleaning fixed that. To get the sliding "carriage" of the selector mechanism free of corrosion and old grease, the input control register had to be taken out of the way, but then everything could be reached and cleaned, and the mechanism started to work without further trouble.
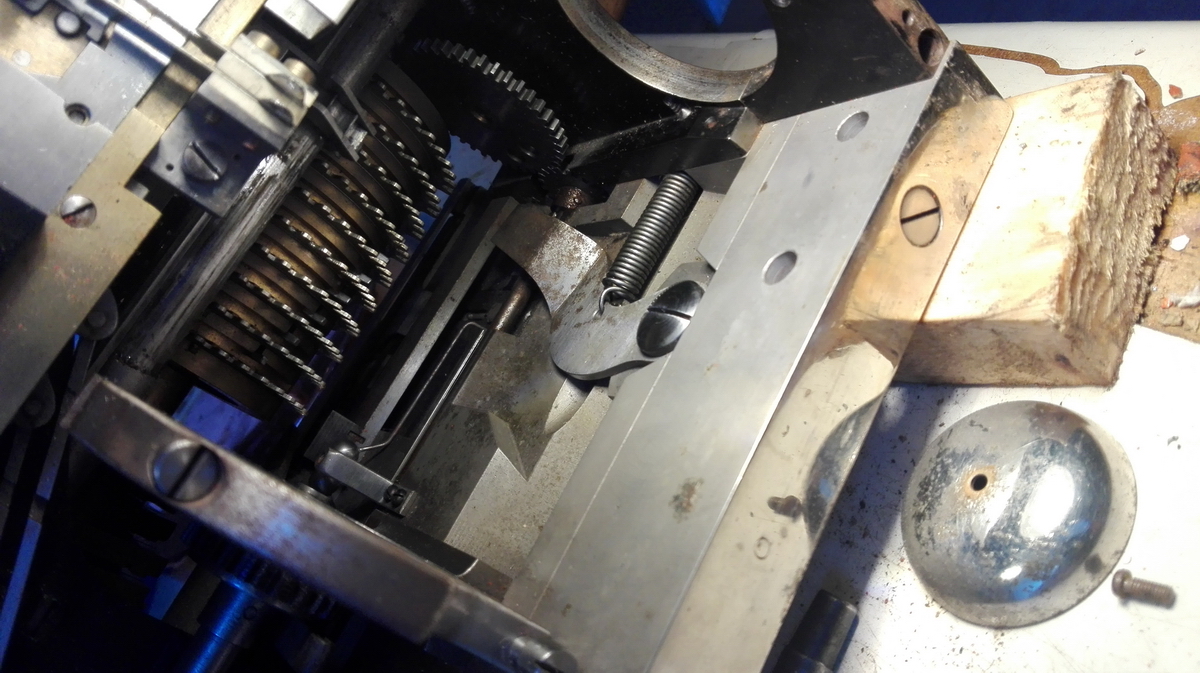
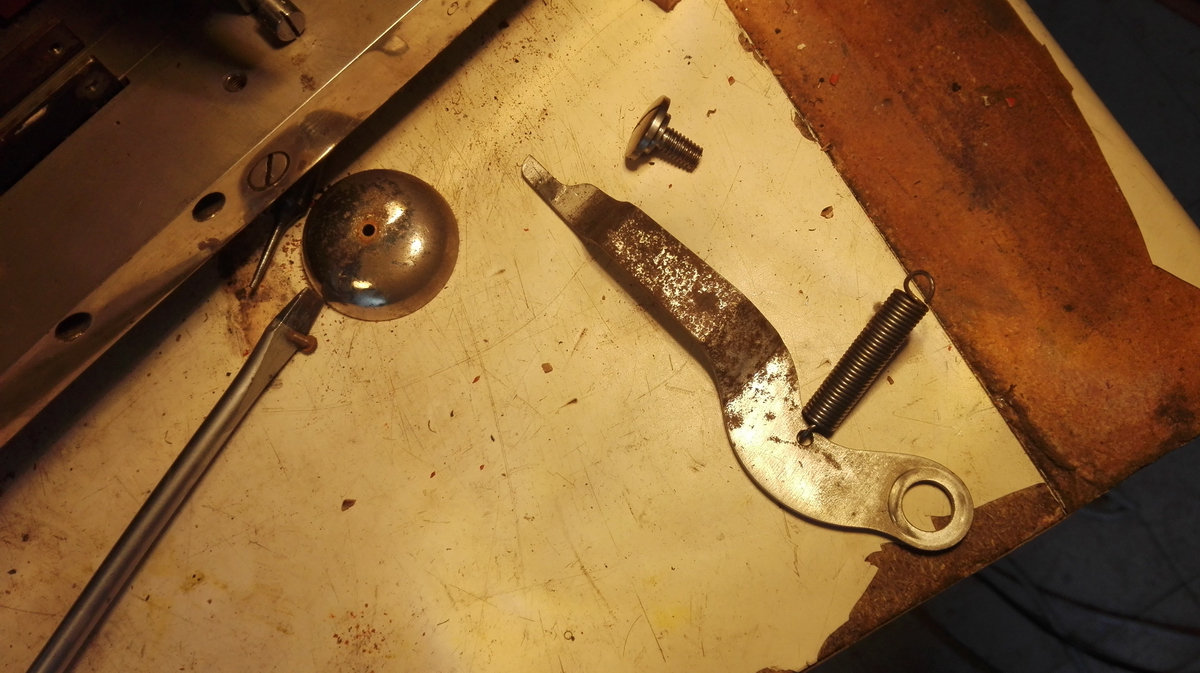
The mechanism for operating the overflow bell was a bit stiff and finicky, but with the motor out it could be reached and cleaned, as well as the sprung arm for carriage movement. Final adjustment of both bell hammers was necessary once everything was back in place.
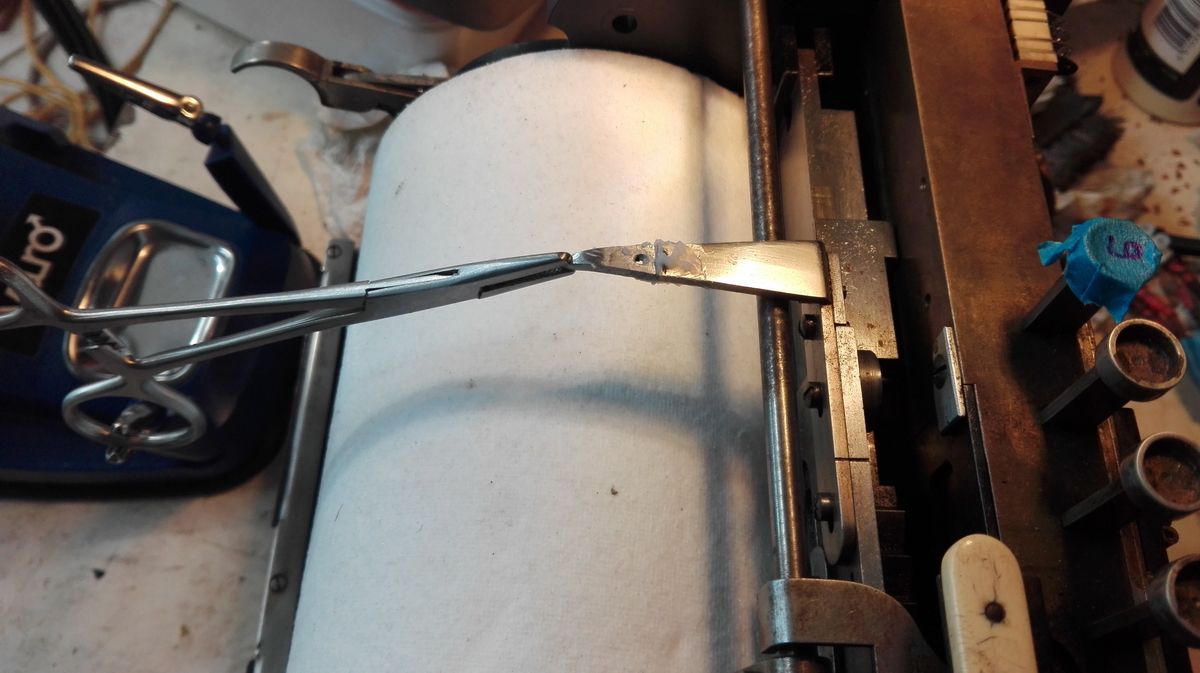
As mentioned higher, the left pointer indicating the current position of the settng mechanism had broken off, and that the thumb lever that should be connected to it was missing. I silver-soldered a piece of steel to the tip and drilled a hole to tap, which was complicated by the fact that the pointer is attached by 4 screws, all of which are eclipsed by the through bar that blocks the multiplier when the setting mechanism is active. This through bar has a part attached at the very right with a tapered pin that is tapped in from the top. It cannot be reached from the bottom, and the only recourse would be to drill it out. I decided instead to do the repair with the pointer in place. After that was succesful, I made a finger lever to screw into it, trying to replicate what it looks like on the engraving, but on the other hand trying to stay out of trouble with the lever not lining up, so I made it with a through hole, and the hole in the pointer can now be tapped M2.5 or M3 so the lever can be attached by a screw.

Finally the big moment had come to plug the machine in and press some buttons. At first, everything seemed to work without issue, and numbers could be entered via the keys on top of the machine. It soon started to come apart at the edges though - the setting carriage would tab right (as it should) when any number was entered, except for the 9, when the carriage wouldn't move. Strange.
With the setting carriage shifted all the way at the right, it was time to test the multiplier. As mentioned higher, for the 7, 8, and 9 this was not an undivided success. In addition, if the "SUB" button was pressed, the motor just kept running. This last issue was easily solved - it turned out that the direction switch at the bottom of the multiplier block was a bit bent, and would stay in contact even when the button was released. That fixed that issue.
However, coming back to the machine the next day, its behaviour had now changed, and trying to set a number would result in an angy hum from the motor without anything happening, followed by a click of the electro magnet, and a switch of the setting carriage. This took me a few hours resoldering wires to the telephone switches and cleaning them really well...
...before I finally found that the switch at the bottom for the multiplier had again gone out of adjustment, and would apply 110V to both ends of the stator winding when the setting mechanism was engaged, so this would allow barely any current to run through the stator, causing this puzzling behaviour. That was luckily solved in the end by adjusting the direction switch, again..
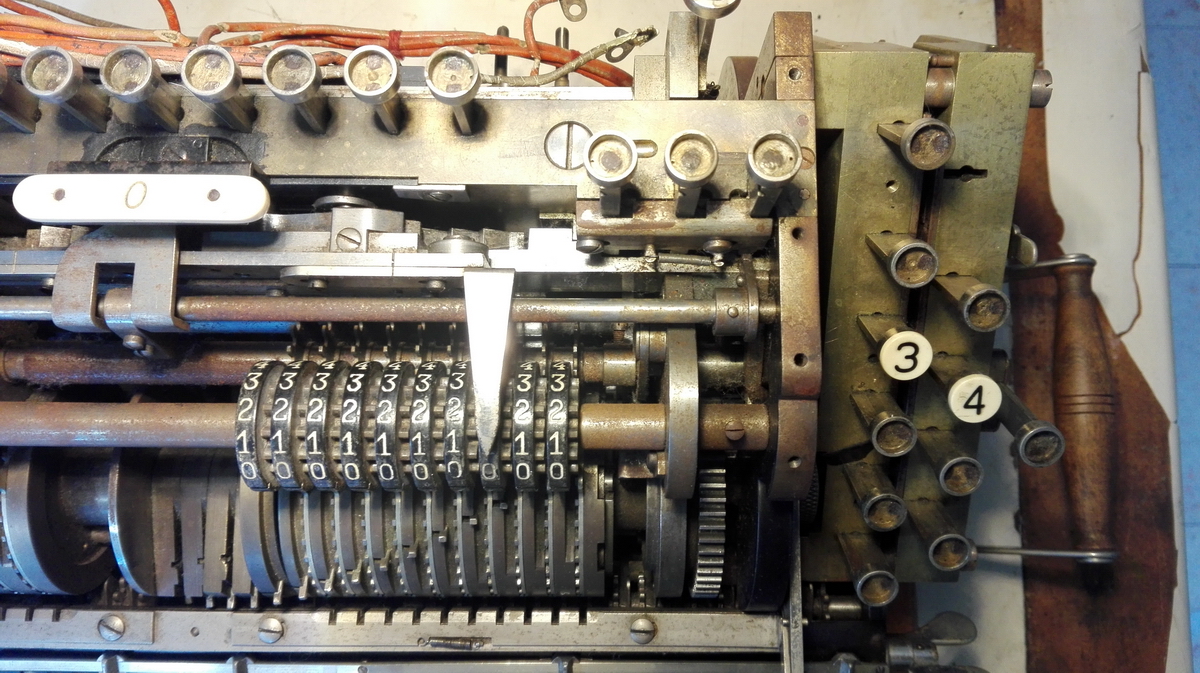
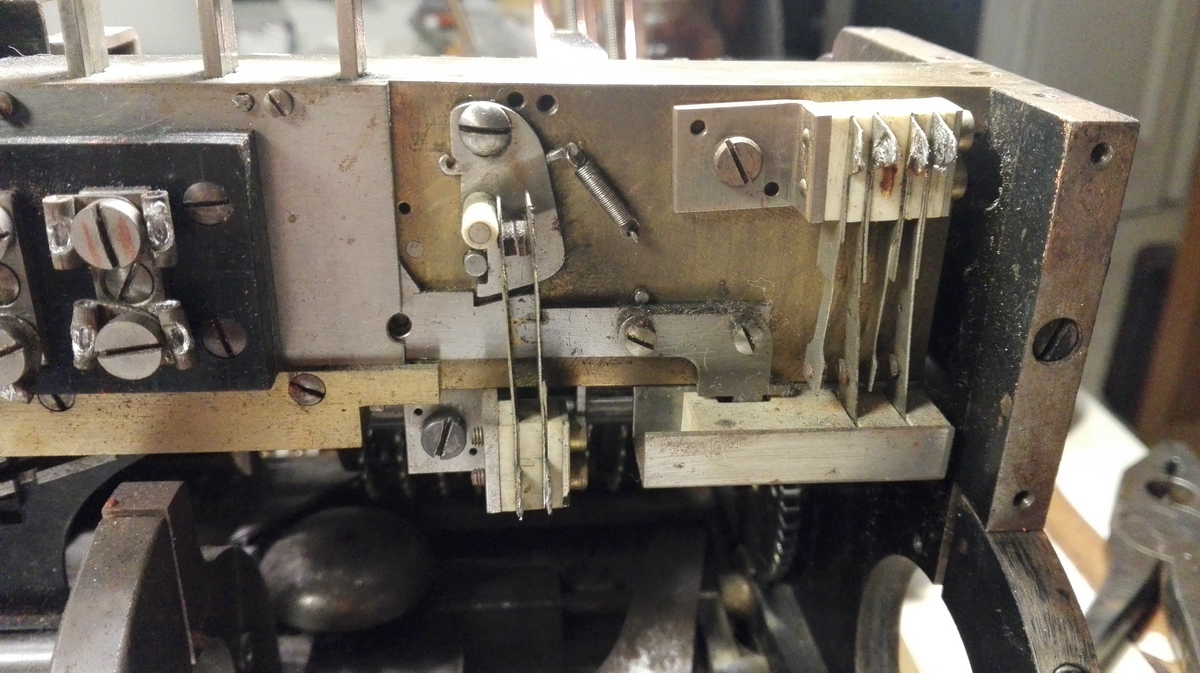
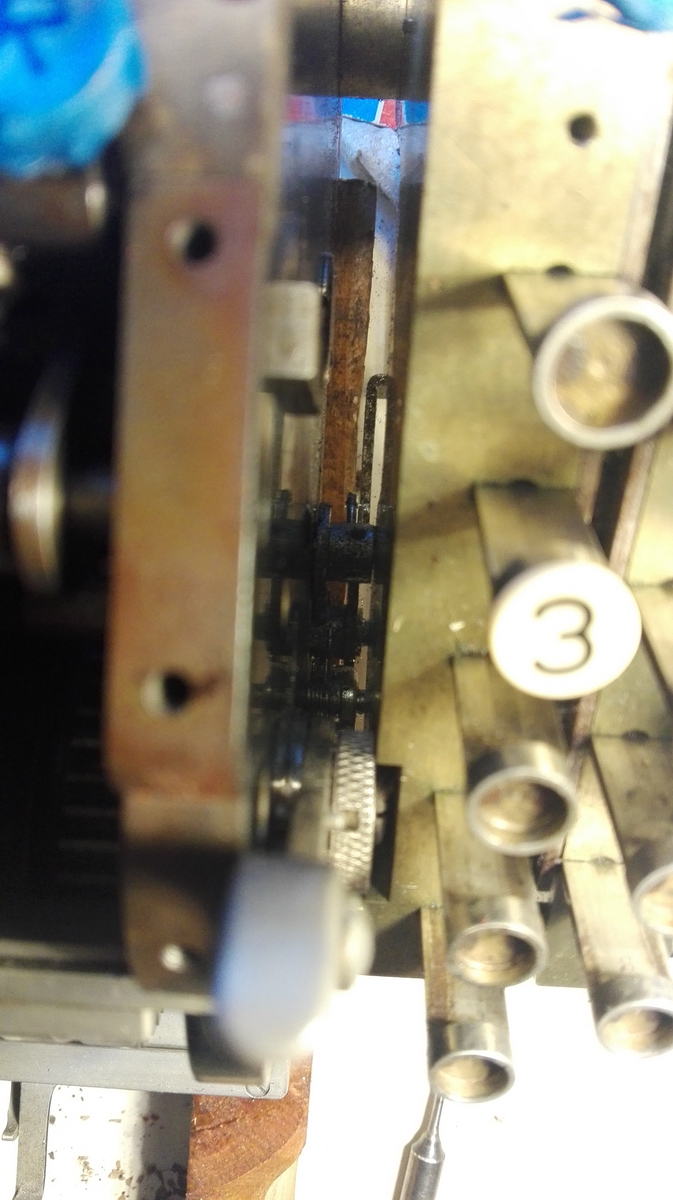
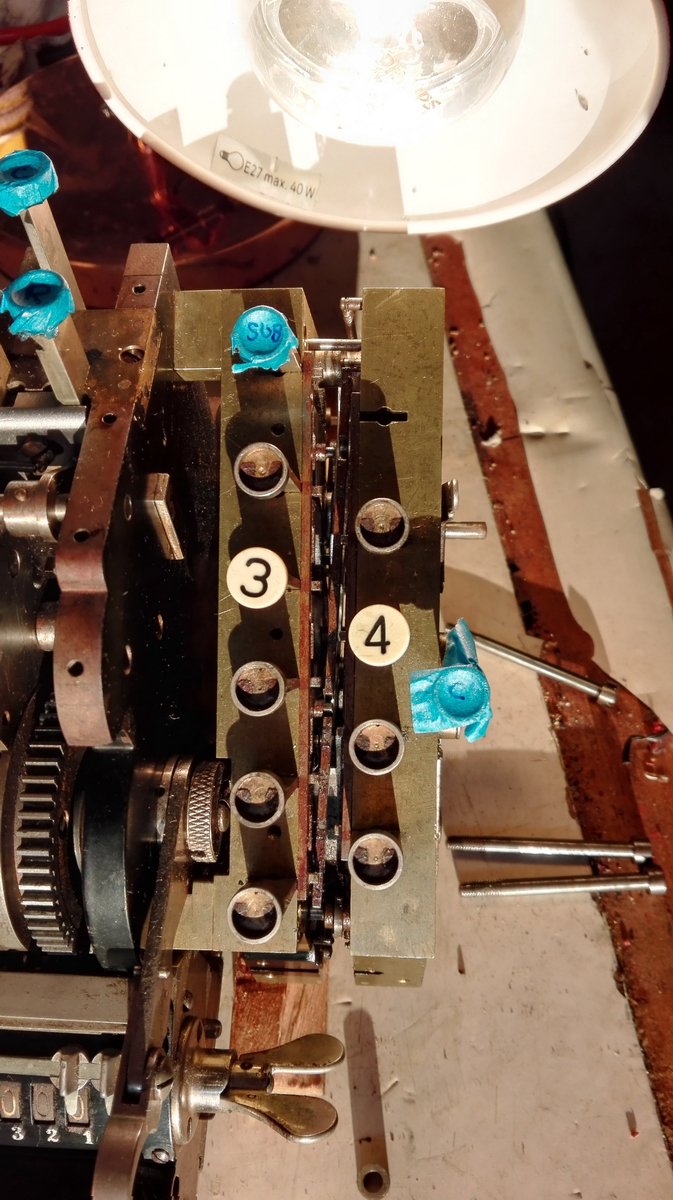
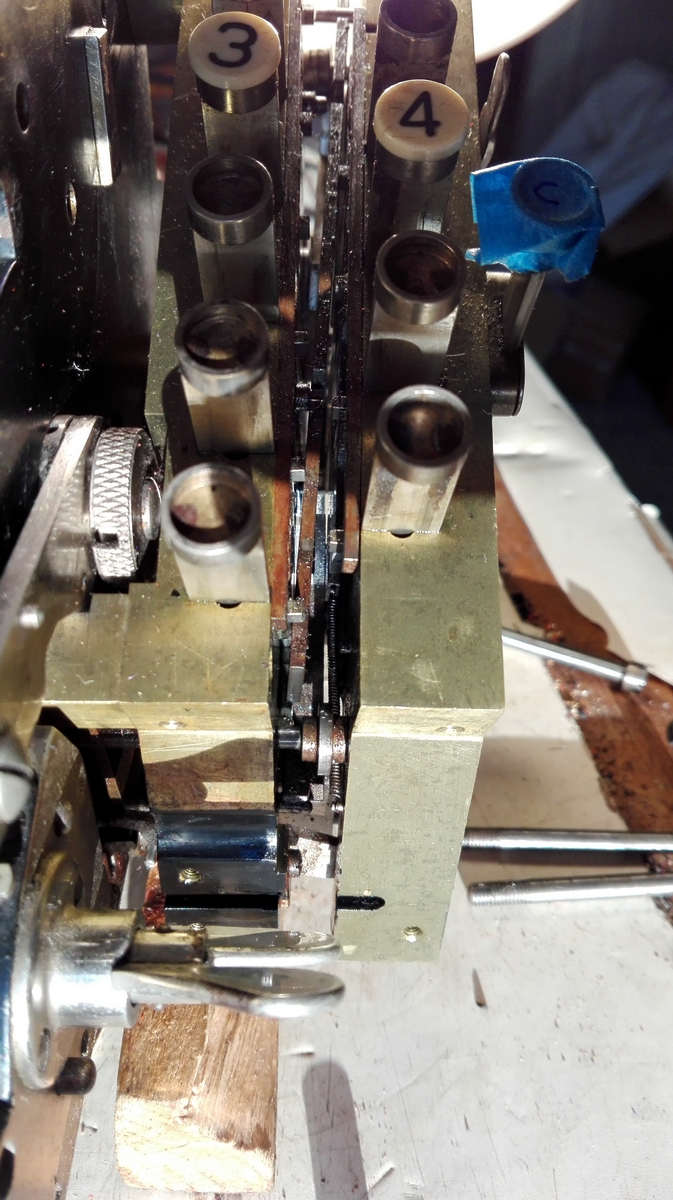
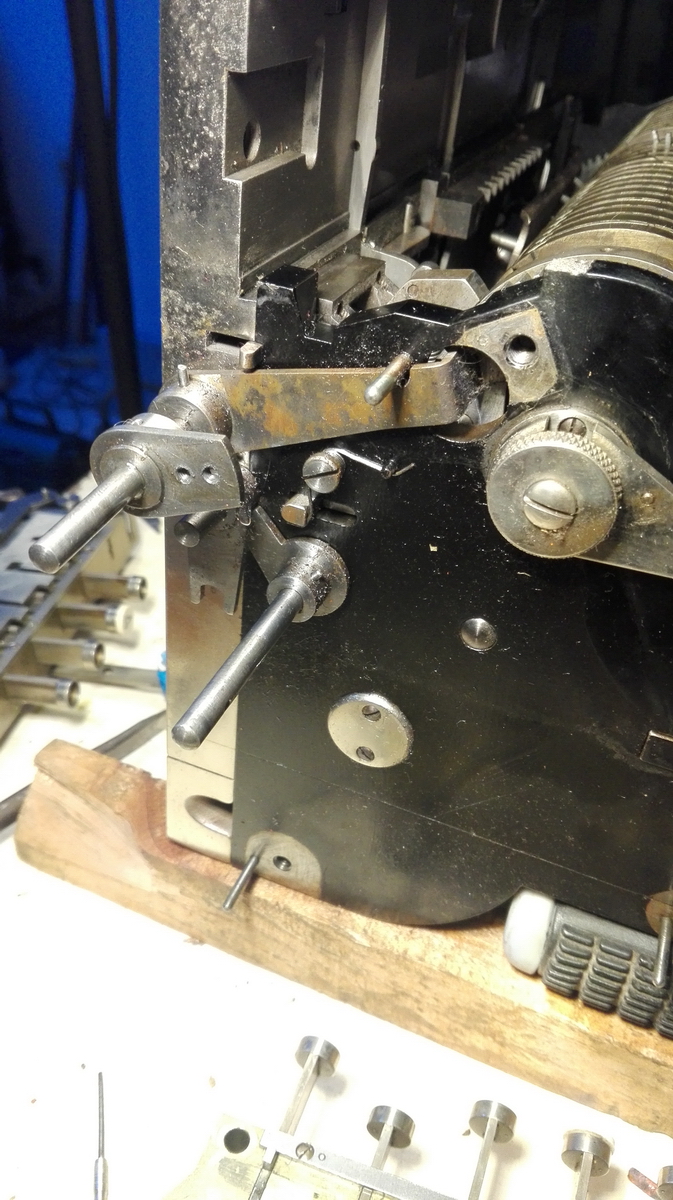
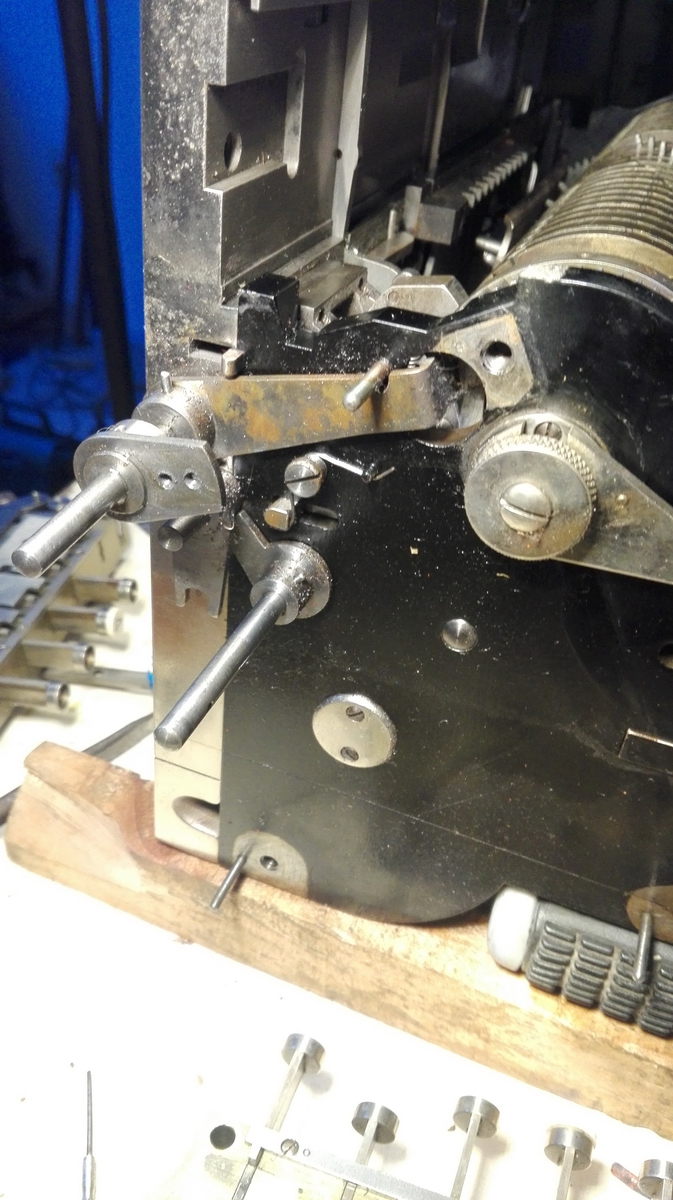
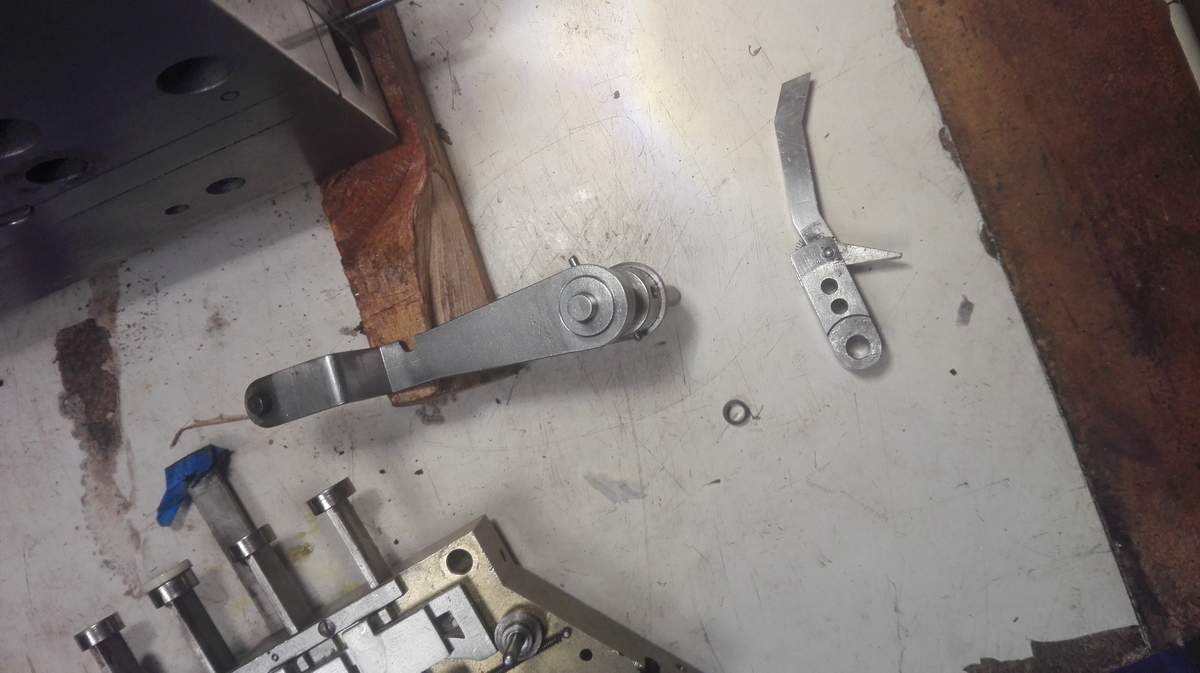
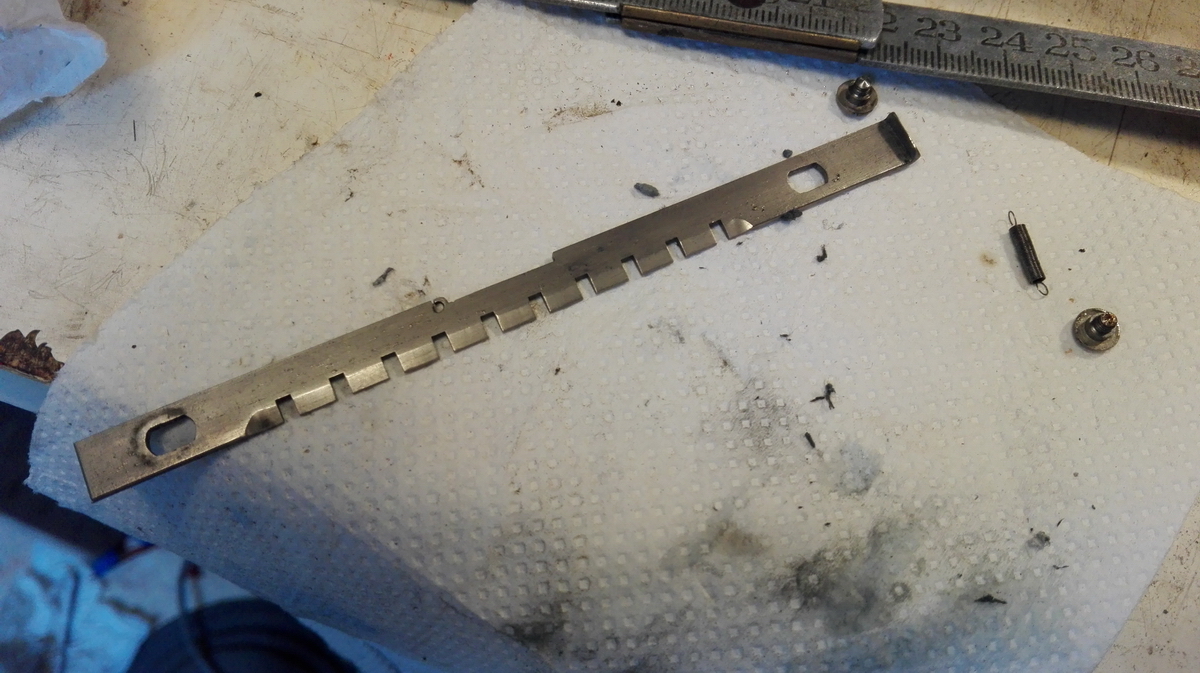
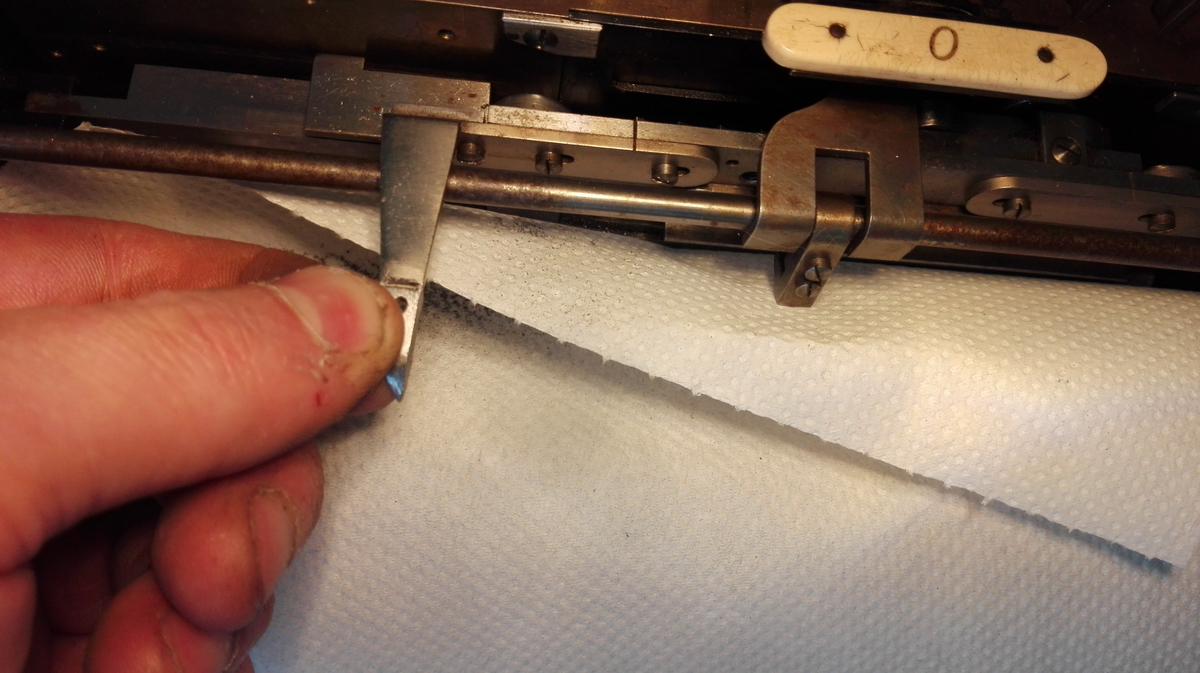
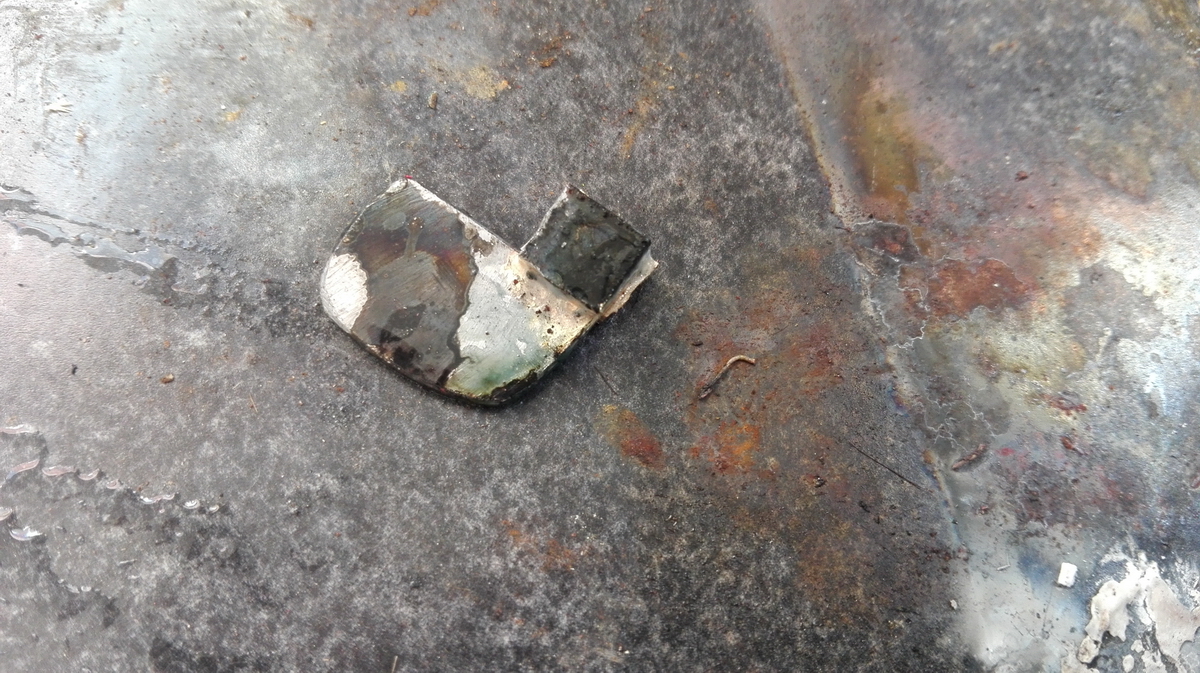
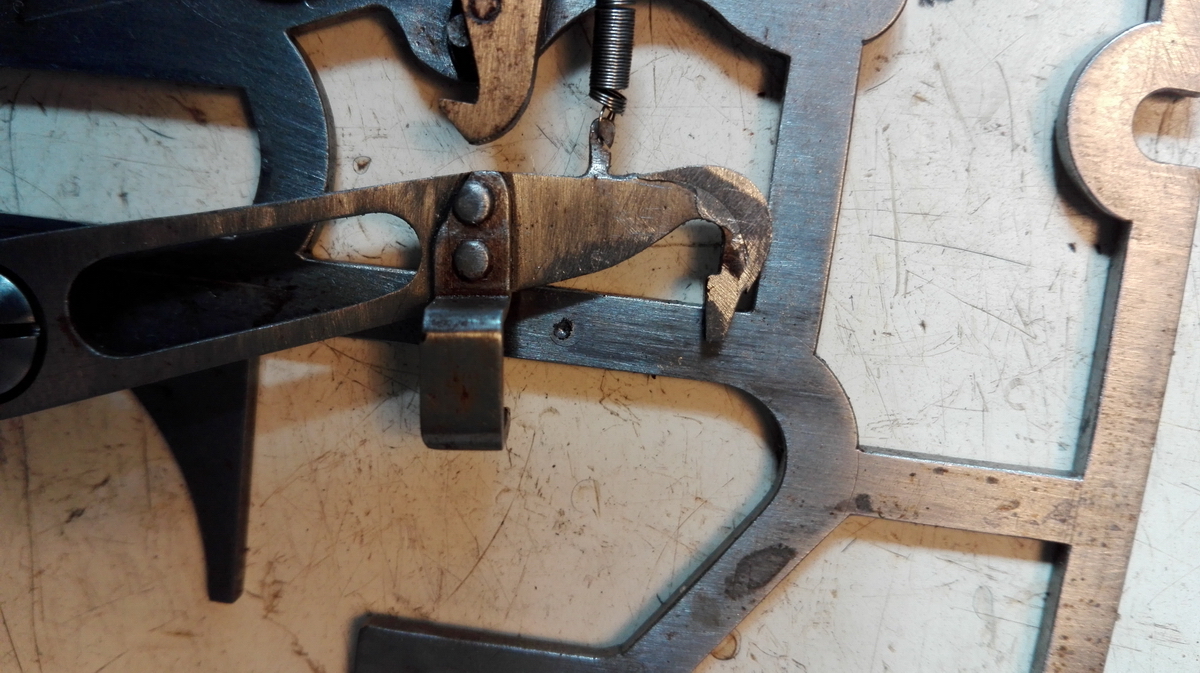
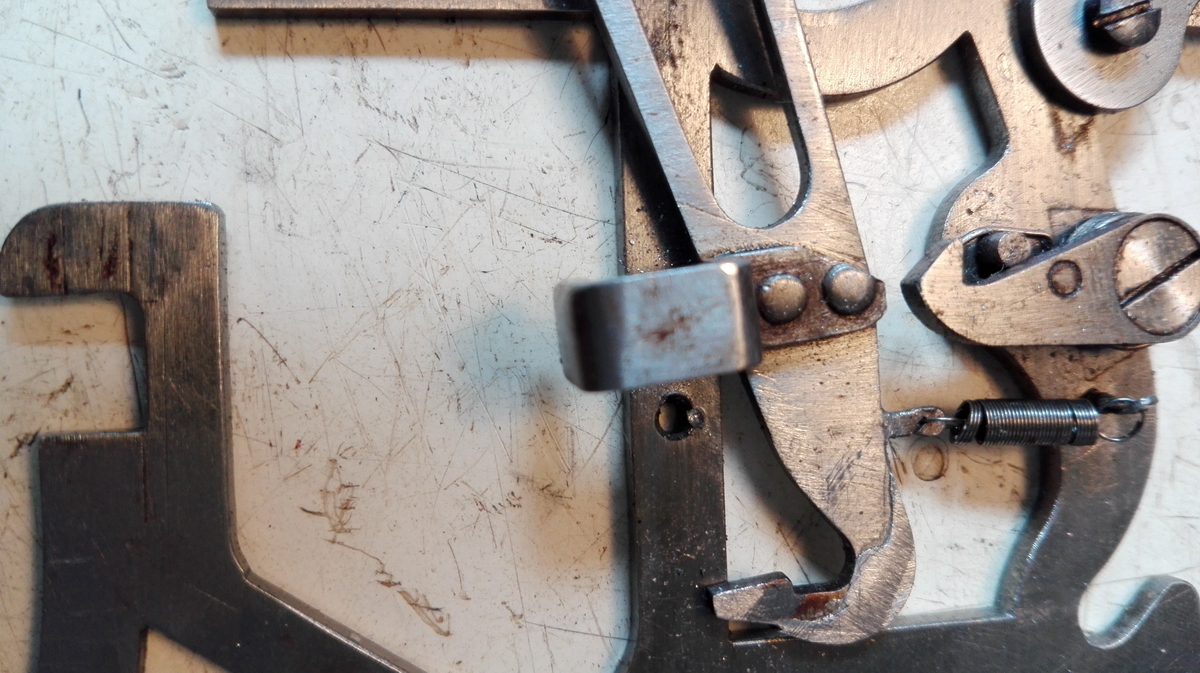
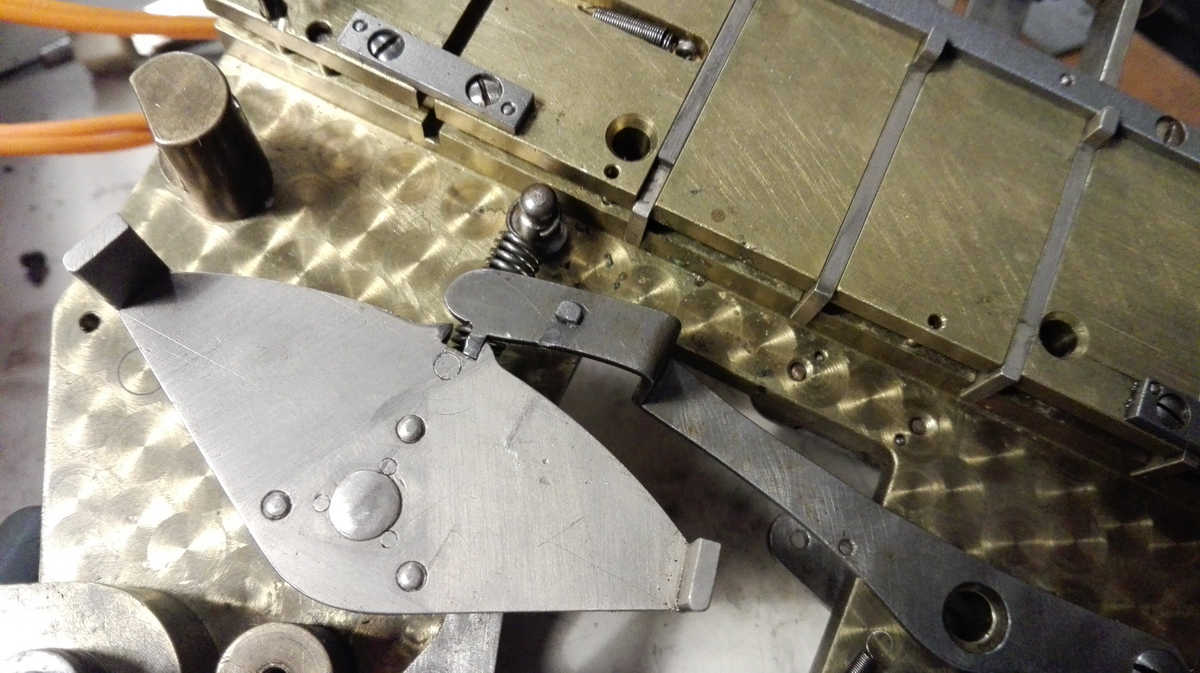
Now the last problem remained, namely the refusal of the setting carriage to tab when pressing the "9". It could be seen that pressing "9" didn't slide the catch past the switch for tabbing on release. Once the connector plate was unscrewed, the mystery was quickly solved. This is what I found - the 9 is at the right in this picture.
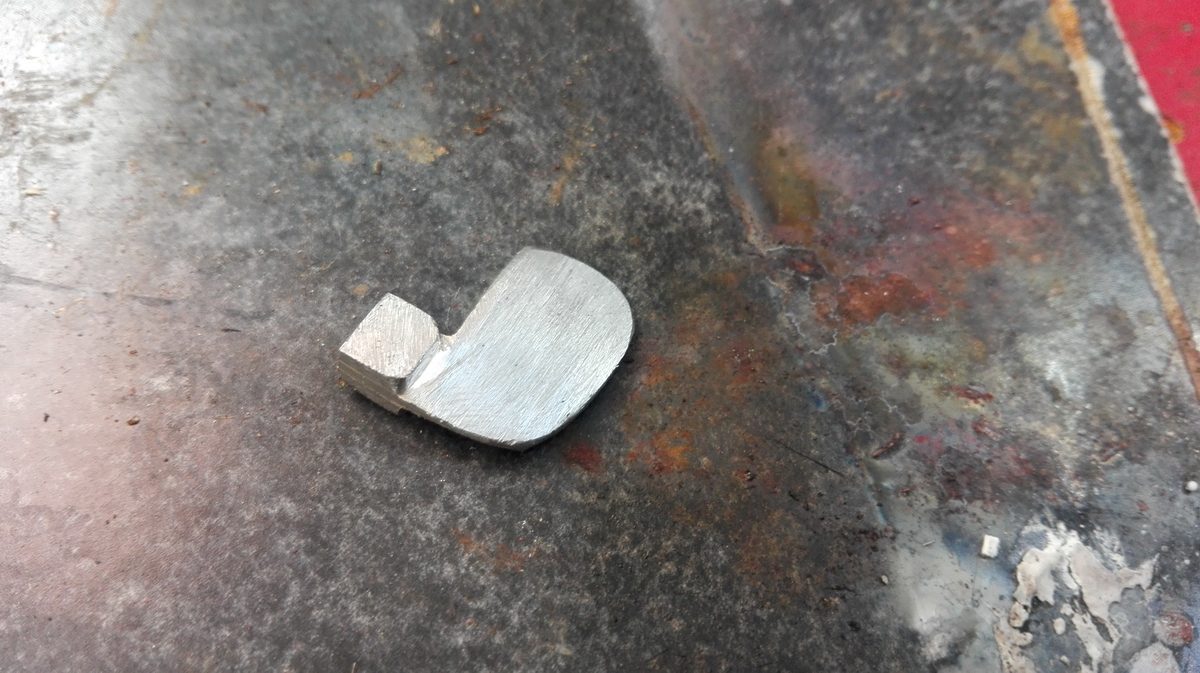
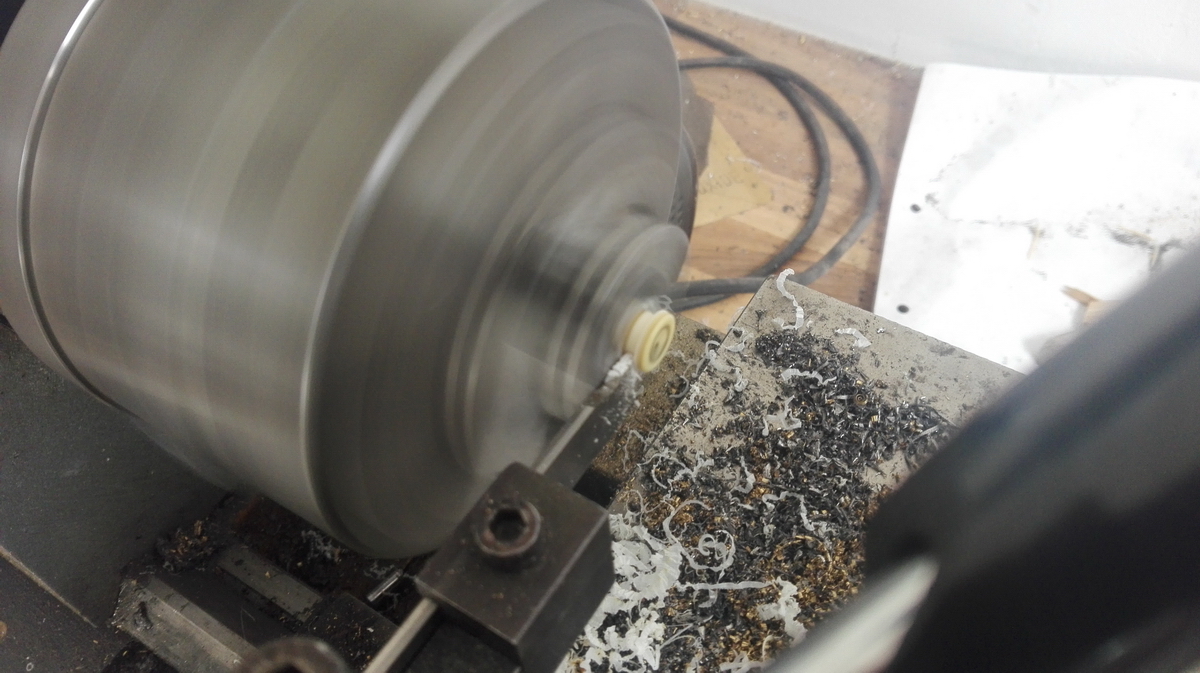
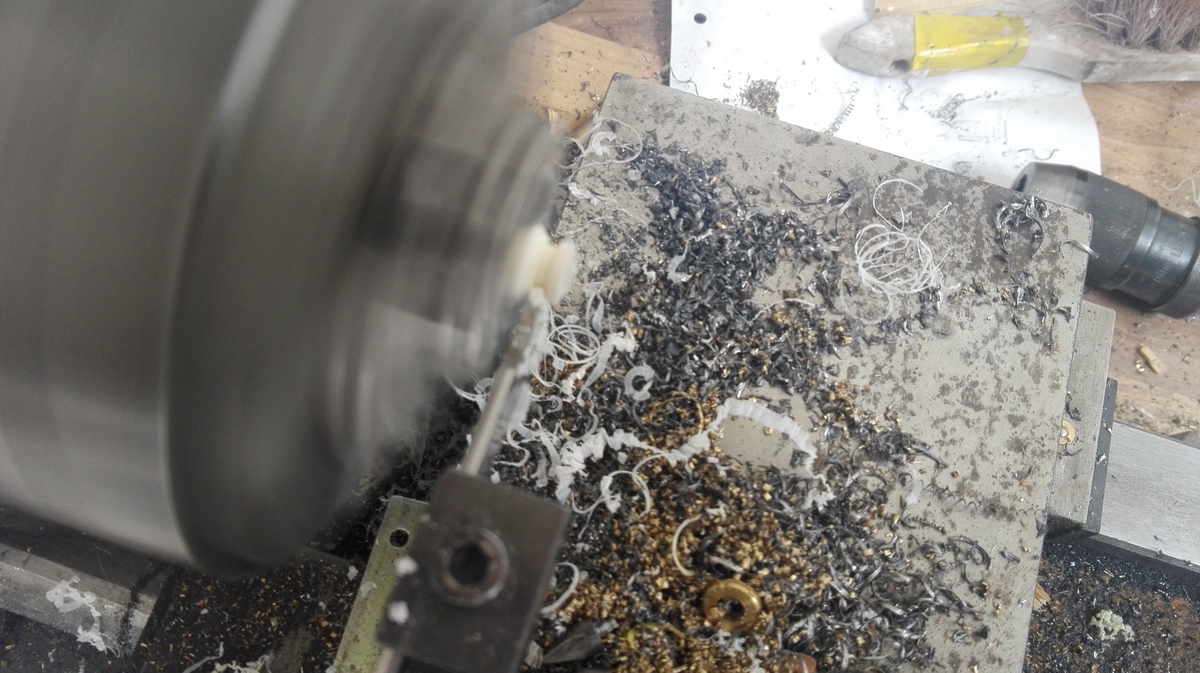
So a replacement part was quickly made up on the lathe

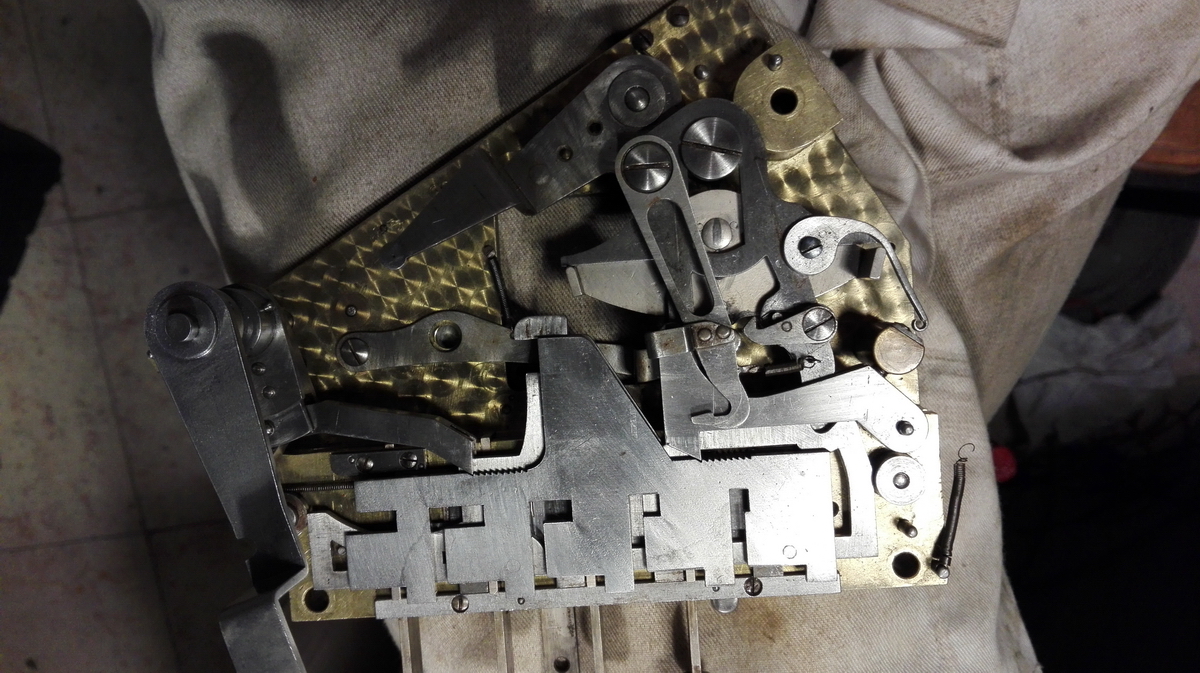
...and that indeed did the trick. The setting mechanism now worked. That meant the machine covers could be cleaned up and reassembled, but not before the input control registers were put back into the machine.
Unfortunately, this made the input a bit too stiff for reliable operation, especially if both registers are being set at the same time. Some experimenting was done with adjusting components, with some results, but the fact of the matter is that some of the pinwheels are not silky smooth, and the only way to remedy that would be to disassemble the entire machine to the last screw - something I was not prepared to do.
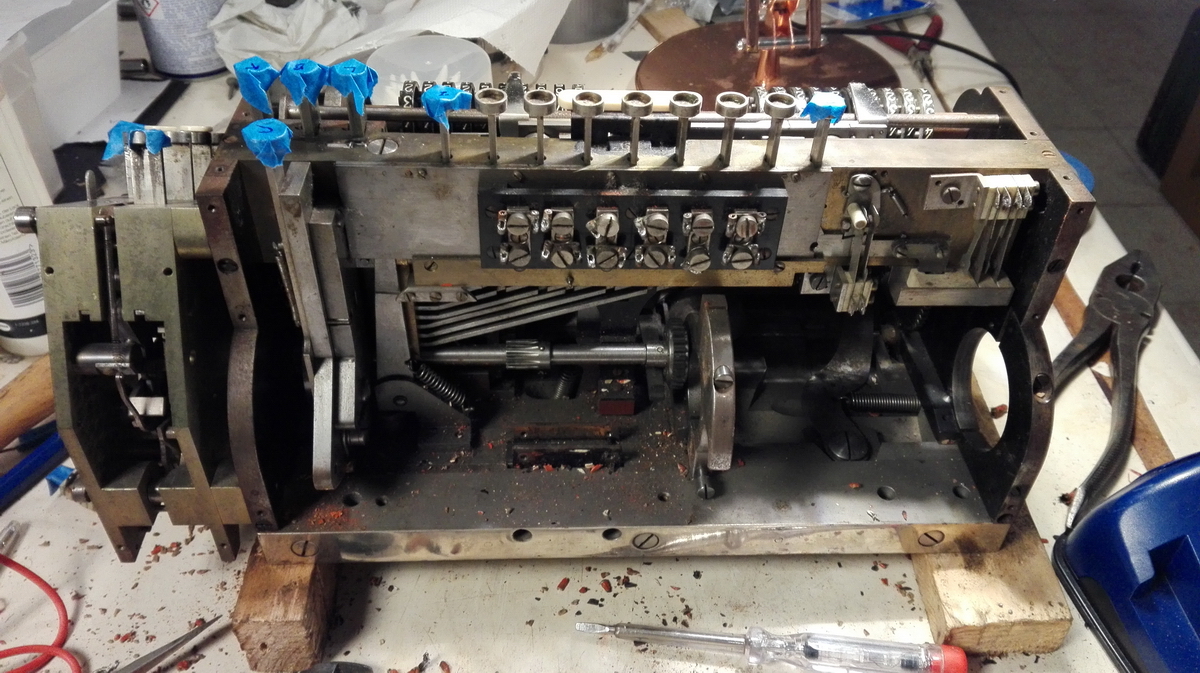
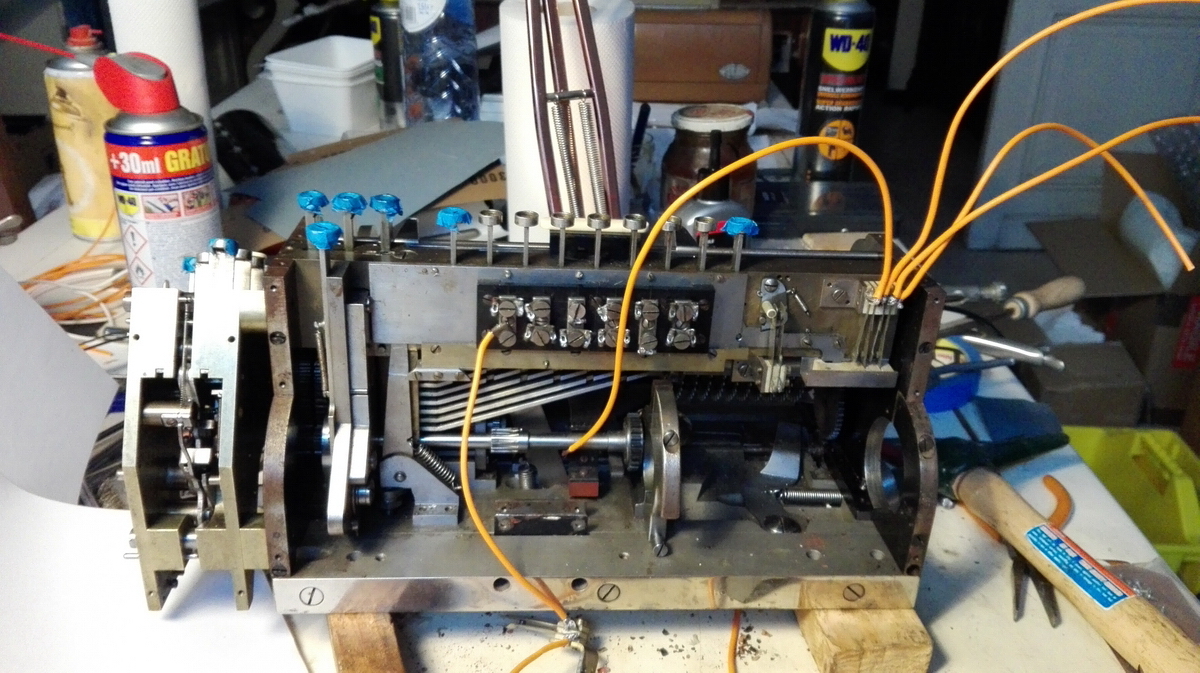
As a final step, the new wiring at the back was cleaned up and tied together as it had been.
Then the covers were put in place:
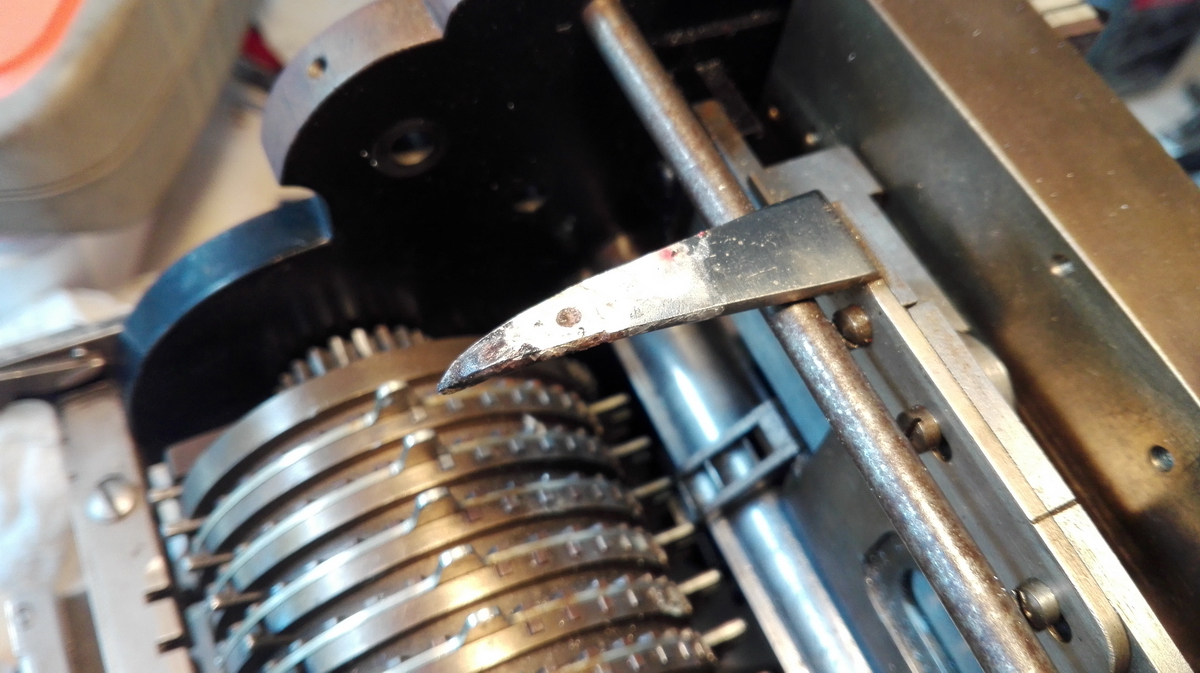
The grip was installed on top of the setting register:
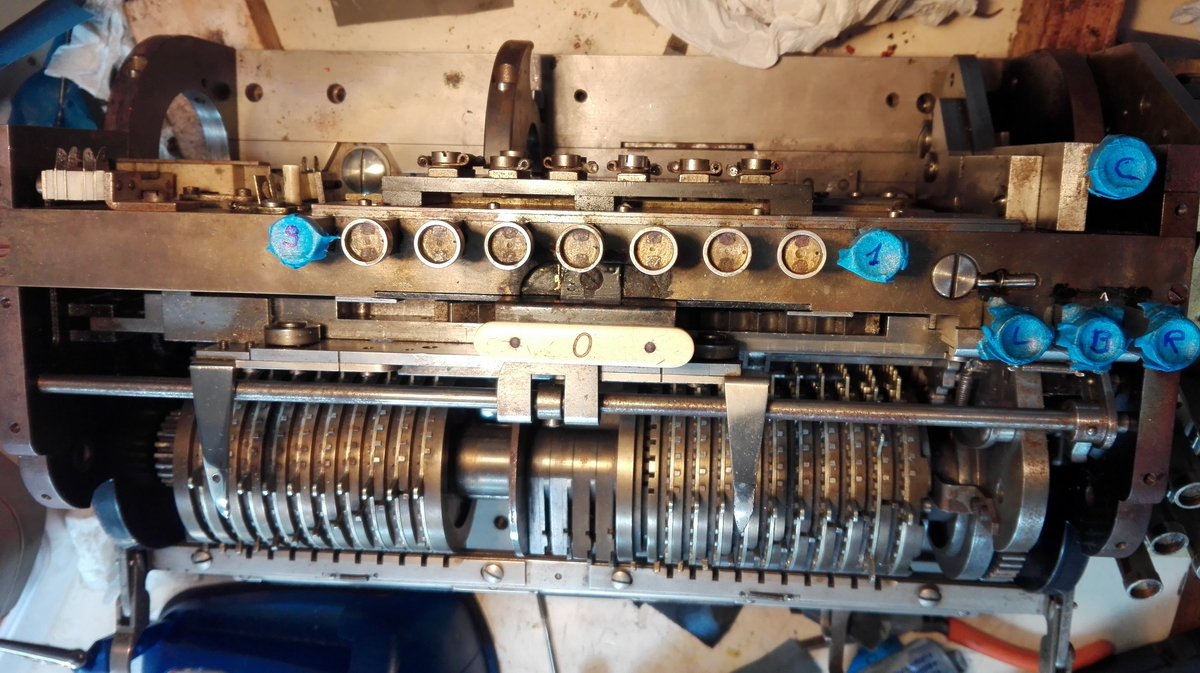
...and after all the screws were found and put in their proper places, I took some pictures of the machine:
Operation of course needed to be checked. The machine still had some clear issues.
I think the only possible conclusion is that this is a prototype/proof of concept which still needed a lot of work to make it into a practical machine. It is also quite obvious that also the setup of numbers is a long-winded and laborious process.
After consulting with the Arithmeum, it was decided to try and get the machine operating a bit more reliably by addressing the three problems mentioned higher, and a few other odds and ends that made the machine impractical to use.
So, additional work done to the machine includes:
1. Adjusting the top cover so that it will no longer rub some of the setting wheels in operation.
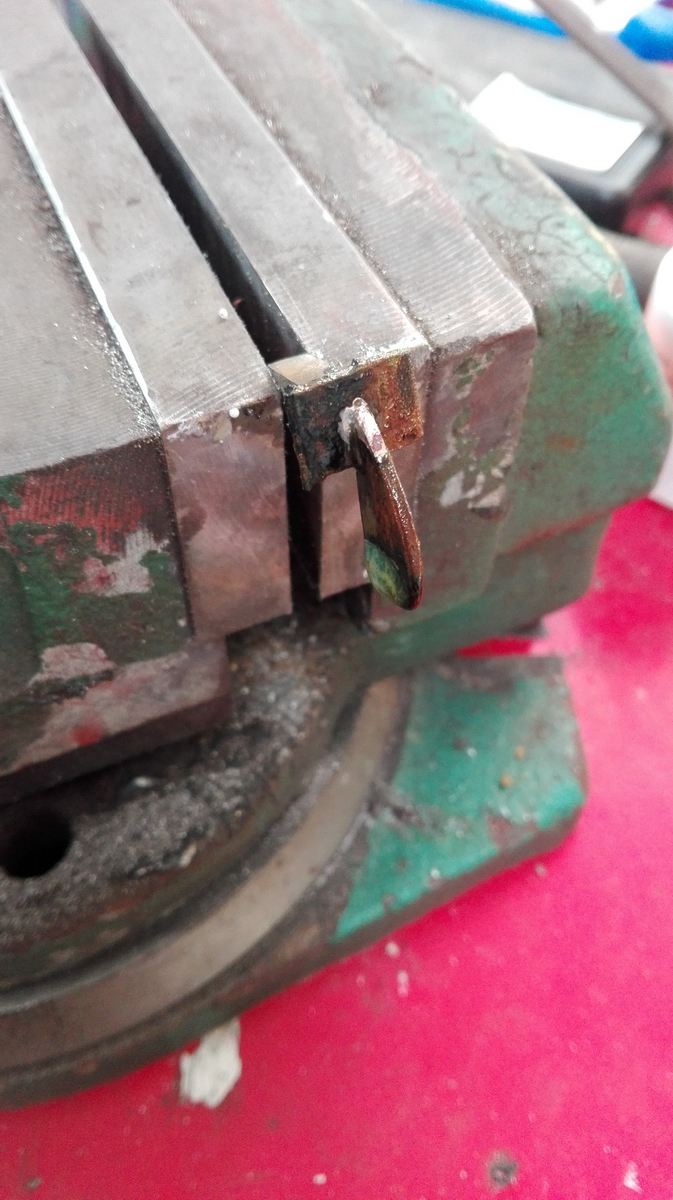
2. Making a new carriage stop – the original had a broken off, and the screw stub was still stuck in the 4mm threaded hole at the bottom right of the carriage.
3. Redoing the thumb lever for the setting carriage – since it was only attached with a single screw, it tended to come loose and rotate. There is no room for a locking pin without weakening the parts too much, so I made a new thumb button which has little “legs” at the front that grab the pointer left and right, effectively locking it in place.

4. I lubricated the pinwheel cylinders with graphite. This is tricky, because of course no graphite can be allowed to get into the electrics, as it is conductive. It improved the performance a bit, but especially the nines still need manual assistance, especially if both registers are being set at the same time.
5. Finally, the main part of the problem was the erratic behavior of the multiplier and the division mechanism. So that meant taking it apart again. Some adjustments to the procedure were made so that this time it could be done properly. First, the pin holding the locking part for the sliding plates needs to be taken out, and the 2 screws for the front catch for the sliding plates are taken out as well. Only then, the three long screws can be undone and the entire multiplier block can be slid off the locating pins.
Keep three M5 nuts handy to put on the back of these long screws, so that the multiplier block can be kept together for diagnosis. Everything having been taken apart again, three things needed work.
1. First of all, I was able to determine that the hesitant sliding of the plates near the end of their travel was due to a small burr on the top guidance rail, where a hole was drilled through it for one of the three locating screws. The bottom of the rail was sanded with fine grit abrasive paper until the burr was gone, and on reassembly it turns out that the plates now slide all the way down, with a positive action and an audible “clunk” under spring pressure. That was one problem solved. Unfortunately, after complete reassembly and adjustment of the multiplier block, the problem returned, albeit now far less severe than it had been.
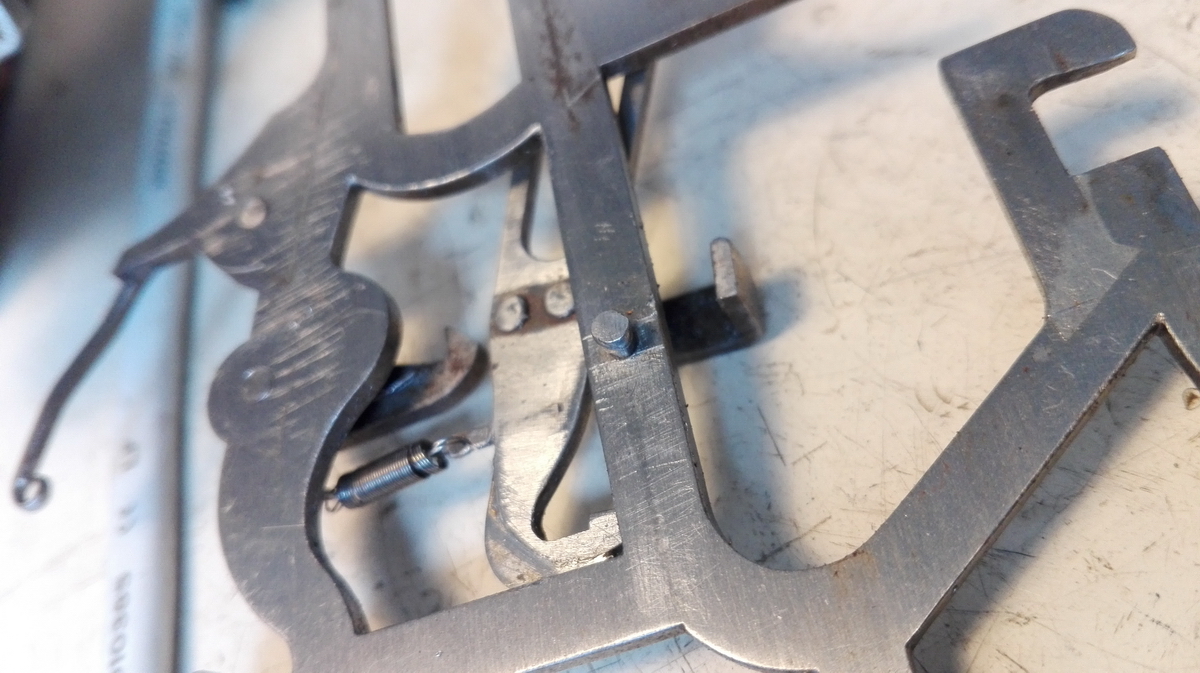
2. Secondly, the division mechanism. There is a catch lever holding in place the tilting plate that operates the division.
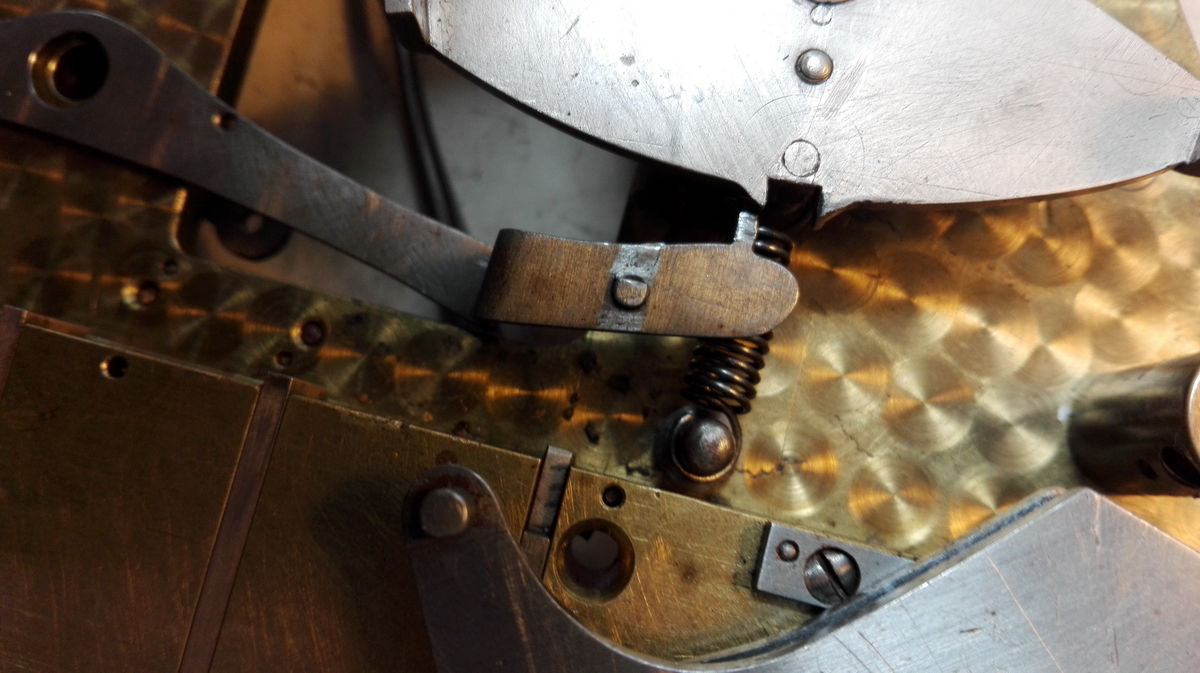
The way the machine was “working” would be to put so much pressure on the thin end of this catch that the lever would bend, and slip out of the slot it was supposed to engage with to the right hand side on negative division. The machine would then operate as designed. However, on positive division, it would slip out to the left, where it would interfere with all kinds of things in the mechanism. This caused the positive division to not stop when it should, and the lever had to manually put back to its neutral position. The operation by design is of course that this locking lever is lifted when the machine is in its rest position, only to be lowered while the machine is in operation. It turns out that the mechanism for lifting it was worn so much that it no longer would.
It consists of a small stub on the middle plate that is pushed down by the keys (see picture above), and a matching stub on the lever (see one picture higher). They are supposed to engage each other, so that when the middle plate is in the top position, it lifts the lever clear of the slot, but this didn’t happen. I drilled out both stubs and inserted new ones, that I could then file to the right length so they would engage without fouling any other part of the mechanism.
centerpunched:
drilled out:
New pin riveted in:
Yes, it was a nail, don't tell anyone!
It then turned out that the abuse to the locking pin itself had also worn it too thin.
On negative division, things were fine, the middle plate would come down as the end of the locking pin had already passed the end of the slot in the see-saw plate, and ride on the edge of the plate as designed. On positive division, however, as the pin had worn too thin, the middle plate could come down, also the locking lever would come down, and it would go into the slot for locking before the see-saw had tilted enough for it to ride up on its edge. Consequently, this would lock the positive side of division before it could even start. The solution was to solder a tiny sliver of brass on the left side of the locking pin, so it became slightly wider, just wide enough to have passed the edge of the slot by the time it came down, so it could also ride on the edge of the see-saw plate as designed, as opposed to just falling into the locking slot. Reassembly showed that the division mechanism now worked exactly as designed. Great!
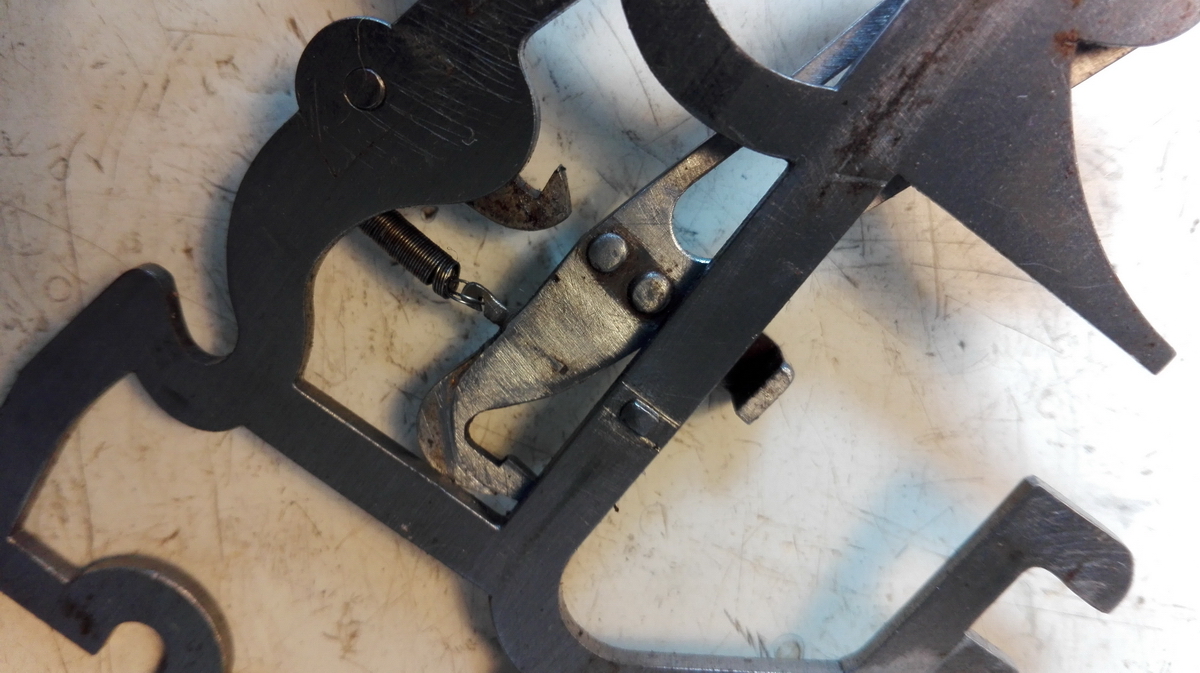
3. However, there is one more step to be done, because the sliding of the plates on multiplication is controlled by two catches, and the front catch needs to be removed for disassembly and reassembly. This has some degree of movement around the screw positions, so on reassembling everything, it needs to be carefully adjusted so that it behaves as it should, allowing the plates to slide all the way to the front, and releasing them one tooth at a time. This takes some trial and error to correctly adjust.
To round everything up, during testing the multiplier again started to fail unpredictably. There are two possible causes for this, which both turned out to have happened. The first one is that the pin which holds the locking part for the sliding plates in place is coming out. Strangely, the main effect of this appears to be that the carriage movement at the end of a multiplication or positive division cycle becomes unreliable and stops functioning. On the other hand, tapping this pin in too firmly will cause problems with later disassembly, because the only way to get it out is to grab it with vise grips, and to pull and twist, because the small end cannot be reached with a punch – so this is a failure that will occur once in a while during the test phase. Once everything is properly assembled and tested, this pin can be tapped in place firmly enough so that it won't accidentally come out again. The second way things failed was that suddenly it appeared that the sliding plates did no longer want to slide. This points to a problem with the adjustment of one of the catches, and apparently the screw that holds the hook that pulls the rear catch down on pushing a button had unscrewed, and the hook was no longer in the correct position. That would be this large screw right here:
Once the screw was done up properly, the problem vanished. In conclusion, apart from the highest numbers in the setting register, and the occasional misfire on a 9 in the multiplier, we now have a completely functional Thales Elektromat.
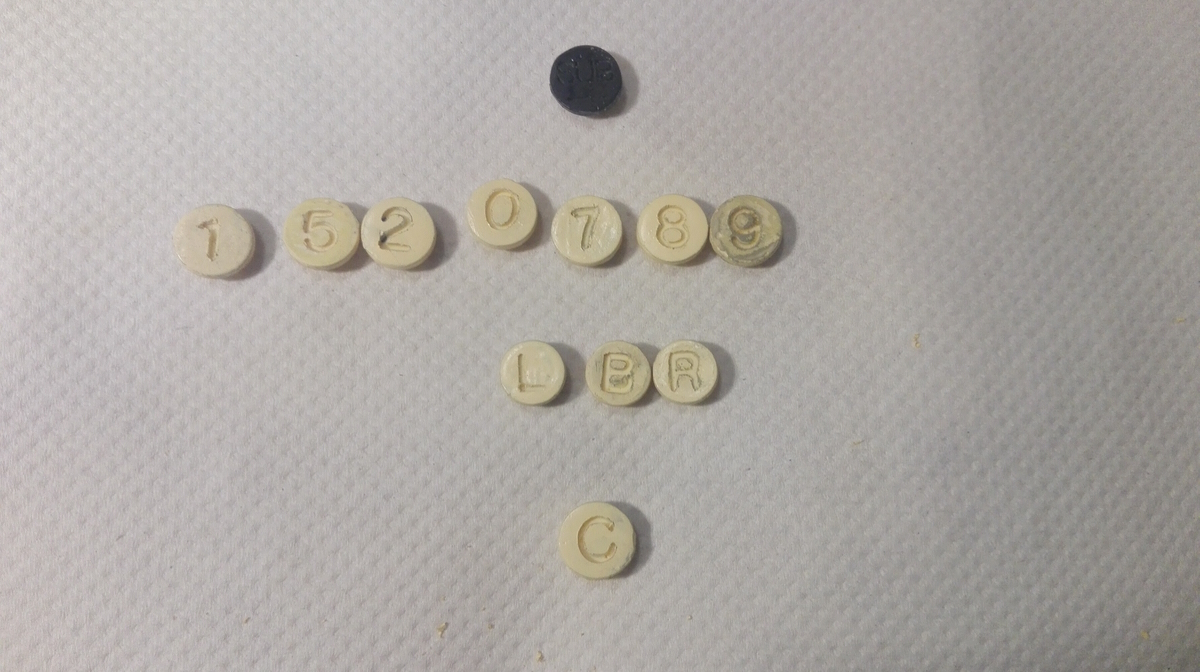
The final piece of the puzzle were the missing keys. The keys in the setting keyboard on top of the machine were relatively easy to solve - they are just the numbers 1-9, 10mm in diameter, and could be sourced from the keyboard off a MADAS parts machine. They can then be reshaped and turned down to fit in the metal keytops.
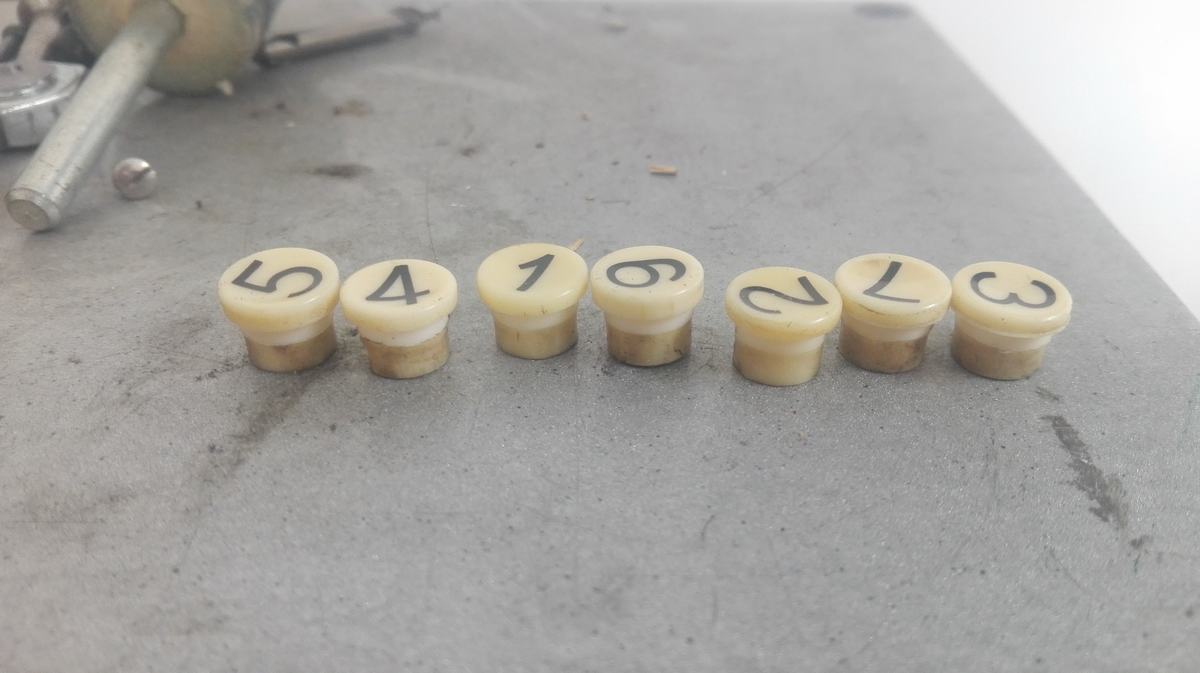
The letter keys are a different matter. They are also 10mm, but there are no B, L, C and R keys on a MADAS keyboard, and the keys on the multiplier keyboard are 11mm in diameter and do not conform to anything I have standing around in the collection. TIM keys come close, but are not identical. So I cast silicone molds for each of the key types, and then cast the keys in polyurethane resin.
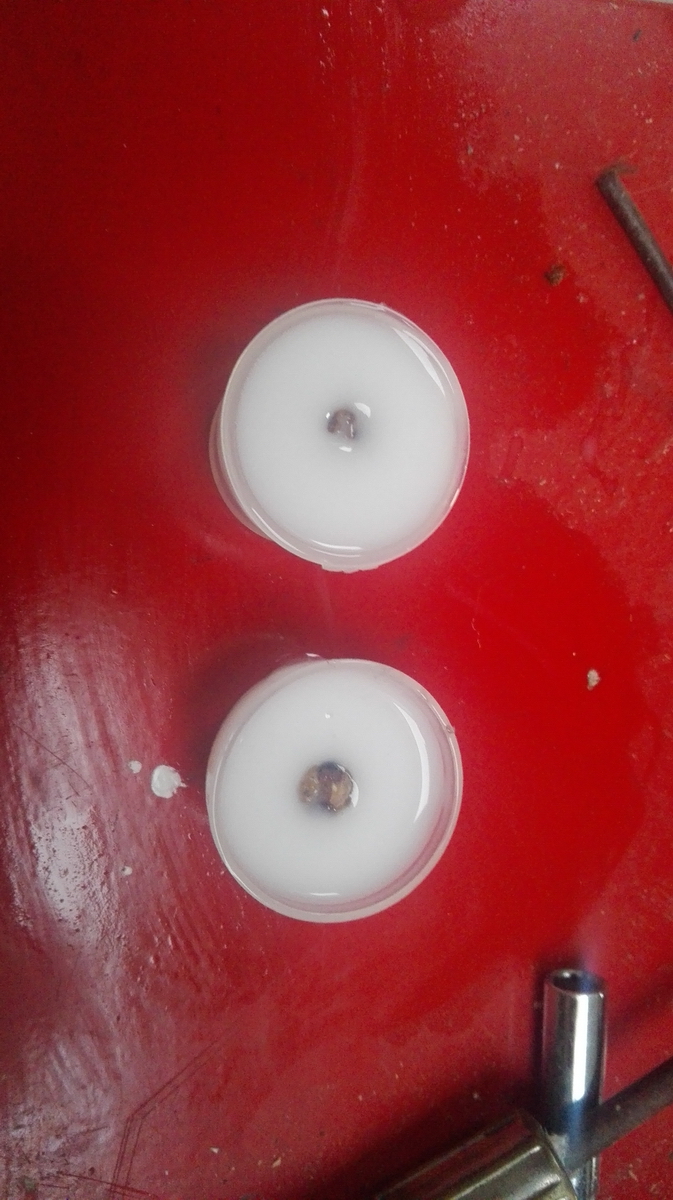
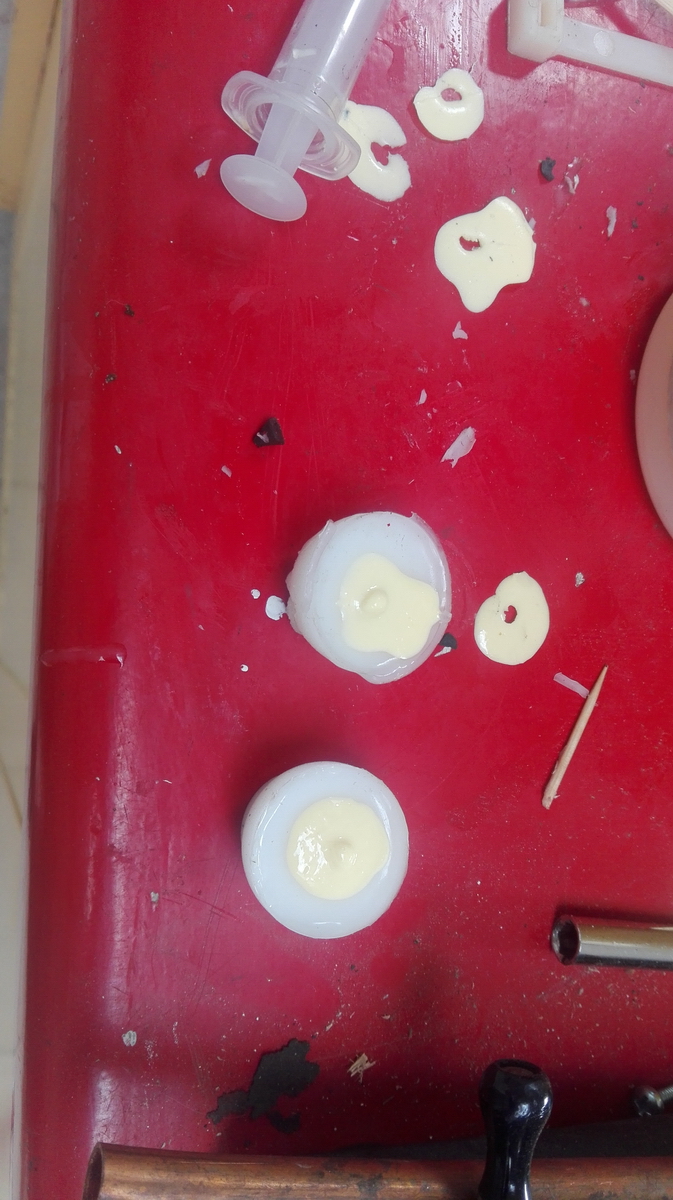
The only disadvantage is that that forms small bubbles during hardening, that need to be filled, and the keys painted. I then had the numbers and letters CNC engraved on the keytops, painted the keys in the correct cream color when they arrived back, and filled in the engravings with black putty.
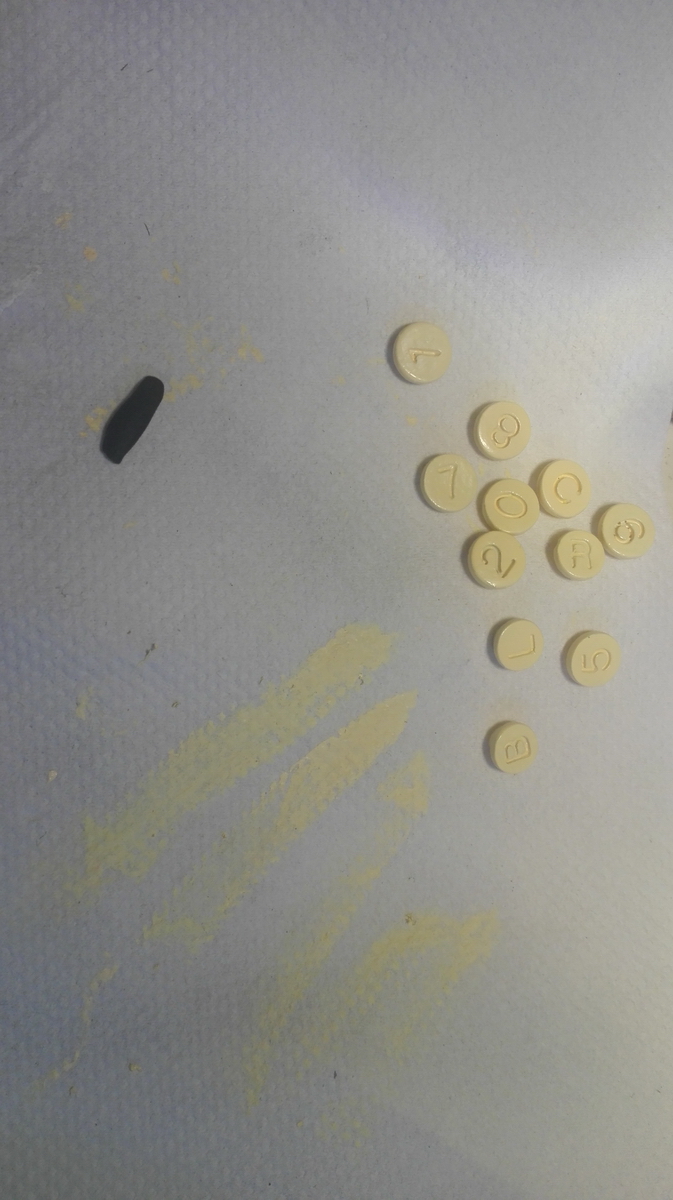
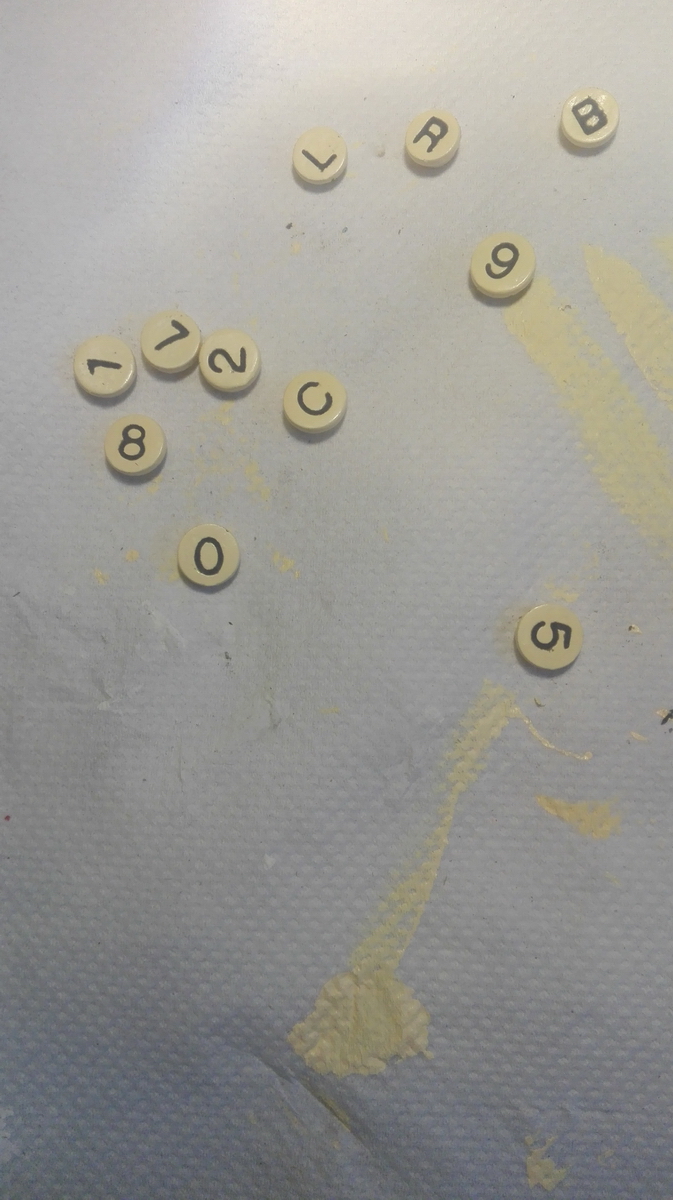
I then stuck the keys to the metal key cups with epoxy glue, so that inquisitive fingers from museum visitors would be unable to remove them again, and after a final polish, the restoration of the machine was completed.
We end with a video of the machine in operation, and performing the example calculation as suggested by Thales in the Export Review article at the start of the page.
Things to definitely not try with the machine, because the motor is a bit on the weak side: set high numbers over the full width of both registers and then try an addition or subtraction. The motor will simply stall, and the machine will need to be disassembled to recover from this.