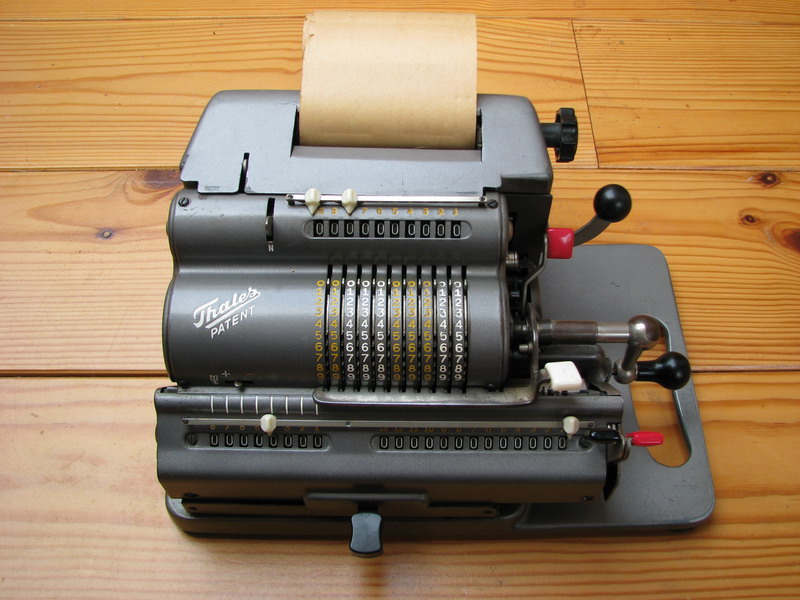
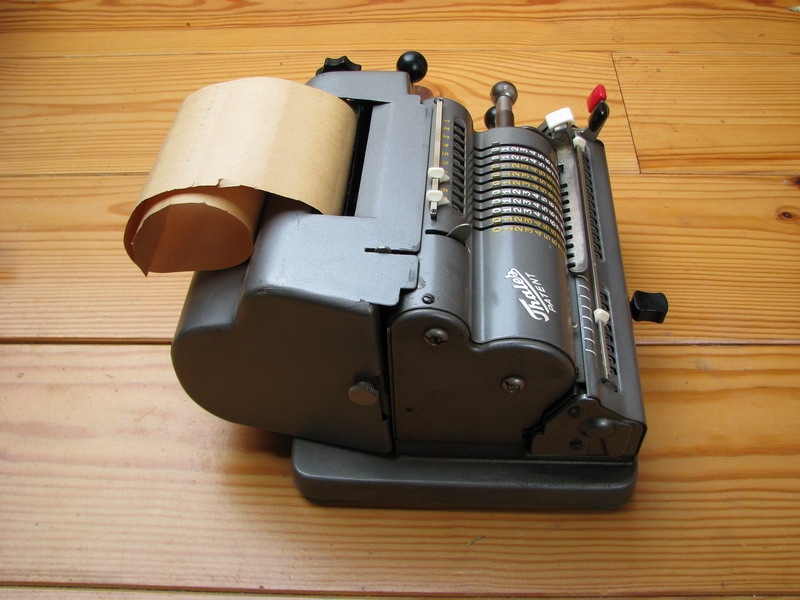
Thales CER/D
A very interesting implementation by the Thales-Werke of what was a bad idea in the first place. How to couple the functionality of a four-species calculator to the printing capabilities of an adding machine? Thales' CER/D (D for Drucker) was the answer, but the reception was lukewarm to say the least, and not many were sold. This one comes out of a mom-and-pop grocery shop in Germany. Somehow the Thales representative convinced them it would be a good idea to buy one.
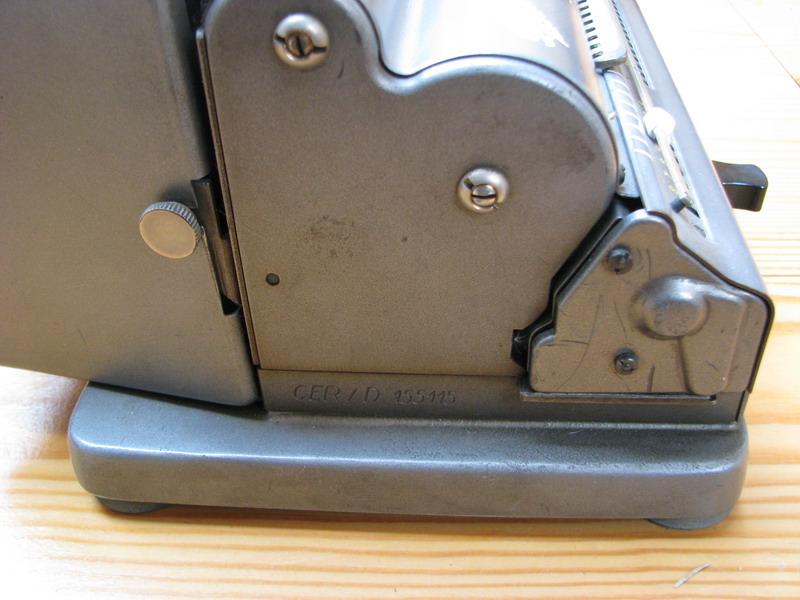
The machine has 155115 as the serial number. The next machine made, 155116, is pictured on the Thales CER/D page on rechenmaschinen-illustrated.com.
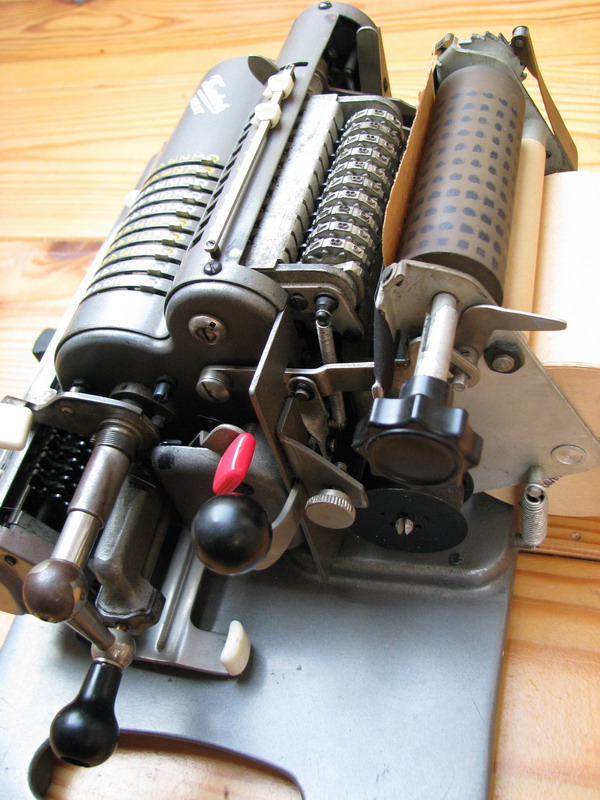
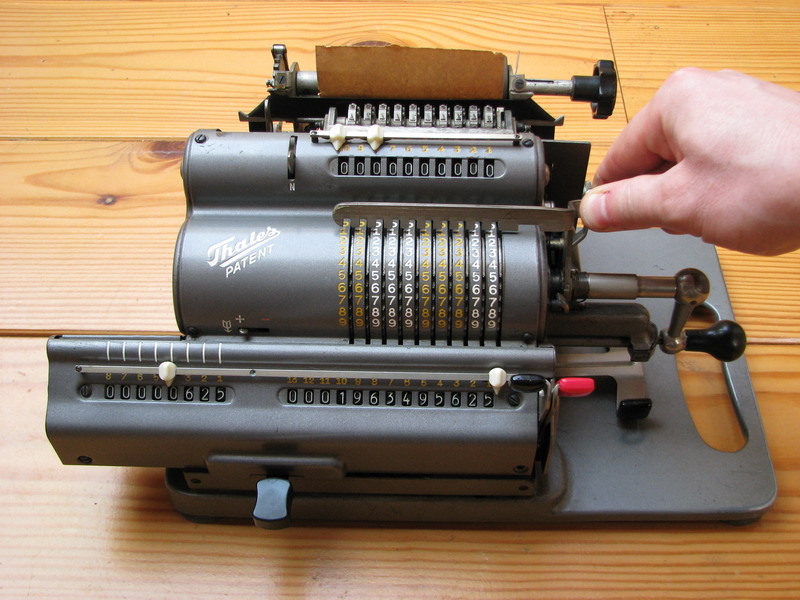
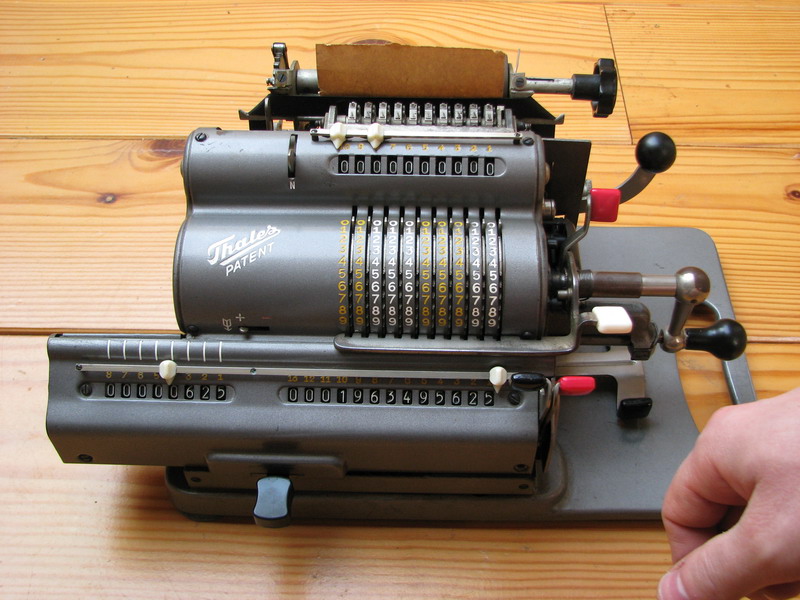
So why was it such a bad idea to try and combine printing technology with the pinwheel calculator? Brunsviga tried it with the Arithmotyp, and Baldwin's prototype incorporates printing functionality as well (and in fact, does that pretty well). The reason why things changed is because the re-use of components designed for non-printing calculators necessitated the attachment of the printer at the back of the machine, where only the contents of the setting register could be printed. Backtransfer was thus needed to print a result from the result register. And the counter register, that could simply not be printed, unless the counter register result was set manually into the setting register. Notice the little lever at the top left of the setting register - it has two settings, flipped to the back, and flipped forward, where it says "N". This lever set to "N" (for non-print) stops the automatic printing of the contents of the setting register on cranking the machine. With the setting "N", you can also do multiplications without going through meters of paper for every calculation. With the lever flipped back, the machine operates exactly like a regular adding machine.
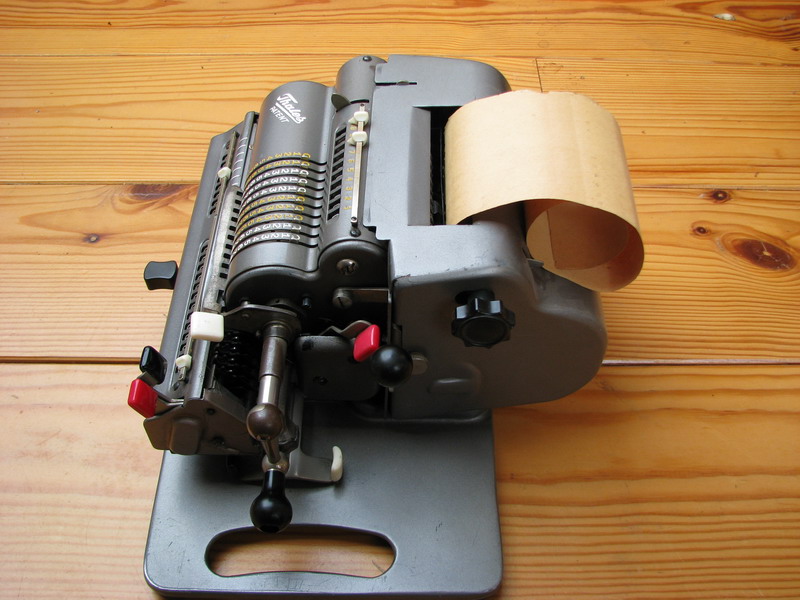
Here are some pictures of the printer with the cover off the back of the machine.
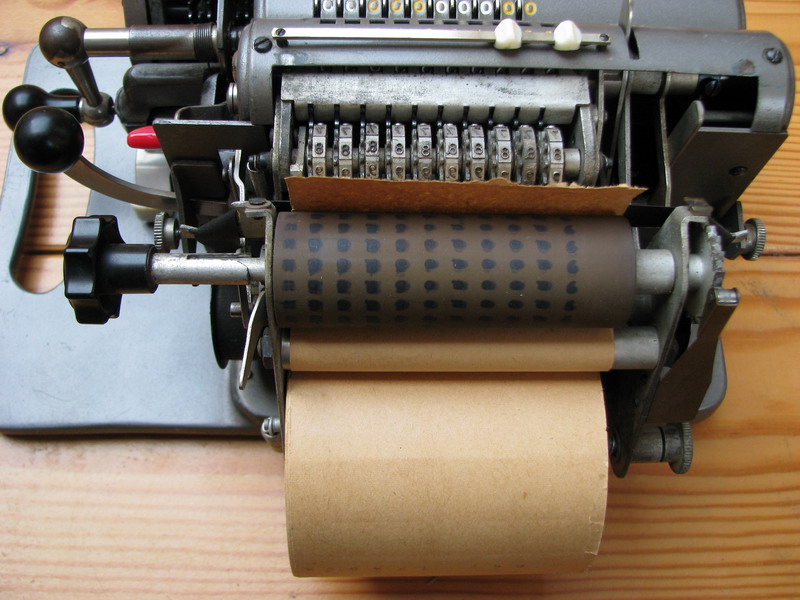
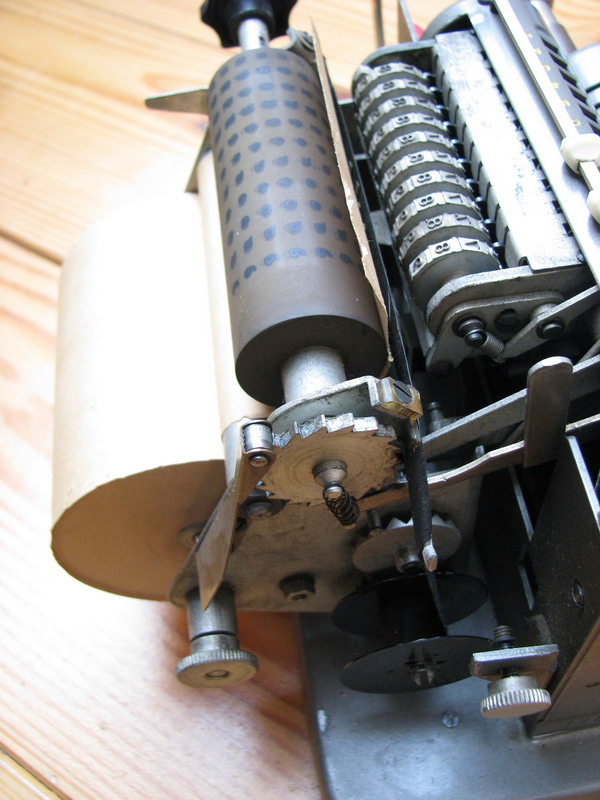
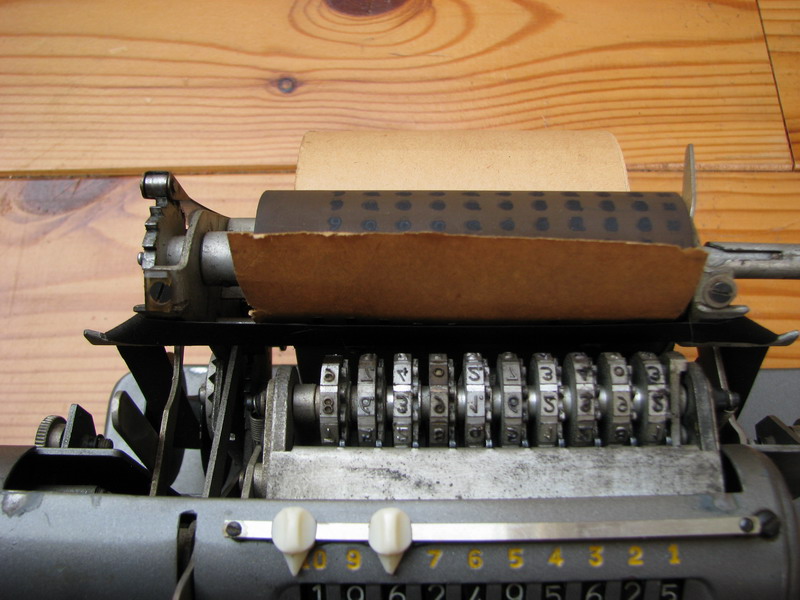
The third, sixth and ninth printing numeral wheel thoughtfully include a decimal marker.
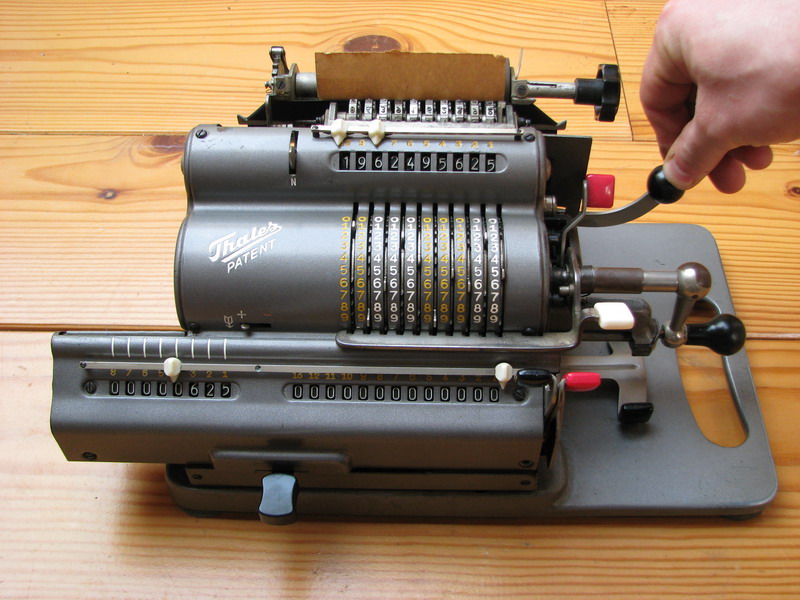
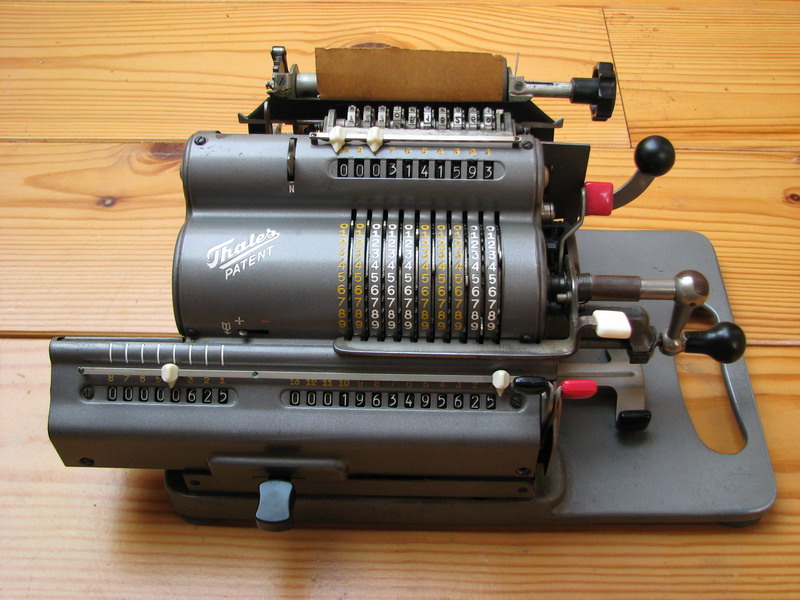
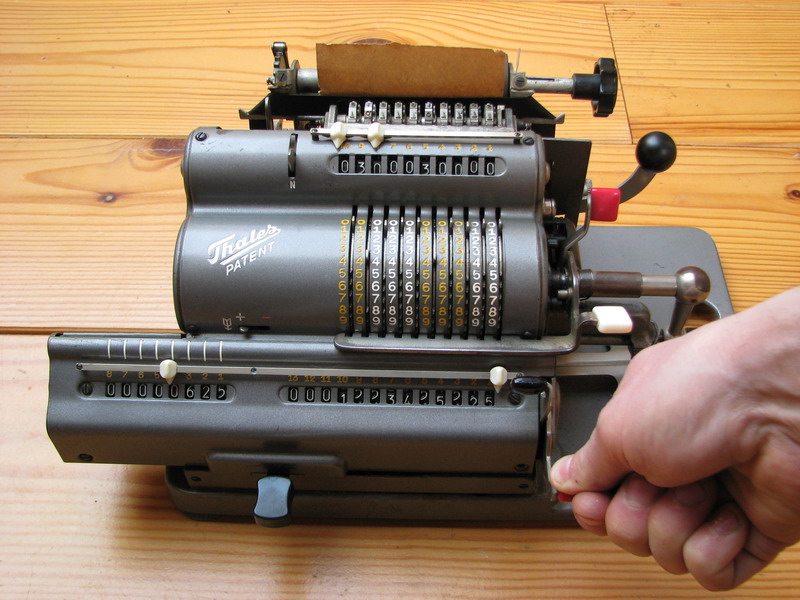
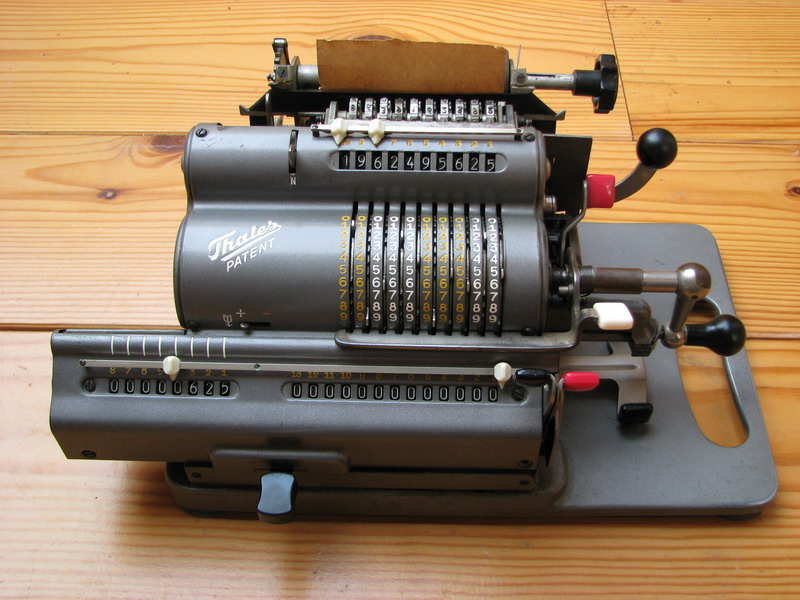
So what is the procedure then for getting your results printed? Here we see the state of the machine after multiplying pi by 25², to arrive at the surface of the circle with radius 25mm.
You clear the setting register:
And then pull the red backtransfer lever forward, blocking it into the forward position.
...like this.
Then you push the clearing button for the result register...
...all the way down...

...and after letting go, the result is transferred to the setting register. The leftmost three places in the result register can not be printed.
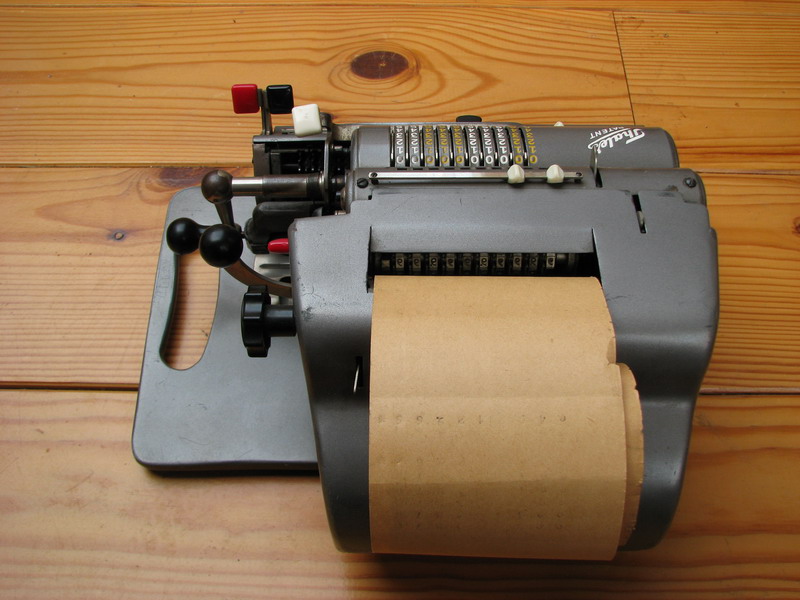
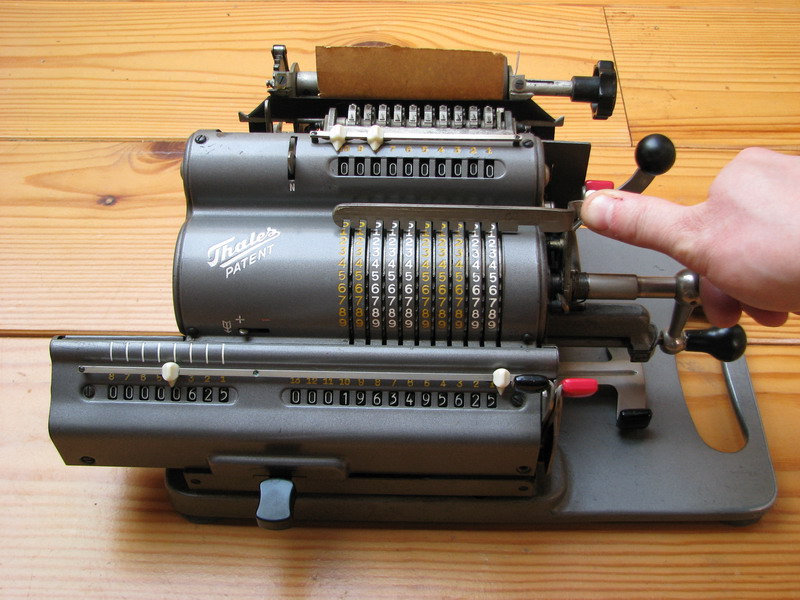
Then, finally, you push the large "print" lever on the right side of the machine.