
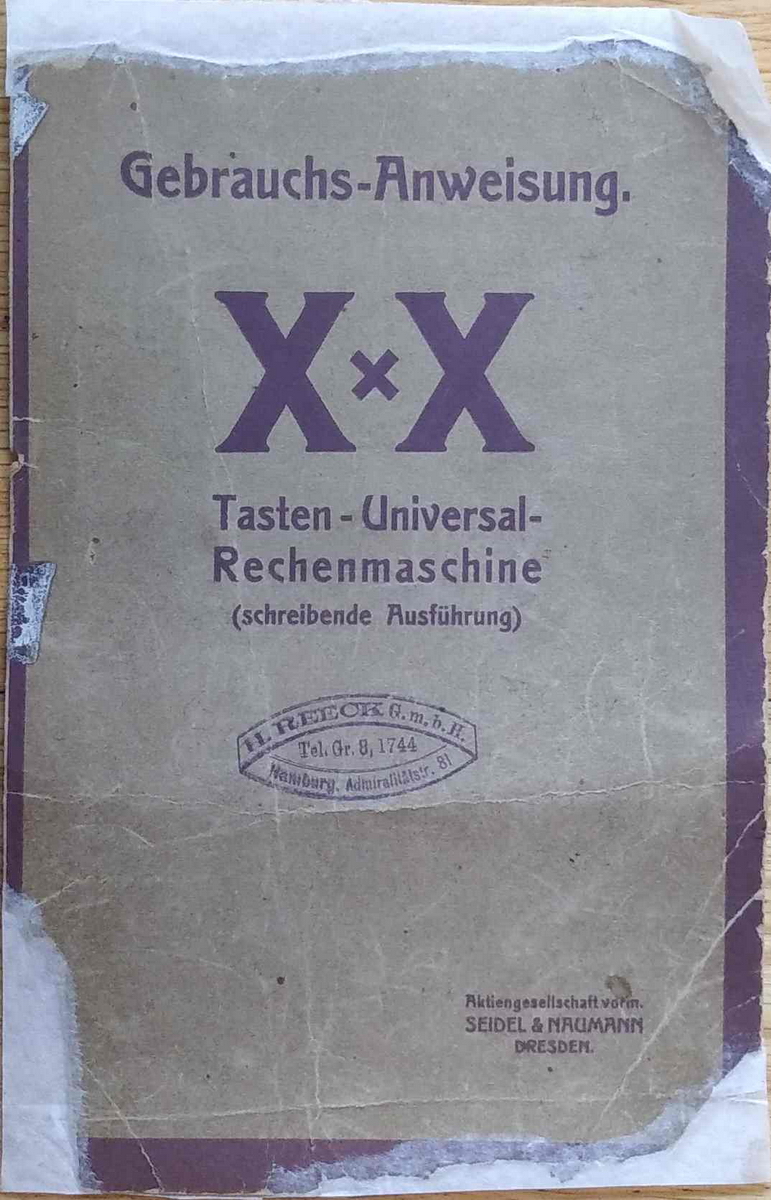
Printing X x X
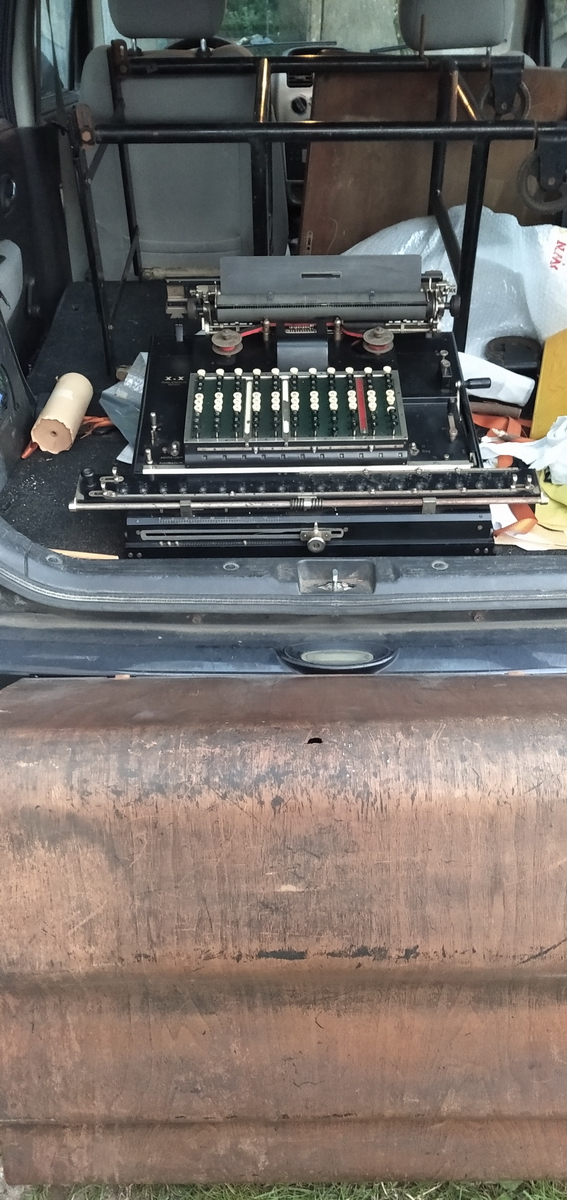
This machine appeared on a well-known auction/second hand website in Germany, and I immediately emailed the seller with an offer. He gave me a counter-offer, and judging from what I could see on the picture (original stand, manual, wooden cover, and the machine looking a bit rusty but otherwise intact) I accepted, and drove all the way to Hamburg to go pick it up. I still liked what I saw in person, so I paid the young gentleman (who would use the money to obtain his driving licence, he said) and loaded up the machine.
He had obtained it from the attic of a relative who passed away. The gentleman in question was a chemist (why do calculators always end up with chemists ?) but the manual that came with it contained an extra piece of paper with an interest calculation, so use in a bank would have been a bit more likely.
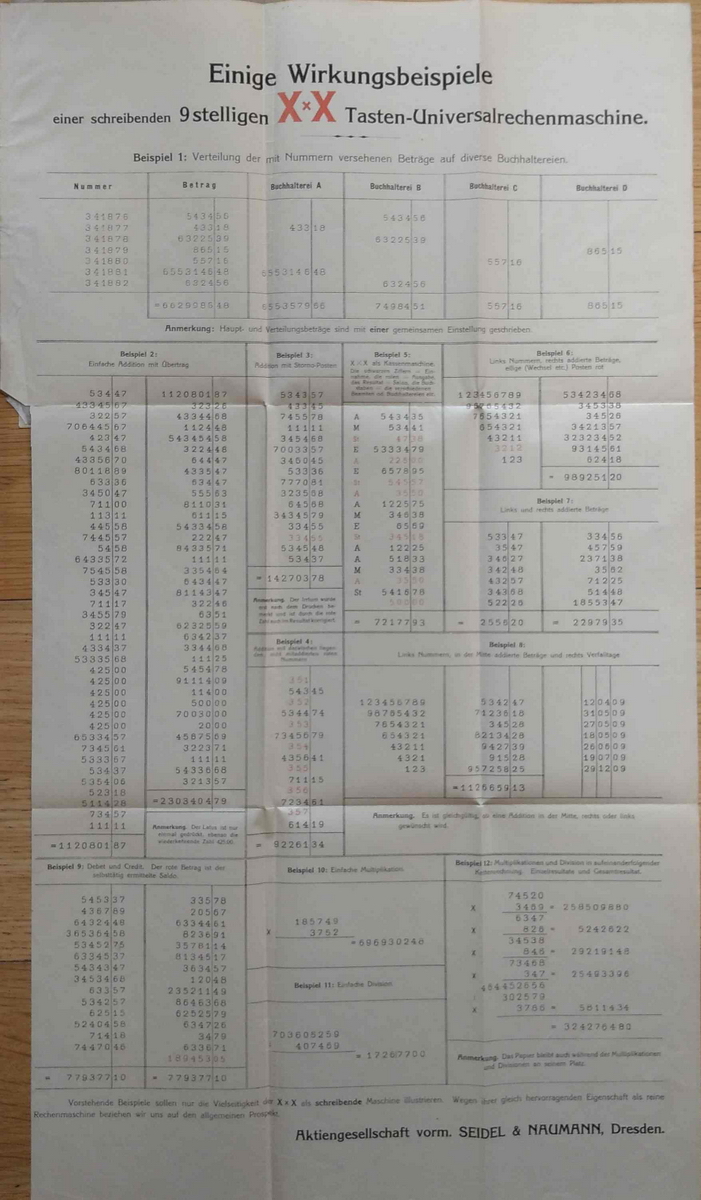
The manual is actually very interesting, and contains a few choice passages that put the use of the machine in a somewhat different light. There are some peculiarities to this actual machine too.
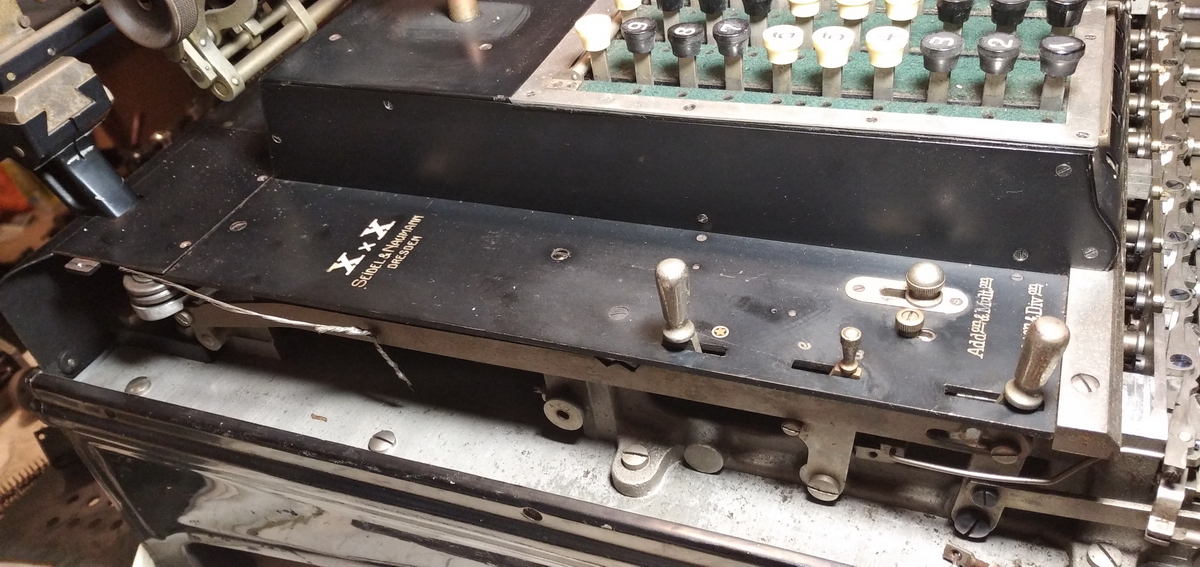
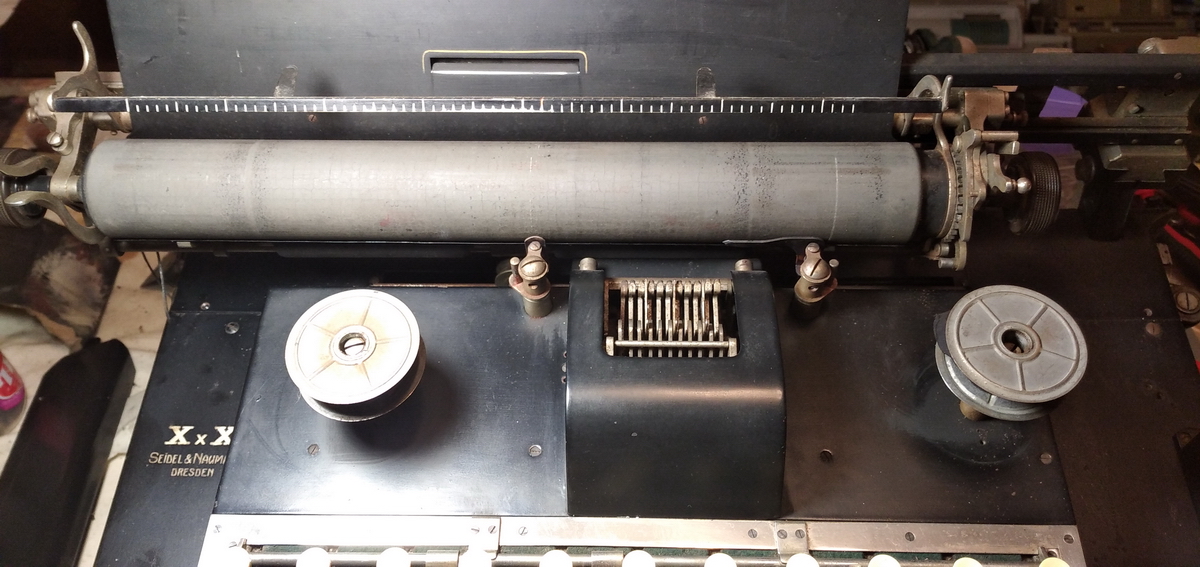
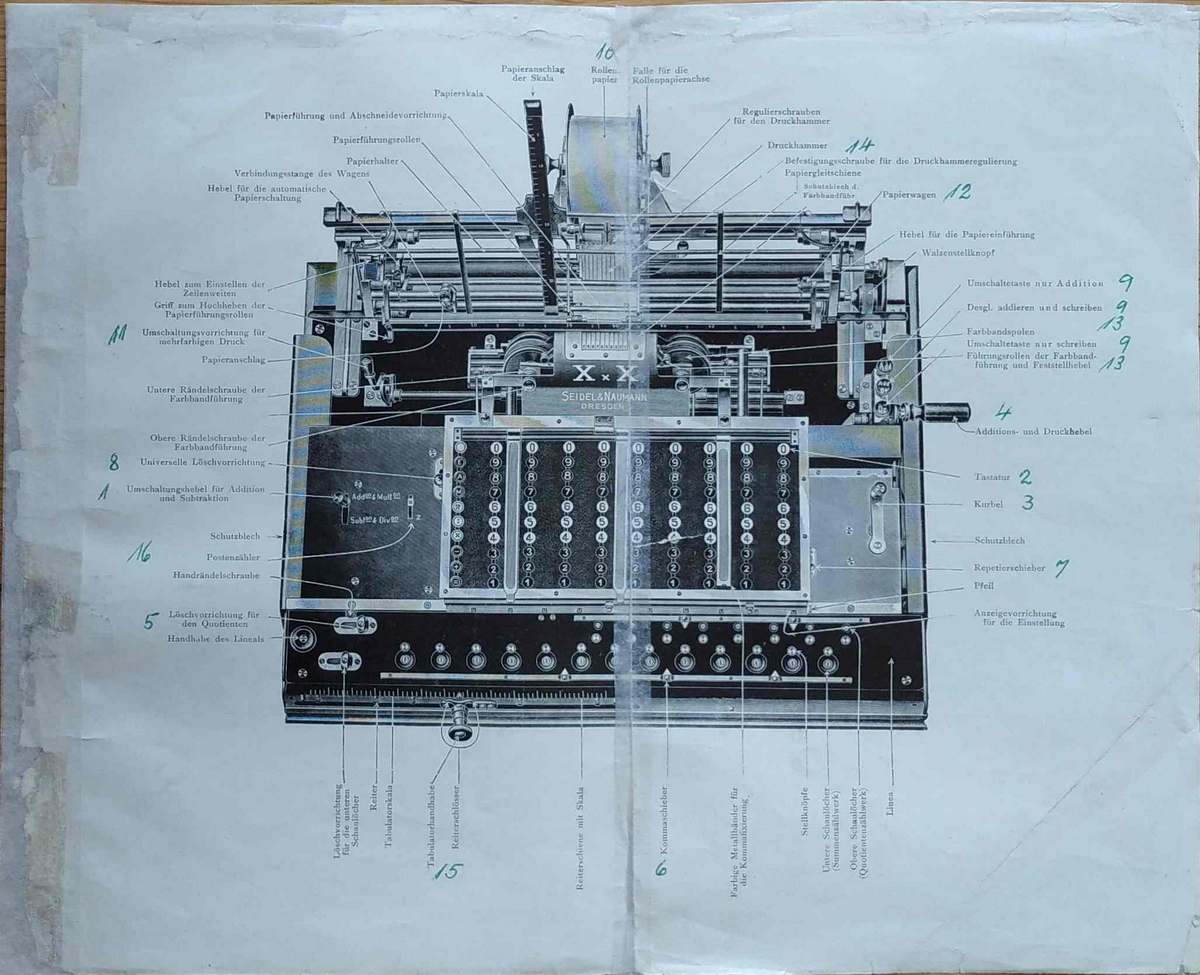
It was sold by H. Reeck GmbH, in the Admiralitätsstrasse 81, Hamburg. The image of the machine in the manual is completely different from what it actually looks like - between the printing of the manual and the construction of this machine (and all the others I know of) the entire printing mechanism was redesigned - the mechanism as described in the manual has no classical platen, but three rubber rollers, and hammers hit the paper from behind to make the impression. The numbers are on pivoting sector, like in the comptograph. What is present in the machine is a much more usual adding machine mechanism, with a platen, and print sectors pressed against the paper through the ink ribbon. This is also what the other known printing XxX machines look like.
The foreword to the manual contains the following gem: "The keyboard universal calculator XxX is a product of first-class fine mechanics. It is, with knowledgeable treatment, of the greatest possible durability." And so indeed it appears, 110 years later...
Another good one is this: "Learning machine calculation is extremely simple, where of course the supposition is that the person doing the calculation is also able to do it without the help of a machine. The machine can of course not replace the mind, but only lighten the mechanical part of the work of calculating."
On customer service: "Users are requested, if they have trouble executing their calculations on the machine, to turn to the representative or the factory. Much more even than simplifications exist for calculation with pen and brain, such simplifications are possible for machine calculation too. Every time a calculator is set to the side by the owner as "not particularly useful", almost always the problem is that the user does not understand completely the use of the machine. As the interest of the representative and the factory, however, is not only to sell machines, but also to completely satify the user with their use, the factory is always grateful for questions in this respect."
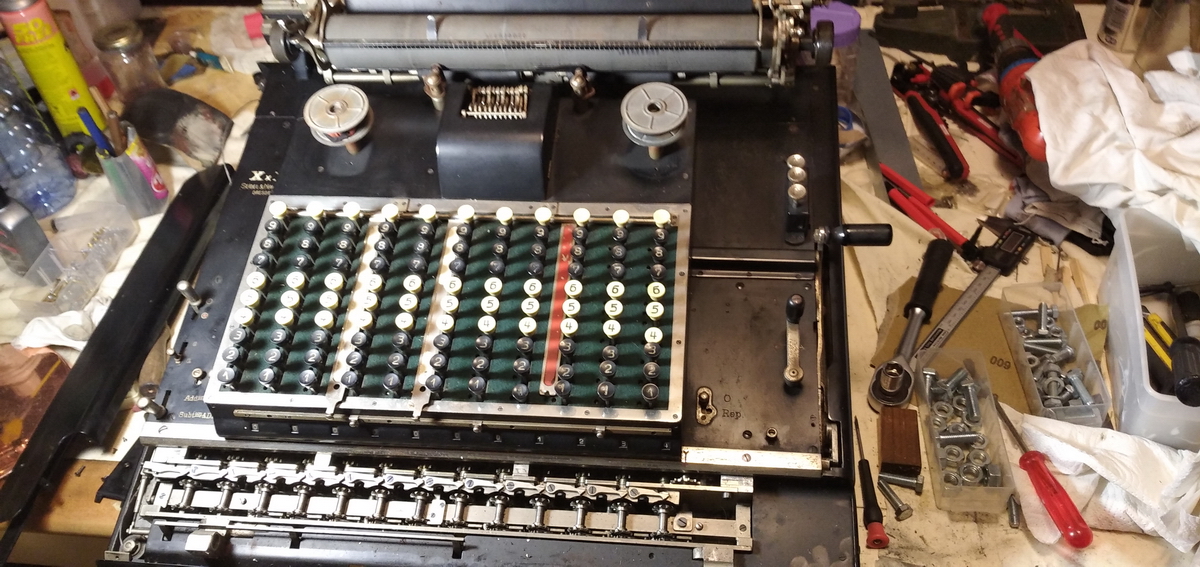
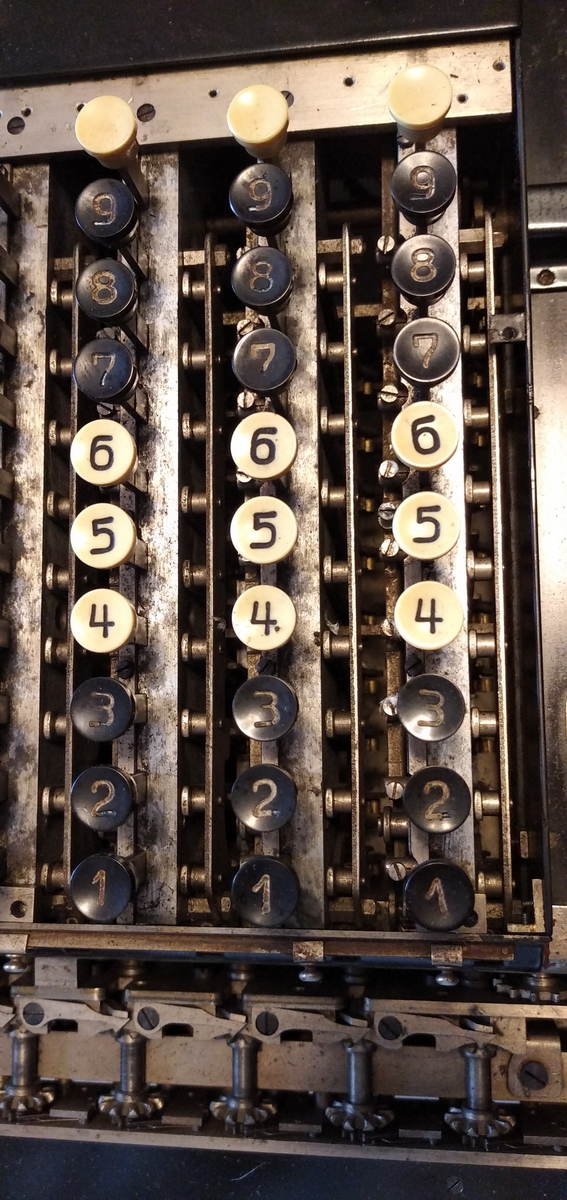
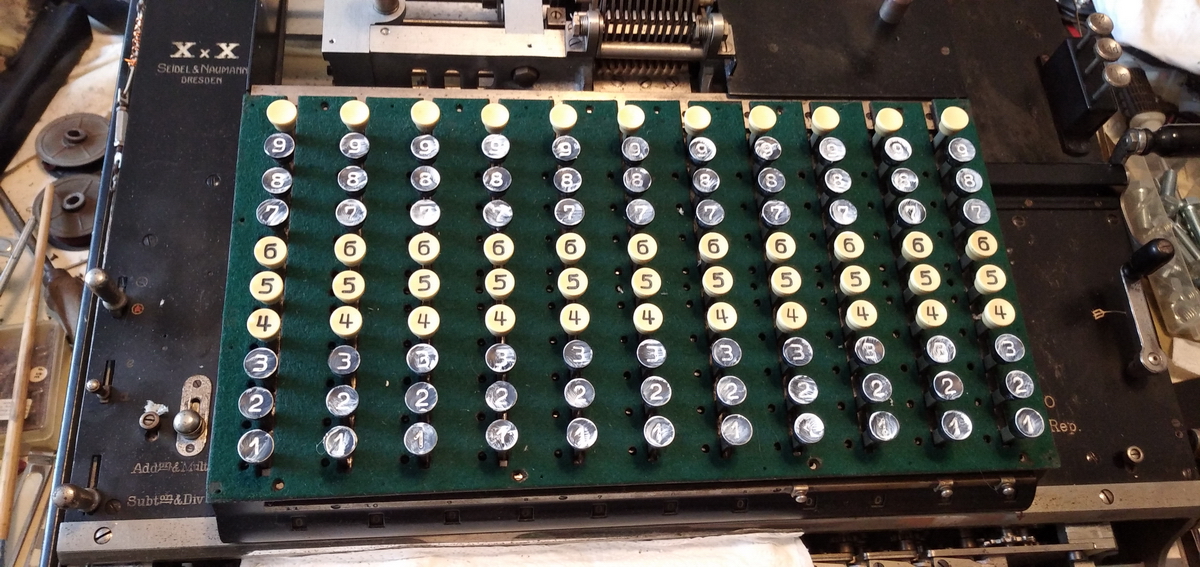
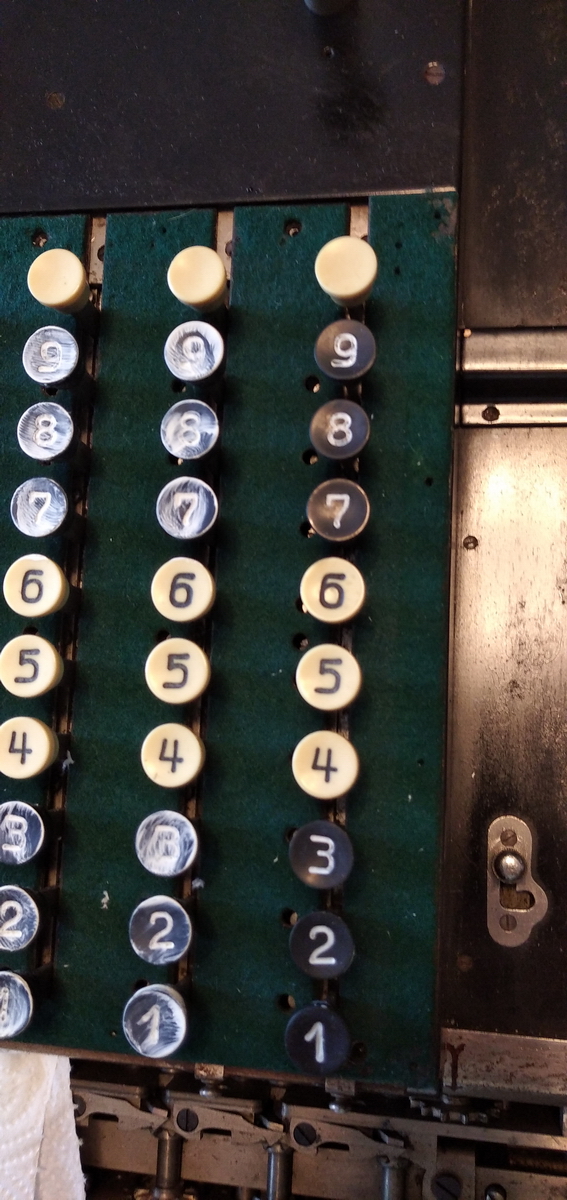
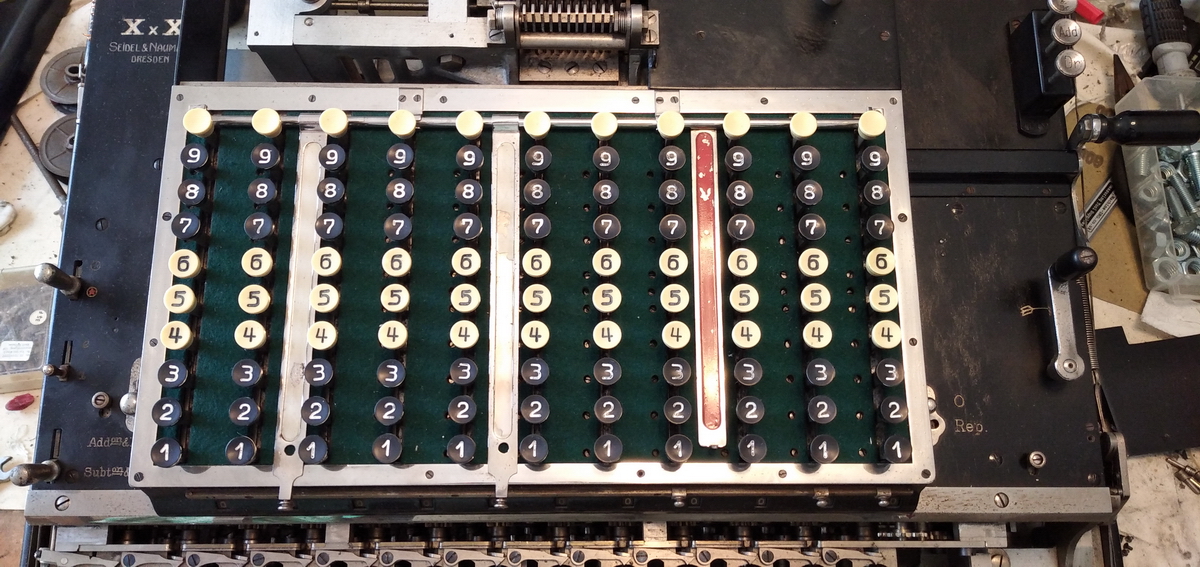
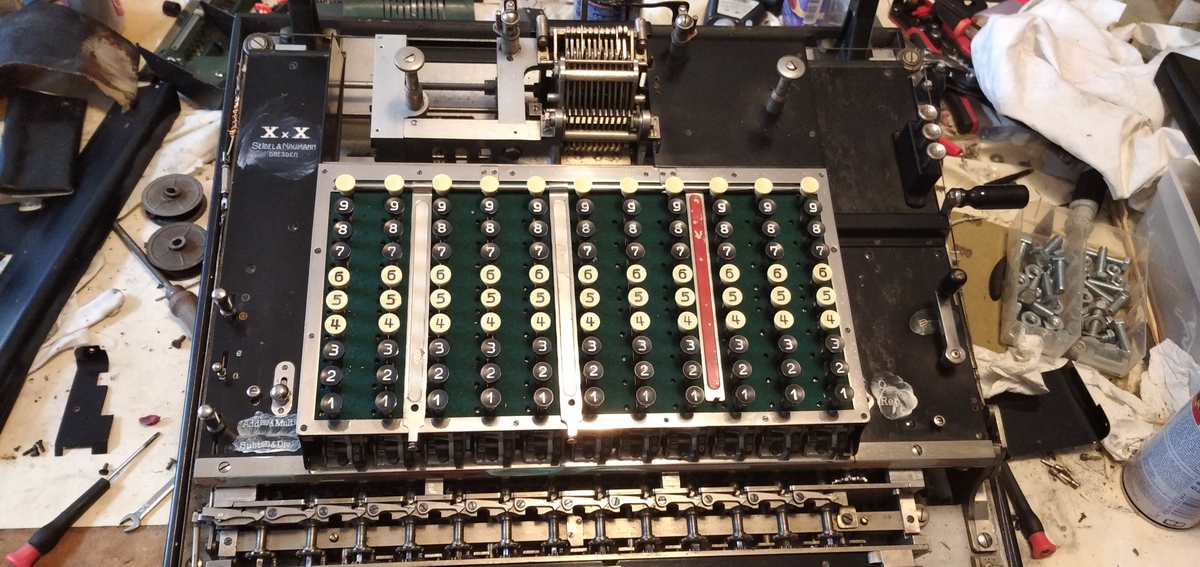
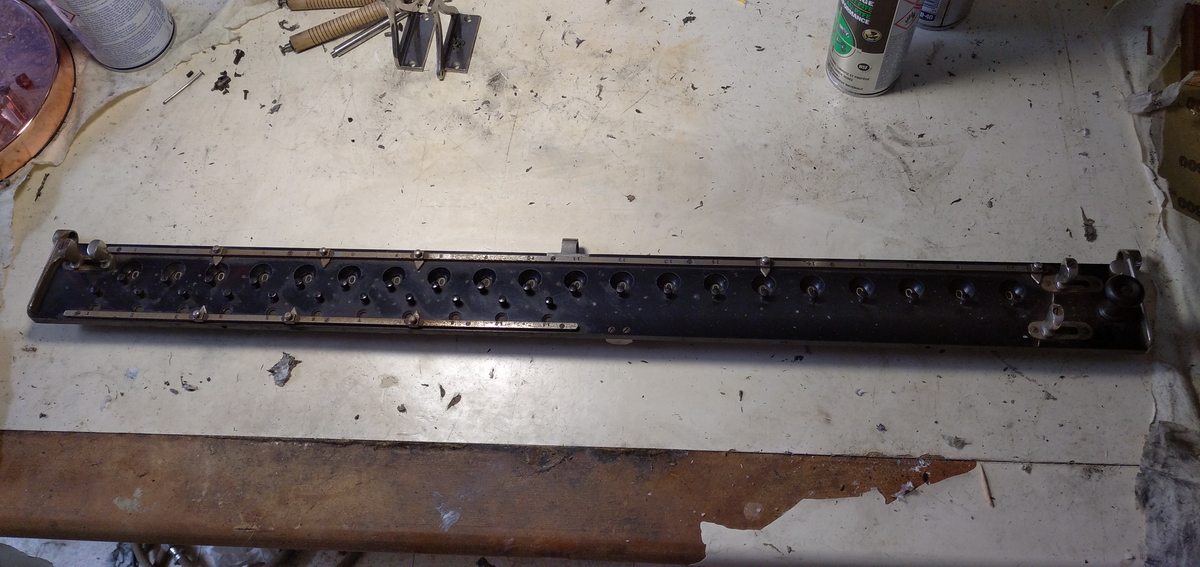
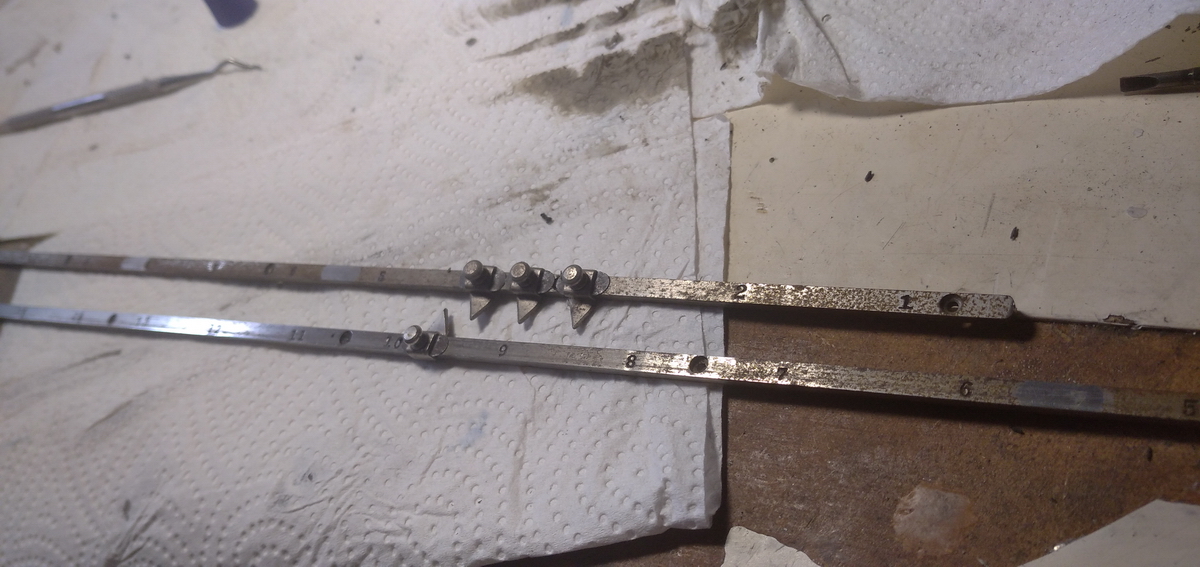
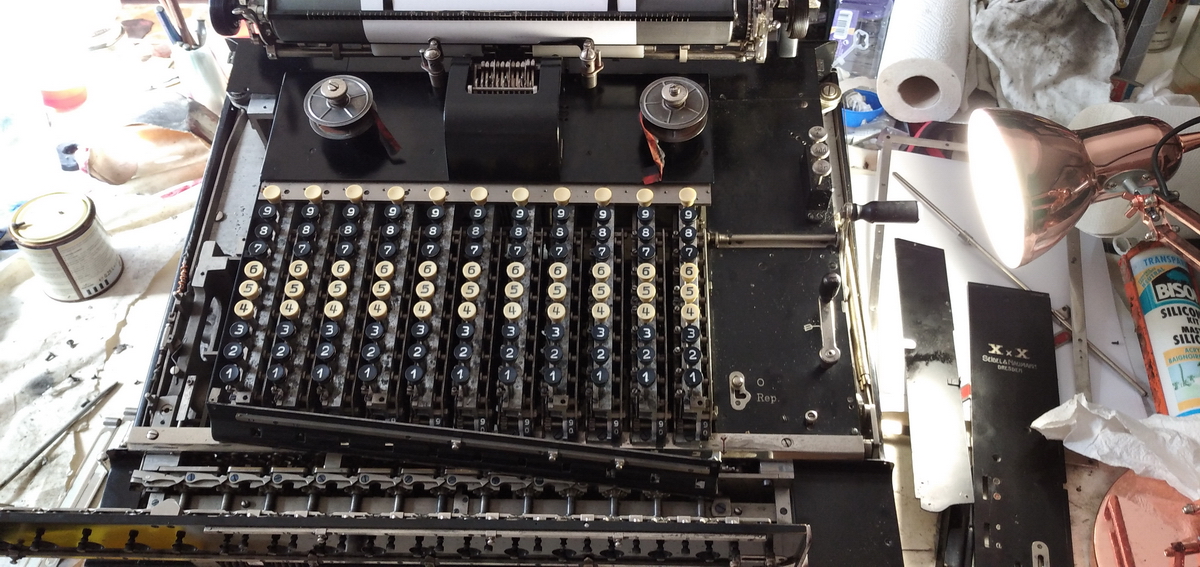
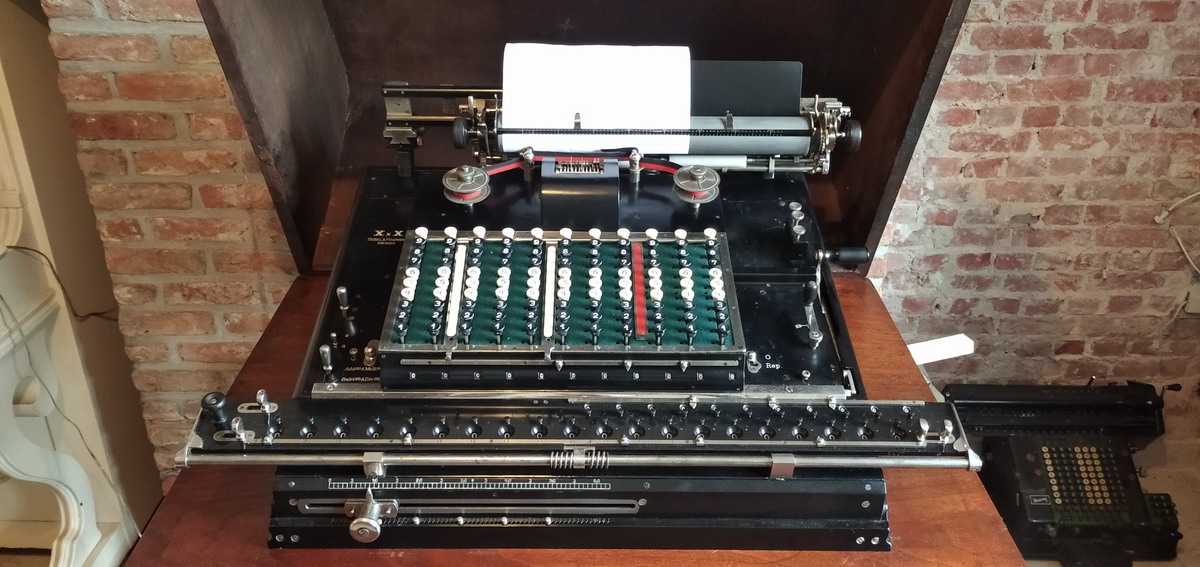
Specifically mentioned is the keyboard coloration pattern, which does not have the regular columns in different colours, but rather the rows, with 3 colored and moveable divisions in between the colums: "Horizontal and vertical division of keyboard (colours and comma sliders) is of great help. The red band can be hidden by a white one if no decimals are being used. Temporary changes in decimal position can be indicated by the slider commas on top of the setting control register at the front."
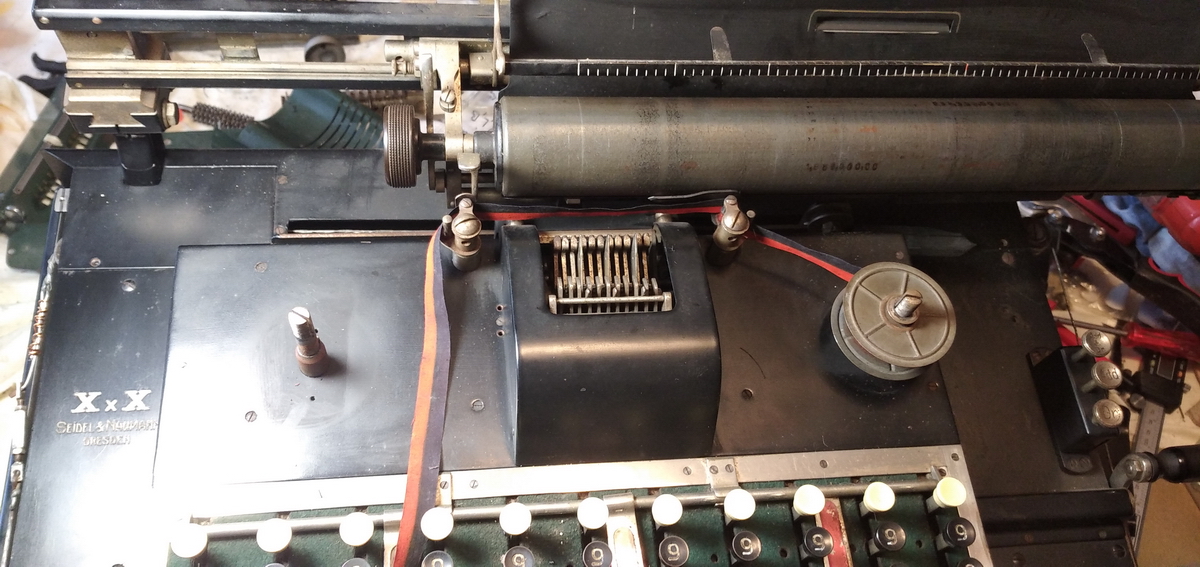
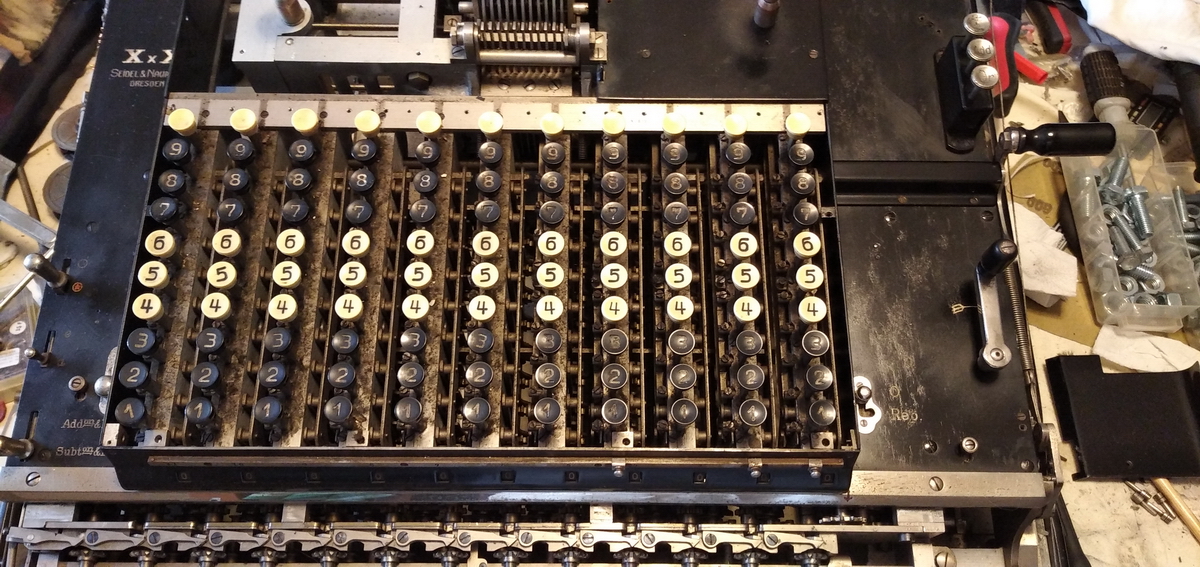
The manual mentions the leftmost keyboard row being provided with characters for making calculations more readable - things like + - : x = St E A and M that can be printed at the left margin of a column. This machine, however, has been equipped for a maximum number of useful digits - i.e. a keybord of eleven columns, all numbers, no symbols, and a carriage with 20 result positions.
Partial clearing of the result register is not mentioned in the manual, and the picture in the front only has a clearing lever on one side of the result register.
The manual mentions: "Extra comma sliders can be ordered againt a very modest additional cost."
The item counter ("Z") that has in this machine fallen victim to the extension of the keyboard, was also an option against a surcharge.
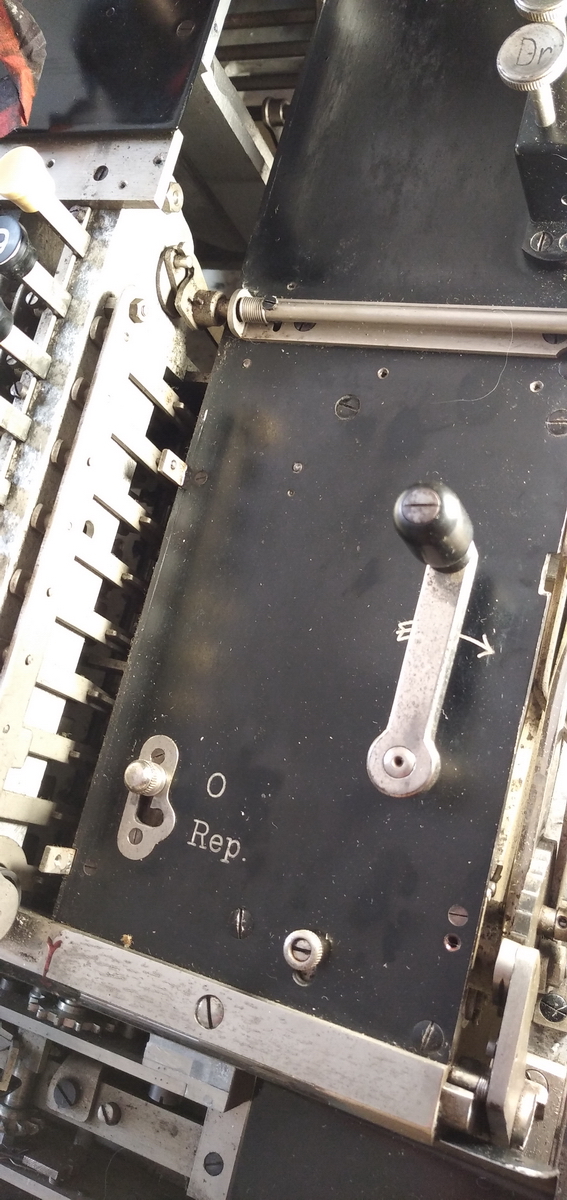
The clearing that is disabled by the "Repeat" button only operates with the handle, not with the rotating crank.
The three keys for "Add", "Print" or "Add & Print" are supposed to be operated with an outstretched finger of the right hand when it is holding the handle for addition. As soon as the handle is moved, they no longer influence the operation of the machine.
The machine has no back transfer and can only print from the setting register. Hence there is no "sum printing mechanism". What should be done is to retype the result in the keyboard, and subtract once to reduce the result register to zero by subtraction and the "add print" button. The total result then appears in red on the paper, and typing mistakes can be easily spotted, because the result register will not have returned to zero if the setting register contained an erroneous digit.
If a large sheet is used, the manual gives the tip that sums can be transferred between columns (from the end of one column to the beginning of the next) by using the repeat and non-add keys. If an error is spotted in a number that has been set, the repeat key can still be pushed during the operation, as long as the lever is not travelling back up yet. Then the correction can be made without having to reset the number.
A method is given for printing all factors in a multiplication, as well as the result. Imagine you would want to have 52.897 x 633 = 33.483.801. Set 52.897 on the keyboard, press the "Add Print" button, and pull the lever. Then set the multiplier, 633, on the right side of the keyboard, set "Repeat", press the X button if it is there, the "Print" button, and pull the lever. Now diminish the multiplier in the keyboard by 1, clear the X, (so set 632 instead of 633 - the multiplicand is already in the carriage once!) and multiply with the multiplicand (52.897) by use of the crank. Transfer the result to the setting register, set the machine to "Subtract", press "Add Print" and the = key, and clear the result out of the carriage in this way.
Similarly division can be printed - "Add Print" for the dividend, which is put on the left end of the carriage, "Print" for the divisor, with the : sign, the division is made in the usual manner with the crank, and the result in the counter is set in the keyboard and printed with = and "Print". Finally, the remainder from the result register is also set int he keyboard and printed, giving a full representation of the division on paper.
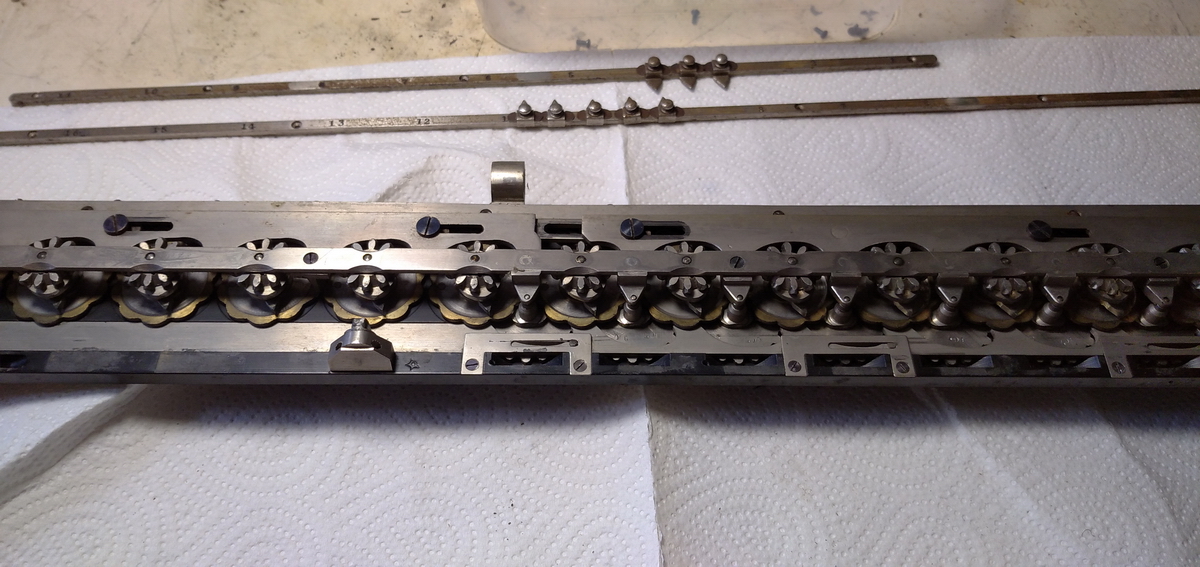
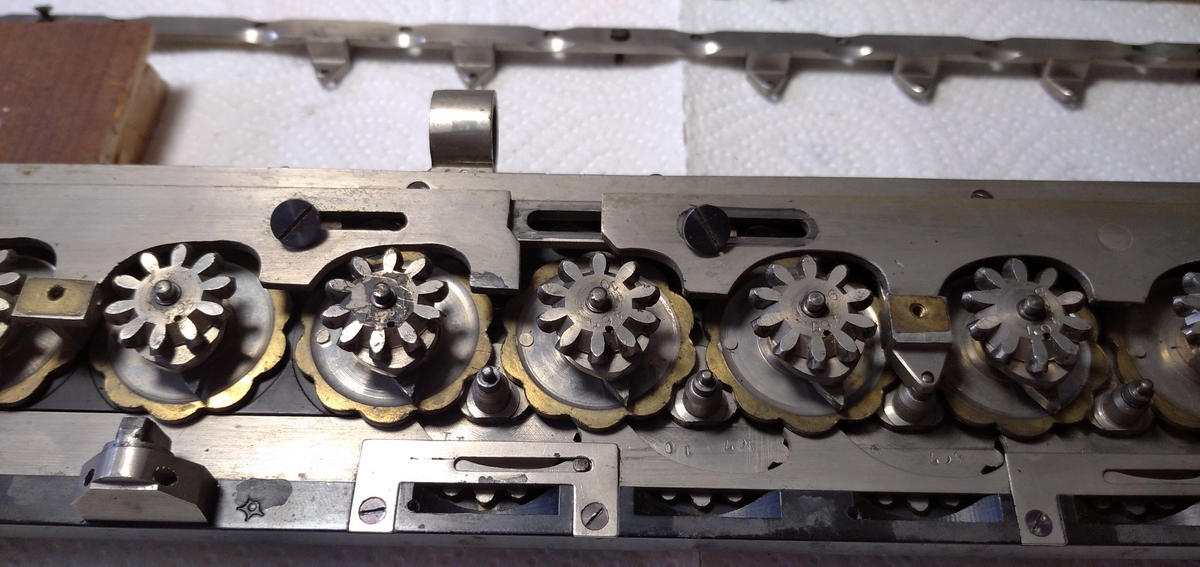
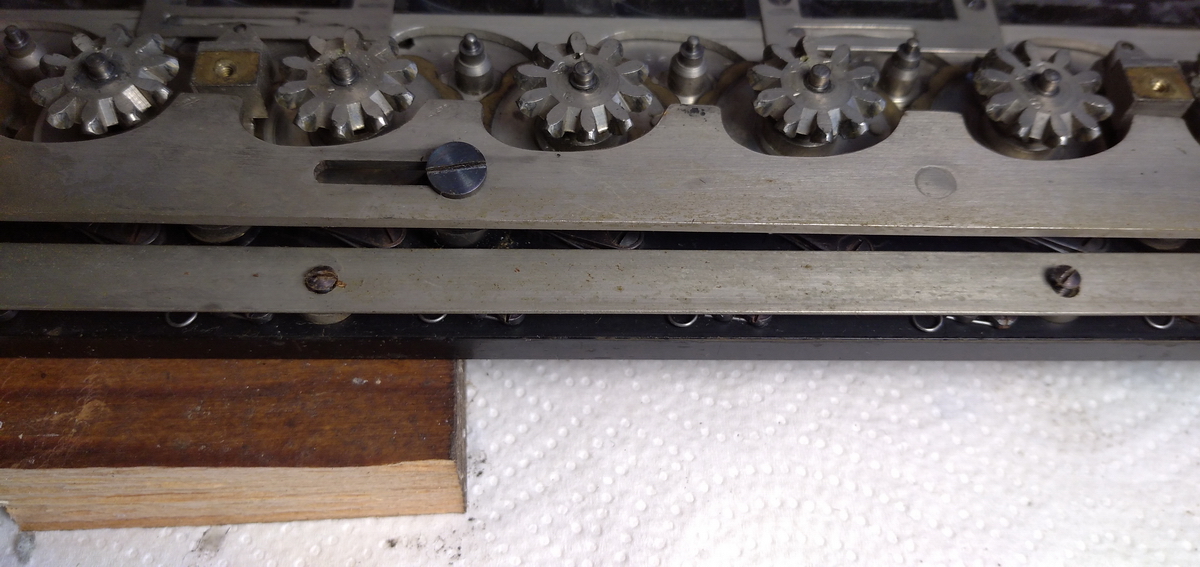
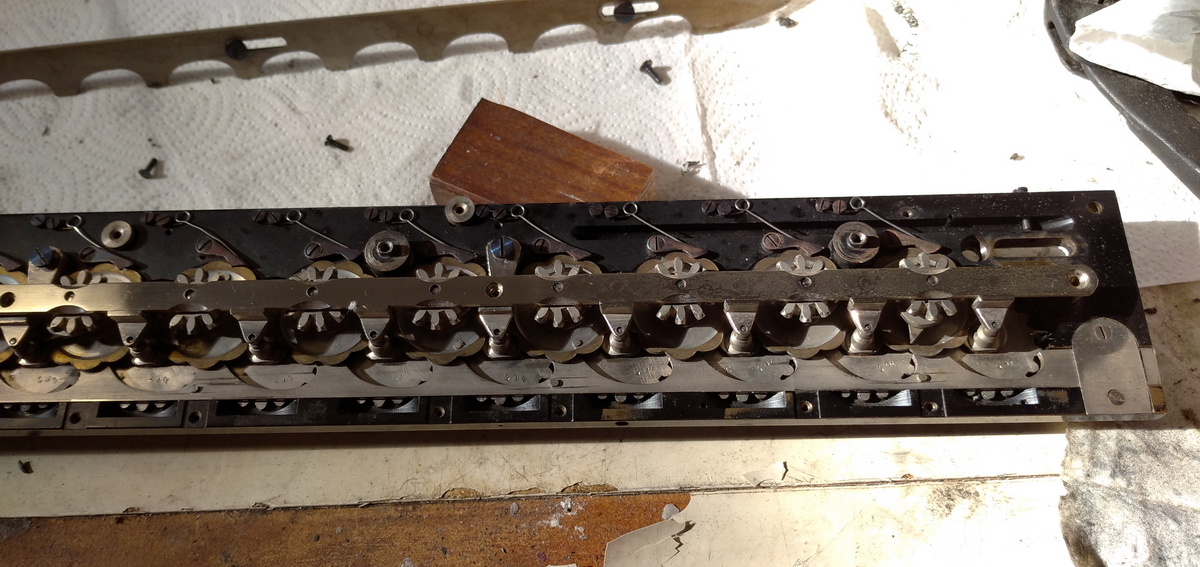
The printer has decimal dividers in the printing mechanism, which can be switched on or off with small levers inbetween the printing sectors.
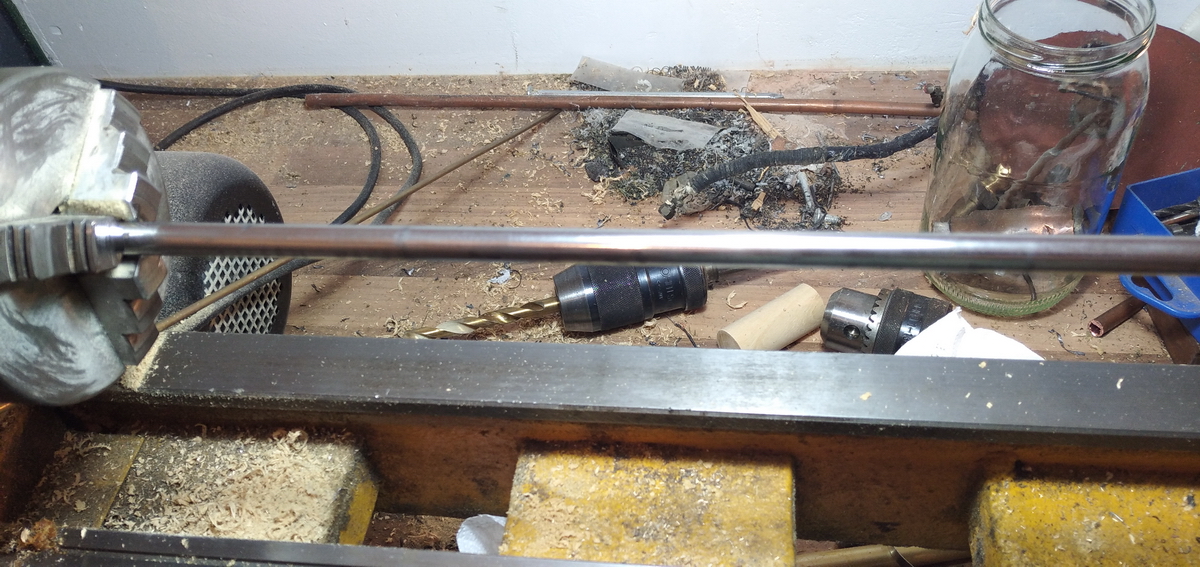
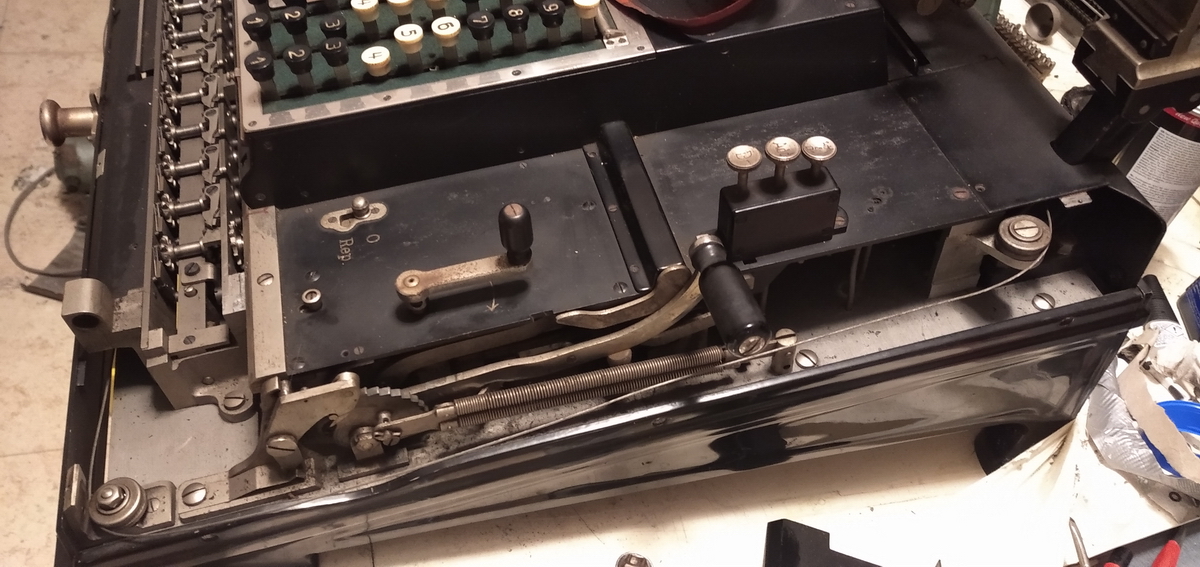
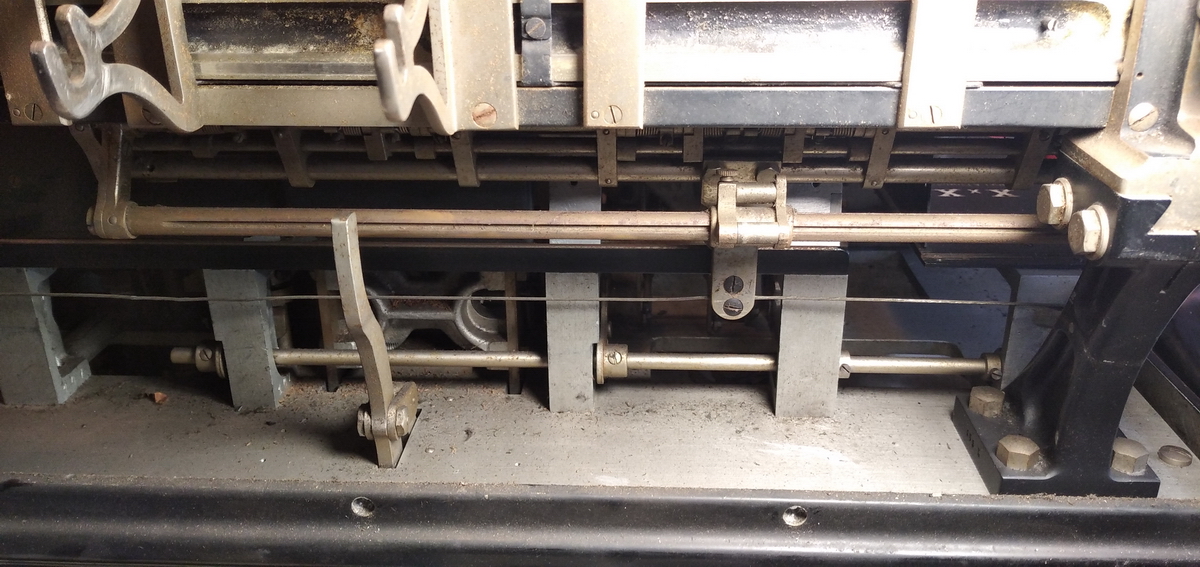
All of this brings us to the machine itself. The result carriage was fixed for transport, by two small pins which had to be slid out with two small buttons on the top face of the machine. That took a while to find though. The tabulator at the front of the machine did not work, and a loop of steel cable was visible through the slot in the front.
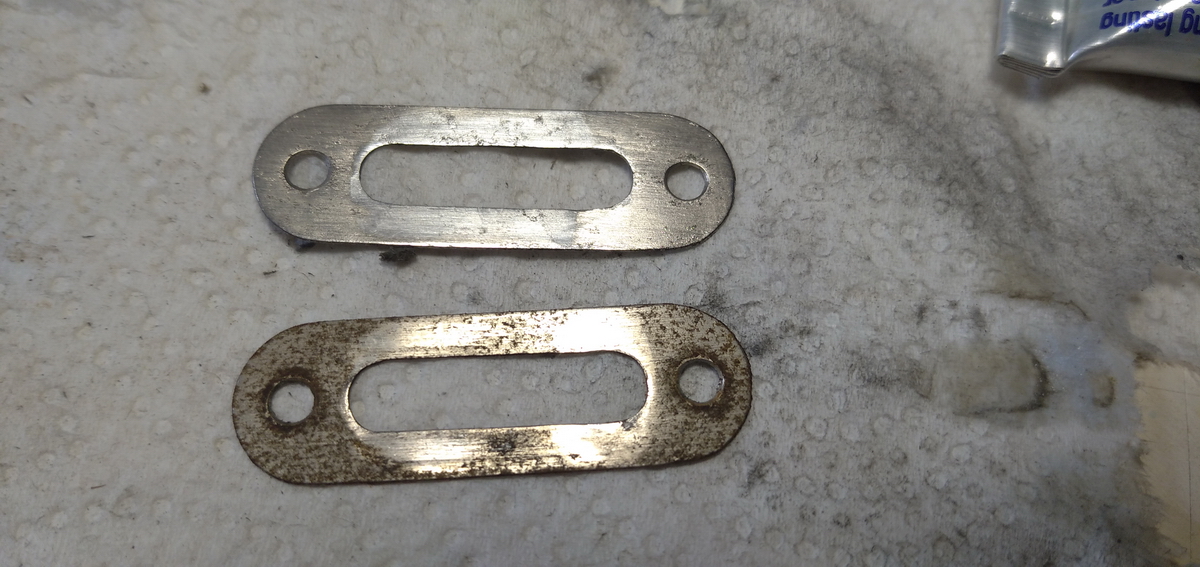
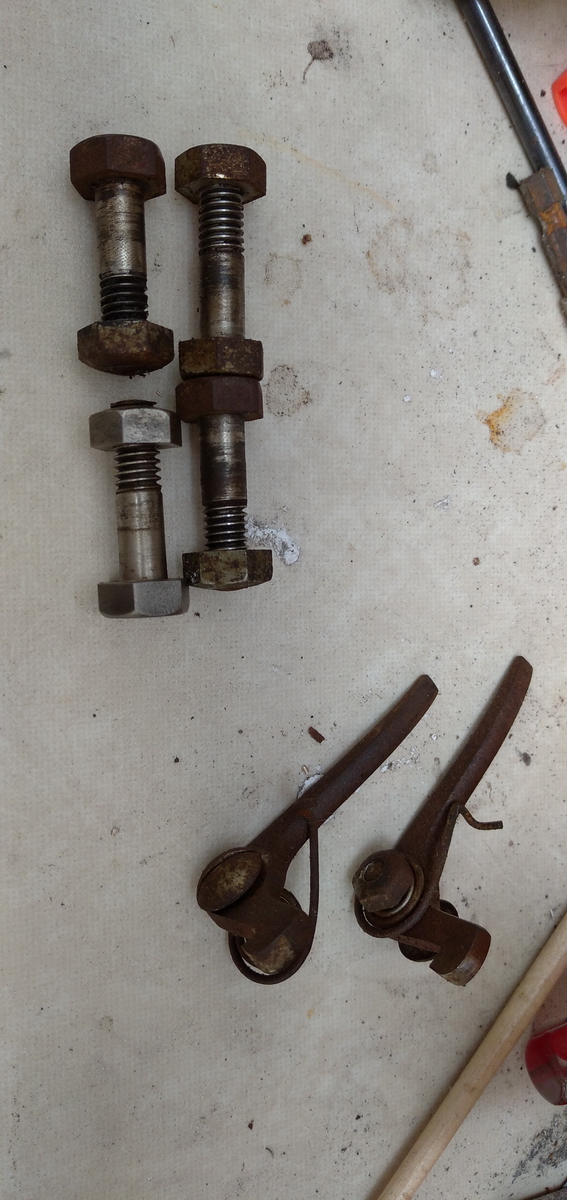
The machine was also disconnected from its wooden base, and the bolts were missing. The base was disconnected from the stand, and those screws were missing as well.
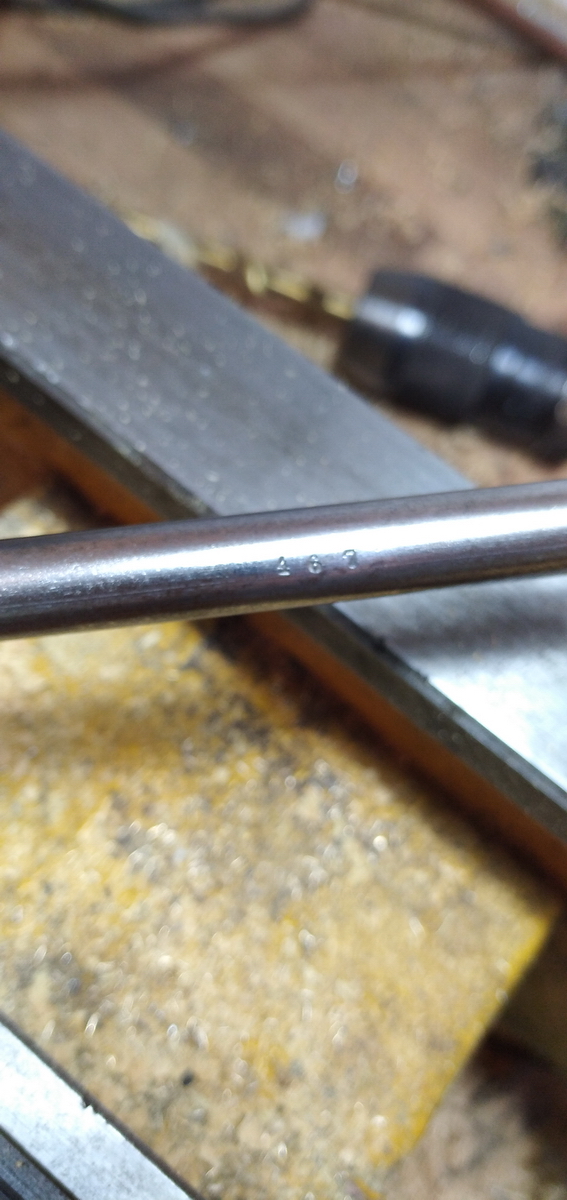
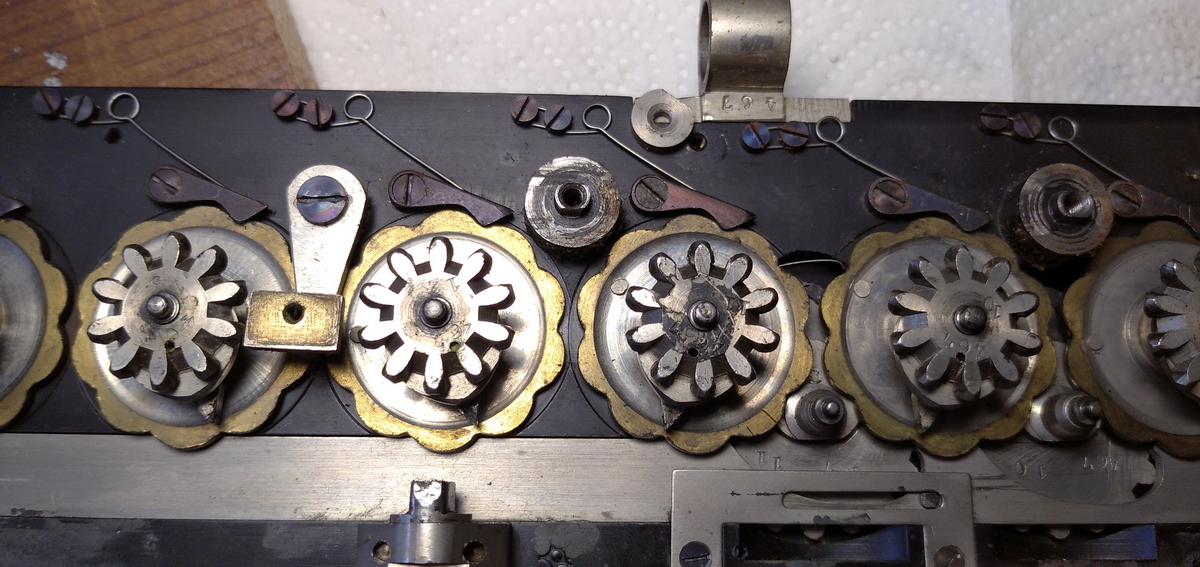
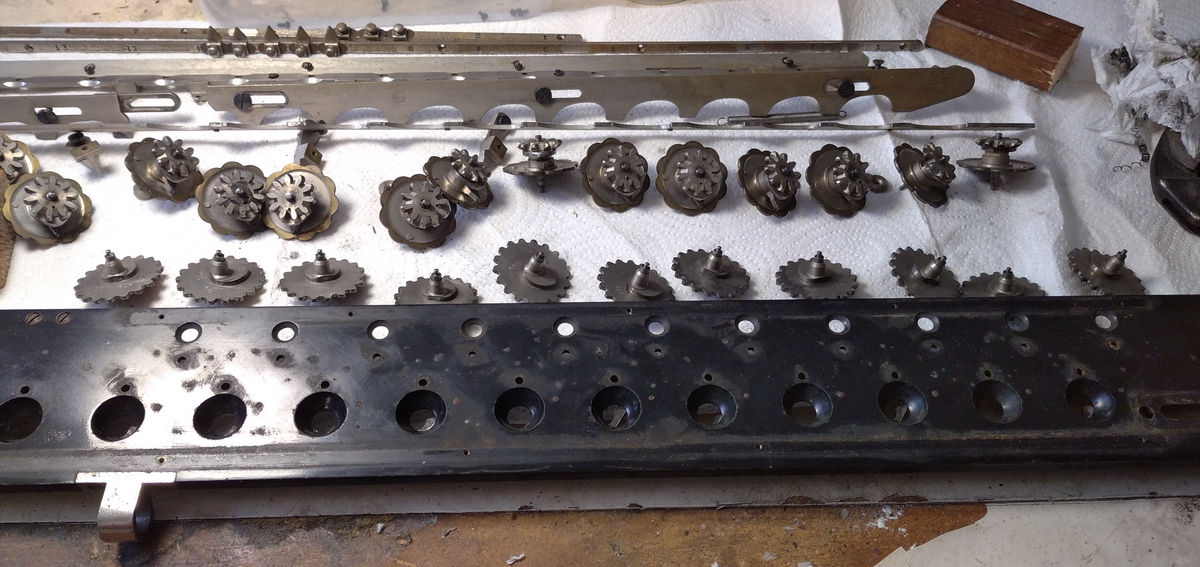
The first thing I did was hunt for a serial number. It is normally inscribed at the front of the carriage, and indeed so it was here.
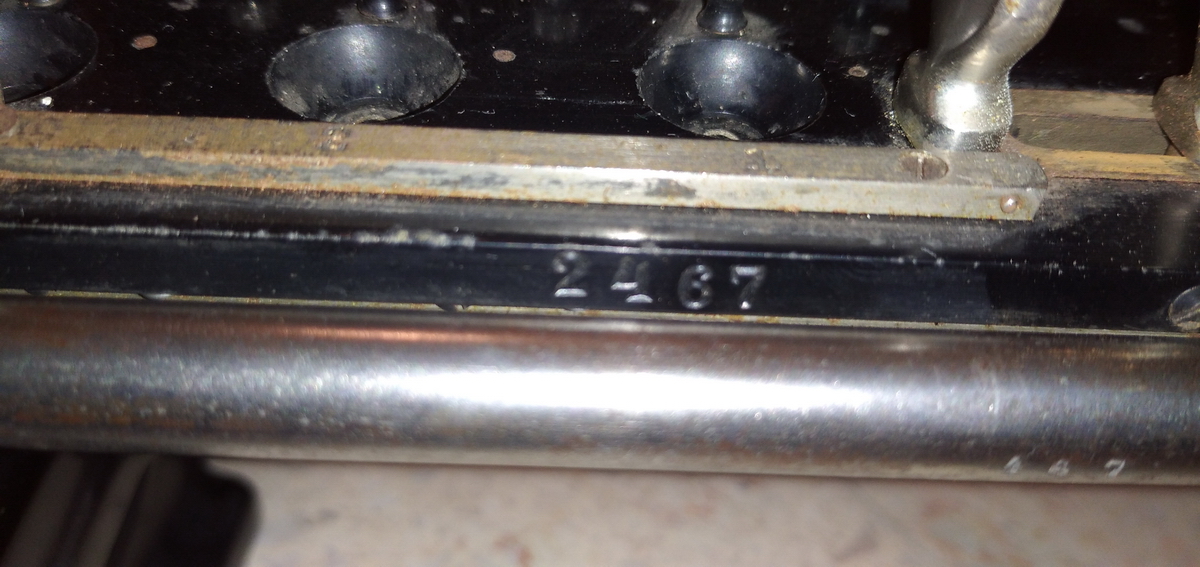
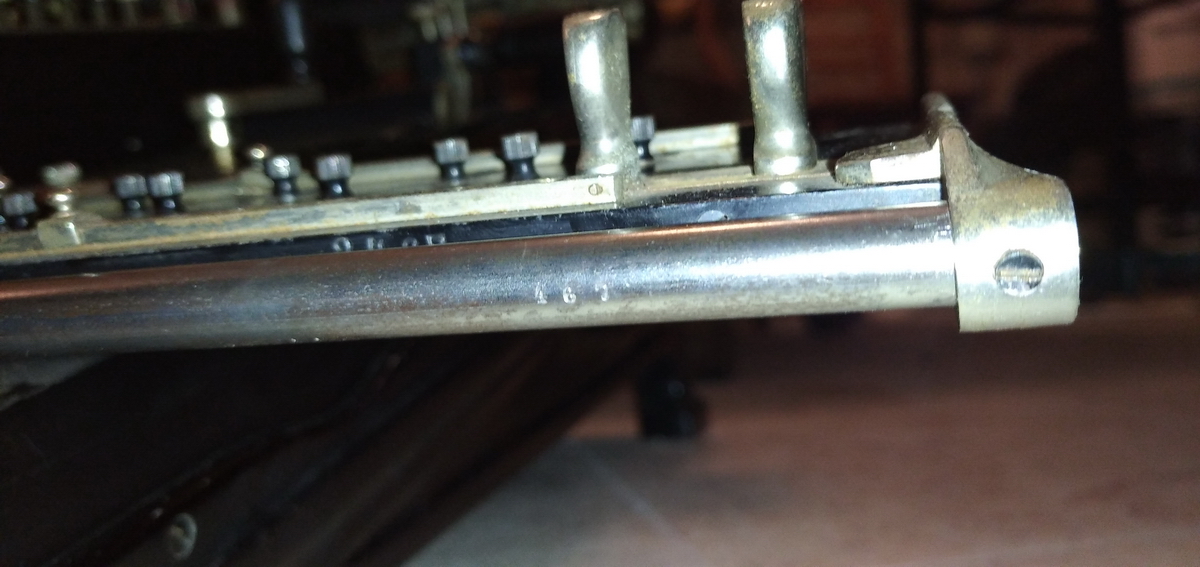
The serial number of this machine is 2467. Nearly all other parts of the machine have 467 stamped in them. While I was at it, I took the round carriage rail out and cleaned off the rust.


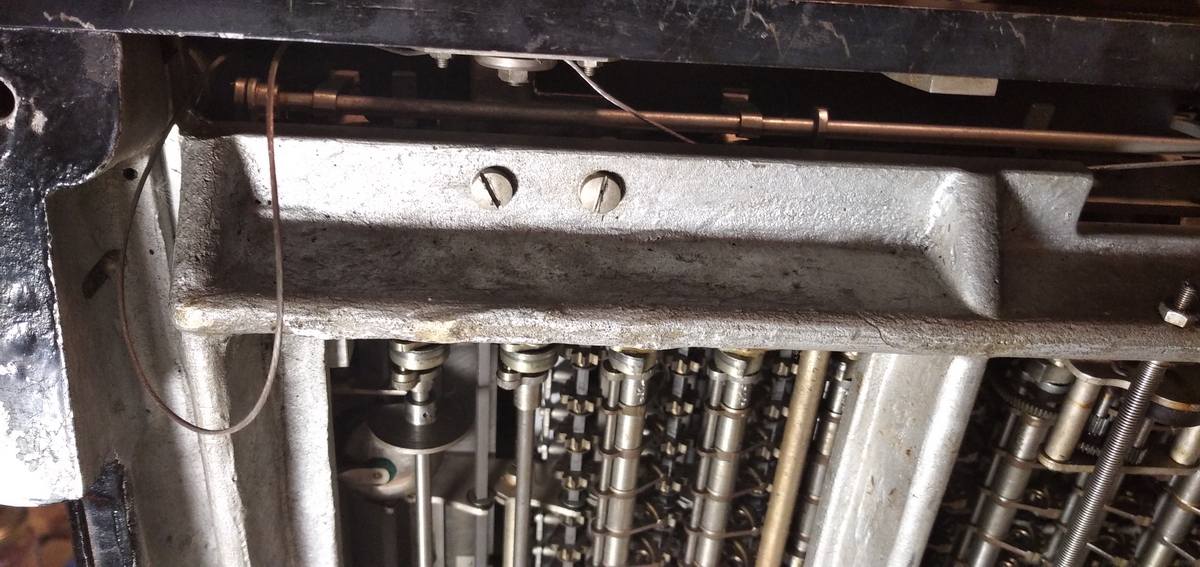
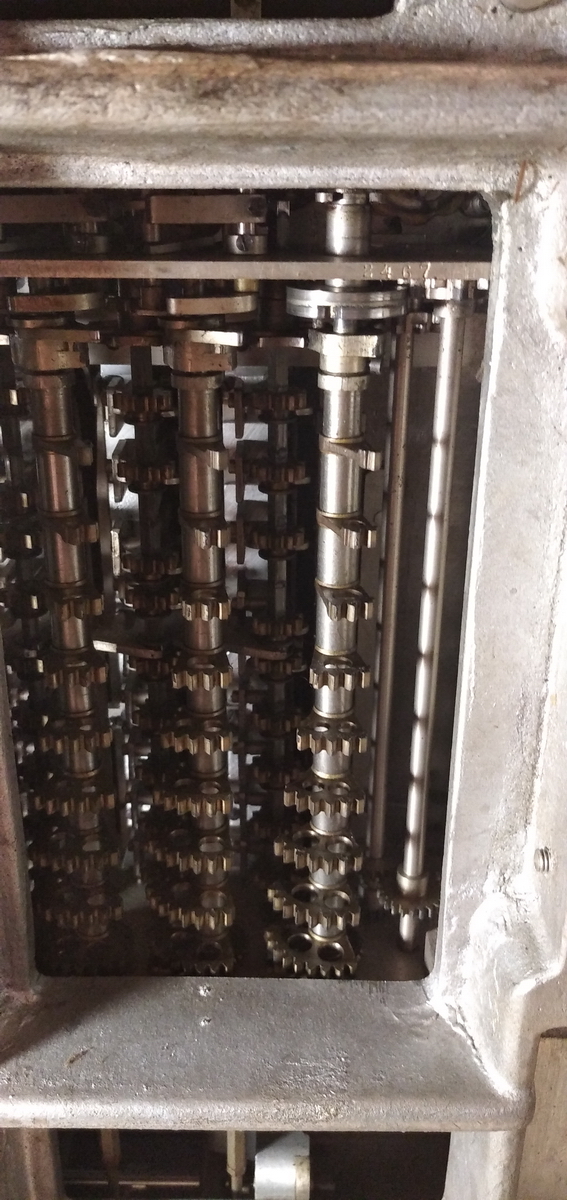
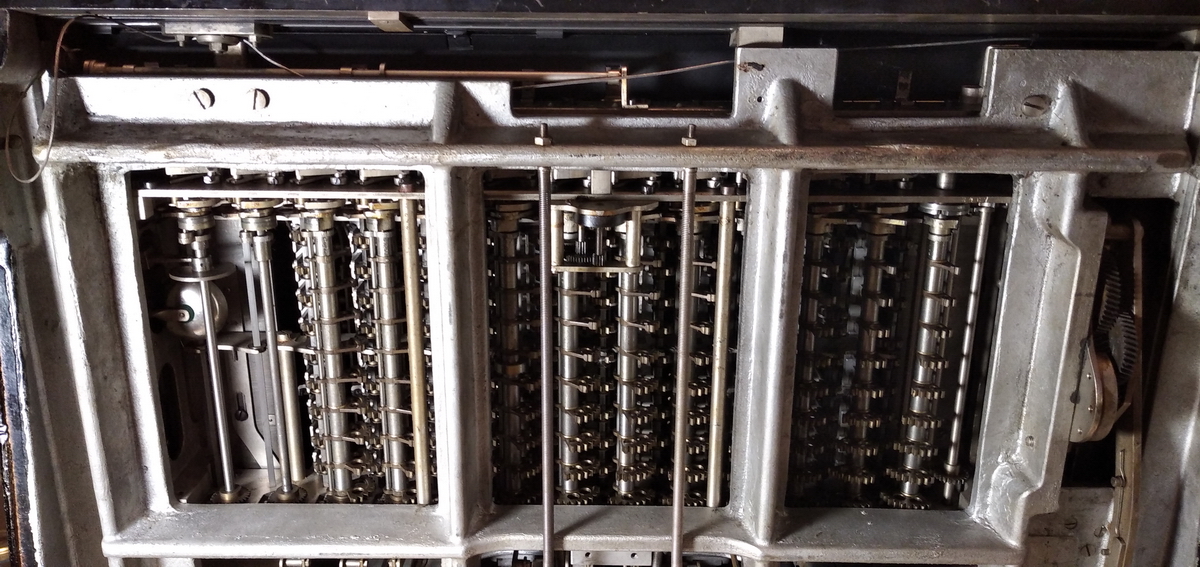
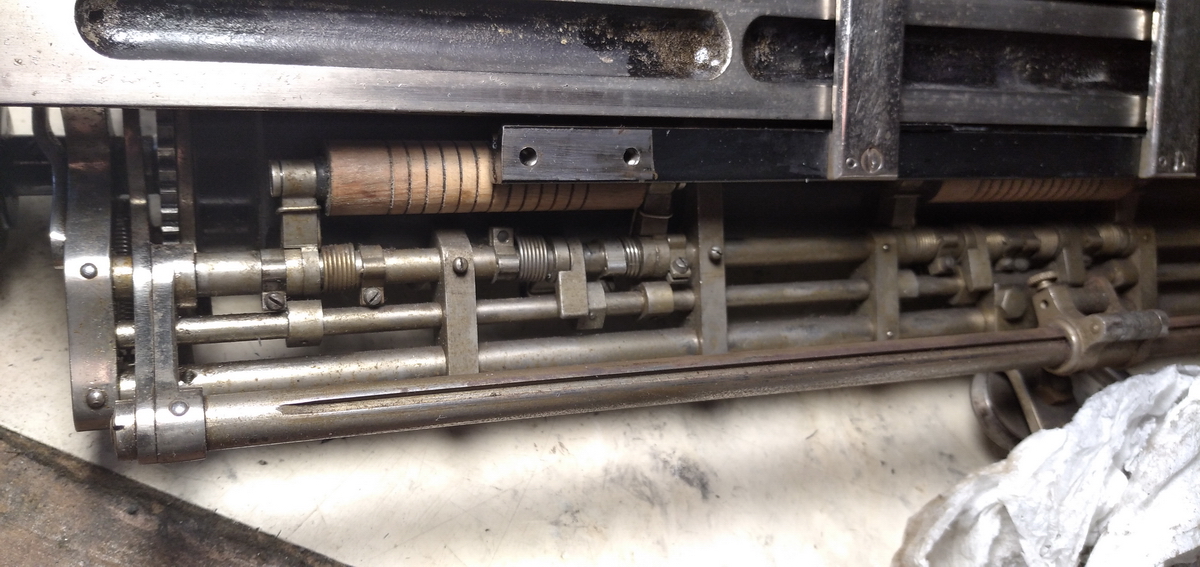
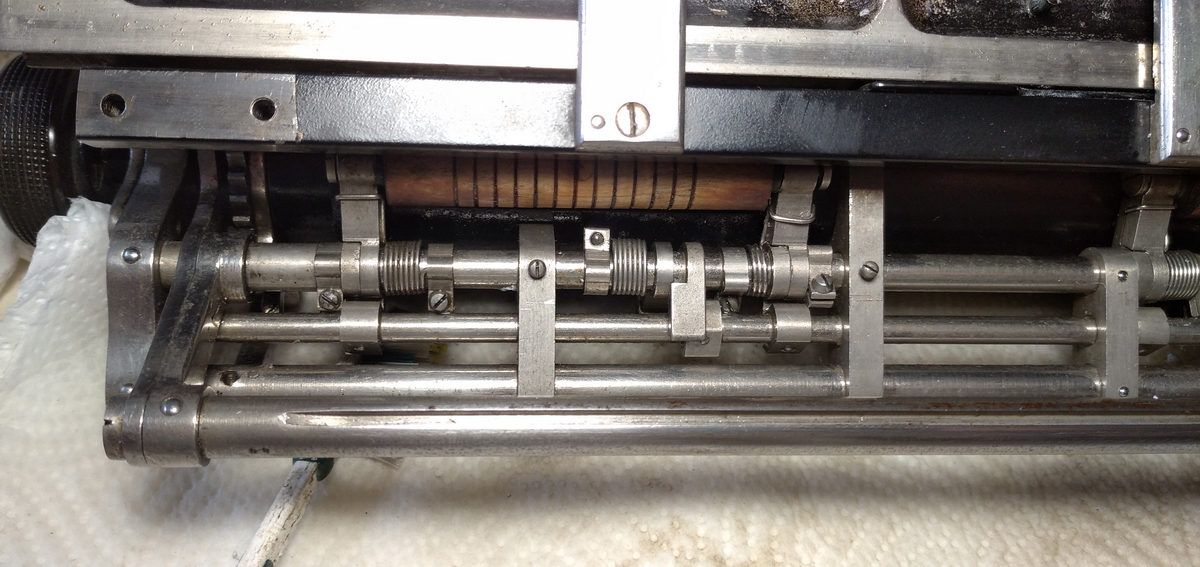
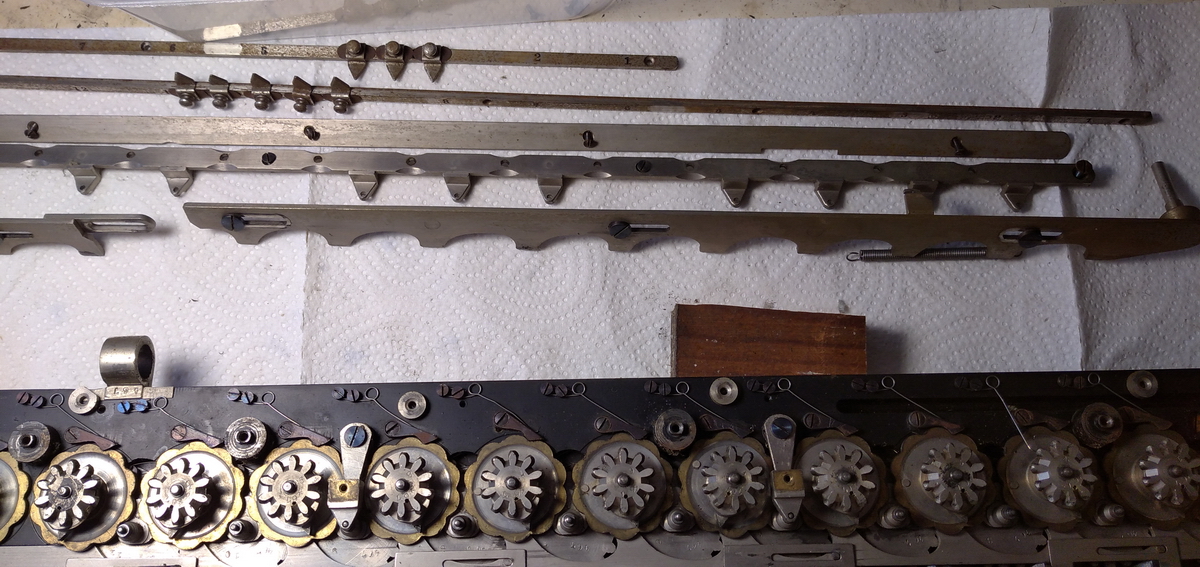
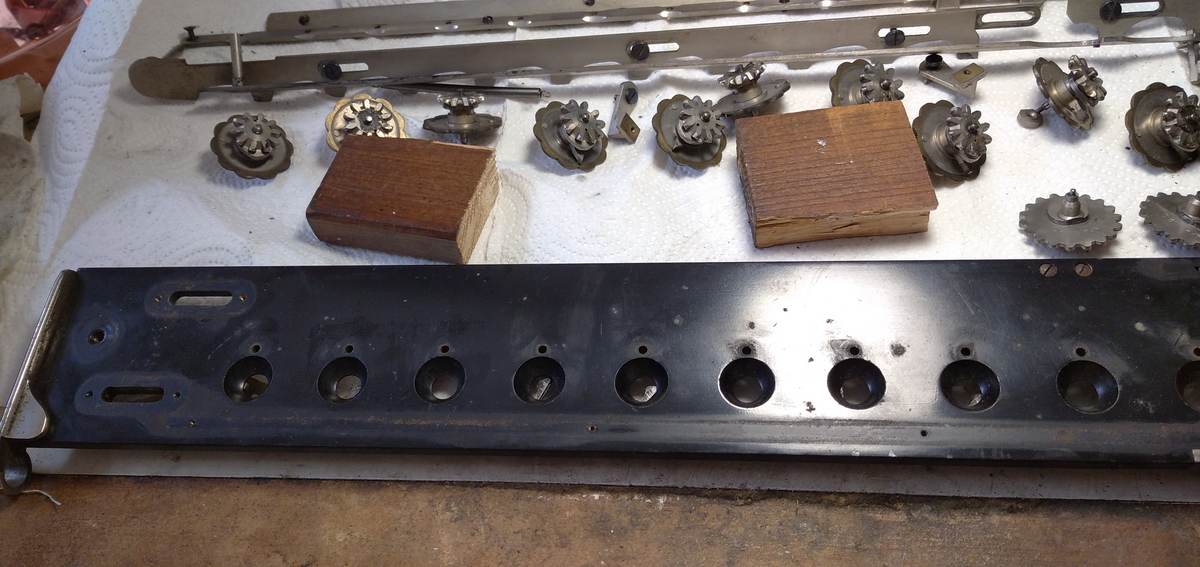
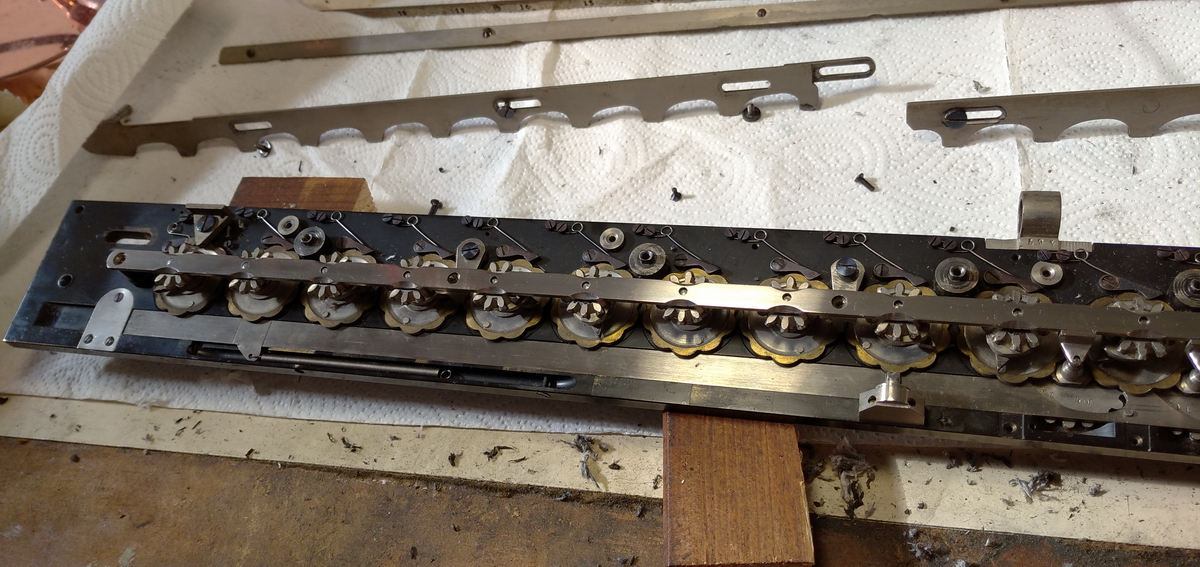
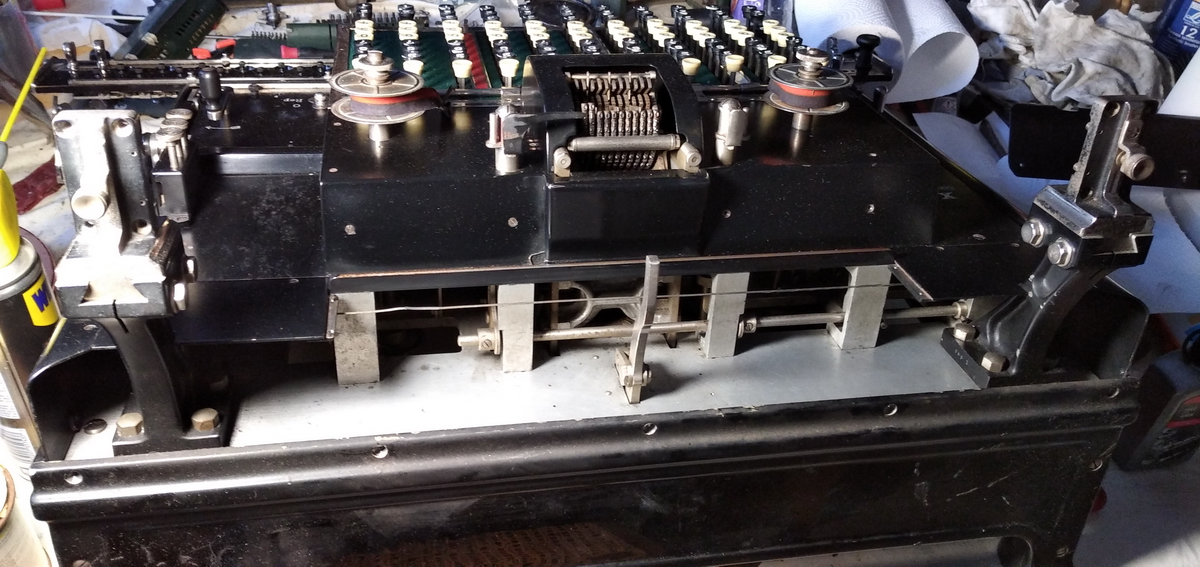
I took the carriage out and set it to the side, then looked underneath the machine. The frame is cast from aluminium, so there was no corrosion, and also the steel parts underneath did not look bad at all.
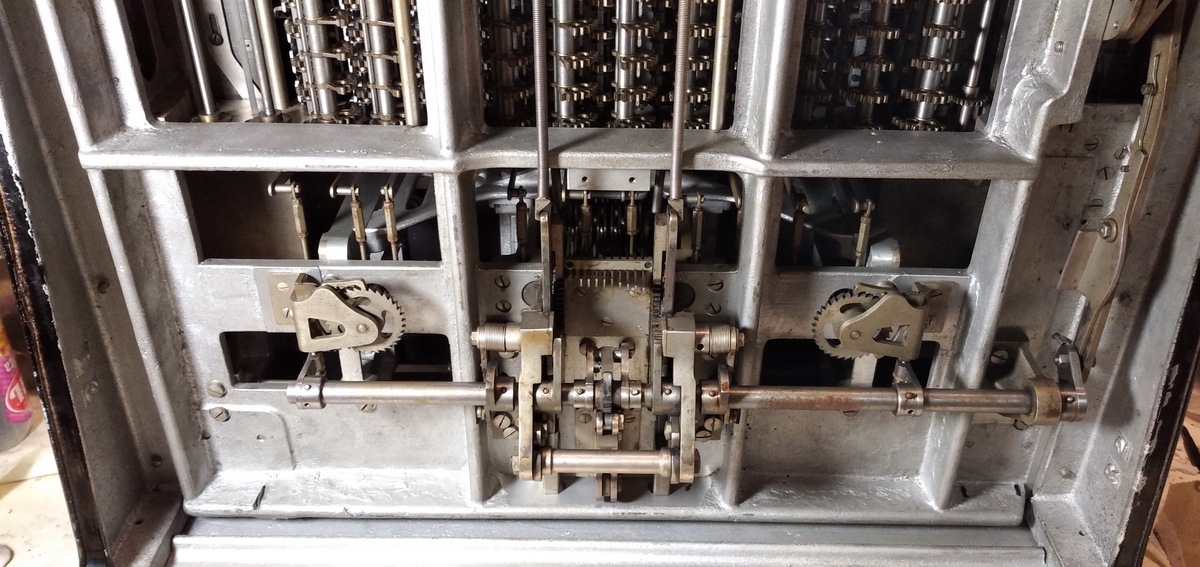
In order to reach the tabulator cable to find out what was wrong with it, the sides of the machine needed to come off, as the cable runs all around the machine.
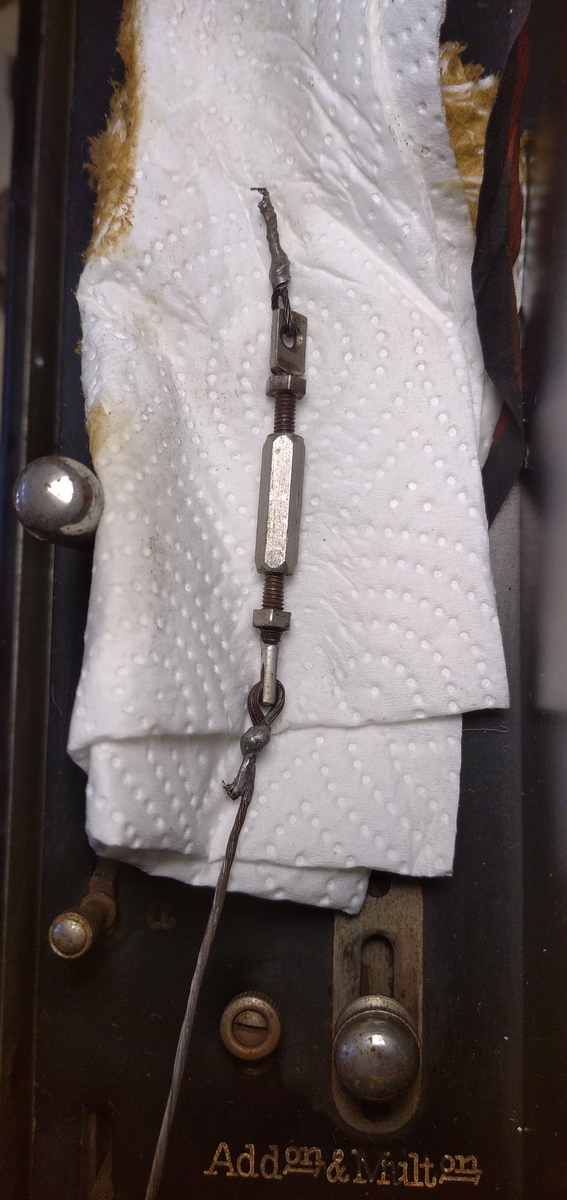
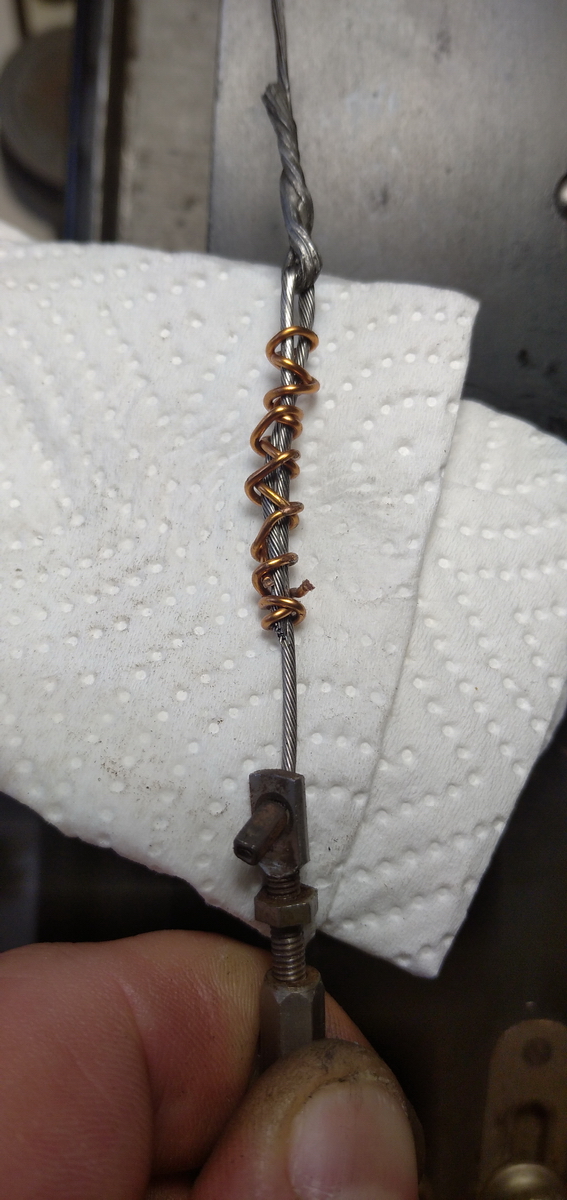
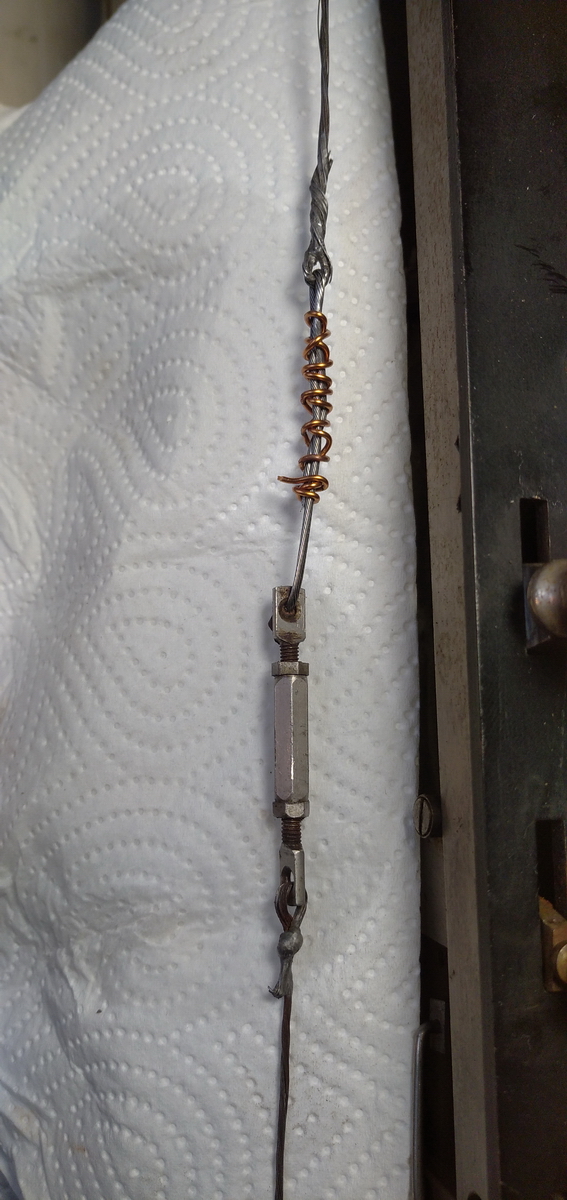
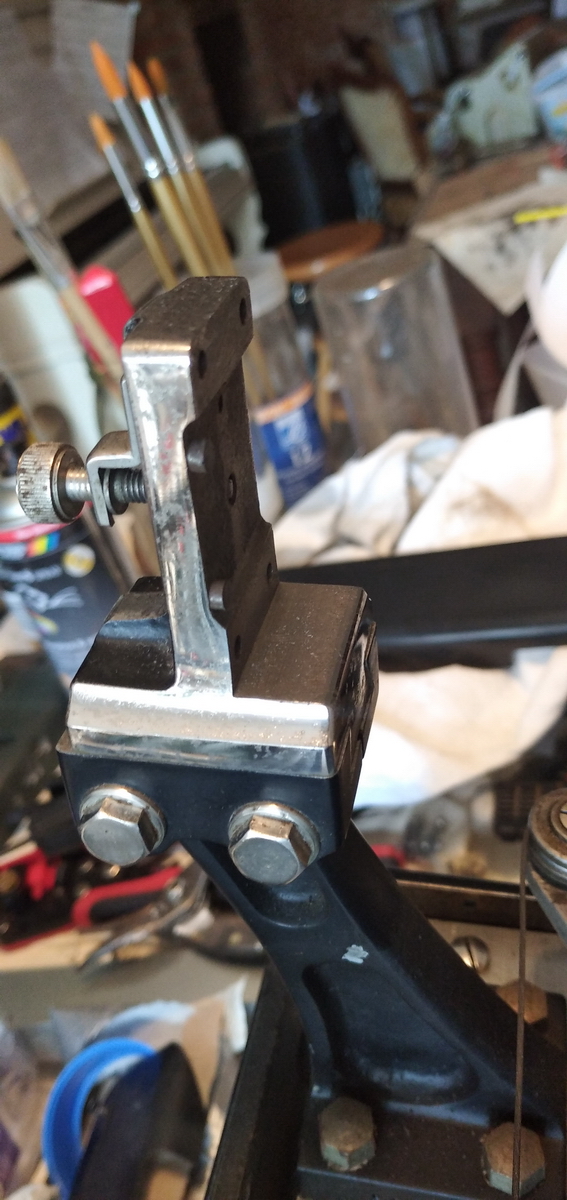
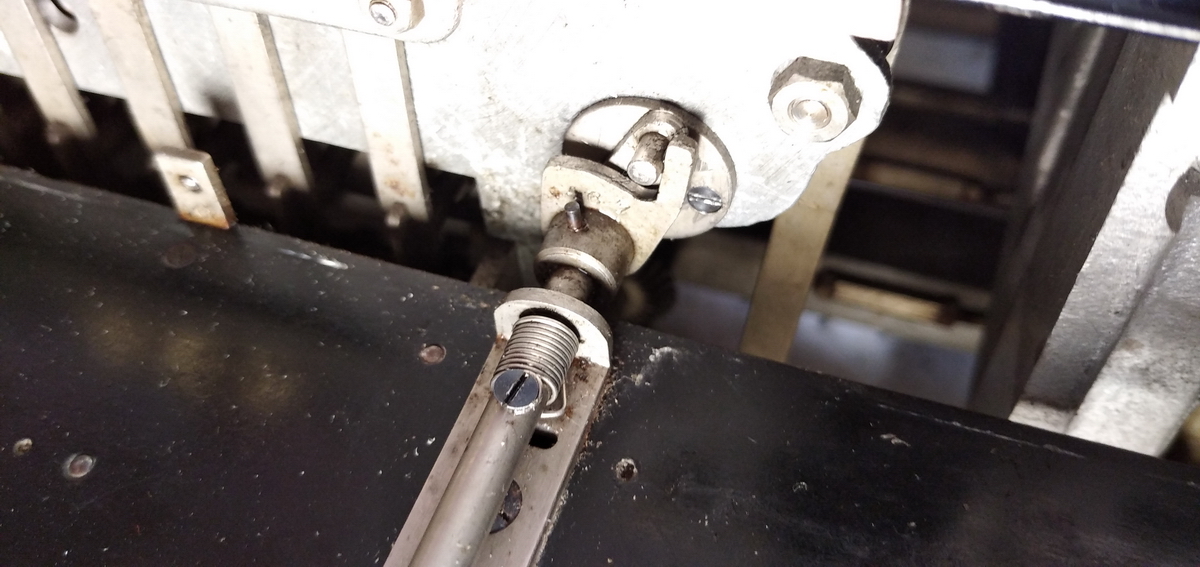
It became immediately obvious what was the matter, as the cable had broken at the adjuster, and it had been repaired before. I decided not to go with a soft-soldered eyelet as the previous repairperson had done, but rather cut the end of an old motorcycle gas cable which was more or less the right gauge, and tie a loop in the end with copper wire. That should lead to a repair that no longer comes apart.
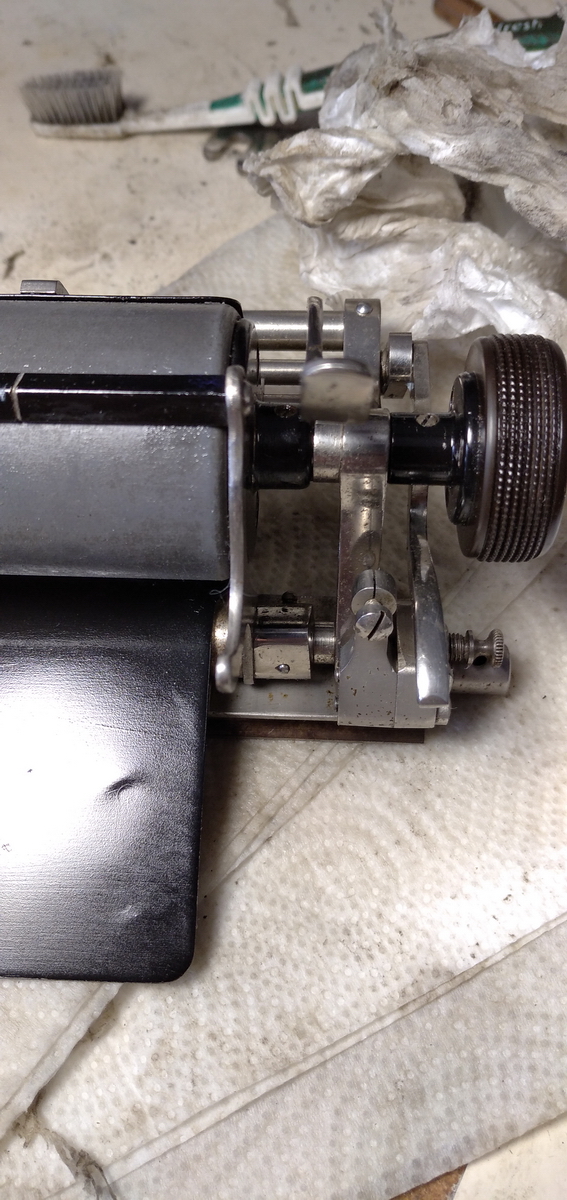
In order to remove the top plates to get at the printing mechanism, the ribbon mechanism needed to come off as well. the machien is actually equipped for two separate black and red ribbons, but they are only 6mm wide, and can (and probably could already) no longer be obtained, which is why the original (double) ribbon spools have disappeared, and a two-color ribbon now sits on the machine.
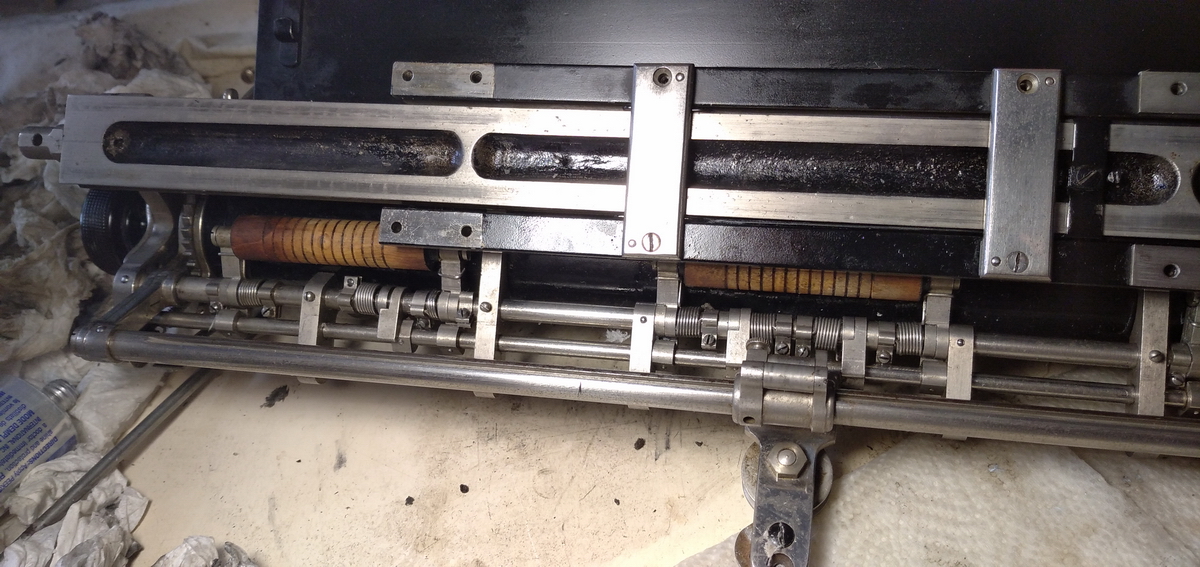
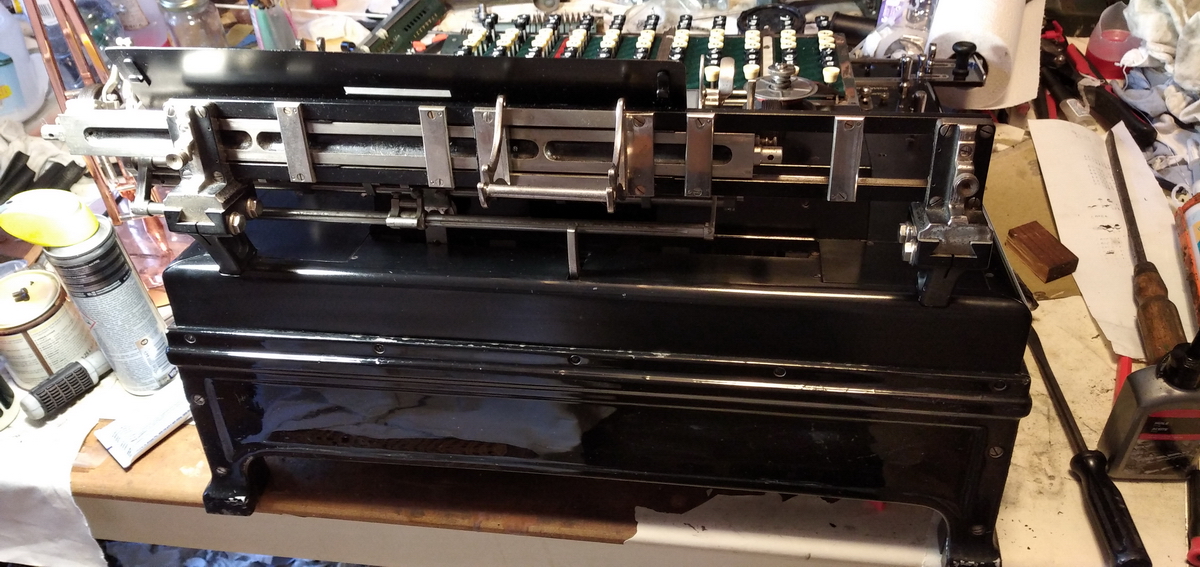
The movement of the carriage remained very stiff. Since it had to come off anyway for cleaning and a good look at the state of the rubber rollers, that was the next step. It took a while to find out how to remove it, but essentially it just unbolts from the two upright stands and comes off with rails and all. Also where it clamps to the cable connecting it to the tabulator obviously needs to be undone. It then turned out the stiffness was in the tabulator lever itself.
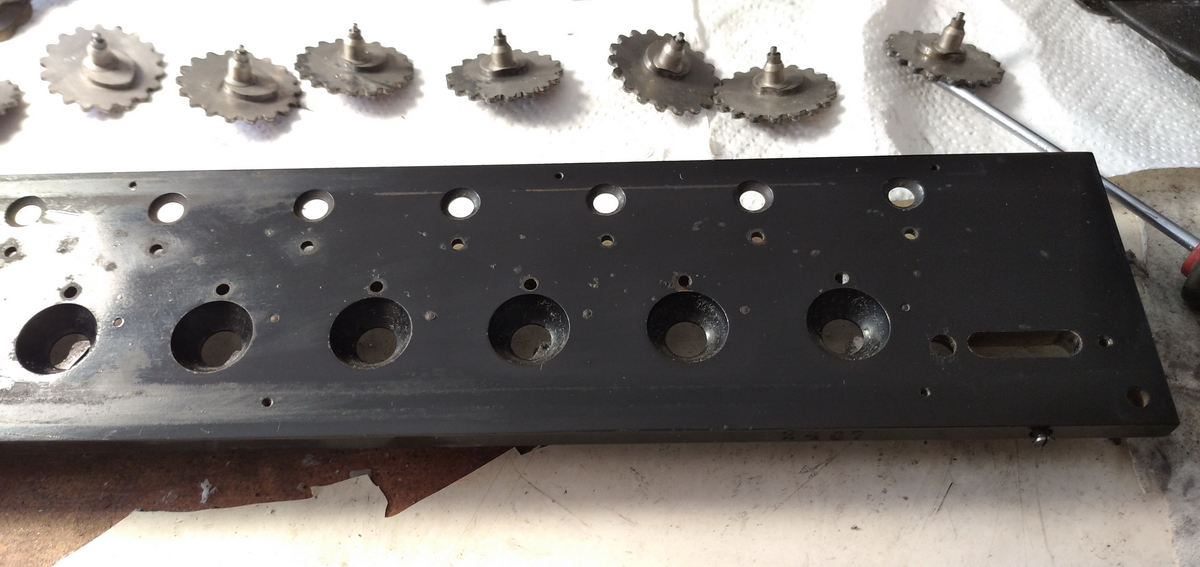
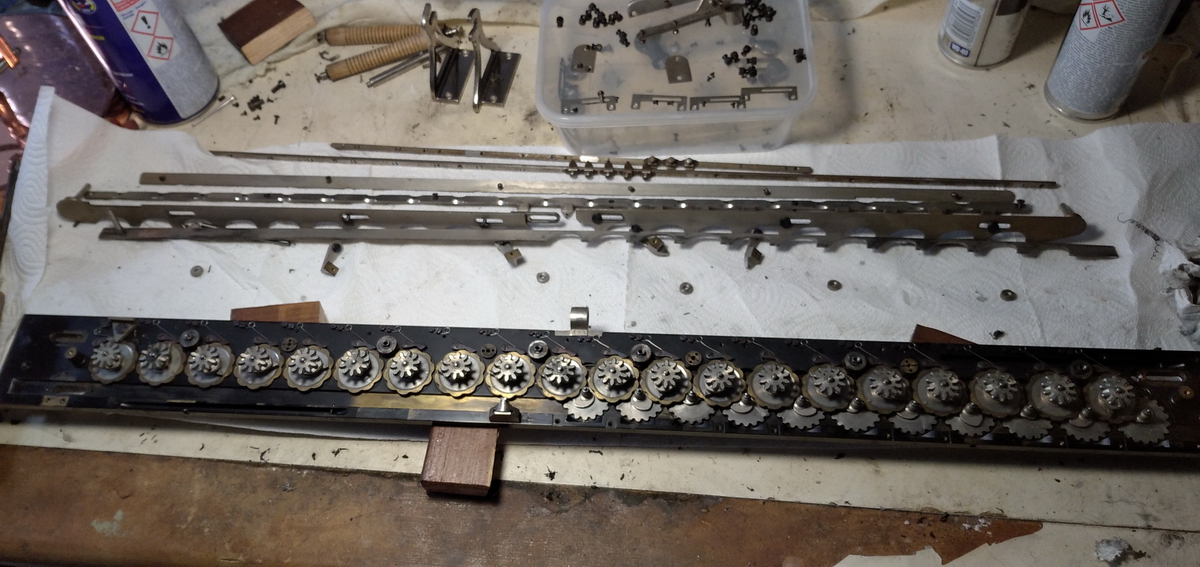
On the way, cleaning was done where possible. It also turns out that a number of holes in the top plates of the machine are actually oiling holes, which have a thin tube below the plate that runs to the bearing surface or linkage where the oil is needed, so that the machine does not need to have the covers removed for a comprehensive oiling.
The uprights for the carriage were cleaned, and the tabulator cleaned, polished and oiled, and now it slides from left to right and back easily.
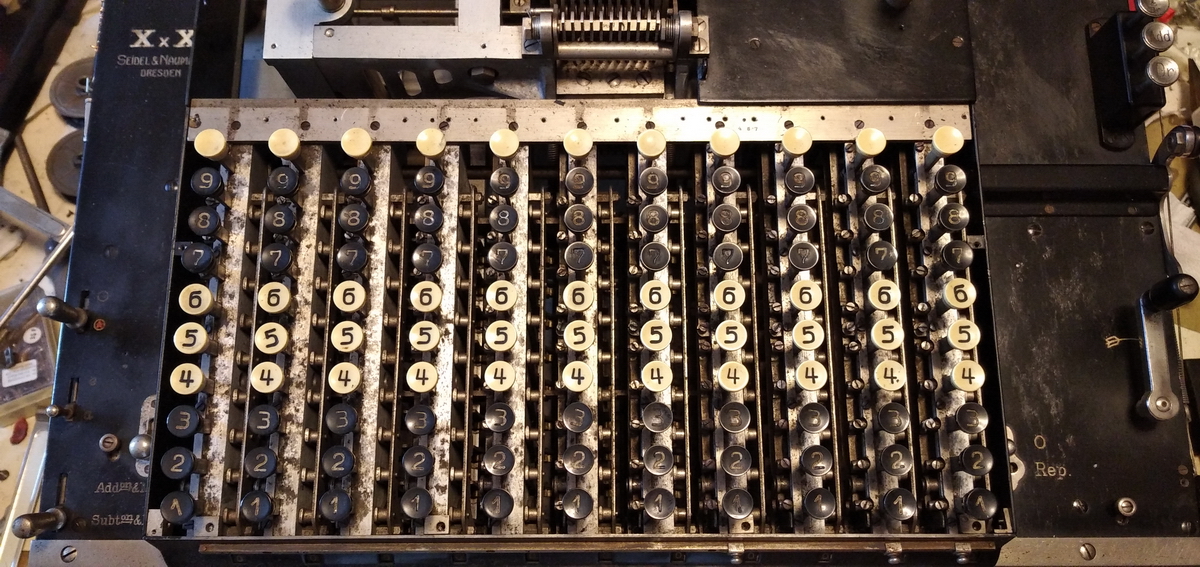
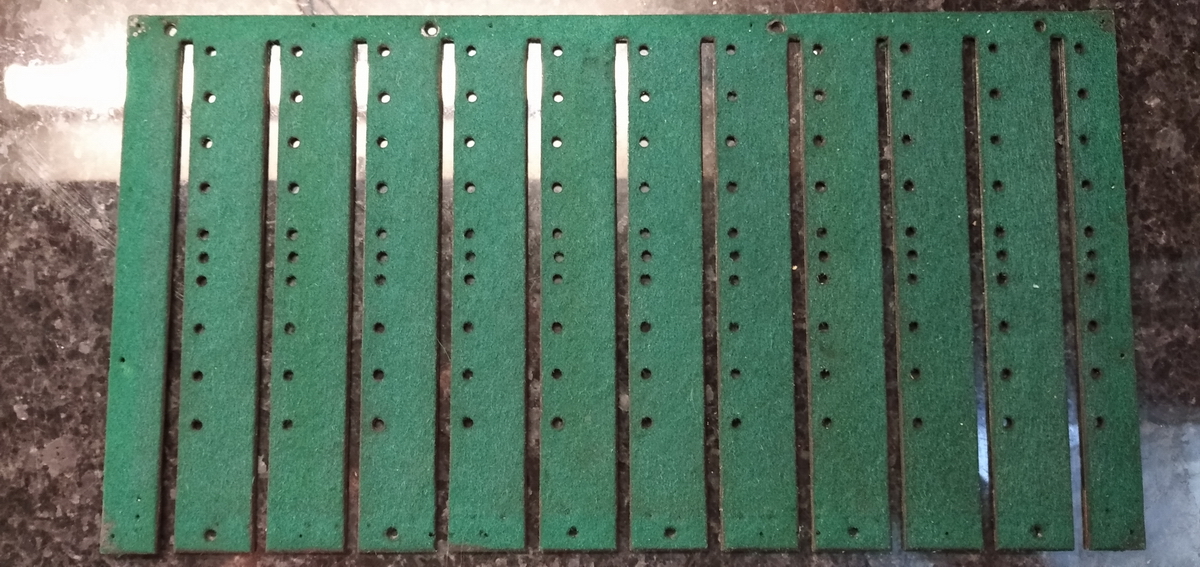
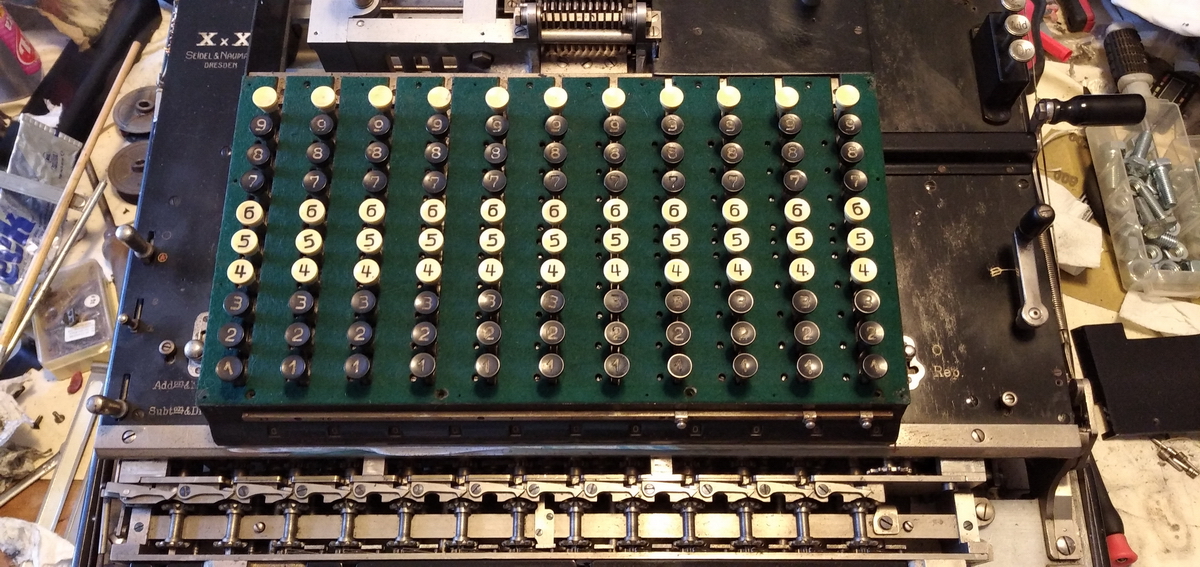
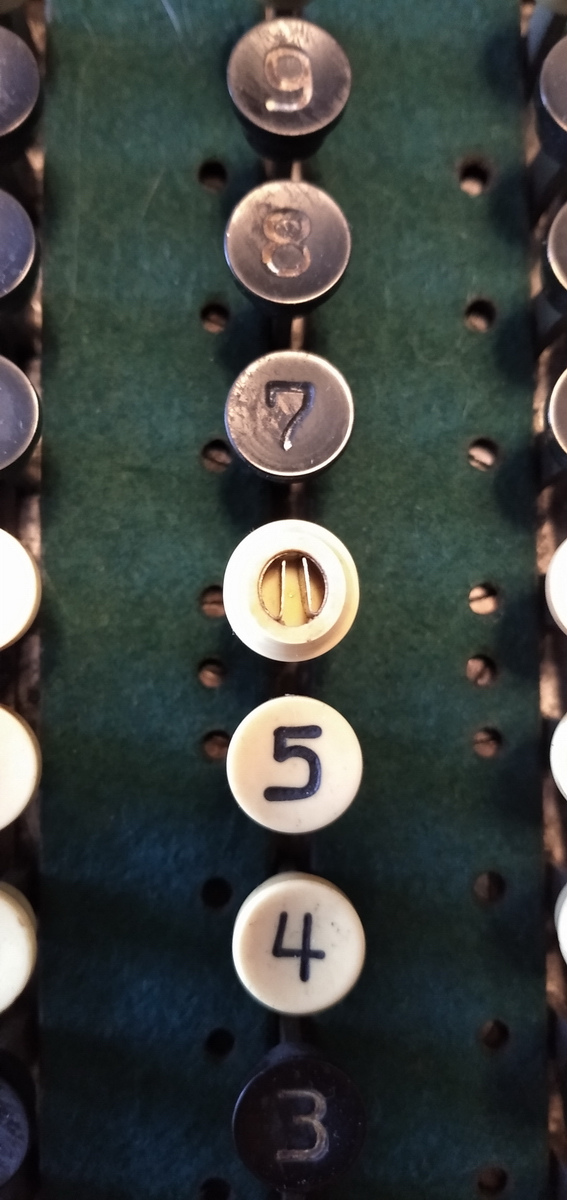
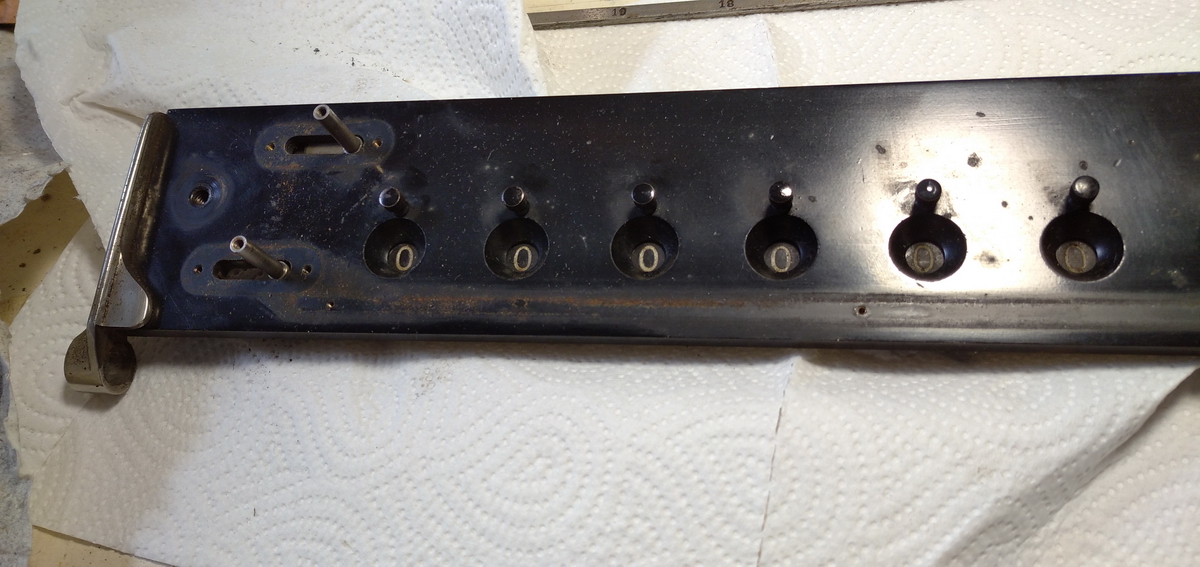
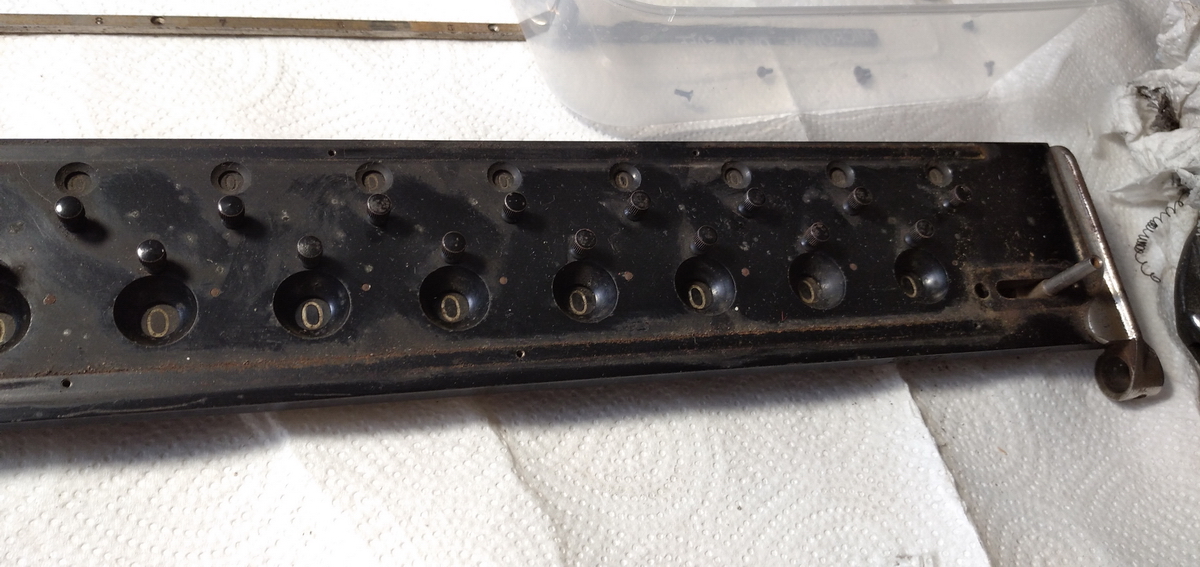
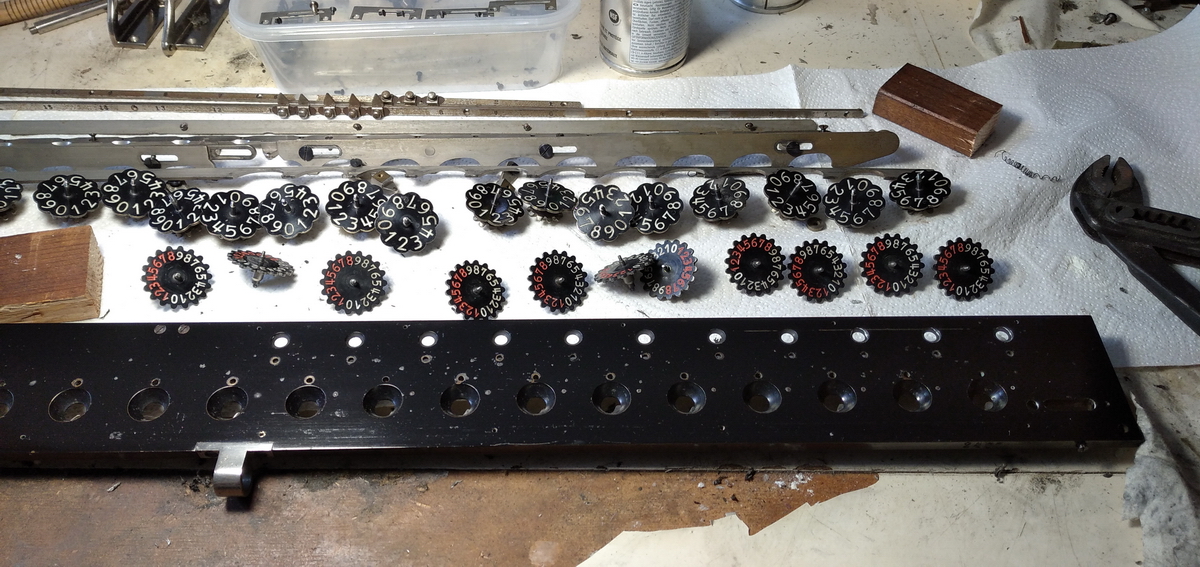
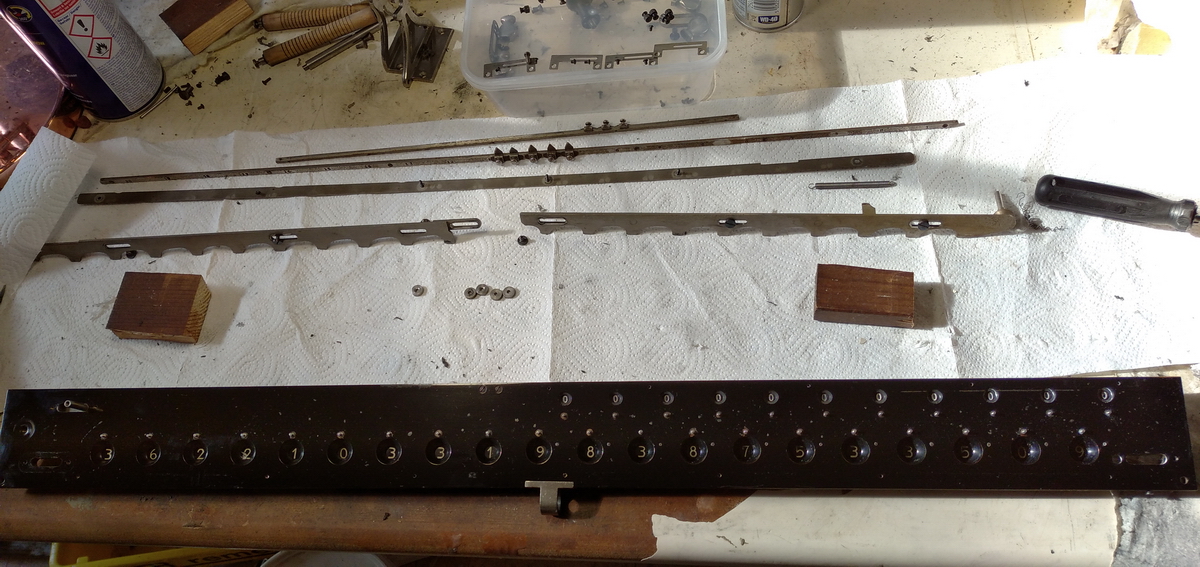
The next point of attention was the keyboard. The nickeled edge was removed and the felt-covered steel plate removed - probably for the first time during the life of the machine. This revealed a horrible dust-nest, which was cleaned out. The felt was washed with soap and water, and regained its original green colour in this way. The keytops were cleaned - they are a very smart system with a spring keeping the keytop in place on the flat end of the keystem, but also allowing it to rotate for adjustment of the numbers in case they are not straight. It turned out that many of the black keys had lost part of their white paste infill, so this was touched up with latex paint.
On reassembling the top plates, also the ribbon mechanism was cleaned and put back in ints place.
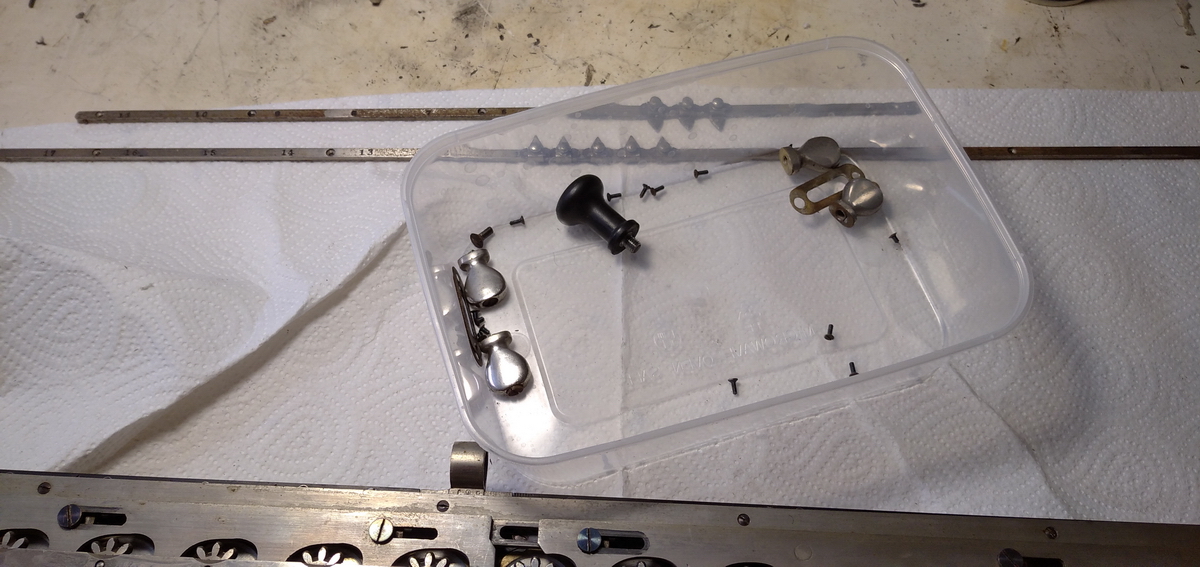
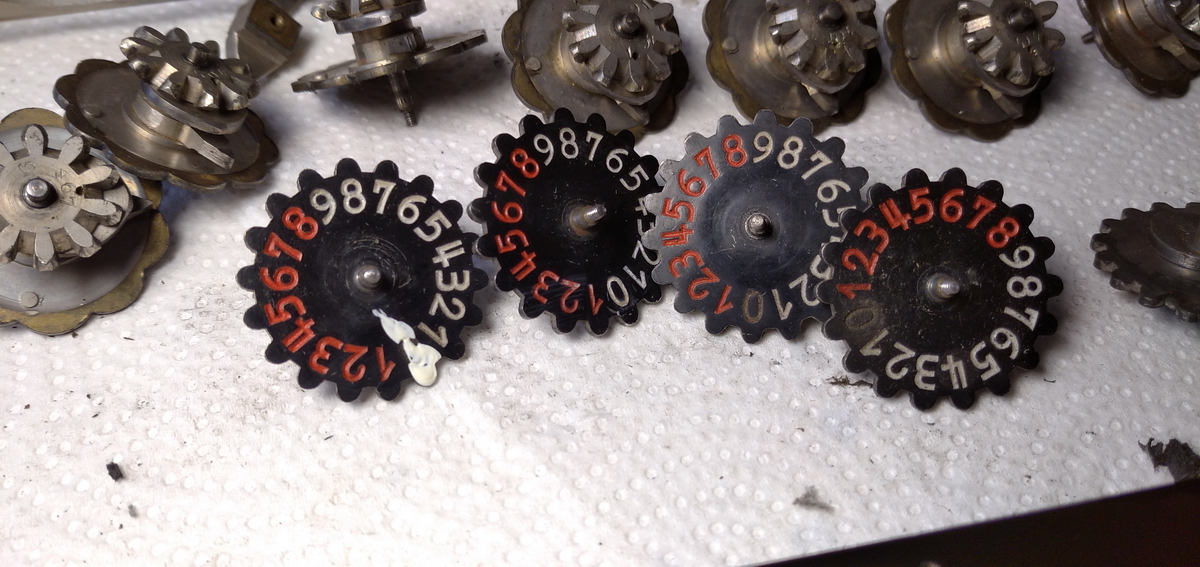
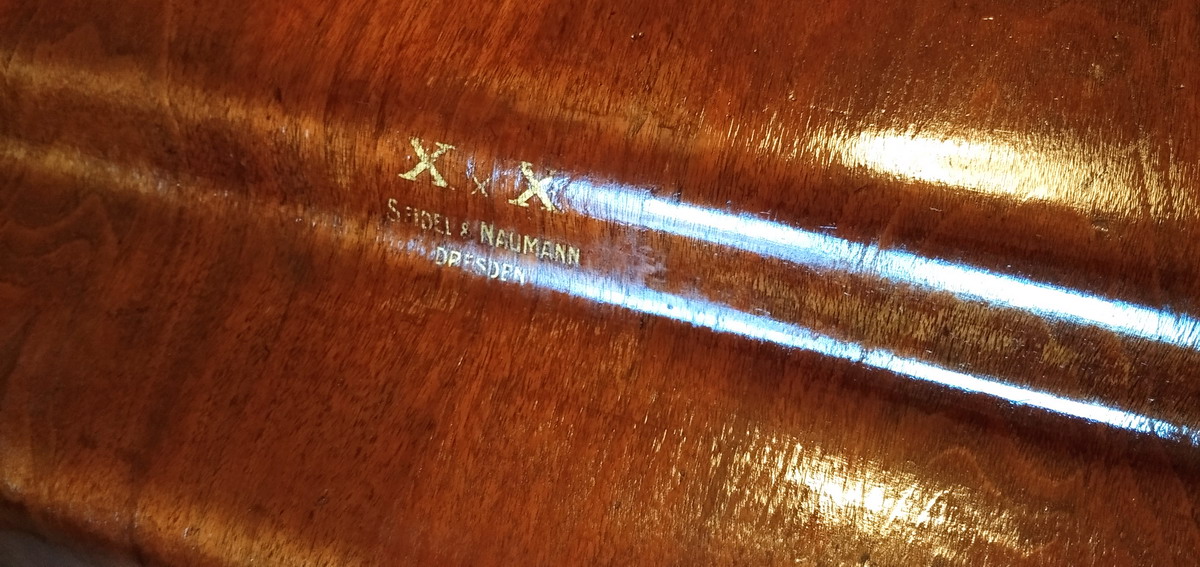
The nickeled levers on the left were taken off and polished, and the logo at the top left and the other engravings in the top plates also got a lick of latex paint to make them stand out again. Then the front cover of the keyboard was taken off and cleaned up, and the control register was cleaned up and filled in with latex where necessary (mainly the 0, 9, 8, 7s). Then all the covers were polished up and put back in place, finishing off the main body of the machine.
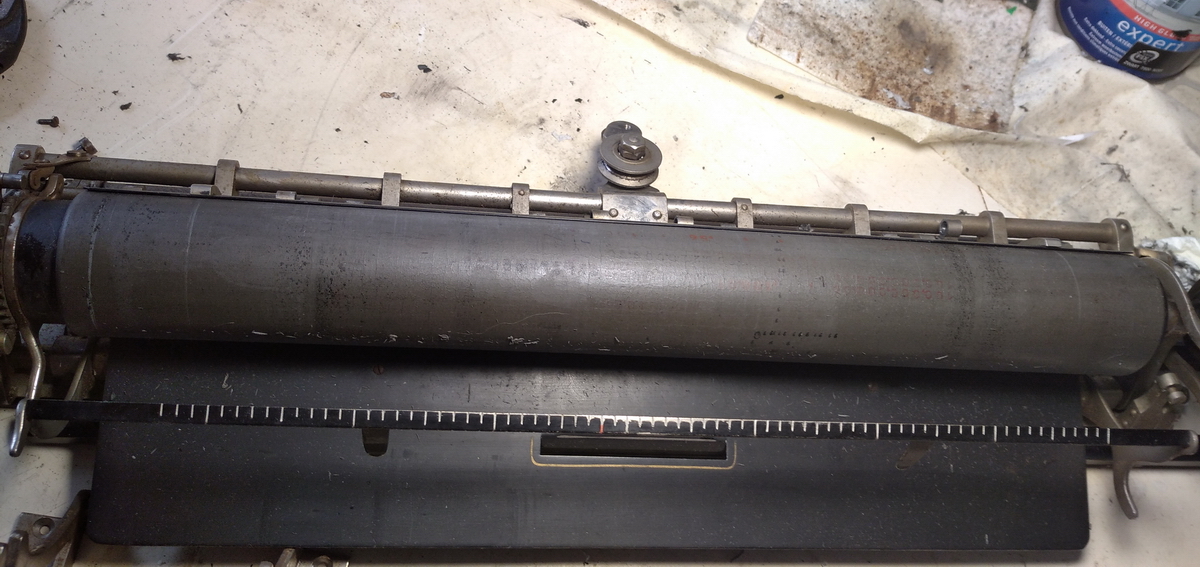
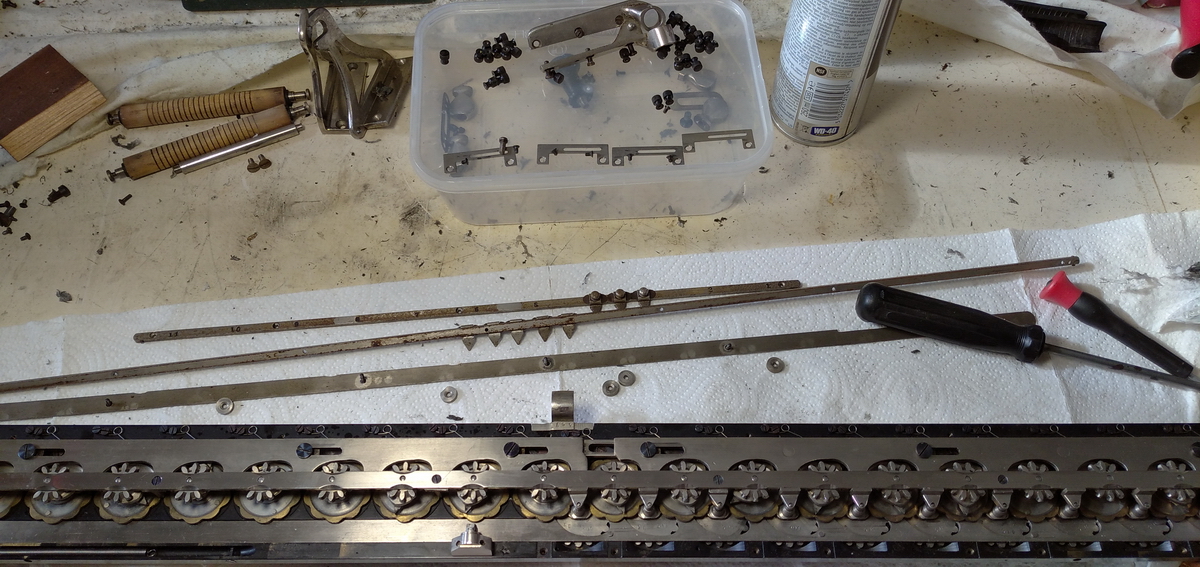
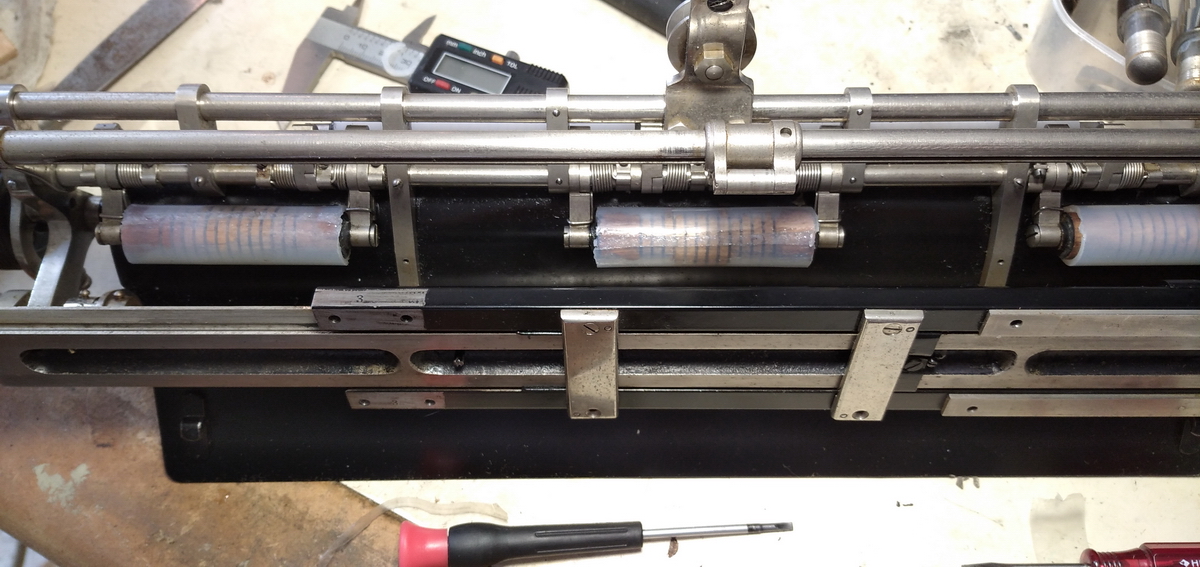
Then attention shifted to the carriage. The problem there was dirt and oxidation, and the very hardened and broken rubber of the rollers.
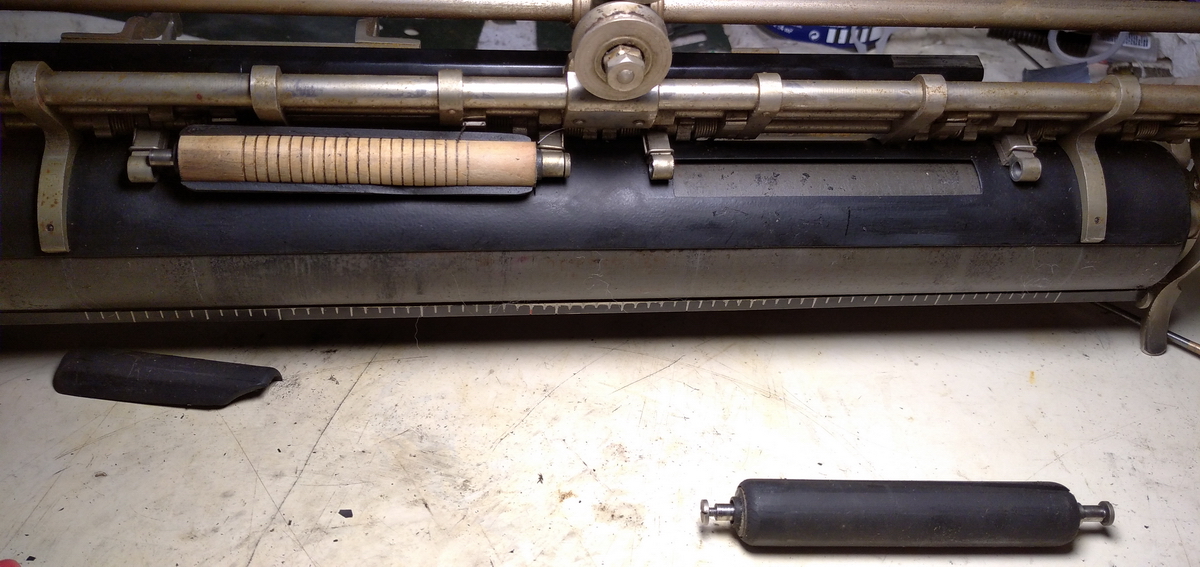
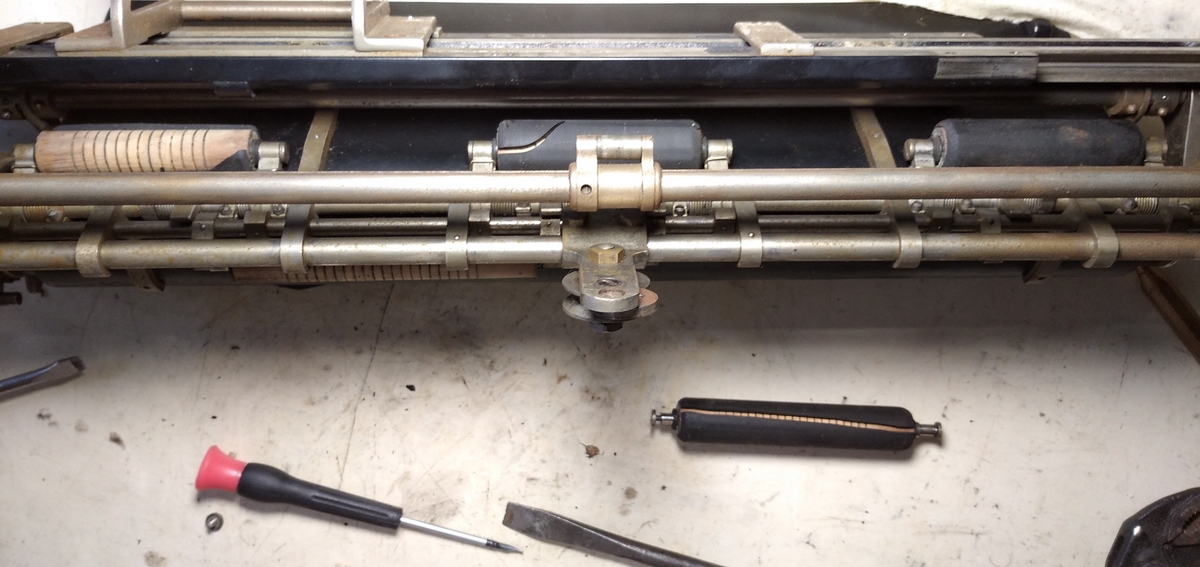
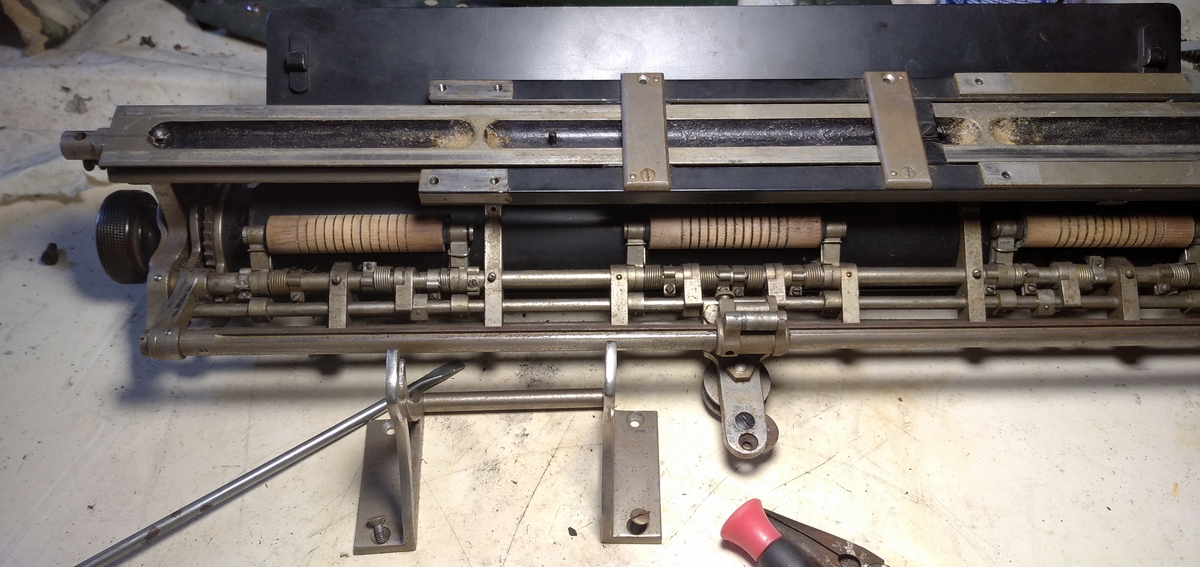
The platen itself was still quite flexible, especially after a few rounds of treatment with glycerine, but the small pressure rollers could not be saved. I have ordered properly sized silicone tubing to replace them with. The two long narrow ones on the bottom could be taken off, but the three shorter ones could not, because there simply isn't enough left-to-right wiggle room - so I will have to get creative with the silicone tube to get it on there, because the carriage would have to be disassembled entirely to get at them, and that means also taking out the taper pins that keep everything in place - something I was not willing to do.
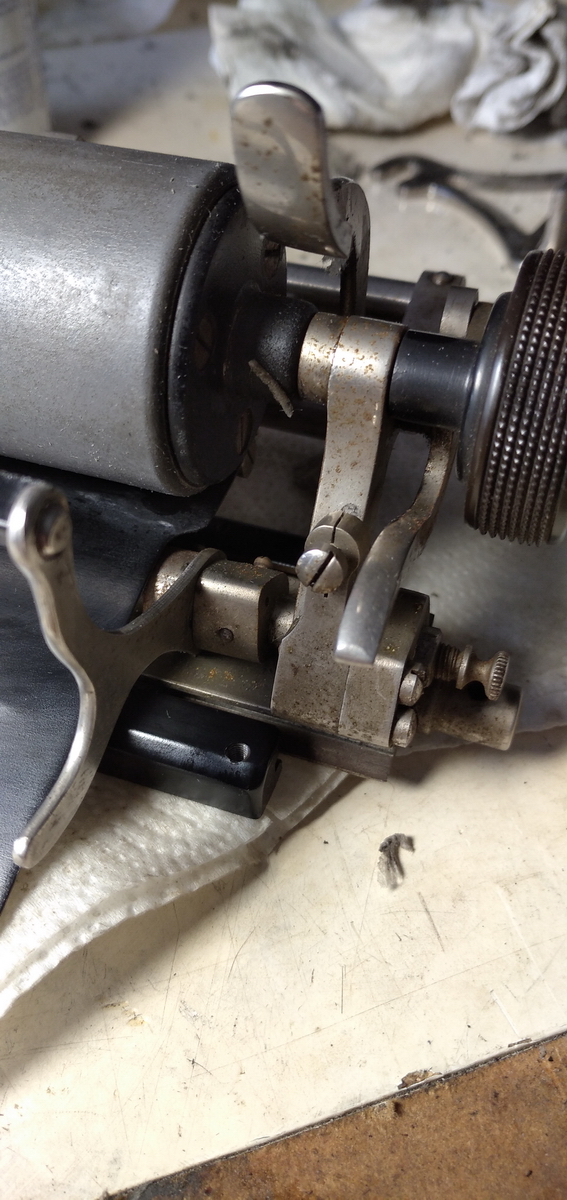
All the nickel was subsequently cleaned, and so was the platen (first glycerin, then, strangely, metal polish to take the glossy hardened coating off the rubber).
With that done, the last major piece of the machine that needed cleaning was the carriage. It was disassembled entirely, cleaned and reassembled. The zeroes on the counter register needed to be filled in with latex, even after cleaning thoroughly, because a lot of the paste had become brittle and fallen out.


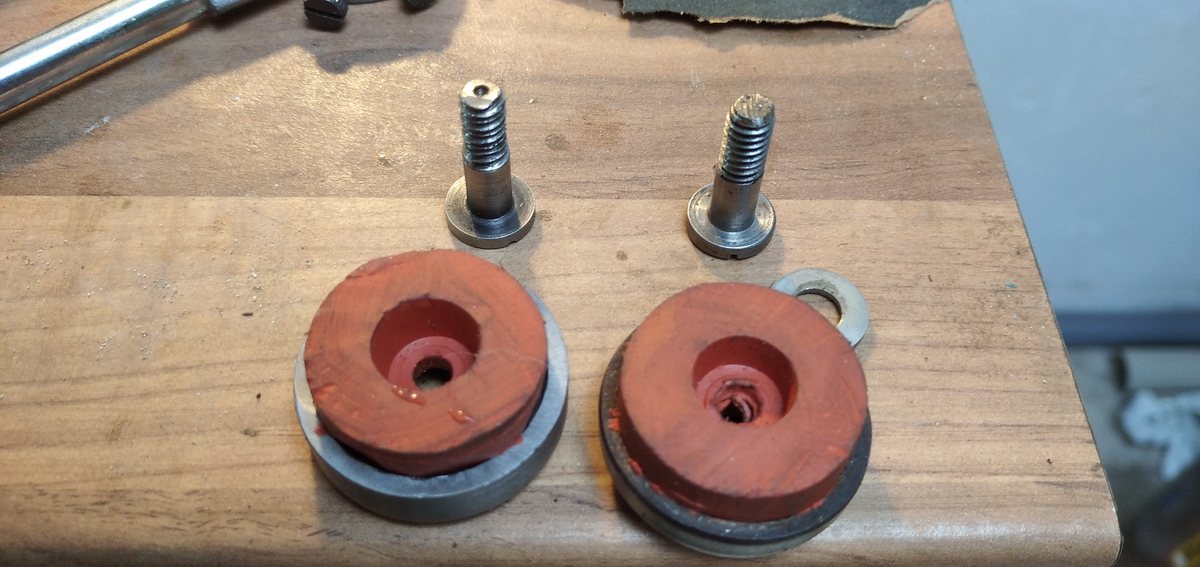
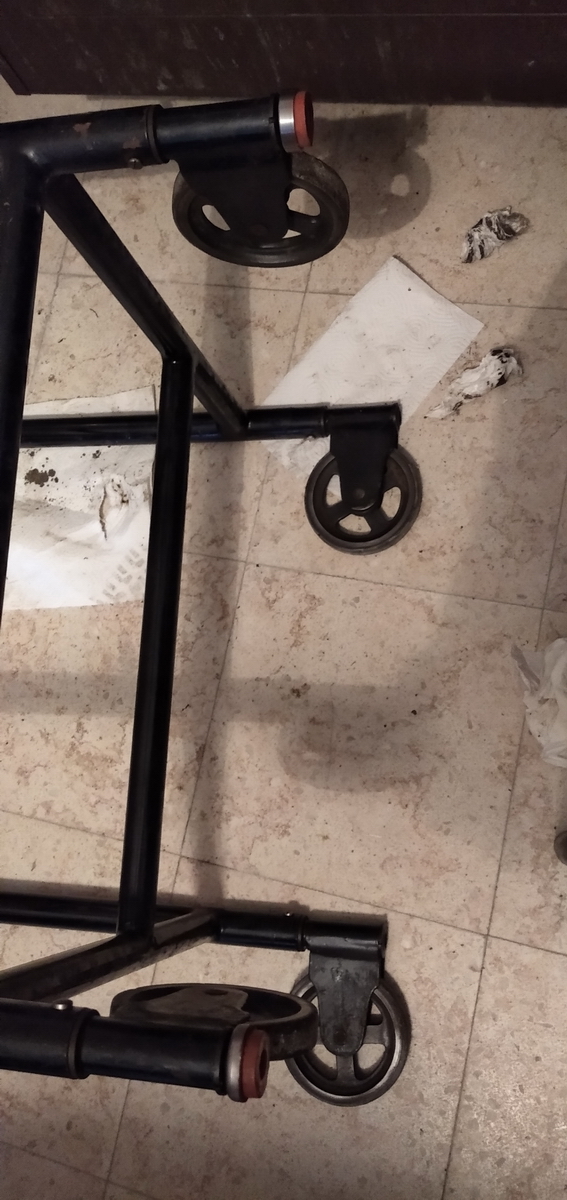
Finally, some attention was spent on the stand, where all the rusty brightwork needed to be cleaned up and polished, and then the whole tilting stand reassembled. A 1/4in bolt (who would think to find that on a German machine ?) was turned up, as well as the one missing cup for the rubber foot, and new rubber feet were mounted on the back of the stand.
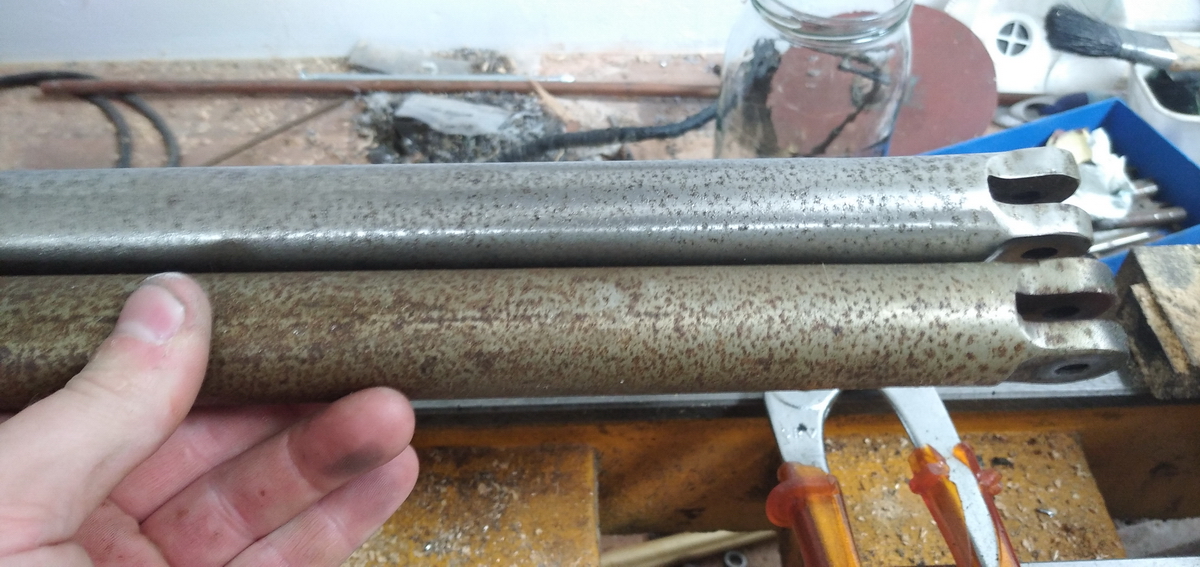
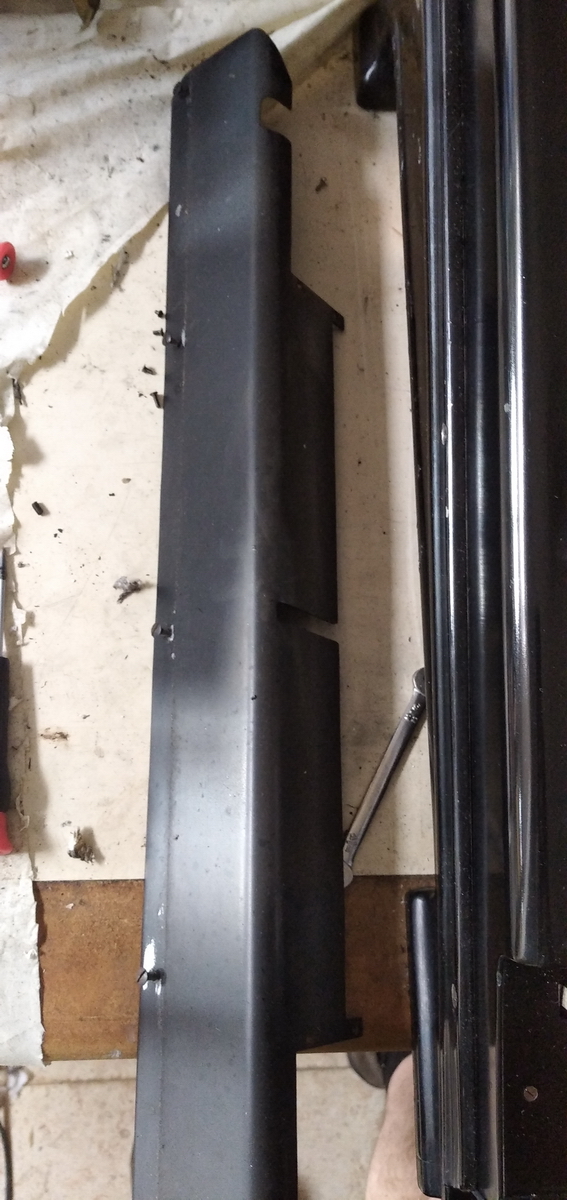
The protective bars for the back of the machine on the wooden baseplate were also polished up.
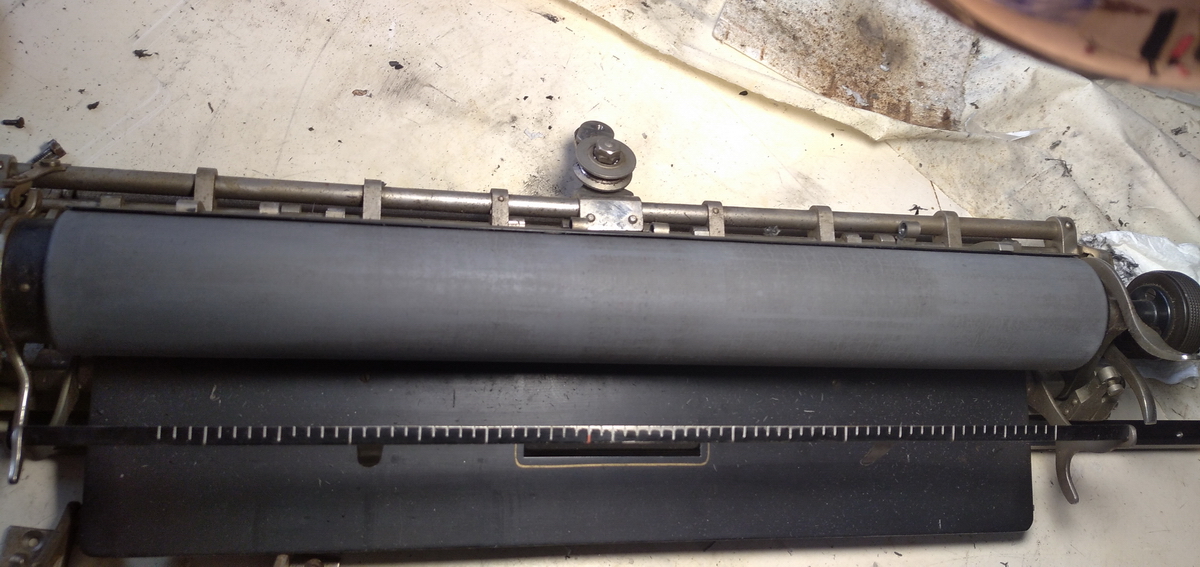
Then the silicone tubing I ordered arrived, and was mounted on the paper rollers in the printing carriage.

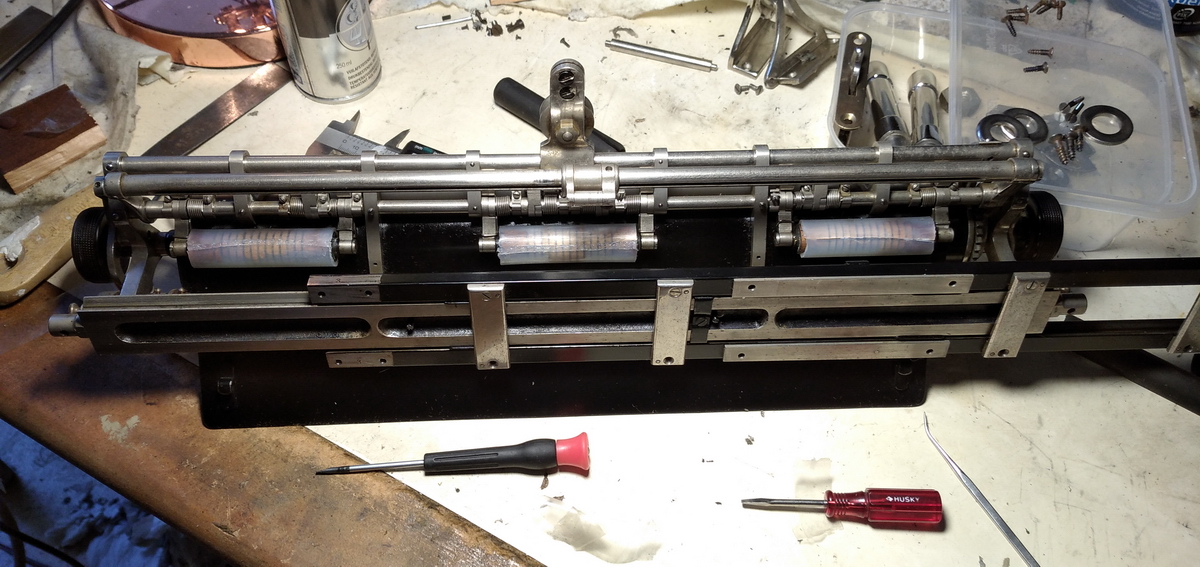
After giving the glue and the silicone time to dry, the carriage was cleaned up one last time and remounted to the machine, which finished the restoration of the machine itself.
...that is, until I tried the machine. It then turned out that there were still two issues:
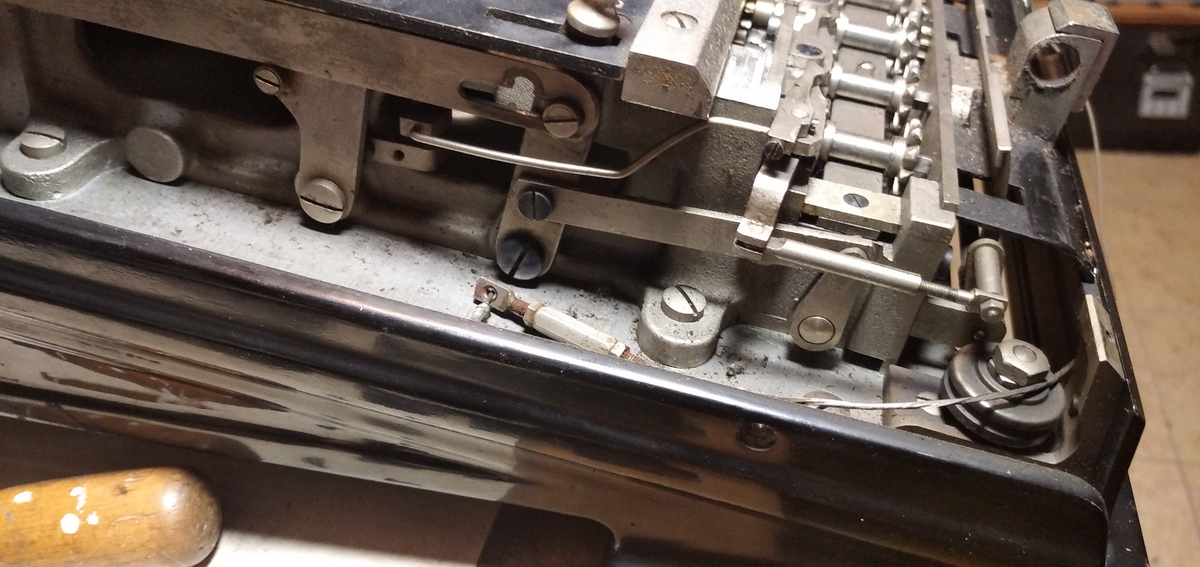
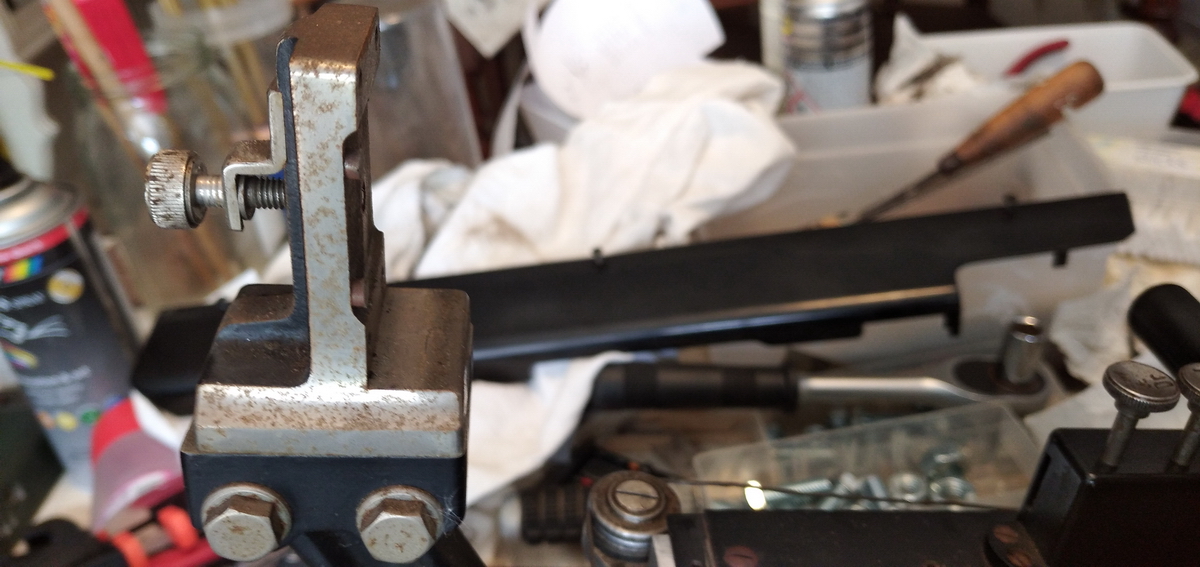
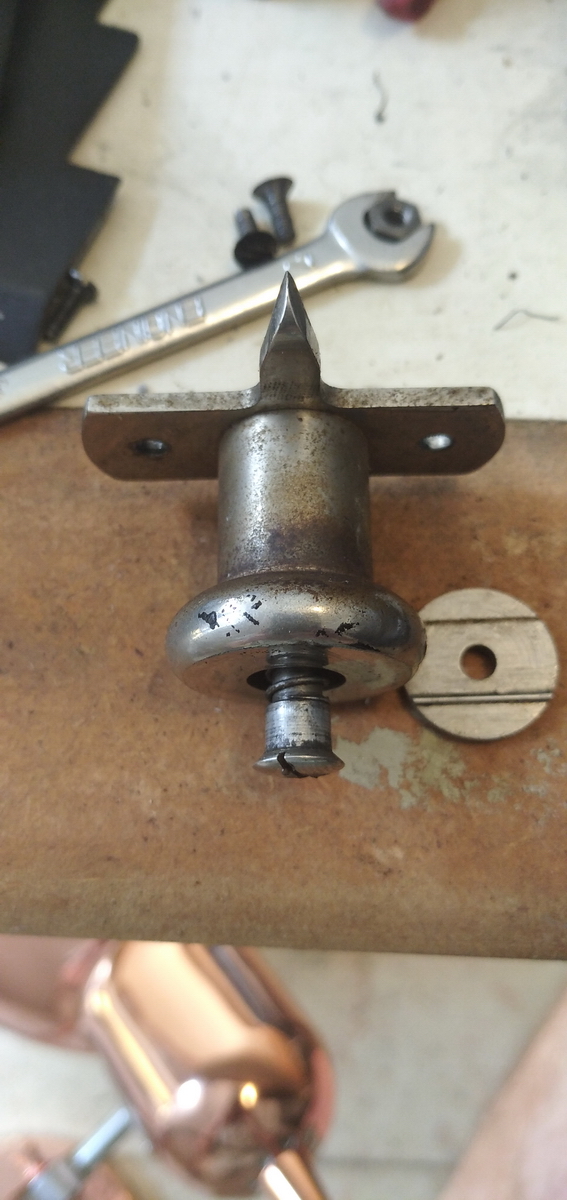
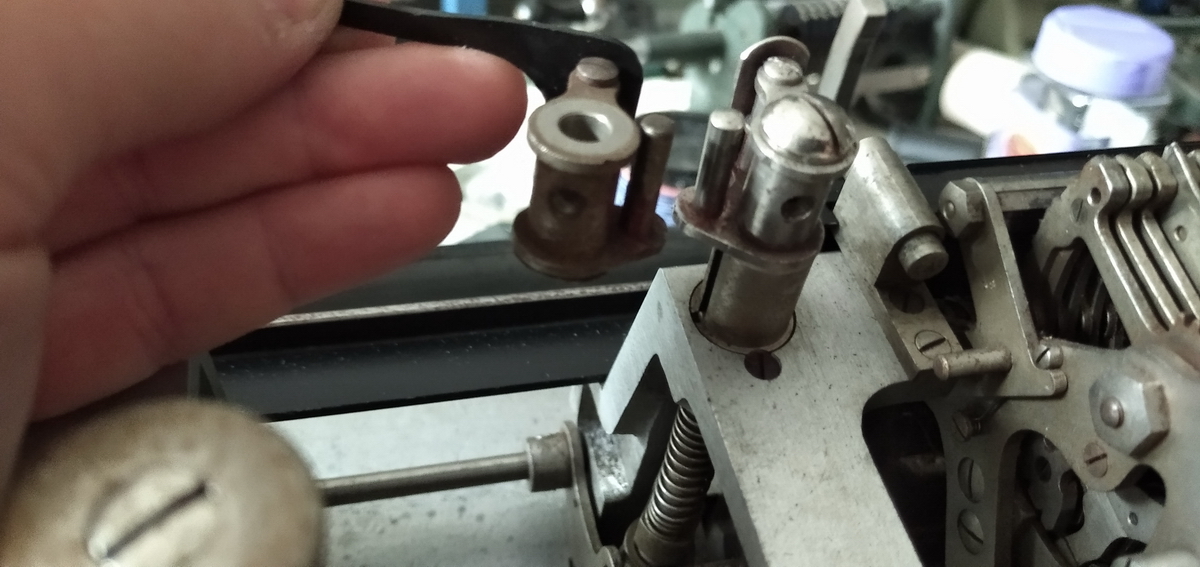
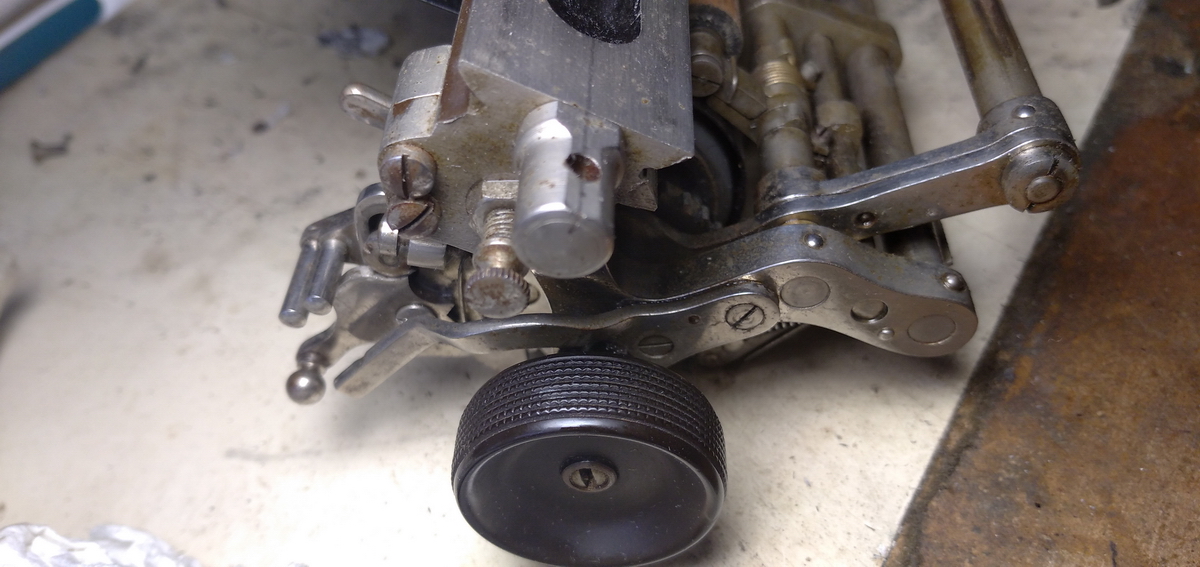
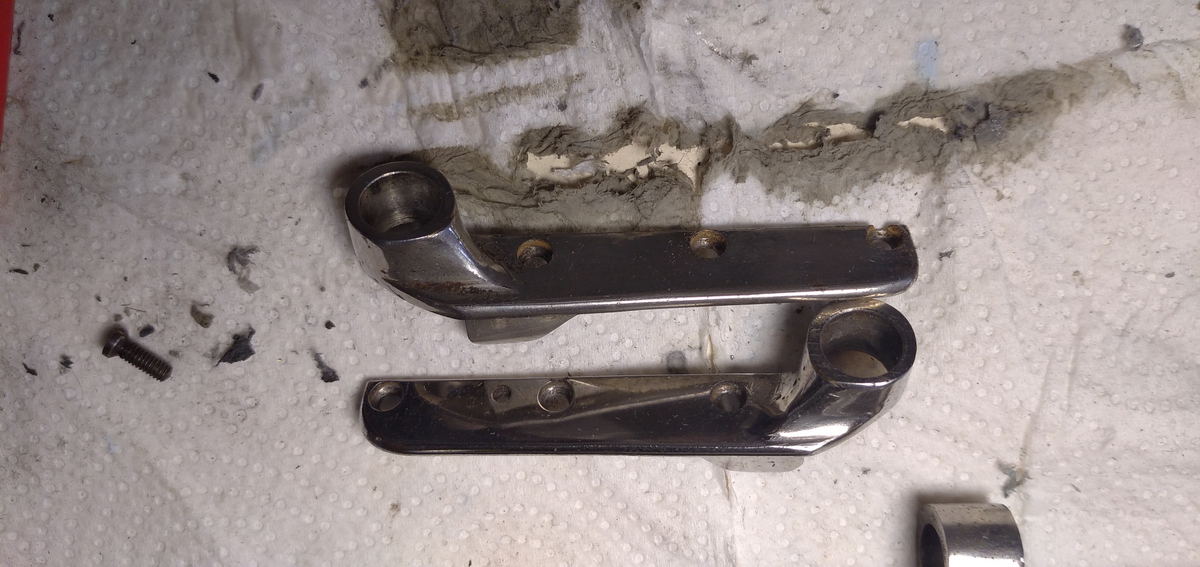
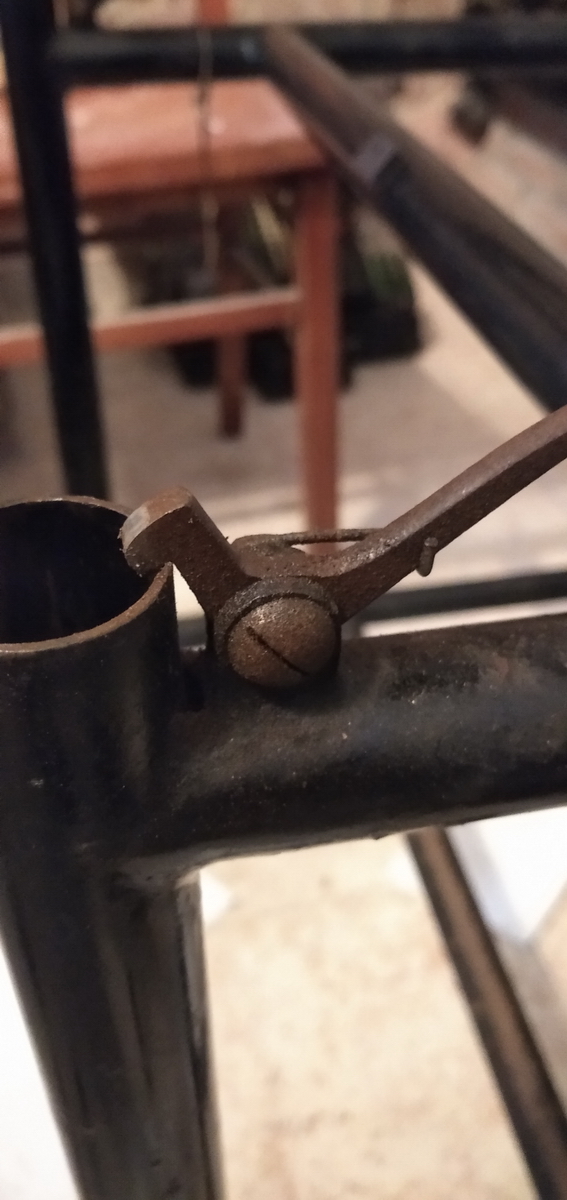
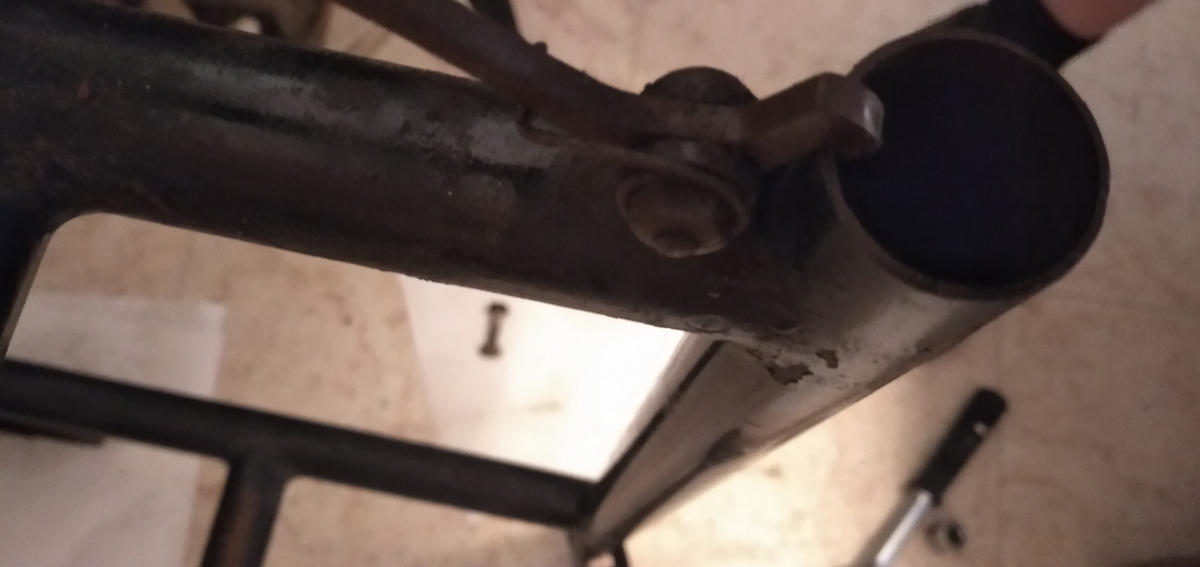
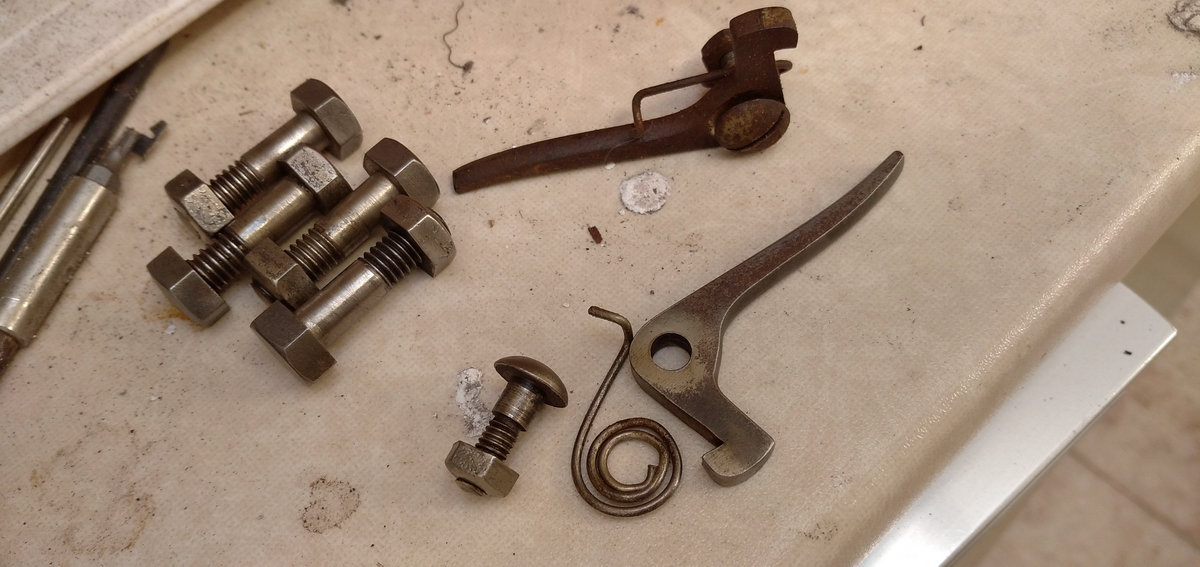
1. The automatic clearing of the keyboard would refuse to work, because the lever would be very slightly too far up. That necessitated taking nearly all of the covers and side plates back off, to finally find that one screw of the bearing plate that holds the axle that connects the levers in question to the zeroing device had fallen out, allowing too much play.
What a mess! An easy, but long fix.
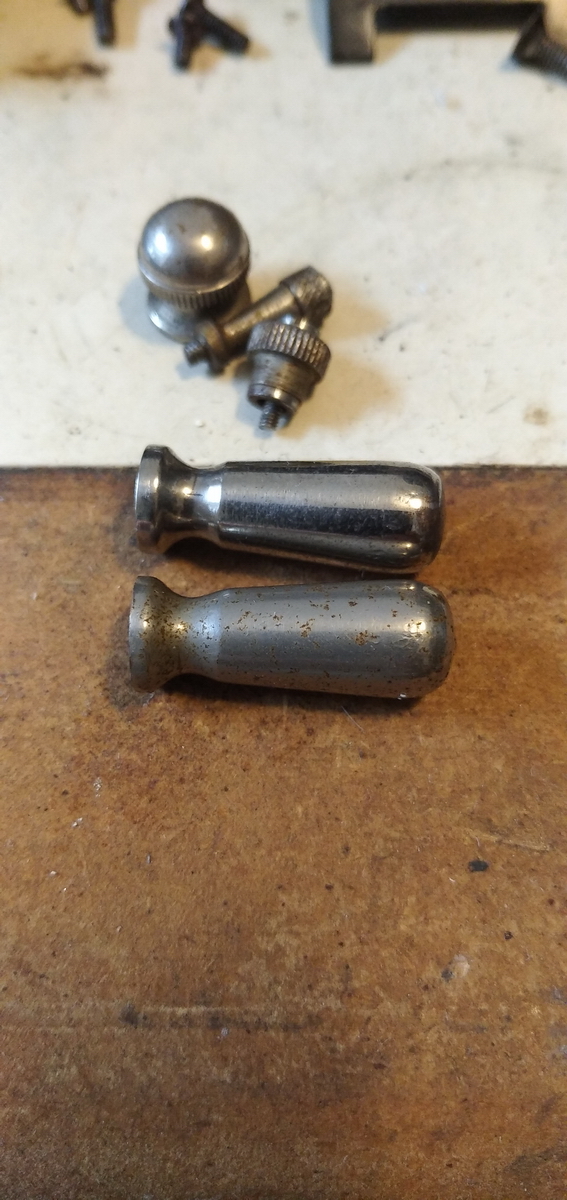
This little bugger below was the culprit ...
2. The other thing I simply cannot manage to figure out is how the ribbon transport is supposed to work. There is no sensible way for the ribbons to sit "loose" on their axle, but the axles pull in opposite directions, and hence the ribbon breaks. I turned an extra cone with a slot to put one of the ribbon spools a bit higher, so it wouldn't engage with the pin that normally moves it, and it can turn loose. This part needs to be switched from one side to the other side when the ribbon runs out.
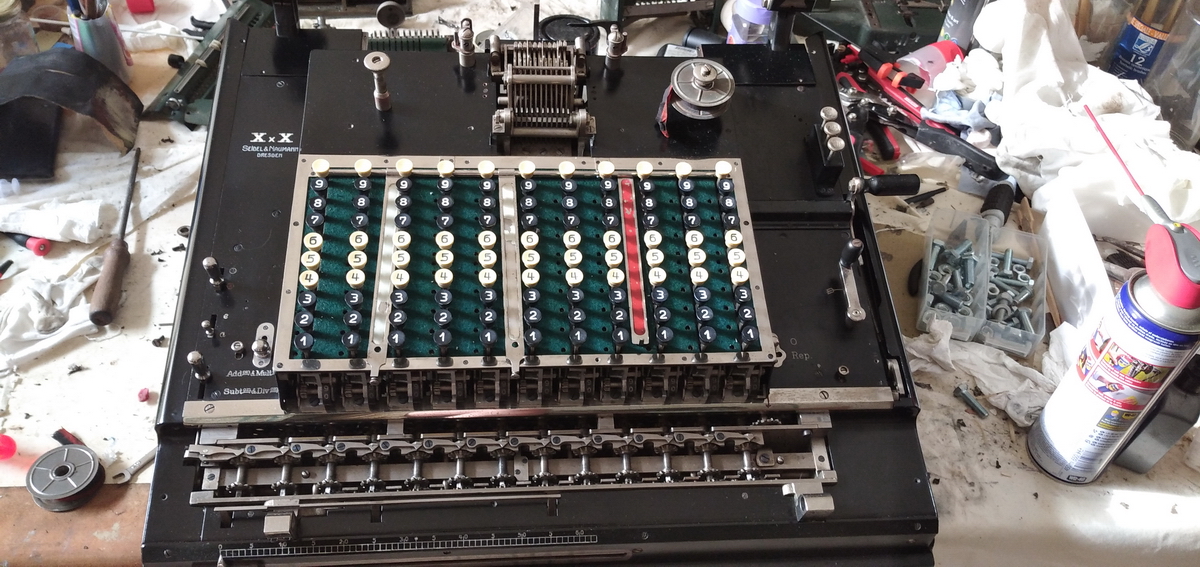
So this is how the machine sits now.


The very brittle manual was put back together with paperplast T, so it can be handled without danger of further deterioration.

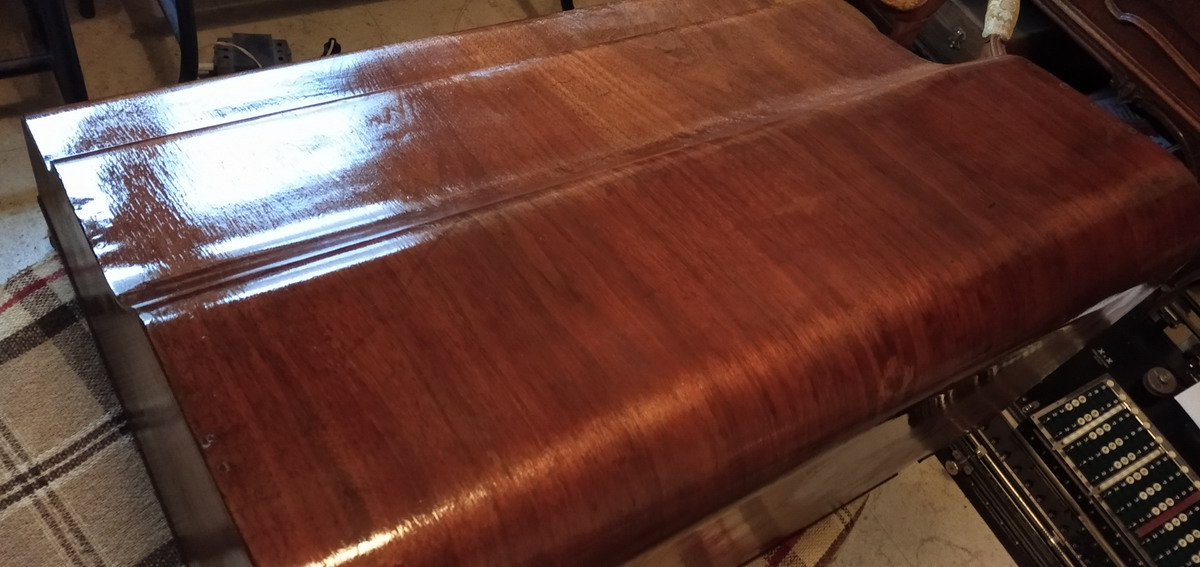
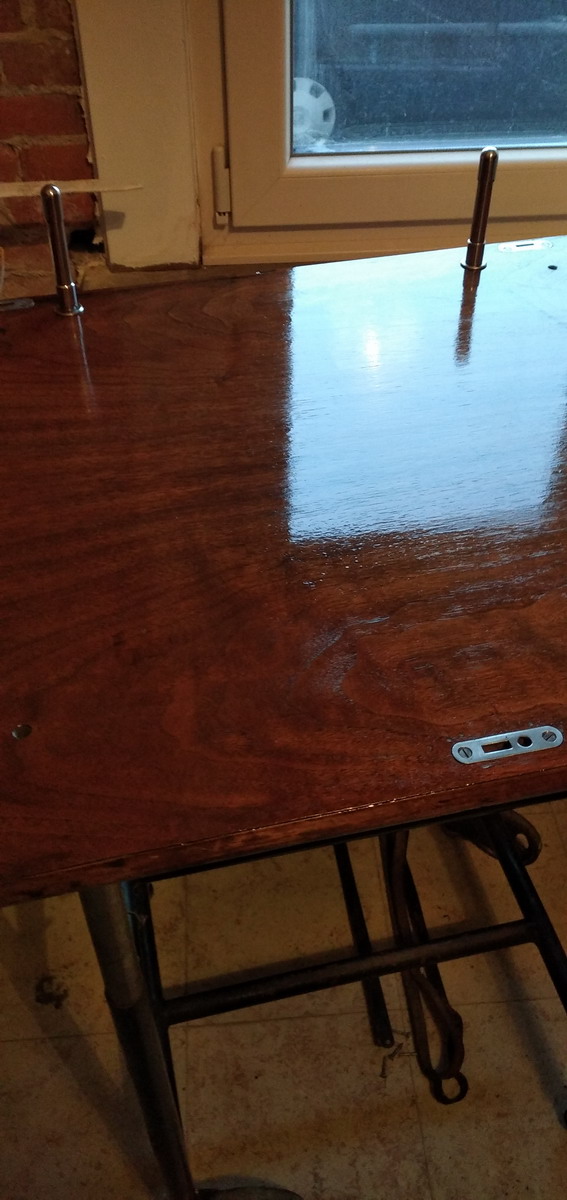
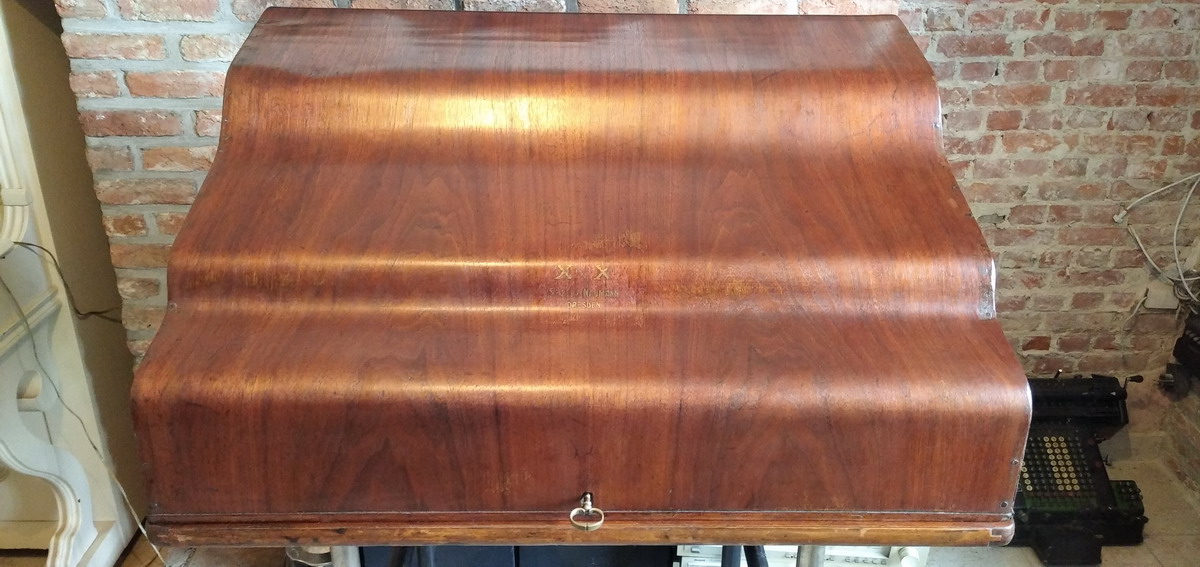
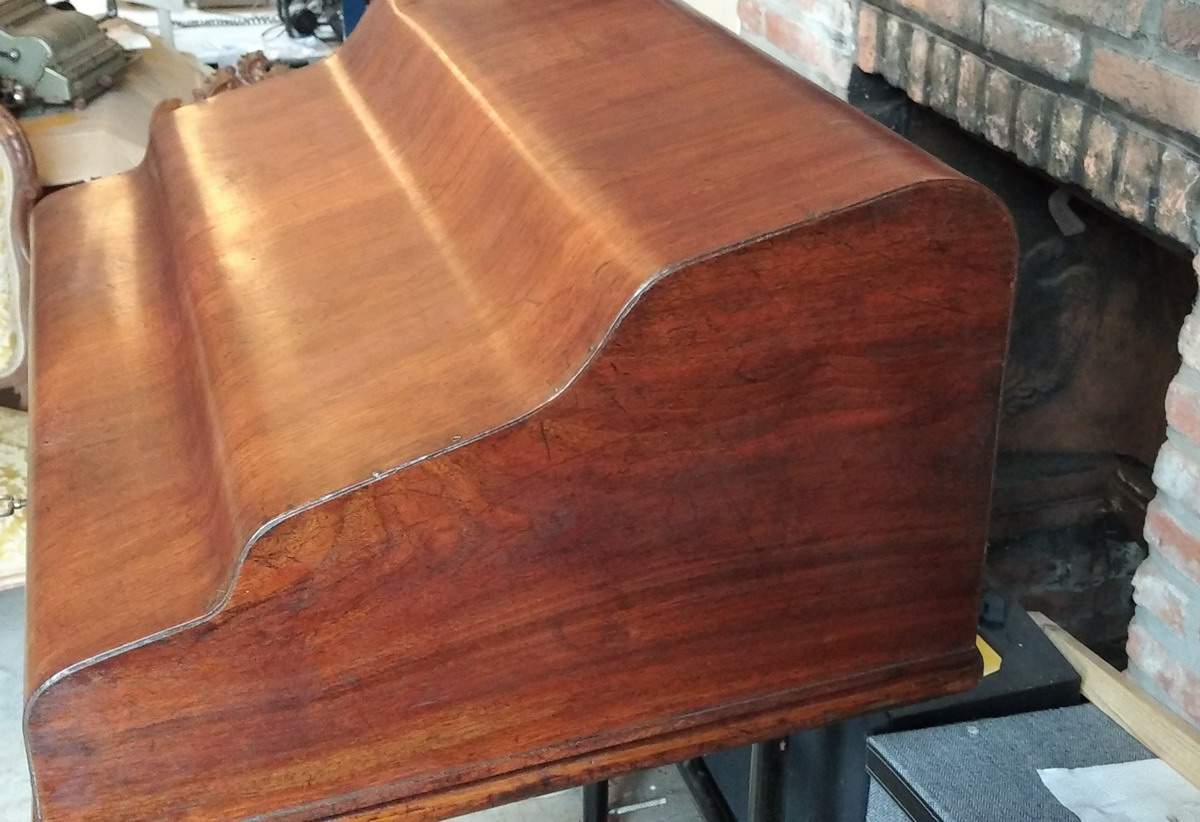
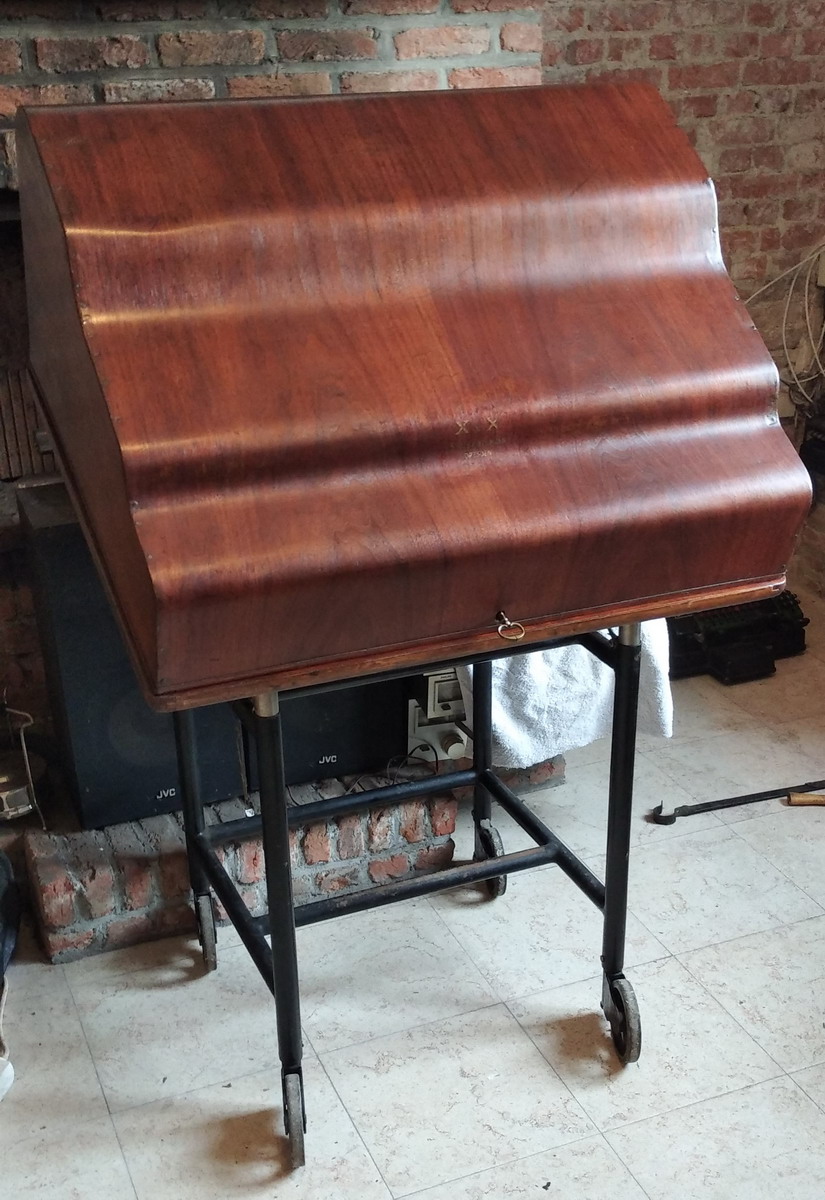
The wooden cover was first cleaned to remove years of grime...
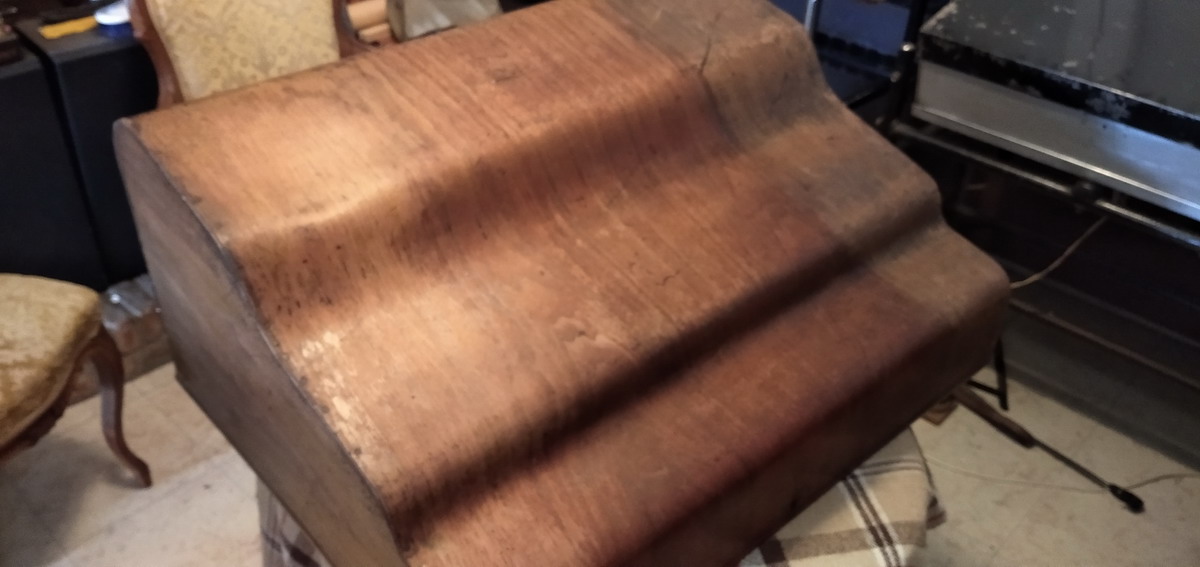
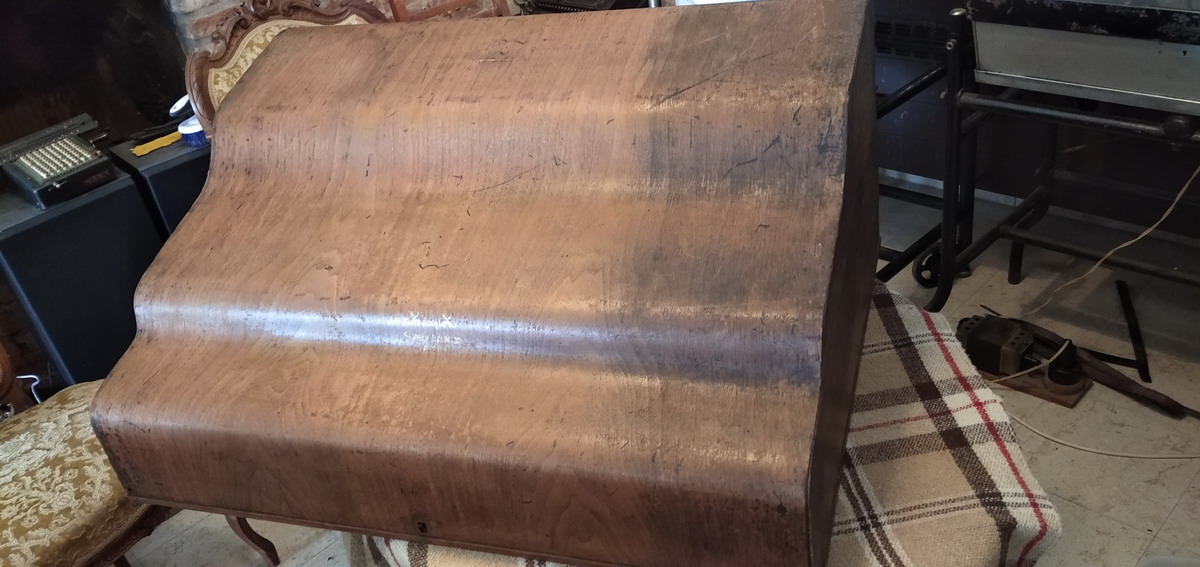
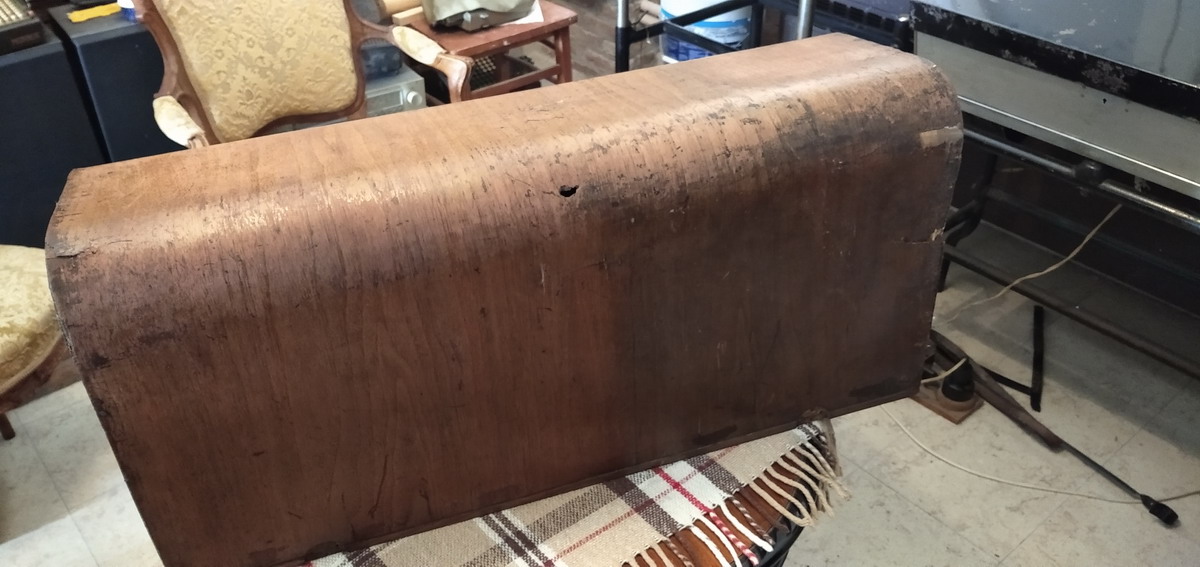
...then sent off to a specialist for restoration and repair.
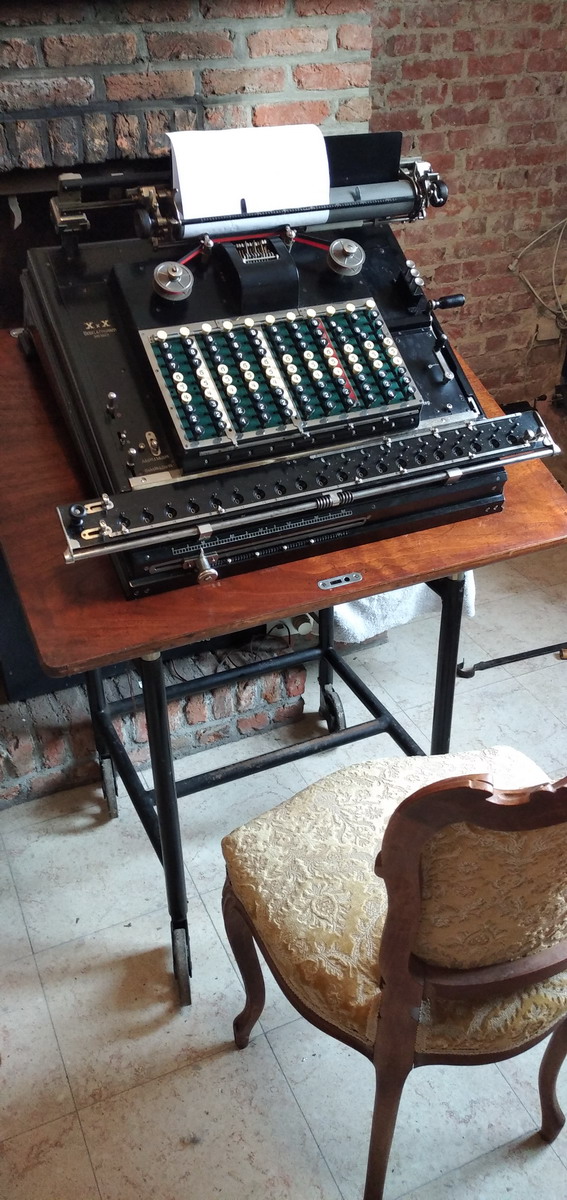
And this is the final result:
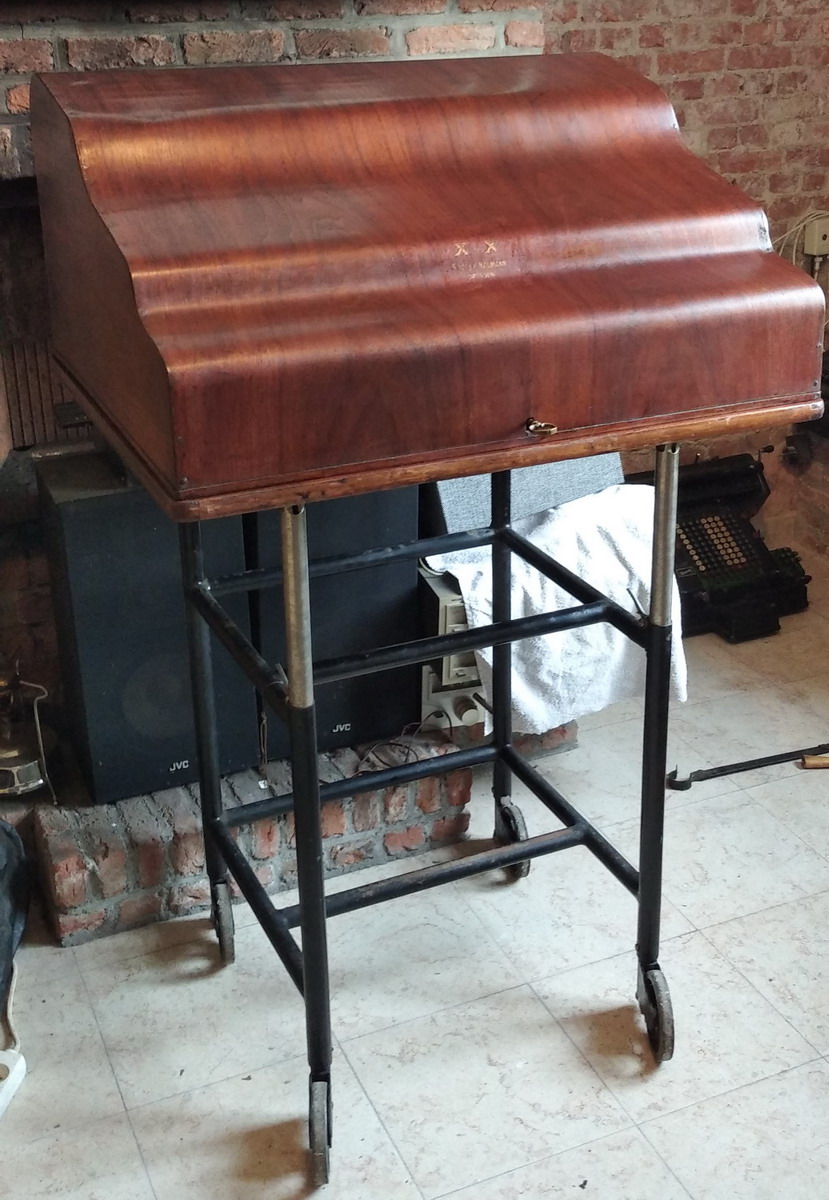
The stand also can tilt forward for working easily when seated on a chair in front of the machine
Like so, with a slightly out-of-character Louis XV chair
Finally, a brief video of the printing process, and the function of the three keys - print, add and add-print